Braun Corporation 100381-001 User manual

32978 Rev. A
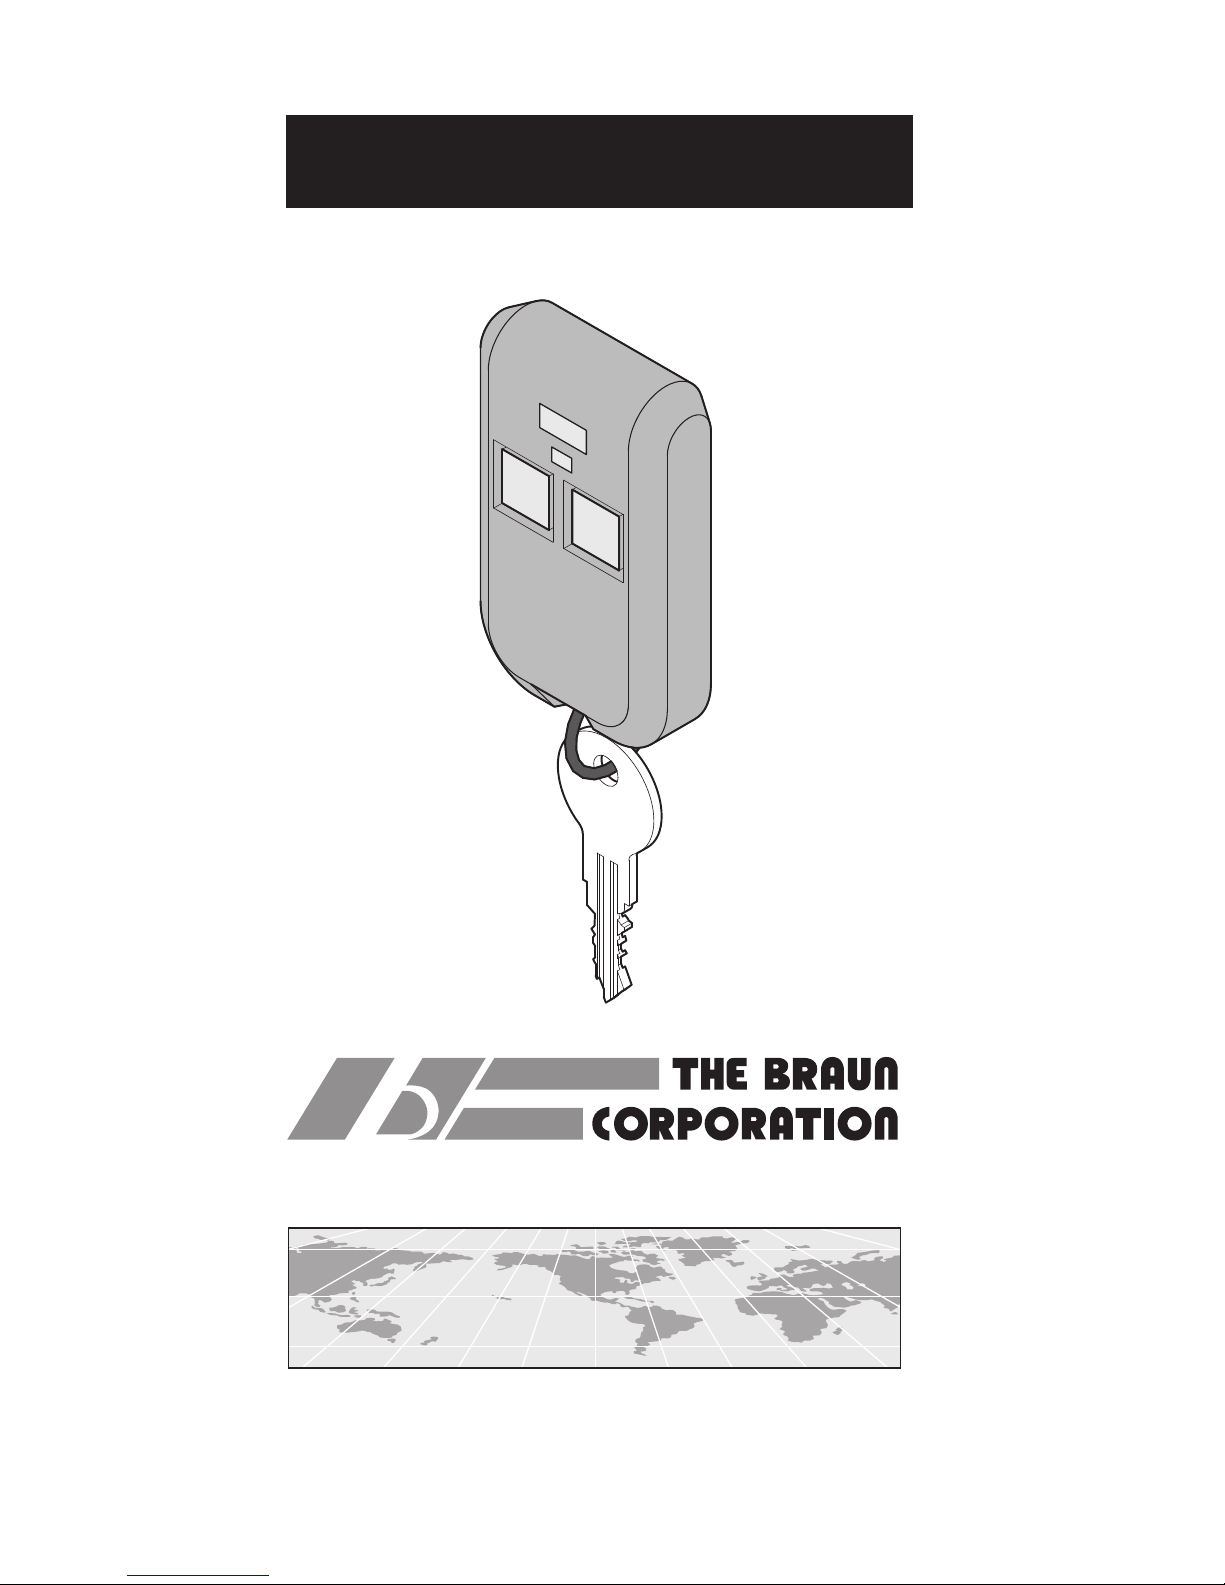
MODEL 100381-001 RADIO REMOTE
for NL955, NVL955, NMV05 & NV05
Dealer / Owner / Operator Manual
"Providing Access to the World"
International Corporate Hdqrs: P.O. Box 310 Winamac, IN 46996 USA
1-800-THE LIFT®(574) 946-6153 FAX: (574) 946-4670
®
®

We want to know who you are!
The Braun Corporation wants to know who you are. Please introduce
yourself by taking a few minutes to ll out and return your warranty
card. Filling out your warranty registration protects your warranty privi-
leges, and allows us to notify you in case we should need to provide
you with additional product information and service. Why not take the
time, ll out the card, and return it today. Below is a spot for you to
write some information that will be useful for your dealer, and our ser-
vice department, if maintenance or repairs are necessary.
Dealer Name:
Dealer Phone Number:
Dealer Address:
Date Installed:
Radio Remote Serial Number
(Found on Receiver):
DEALER / OWNER / OPERATOR MANUAL
MODEL 100381-001 RADIO REMOTE INSTALLATION INSTRUCTIONS
FOR THE NL955, NVL955, NMV05 & NV05
Dear Radio Remote Control Customer:
Thank you for purchasing our 100381-001 Radio Remote Control. We
are sure that it will provide you with years of trouble free service. Your
installing dealer will be happy to provide you with any assistance that
may be necessary to keep all of your equipment in top operating
condition.

Note: The Radio Remote Control receiver draws about 12 milliam-
peres from your vehicle battery. This coupled with the current draw
from other vehicle components such as the conversion package, the
wheelchair lift and other devices may be enough to discharge the vehi-
cle battery over the course of several days if the vehicle is not started.
For your assistance and safety we have provided these reminders:
1. Be thoroughly familiar with the operator’s manual before using the
Radio Remote Control.
2. Always be in a position to observe the operation of the lift and door
openers when using the Radio Remote Control.
3. Never allow someone unfamiliar with the equipment to operate the
Radio Remote Control.
4. Keep your transmitter away from liquids, and in an area where it
will not be inadvertently activated.
5. The Radio Remote Control performance is subject to the
surrounding environment. Performance may be signicantly
reduced when in or around parking garages, radio transmission
stations, or metal buildings.
6. Caution: “This device complies with FCC Rules Part 15: Opera-
tion of this device is subject to the following two conditions: (1)
This device may not cause harmful interference (2) This device
must accept any interference that may be received including
interference that may cause undesired operation”. Fortunately, the
occurrences of undesired operation due to radio interference is
extremely rare. However, it is a risk that you, as the operator need
to be aware of. Use of this device signies your acceptance of
this risk.
7. Warning: Never use the Radio Remote Control to operate the
wheelchair lift while the lift platform is occupied.
EFFECTIVE SERIAL NUMBER
SAFETY PRECAUTIONS
Page 132978 Rev. A

INSTALLATION INSTRUCTIONS
1. Disconnect lift power wire and remove cover from lift.
2. Mount receiver at least two feet away from lift with screws provided
in a location where the antenna is not obstructed by the vehicle
walls.
3. (NL955 and NVL955) Connect the 5-position connector to J3 on
the Intermotive Accessory Board (100362-001). Connect the 4-pin
connector from J4 on the Intermotive Accessory Board to J11 on the
lift control board as shown on Figure 1.
4. (NV05 and NMV05) Connect the 5-position connector to J3 on the
Intermotive Accessory Board (100285-001). Connect the 4-pin
connector from J4 on the Intermotive Accessory Board to W14 on
the lift control board as shown on Figure 1.
5. Remove cover on receiver 100381-001. Conrm that multi-function
is selected (P1 on receiver board).
6. Before placing your 100381-001 remote into service, the receiver
and transmitter codes must be set to match or the unit will not
function. We urge you to personalize your codes, in order not to
interfere with neighboring systems, and to provide security for your
own system. You will note that the transmitter has two, ten position
code switches (see Figure 2 and 3). We strongly urge that several
coding schemes be avoided: ALL ON; ALL OFF; 2, 4, 6, 7, 8,
10 ON; 1, 3, 5, 7, 9 ON. These positions are similar with assembly
test positions, or are frequently used. Set the receiver and trans-
mitter (side A and B) code switch positions 1-9 to match (see Figure
2 and 3). The 10th position on your transmitter code switches are
used for channel selection. Channel 1 on the receiver is selected
by moving the 10th position of the transmitter side A to the off
(open) position. Channel 2 is selected by moving the 10th position
of the transmitter side B to the on (closed) position. Once the
codes are set, check the operation and replace the transmitter/
receiver covers.
7. Reconnect lift power wire and reinstall cover on lift.
Page 2 32978 Rev. A

INSTALLATION INSTRUCTIONS
F6
Q12
D6
2
56
79
4
6
3
J4
Q13 Q21
Q24
F7
F5
F9
F11
F10
R81
K1
Q22
U3
+
C6 +
U4
C19
C24
C21
R23
J12
1
5
4
8
C29
C13
3
8
1
4
J15
C30
J10
1
10
9
18
R20
J13
1
2
3
R40 R50
R47
C28
R26
J7
1
2
3
C22
D4
R35
J9
1
2
3R66
J5
R44R55
R53 C26
C25
D5
C18
R32
R38
C31
C14
R62
Q8
R16
C23
C27
R29
R105
R59
5
J11
1234
C20
J6 1
C15
J8
1
2
3
F13
Q25
+
C32 +
C34
+ +
C36
+
+
C35
+
F15
C33
J18
F14
C37
C39
U12
U11
R101
U5
R102
U14
C40
R98
C38
R107
R104
R96
R103
R100
C17
C16
D1
R86
1
2
3
4
J14
1
R93
U10
R99
R106
U9
J19
1
R52
U1
1
21
41
61
1
2
J17
R94
R6
C10
R1
C11
Q1
F1
C9
Q2
C2
C8
R71
R69
R70
R68
Q11
Q10
Q9
F4
Q14
Q15
R77
R83
R73
R80 R75
R76
R84
R82
Q16
Q17
R72
Q23
R79
Q19
Q20
Q18
R74
R9
C1
C7
C3C4
C5
R30
R17
R24
Q6
R14
R28
R21
R67
R42
Q4
R36
R22
R34
R46
R33
R18
R57
R31
R65
R54
R11
R64
R19
R39
R10
R43
R27
R15
R41
R51
R49
R45
R61
R12
R25
R37
R13
R63
R56
Q7
R58
R60
R48
R8
R91
R89
R87
D2
4
Q27
J3
1
F3
2
3
F8
Q26
R85
R95
ASSY
100083-
REV
ESD
CAUTION!
HAZARD
J16
D9
D7
D8
R88
R90
R92
R4
R3
C12
R2
7
6
12
Q3
Q5
R97
F12
2
1
4
J1
3
5
U2
D3
F2
J2
R7
R5
R78
U13
Y1
U6
U7
U8
F4
J11
J10
J2
R17
+
C7
+
D25
U11
+
C1
C53
R64
U8
W9
J8
4
3
2
R73
1
J5
29 18
7
R43
R80
3 2 1
R28
2
1
D14
C19
C17
R37
5 4
R5
R63
3 2
1
K5
1
U7
R20
R59
C54
Q6
C43
Q4
R65
C52
C37
R53
R67
C23
R1
J1
R9
C4
3
W10
2
1
W8
R22
2
1
R54
R70
R19
D32
C45
C29
R10
Q3
R94
D8
C21
C18
D2
R71
D15
R14
K3
D9
C36
R38
R6
D18
D16
C38
R72
W12
5
D19
Q7
2 1
J6
C15
W6
2
1
Y1
C10
C35
C25
R66
C33
D4
R7
C51
R18
C31
D10
R13
+
R60
D24
C20
C34
L3
C39
D28
C26
C9
D22
C8
C24
R15
D3
R35
C32
C41
K2
R50
C30
21
W20
R47
R57
R4
D23
R46
40
+
R42
R12
R39
D7
C42
K6
C28
R24
D6
U3
D5
C27
D29
W1
R86
R55
R34
C14
R29
R44
R33
4
C6
R27
R40
R45
R11
C13
R2
R41
R31
3 2
Q2
R69
R51
R8
3
R48
Q1
W16
3
W11
D30
2
2
1
R58
R16 R21
R30
K1
321
ONONON
S1
+
+
C46
D21
R26
C11
R3
K4
C5
C12
1
W13
D26
D17
765432
D13
U9
+
1
W17
C16
Q5
D60
D11
C47
C22
W7
D31
+
C40
2
1
+
C3
+
R36
R52
R23
D20
U5
3
+
D45
100024-
REV
MED-LO
LOW
SPEED
ON
OFF ON
ON
OFFON
OFF OFF
1 2
ENABLE ON
TRIFOLD
3
ON
BUZZER
12V
GND
GND
12V
12V
MED-HI
HIGH
U12
+
C2
+
C50
3 2 1
W5
3 2 1
W4
4 3 2 1
J9
U4
L2
L1
J4
COUNTER
BARRIER
LIFT
INTERLOCK
3 2 1
W3
1
W14
5 4 3 2
1
W2
D12
J3
D27
D1
F2
R104
R105
D49
R89
R77
R88
R75
D53
D52
R49
R84
R74
R96
D37
R83
D43
D48
D34
R82
R76
D51
Q8
F3
R93
D35
R62
D62
R81
D50
D42
D33
R61
R95
D47
D63
D61
D59
R90
R79
D41
R32
D58
D46
R87
R68
R85
R78
D56
D55
D39
D54
R106
R56
U10
U1
Q10
R99
Q11
R100
Q9
R103
R102
R101
Q12
Barrier
Down
Fold
Unfold
Sensor
Limit
Limit
Limit
Limit
Threshold
Door
Up
Floor
Stow
Deploy
Limit
Limit
Limit
Limit
Limit
F1
7K
5V
OFF
ON
Figure 3
Figure 2
Figure 1
NL955 and NVL955 Control Board
Remote Transmitter
NV05 and NMV05 Control Board
NV05 and NMV05
Connection
NL955 and
NVL955
Connection
To Lift
Control
Board
Connection
19968
OPEN CLOSE
DO NOT USE
THIS REMOTE WHILE
WARNING!
PLATFORM IS OCCUPIED
STOW
UP
CLOSE
DEPLOY
OPEN
DOWN
To Intermotive
Accessory Board
100362-
REV
1
J2
5
R2
4 3 2 1
J3
5
R4
R5
U1
21
J5
J6
R1
R3
3 2 1
J1
J4
1
4
4 3 2
F1
HAZARD
CAUTION!
ESD
J3 J4
W14
J11
Remote Receiver
COM
NC
E2
E1
BU
BK
W
GN
RGND
PWR
NO COM
NC NO
BK-4
Page 332978 Rev. A
32978 Rev. A
MODEL 100381-001 RADIO REMOTE
for NL955, NVL955, NMV05 & NV05
Dealer / Owner / Operator Manual
"Providing Access to the World"
International Corporate Hdqrs: P.O. Box 310 Winamac, IN 46996 USA
1-800-THE LIFT®(574) 946-6153 FAX: (574) 946-4670
®
®
Table of contents
Popular Remote Control manuals by other brands

Comcast
Comcast Custom DVR 3-Device Universal Control user guide

RC Logger
RC Logger 89102RC operating instructions

Link electronics
Link electronics PSR-816 Series Specification sheet

BURK Technology
BURK Technology ARC Plus Touch quick start guide

PURSUIT
PURSUIT PR2LCD Operator's manual

FrSky
FrSky TWIN X Lite manual


