manuals.online logo
Brands
  1. Home
  2. •
  3. Brands
  4. •
  5. Braun
  6. •
  7. Epilator
  8. •
  9. Braun Silk-epil 5 5280 User manual

Braun Silk-epil 5 5280 User manual

7
WARNING
To reduce the risk of burns, fire, electric shock, or injury to persons:
1. An appliance should never be left unattended when plugged-in.
2. Close supervision is necessary when this appliance is used by, on,
or near children or invalids.
3. Use this appliance only for its intended use as described in this
manual.
Do not use attachments not recommended by the manufacturer.
4. Never operate this appliance if it has a damaged cord or plug, if it is
not working properly, if it has been dropped or damaged, or if the
power supply has been dropped into water. Return the appliance to
a service center for examination and repair.
5. Keep the cord away from heated surfaces.
6. Never drop or insert any object into any opening.
7. Do not use outdoors or operate where aerosol (spray) products are
being used or where oxygen is being administered.
8. Do not use this appliance with a damaged or broken foil, as serious
skin injuries may occur.
9. Always attach plug to appliance first, then to outlet. To disconnect,
turn all controls to ´ offª , then remove plug from outlet.
10. When plugging to an electrical outlet outside the USA, use a plug
adapter to match the outletí s pin configuration.
SAVE THESE INSTRUCTIONS
9
or exfoliation peelings helps to prevent
in-growing hair as the gentle scrubbing
action removes the upper skin layer and
fine hair can get through to the skin
surface.
Description
1a High frequency massaging rollers
1b Skin contact cap (only with model
5280)
2 Epilation head with tweezer element
3 Light
4 On/off switch
5 Release button
6 Special cord set
7 Shaver head attachment with
trimmer cap (only with model 5280)
8 Cooling glove
Preparing for use
ï Your skin must be dry and free from
grease or cream.
ï Before use, always make sure that
the epilation head (2) is clean and
provided with a cap (1).
ï To change caps, press their lateral ribs
and pull off.
ï To change heads, press the release
button (5).
Cooling glove for optional skin
cooling
For the first few epilations or if you have
sensitive skin, you can use the cooling
glove (8), recommended by dermatolo-
gists to help reduce possible skin
irritation.
ï Ensure that the gel pack has been
in the deep freezer (***) for at least
2 hours (for convenience you can store
the gel packs in the freezer).
ï Insert the gel pack underneath the
cooling gloveí s transparent foil. Use
only with glove.
ï Put transparent (cool) side of the glove
on your leg.
ï Start cooling for approximately
30 seconds, longer if needed.
ï Epilate the cooled skin area immedi-
ately.
ï Repeat cooling and epilating until
completion.
ï While epilating, please ensure your
skin is dry.
Important: Apply cooling glove to the
same area for no longer than 2 minutes.
Keep away from sunlight. Do not use
gel pack when damaged. Dispose of
in household waste. Do not use if you
are hypersensitive, allergic to the cold,
or if your skin suffers from sensory
disturbances, when suffering from
cardiac diseases or arterial circulatory
disorders.
A How to epilate
The epilation head (2) features Close-
Grip Technology to ensure extra
efficiency especially with short hairs:
The 40 tweezers always keep close
contact to the skin to remove hairs as
short as grain of sand. The pivoting head
perfectly adapts to the body contours for
maximum thoroughness.
The high frequency massaging rollers
(1a) stimulate your skin effectively for an
extra gentle epilation.
The skin contact cap (1b) for fast
epilation ensures maximum skin contact,
positioning the tweezers at the optimal
position at all times.
1 Turning on
Turn the on/off switch (4) to operate
the appliance:
´ Iª
= extra gentle
´ IIª = extra efficient
When switched on, the light (3) illumi-
nates the area to be epilated. This
gives you a better control for improved
epilation efficiency.
10
2 How to guide the appliance
ï Always stretch your skin when
epilating.
ï Always make sure that the epilation
area is in close contact with your skin.
ï The pivoting head automatically adapts
to the contours of your skin.
ï Guide the appliance in a slow, con-
tinuous movement without pressure
against the hair growth, in the direction
of the switch. As hair can grow in
different directions, it may also be
helpful to guide the appliance in
different directions to achieve optimal
results. The pulsating movements of
the massaging rollers stimulate and
relax the skin for a gentler epilation.
ï If you are used to the sensation of
epilation and prefer a faster way of
removing hair, attach the skin contact
cap (1b) replacing the massaging
rollers (1a).
3 Leg epilation
Epilate your legs from the lower leg in
an upward direction. When epilating
behind the knee, keep the leg
stretched out straight.
4 Underarm and bikini line epilation
Please be aware that especially at the
beginning, these areas are particularly
sensitive to pain. Therefore, we
recommend that you start with switch
setting I. With repeated usage the pain
sensation will diminish.
Before epilating, thoroughly clean the
respective area to remove residues
(like deodorant). Then carefully dab
dry with a towel. When epilating the
underarm, keep your arm raised up so
that the skin is stretched and guide the
appliance in different directions. As
skin may be more sensitive directly
after epilation, avoid using irritating
substances such as deodorants with
alcohol.
5 Cleaning the epilation head
Before cleaning, unplug the appliance.
Regular cleaning ensures better
performance.
a Brush cleaning:
Remove the cap and brush it out.
Thoroughly clean the tweezers from
the rear side of the epilator head with
the brush dipped into alcohol. While
doing so, turn the tweezer element
manually. This cleaning method
ensures best hygienic conditions for
the epilation head.
b Cleaning under running water:
Remove the cap. Hold the appliance
with the epilation head under running
water.
Then press the release button (5) to
remove the epilation head (2).
Thoroughly shake both, the epilation
head and the appliance to make sure
that remaining water can drip out.
Leave both parts to dry. Before
reattaching, make sure that they are
completely dry.
B Using the shaver head
attachment
a Trimmer cap
b Shaver foil
c Trimmer
d Release buttons
e Trim/shave selector
f Cutter block
g Shaver head base
Shaving
ï Remove the epilation head and put on
the shaver head attachment (7) by
clicking it in.
ï Pressing one of the lock keys, turn the
switch clockwise to setting ´ IIª .
ï Make sure the trim/shave selector is in
the « » position.
ï For best results, always make sure
11
that both, the shaver foil (b) and the
trimmer (c) are in contact with the skin
(A). Keeping your skin stretched (B),
slowly move the appliance against the
direction of hair growth. The trimmer
first raises all long hairs and cuts them
off. Then the flexible foil follows to
smooth away any stubble.
ï When shaving or trimming in sensitive
areas, make sure that you always keep
your skin stretched to avoid injuries.
Contour trimming
For trimming precise line and contours,
lock the long hair trimmer by sliding the
trim/shave selector (e) to the position
« » (C1).
Pre-cutting hair for epilation
If you choose to pre-cut your hair to
the ideal length for epilation, place the
trimmer cap (a) onto the shaver head.
Slide the trim/shave selector to the « »
position.
Hold the appliance with the trimmer cap
lying flat on the skin. Guide it with the
comb tips against the hair growth as
shown in illustration C2.
As hair does not always grow in the same
direction, guide the appliance slightly
diagonally or in different directions in
order to achieve best results.
Cleaning the shaver head
After each use, unplug the appliance.
Brush cleaning
ï Press the release buttons (d) to remove
the shaver head (D1). Tap the bottom
of the shaver head gently on a flat
surface (not on the foil).
ï Brush out the cutter block and the
inside of the shaver head. However, do
not clean the shaver foil with the brush
as this may damage the foil.
Cleaning with water
Press the release buttons (d) to remove
the shaver head. Rinse the shaver head
and the cutter block separately under
running water (D2). Leave the cutter
block and the foil frame to dry separately
before reattaching them.
Keeping your shaver head
attachment in top shape
ï The shaving parts need to be lubri-
cated regularly every 3 months (E).
If you clean the shaver head under
running water, please lubricate it after
every cleaning.
ï Apply some light machine oil or vase-
line to the shaver foil and the metal
parts of the long hair trimmer. Then
remove the shaver head and also apply
a tiny amount of vaseline as shown in
picture section (E).
ï The shaver foil and the cutter block
are precision parts that wear out with
time. To maintain optimal shaving
performance, replace your foil and
cutter block when you notice a
reduced shaving performance even
after cleaning the shaver head.
ï Do not shave with a damaged foil or
cord.
How to replace the shaving parts
Shaver foil:
Press the release buttons (d) to
remove the foil frame and replace it
with a new one (F).
Cutter block:
To remove the cutter block, press and
turn it 90∞ (G1), then take it off. To put
on a new cutter block, press it onto the
cutter block holder and turn 90∞ (G2).
Replacements parts (shaver foil, cutter
block) can be obtained from your retailer
or Braun Customer Service Centers.
For electric specifications, please see
printing on the special cord set. The
special cord set automatically adapts to
any worldwide AC voltage.
Subject to change without notice.
13
FOR CANADA ONLY
Braun Silk∑Èpil Power Epilator 5280, 5185
Guarantee for all Braun Hair Removers
In the event a Braun Silk∑È pil fails to function within 1 year from date
of purchase, because of defects in material or workmanship, and the
consumer returns the unit to an authorized service center, Braun
Canada, will, at its option, either repair or replace the unit without
additional charge to the consumer.
This guarantee does not cover any product, which has been damaged
by dropping, tampering, wrong current, servicing performed or
attempted by unauthorized service agencies, misuse or abuse.
Exclusion of Warranties: The foregoing warranty is the sole warranty
offered by Braun Canada hereby disclaims any implied warranty or
merchantability or fitness for any particular purpose. In no event will
Braun Canada be responsible for consequential damages resulting from
the use of this product.

This manual suits for next models

1

Other Braun Epilator manuals

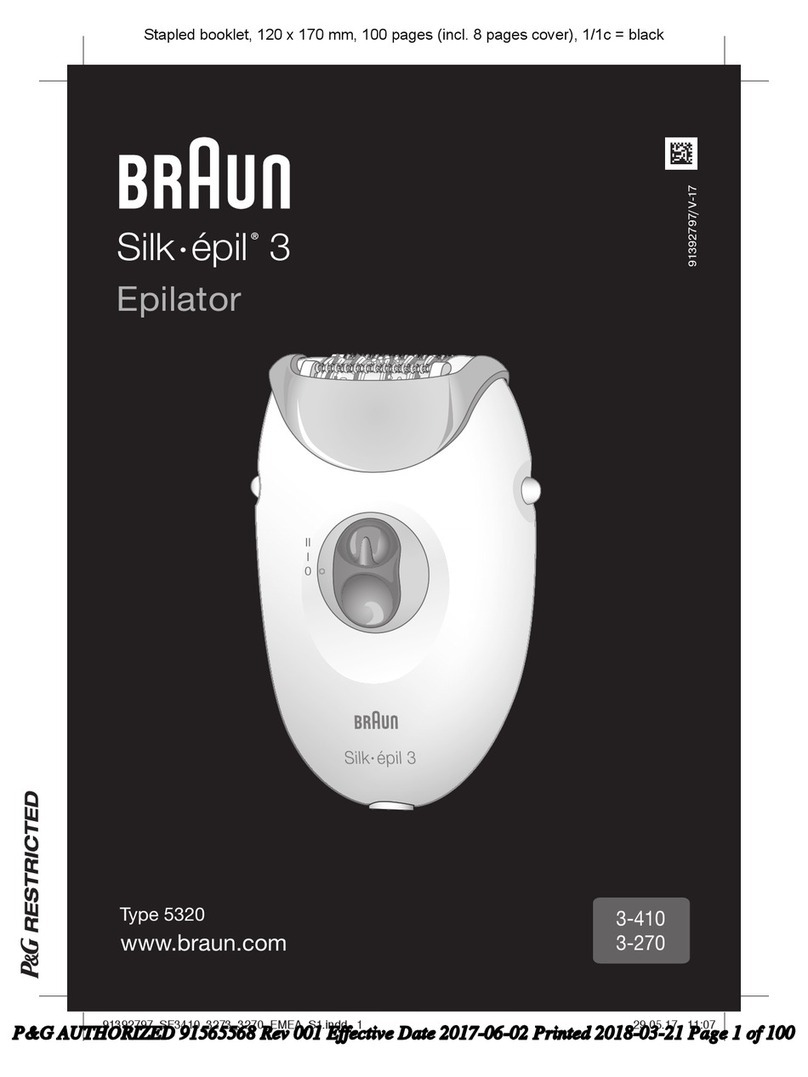
Braun Silk-epil 3 3170 User manual

Braun

Braun Silk-epil 3 3170 User manual

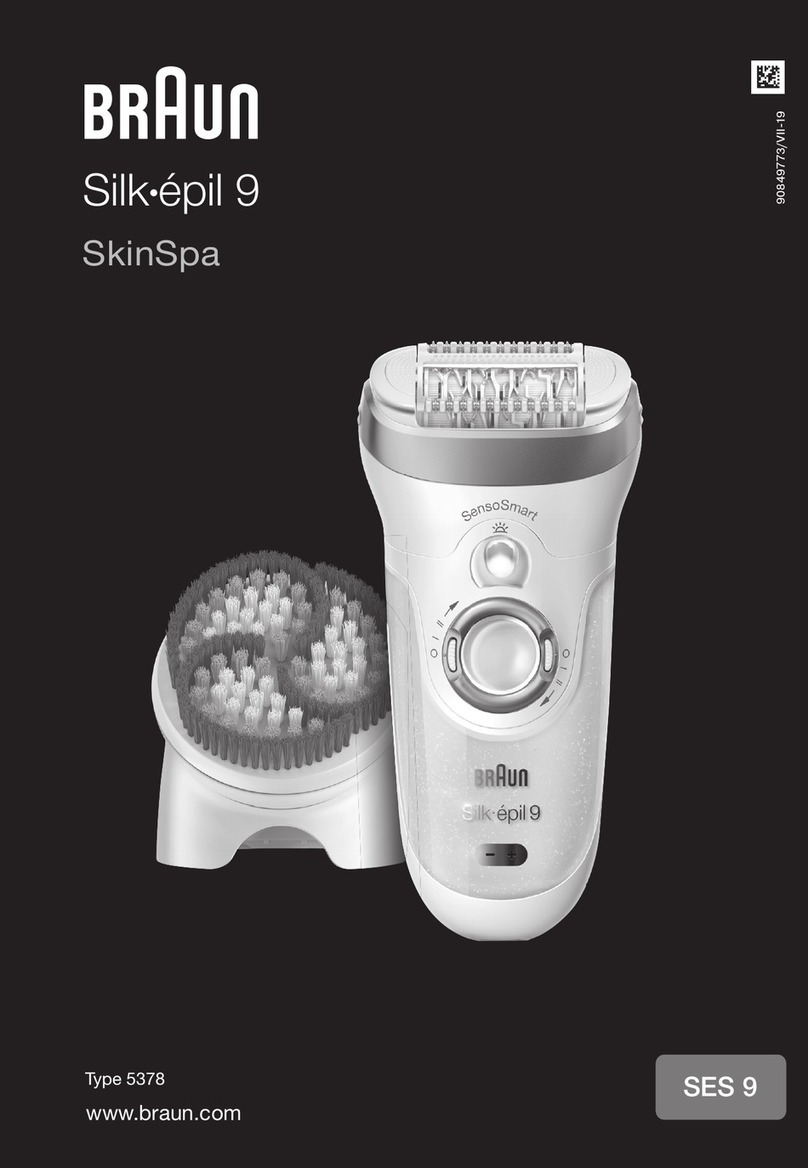
Braun Silk-Epil 9 User manual

Braun

Braun Silk-Epil 9 User manual

Braun Silk-epil 5 5390 User manual

Braun

Braun Silk-epil 5 5390 User manual

Braun Silk épil 5 User manual

Braun

Braun Silk épil 5 User manual

Braun silk-epil 5 User manual

Braun

Braun silk-epil 5 User manual

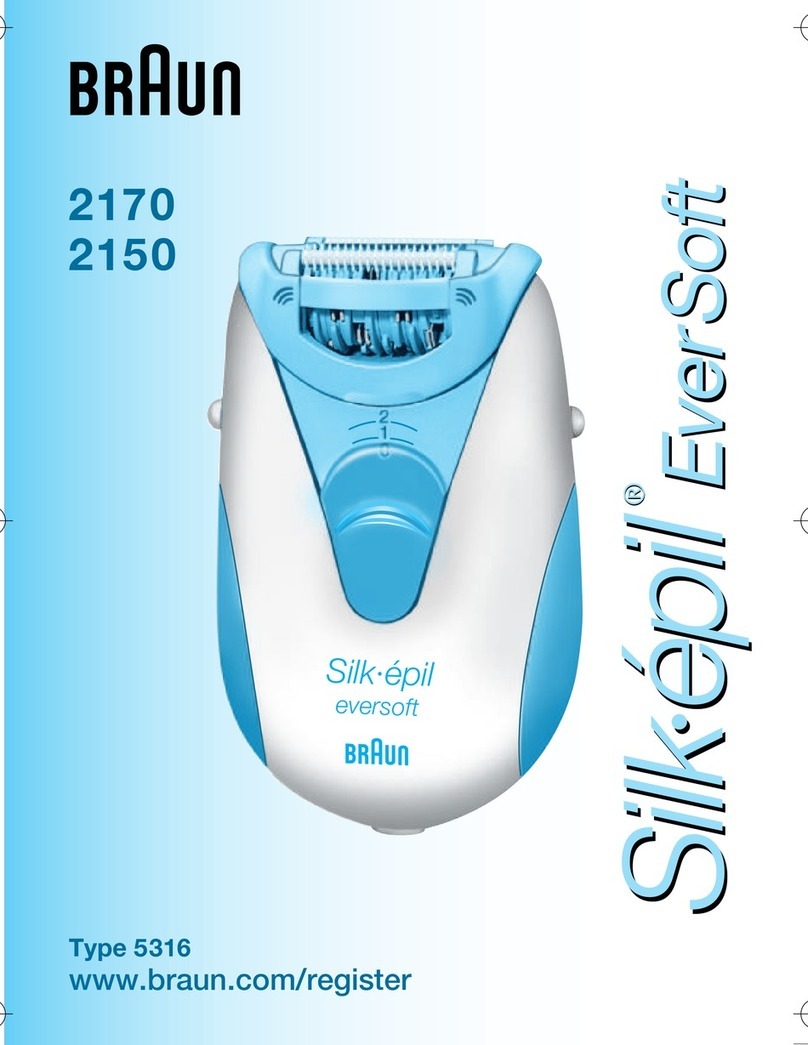
Braun Silk-epil eversoft User manual

Braun

Braun Silk-epil eversoft User manual

Braun Silk-epil 9 Series User manual

Braun

Braun Silk-epil 9 Series User manual

Braun Silk-epil 1 1370 User manual

Braun

Braun Silk-epil 1 1370 User manual

Braun Silk-epil Xpressive 7185 User manual

Braun

Braun Silk-epil Xpressive 7185 User manual

Braun Silk-epil SES 9-890 User manual

Braun

Braun Silk-epil SES 9-890 User manual

Braun Silk epil EverSoft 2120 User manual

Braun

Braun Silk epil EverSoft 2120 User manual

Braun 7 User manual

Braun

Braun 7 User manual

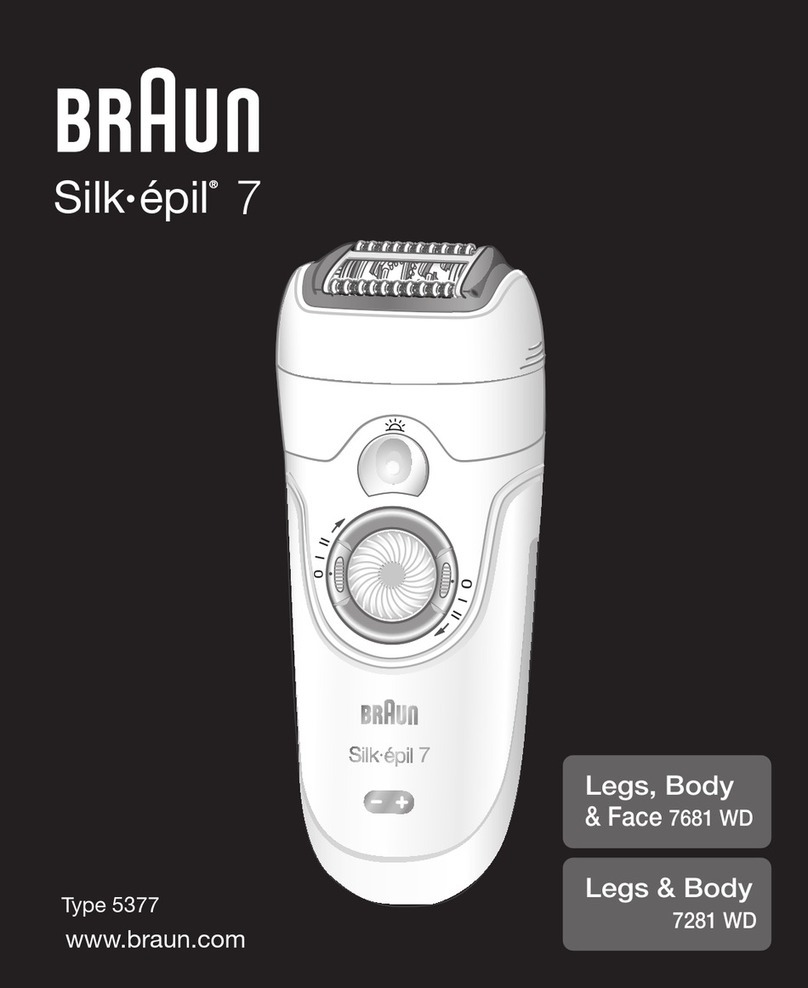
Braun Silk-epil 7 Series User manual

Braun

Braun Silk-epil 7 Series User manual

Braun Silk-epil 7 7-521 User manual

Braun

Braun Silk-epil 7 7-521 User manual

Braun Silk-epil X'elle 5180 User manual

Braun

Braun Silk-epil X'elle 5180 User manual

Braun Silk-epil EverSoft 2240 Product information sheet

Braun

Braun Silk-epil EverSoft 2240 Product information sheet

Braun PL5129 User manual

Braun

Braun PL5129 User manual

Braun Silk epil 5 5380 Quick guide

Braun

Braun Silk epil 5 5380 Quick guide

Braun 3280 User manual

Braun

Braun 3280 User manual

Braun Silk-epil Xpressive 7380 User manual

Braun

Braun Silk-epil Xpressive 7380 User manual

Braun EN 10 Series User manual

Braun

Braun EN 10 Series User manual

Braun Silk-epil 1 Series Quick guide

Braun

Braun Silk-epil 1 Series Quick guide

Braun Silk-epil SoftPerfection 3270 User manual

Braun

Braun Silk-epil SoftPerfection 3270 User manual

Braun Silk-expert 3 BD3001 User manual

Braun

Braun Silk-expert 3 BD3001 User manual

Popular Epilator manuals by other brands

Panasonic ES-2045 operating instructions

Panasonic

Panasonic ES-2045 operating instructions

GoSmooth IPL Pro T-04A user manual

GoSmooth

GoSmooth IPL Pro T-04A user manual

Rowenta SILENCE EP5240D0 manual

Rowenta

Rowenta SILENCE EP5240D0 manual

Philips HP6540/01 user manual

Philips

Philips HP6540/01 user manual

Johnson Donna Instructions for use

Johnson

Johnson Donna Instructions for use

Rowenta Fashion manual

Rowenta

Rowenta Fashion manual

Rowenta EP7912 manual

Rowenta

Rowenta EP7912 manual

Philips BRE610 user manual

Philips

Philips BRE610 user manual

Philips HP6424/13 user manual

Philips

Philips HP6424/13 user manual

Philips SatinSoft HP6540 user manual

Philips

Philips SatinSoft HP6540 user manual

Philips Satinelle super sensitive HP6447/00 manual

Philips

Philips Satinelle super sensitive HP6447/00 manual

Remington SMOOTH AND SILKY  WPG-4030 manual 

Remington

Remington SMOOTH AND SILKY WPG-4030 manual 

Philips HP6583 manual

Philips

Philips HP6583 manual

Panasonic ES2015 operating instructions

Panasonic

Panasonic ES2015 operating instructions

Philips Satinelle Ice Premium HP6517 user manual

Philips

Philips Satinelle Ice Premium HP6517 user manual

Michael Todd HAIR ERASER Instructions for use

Michael Todd

Michael Todd HAIR ERASER Instructions for use

Philips BRE610/00 manual

Philips

Philips BRE610/00 manual

BaByliss DUO FLEX 770 instructions

BaByliss

BaByliss DUO FLEX 770 instructions

manuals.online logo
manuals.online logoBrands
  • About & Mission
  • Contact us
  • Privacy Policy
  • Terms and Conditions

Copyright 2025 Manuals.Online. All Rights Reserved.