manuals.online logo
Brands
  1. Home
  2. •
  3. Brands
  4. •
  5. Brewer's EDGE
  6. •
  7. Boiler
  8. •
  9. Brewer's EDGE 2 Series User manual

Brewer's EDGE 2 Series User manual

- 1 -- 6 -
ITEM B27
READ CAREFULLY AND SAVE FOR FUTURE
REFERENCE
SAFETY
This appliance is not intended for use by persons (including
children) with reduced physical, sensory, or mental
capabilities.
•Never clamp down the lid when brewing, the clamps
are only to be used with an optional T500 compatible
distilling column (not included).
•This appliance should not be left unattended during
operation.
•The appliance should be operated on a flat stable
surface, NEVER on an incline.
•The unit must be plugged into a GFCI protected plug.
•Do not move when hot to prevent scalding.
•Be aware that the walls of the Mash & Boil are hot
when in operation and could cause burns.
•If the supply cord or plug is damaged, it must be
replaced by a qualified electrician in order to avoid a hazard.
•DO NOT IMMERSE IN WATER - The base of the unit
is not waterproof and should not be immersed for cleaning.
The unit must be unplugged before cleaning.
•This appliance is intended for home use only, and is
not designed for commercial use.
Distilling ready
lid with
removable
handle
Stainless Steel
faucet
Power Adjust
Switch
On/Off switch
Stainless
Steel
Side
Handle
LCD display
-3- -4-
BATCH SIZE: You can make either a 2½ gallon or 5 gallon
batch in the Mash & Boil.
STRIKE WATER CALCULATION: You will first need to
calculate your strike water. Use .30 gallons of water for
every pound of grain, with a minimum amount of 2 gallons,
regardless of batch size.
Examples:
2½ GALLON BATCH WITH 5 POUNDS OF CRUSHED GRAIN:
Instead of using (5 * .3) gallons to calculate strike water
which would be 1.5 gallons, use 2 gallons which is the
minimum.
5 GALLON BATCH WITH 11 POUNDS OF CRUSHED GRAIN:
Use (11 * .3)which is 3.3 gallons of strike water.
5 GALLON BATCH WITH 16 POUNDS OF CRUSHED GRAIN:
Use (16 * .3) which is 4.8 gallons of strike water (16 pounds
is maximum capacity).
STEP 1: Calculate your strike water for your batch and add
to the Mash & Boil. Insert the Sparging Basket and cover
with lid. Plug in the unit, set for 1600 W, and turn ON. Now
press ON/OFF on the digital control, and press SET. The
default strike water temperature of 162° will flash. To
change this, press the + or – buttons, otherwise, press SET
to agree to this strike temperature (which results in a mash
temperature of 152° to 154° F.).
STEP 2: After setting the runtime, the TIMER value of 0:00
will flash. This means the unit will turn on as soon as you
press SET again as you have not entered a delayed start
time.
If you want to delay the start of the unit, enter the number
of hours you want to wait before the unit starts (enter 1 to
23 hours in whole hours only). For example, if you want the
unit to start 8 hours from now, enter a value of 8.
STEP 3: To agree to this and start the heating cycle for the
strike water (or TIMER countdown), press SET again to start
the strike water heat cycle.
STEP 4: Once the strike water has reached the target
temperature of 162° F., open the lid and start mixing in the
crushed grain with a long spoon. Mix in thoroughly for even
heat distribution until the mash develops a porridge like
consistency. If you find the mash is a little dry, pour a half
gallon of strike water from the bottom valve and mix it into
the top of the mash. Now close the lid change the set
temperature to 150° F (down from 162° F.), by following the
instructions in step 1.
Wait 1 hour for mashing to complete (but start preparing
your sparge water now, see below).
SPARGE WATER CALCULATION: You will need to calculate
the amount of hot 168° F. sparge water you will need at the
end of the 1 hour mash. Use your strike water calculation
amount and multiply by .75 to get the amount of sparge
water needed.
Mashing, Sparging, and Boiling
- 3 -- 6 -
Examples:
2½ GALLON BATCH WITH 5 POUNDS OF CRUSHED GRAIN:
2 gallons of strike water
multiplied by .75 = 1½
gallons of sparge water
needed.
5 GALLON BATCH WITH
11 POUNDS OF
CRUSHED GRAIN:
Multiply your 3.3
gallons of strike water
by .75 to get 2.48
gallons needed.
5 GALLON BATCH WITH
16 POUNDS OF
CRUSHED GRAIN:
Multiply your 4.8
gallons of strike water
by .75 to get 3.6 gallons
needed.
STEP 5: Prepare your
sparge water. Heat the
calculated amount of
water in a separate
vessel to 168° F., so it
will be ready for use at
the end of the 1 hour
mash period. It is okay
to mash for longer than
1 hour if your sparge water is not quite ready yet.
STEP 6: Time to sparge. Now put on a protective glove and
open the lid and pull the mashing basket straight up, and
then twist to set the 4 legs on the upper wire support.
Avoid dropping the full basket of wet grain onto the floor,
as the legs may bend. Change the set temperature to 218°
F. by following the instructions in step 1 to boil.
STEP 7: Add a half gallon of 168° F. sparge water at a time
to the top of the basket, let the basket drain, and add more
sparge water as needed until the 5½-6 gallon mark is
reached. It is helpful to use a flashlight and shine it under
the basket across to the gallon marker side to make the
markers more visible. Keep doing this until you have your
target 5½-6 gallons, and then lift the Sparging Basket off
when it has finished draining. Turn up the thermostat to
217° F and wait for the boil to begin.
IF USING 7 POUNDS OF CRUSHED MALT OR LESS
-3- -4-
IMPORTANT – Do not clamp the lid when boiling, as you will
risk steam burns. We recommend leaving the lid off once
the unit comes to boil.
If you are using 7 pounds of crushed malt or less, you will
first need to push the wet crushed malt up so it covers the
side perforations of the basket to prevent splashing down
the sides when you add strike water (see photo). When
using this small amount of grain, only add a quart of sparge
water at a time to prevent splashing out the sides.
Brewer’s Edge® offers an optional Small Batch Adapter,
item J11, that covers the side holes. This is recommended if
you do a lot of small 2½ gallon batches.
STEP 8: Boiling will be reached in
about 50 minutes. Boil for 1 hour,
brewing your usual way. The use of
a wort chiller is recommended.
FOR USE IN DISTILLING
The Mash & Boil lid is distilling ready.
If you plan to use your Mash & Boil
to distill, you will need a standard
Turbo 500 type distilling column that
fits in a 47mm lid hole. Unscrew the handle from the Mash
& Boil lid with a phillips screwdriver to reveal a 47mm hole,
and install your column. Be sure to clamp the lid to seal
when distilling, and release clamps as soon as you are done.
NOTE: The clamps should never be used in brewing, only
when using an optional distilling column.
CLEANING
Always unplug before
cleaning. Clean your Mash
& Boil interior with a scrub
sponge and then rinse with
water. Be sure to also flush
the valve with warm water.
Do not immerse the unit for
cleaning. Protect the bottom of the unit from water contact
when cleaning.
DO NOT REMOVE THE VALVE FOR CLEANING!
Doing so will void the warranty and may cause leaks
between the double walls. Open the valve and rinse with
water to clean. The heat of the next boil will effectively
sanitize the valve.
ERROR CODES & THE RESET BUTTON:
ER1: Thermostat error, usually caused by the red
thermostat cable plug coming loose from the top left corner
of the internal power board.
ER4: Thermostat overheating protection. This can happen
when the heating element and thermostat are covered by a
hop or grain bag, trapping the high heat of the element in a
small area right next to the thermostat. It can also be
caused by heavy trub deposits resulting from too fine a
grain crush, or malt extract or honey being poured into the
unit. Reset by unplugging, and pressing the reset button on
the bottom center of the unit.
- 5 -- 6 -
1 YEAR WARRANTY & SERVICE
(do not return to store)
A one year warranty from date of purchase is provided by
Brewer’s Edge®. This applies to household use only,
commercial use will void this warranty.
Warranty is valid in the United States only, and only applies
to units purchased from authorized sellers, which are home
brewing dedicated retailers and online home brew stores.
Proof of purchase in the form of a receipt for store or online
purchase is required for warranty service.
Email info@brewersedge.com with a copy of your proof of
purchase for warranty service information.
You can also go to brewersedge.com for warranty
information and the latest tips on use, and check the
Facebook Mash & Boil user group.

This manual suits for next models

1

Popular Boiler manuals by other brands

DeDietrich GT 430 Service manual

DeDietrich

DeDietrich GT 430 Service manual

Slant/Fin SE-175 parts list

Slant/Fin

Slant/Fin SE-175 parts list

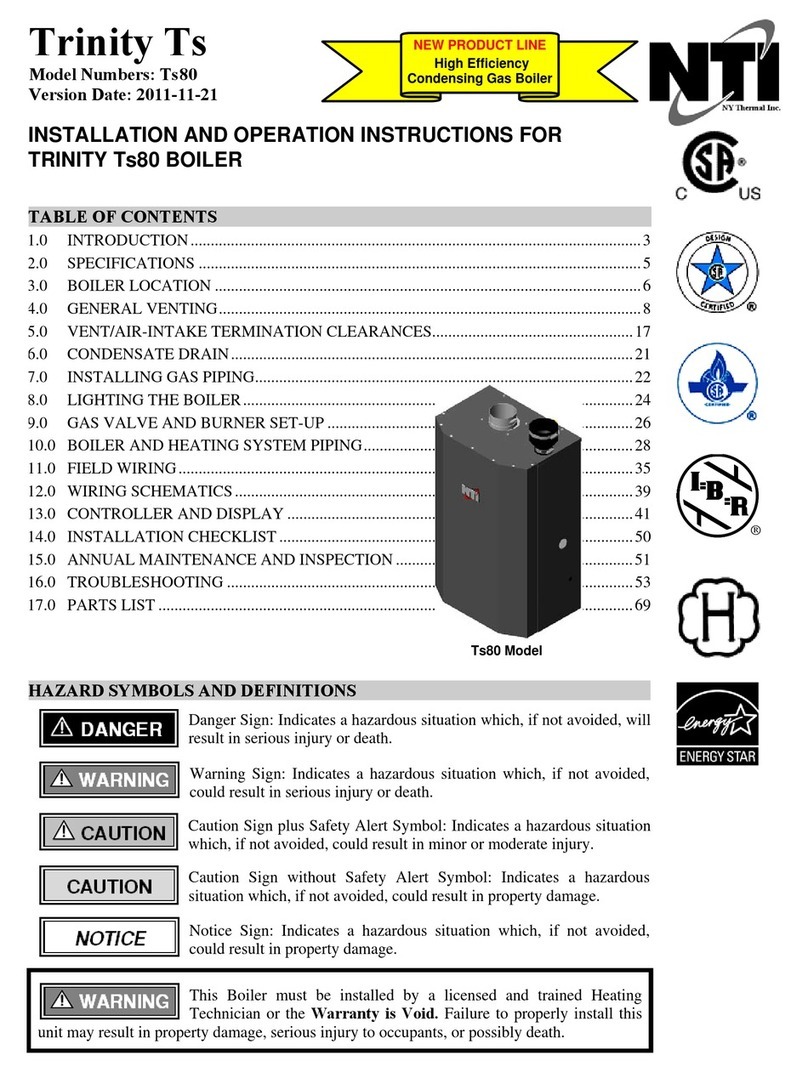
NTI TRINITY Ts80 Installation and operation instructions

NTI

NTI TRINITY Ts80 Installation and operation instructions

Radiant R1K 50 Installation, use and maintenance manual

Radiant

Radiant R1K 50 Installation, use and maintenance manual

Vaillant ecoTEC exclusive SERIES Installation and maintenance instructions

Vaillant

Vaillant ecoTEC exclusive SERIES Installation and maintenance instructions

Hoval UltraGas 2 operating instructions

Hoval

Hoval UltraGas 2 operating instructions

Viessmann Vitorond 200 Series installation instructions

Viessmann

Viessmann Vitorond 200 Series installation instructions

Thermo-Dynamics Boiler TDE-10 Installation and maintenance manual

Thermo-Dynamics Boiler

Thermo-Dynamics Boiler TDE-10 Installation and maintenance manual

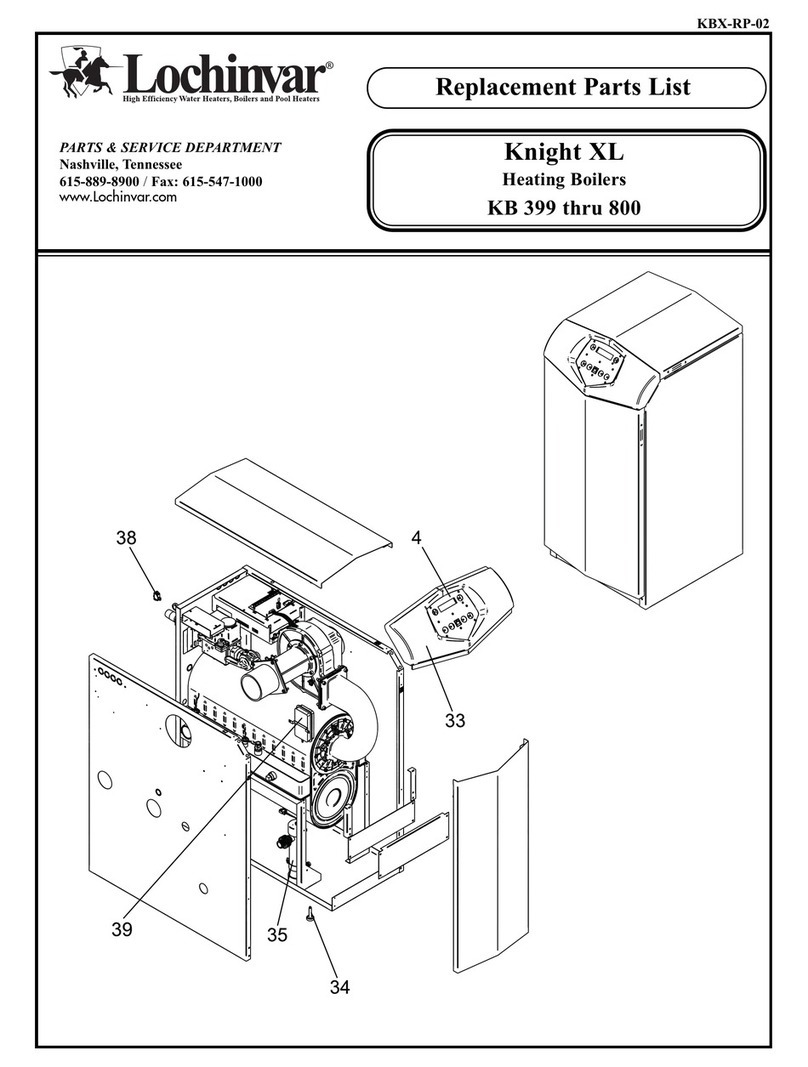
Lochinvar Knight XL KB 399 thru 800 Replacement parts list

Lochinvar

Lochinvar Knight XL KB 399 thru 800 Replacement parts list

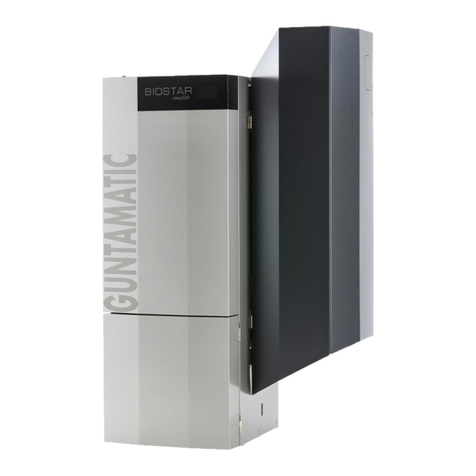
Guntamatic BIOSTAR BOX operating instructions

Guntamatic

Guntamatic BIOSTAR BOX operating instructions

Viessmann Vitodens 100-W operating instructions

Viessmann

Viessmann Vitodens 100-W operating instructions

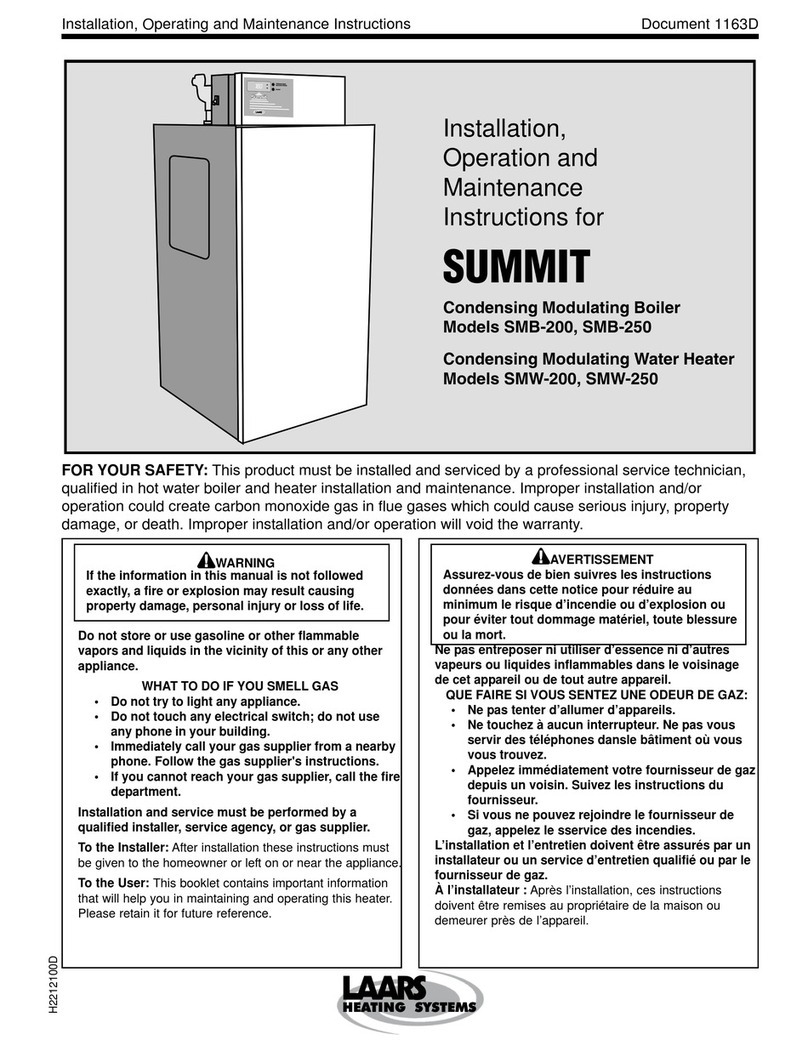
Summit SMB-200 Installation, operating and maintenance instructions

Summit

Summit SMB-200 Installation, operating and maintenance instructions

Daikin EKHWET90B V3 Series installation manual

Daikin

Daikin EKHWET90B V3 Series installation manual

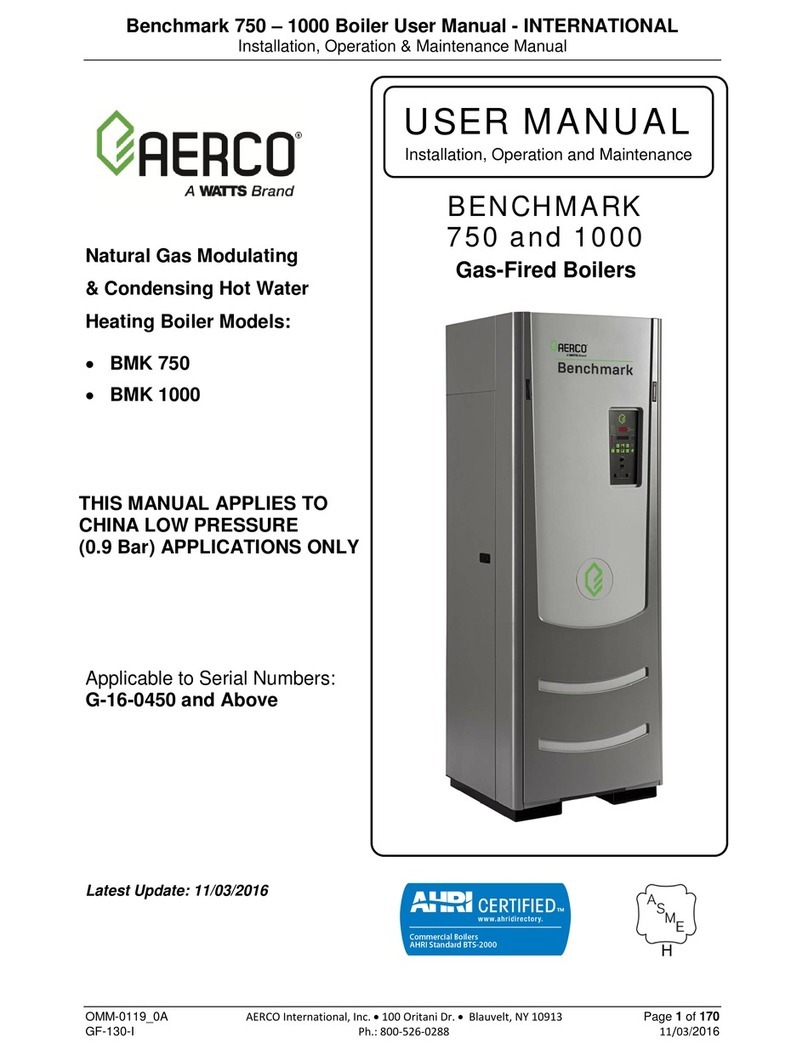
Watts Aerco Benchmark 750 user manual

Watts

Watts Aerco Benchmark 750 user manual

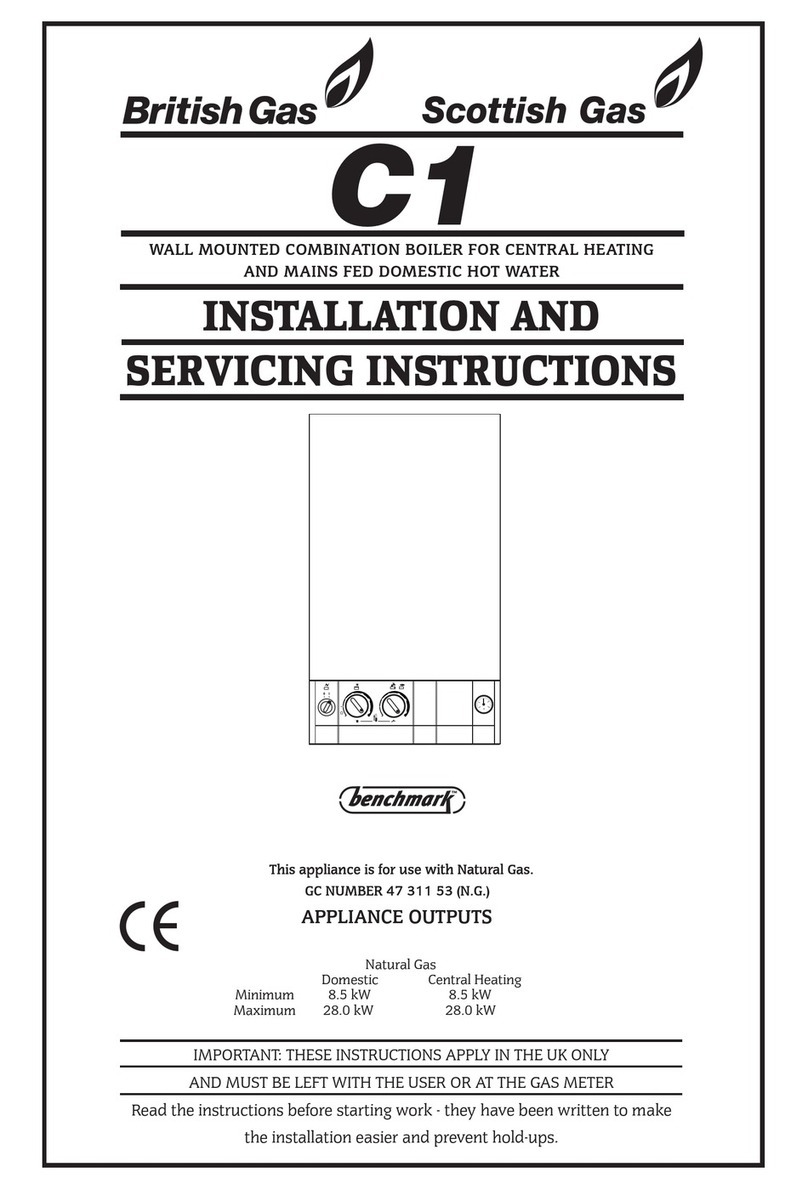
Worcester C1 Installation and servicing instructions

Worcester

Worcester C1 Installation and servicing instructions

Ferroli BlueHelix HiTech RRT H Instructions for use, installation and maintenance

Ferroli

Ferroli BlueHelix HiTech RRT H Instructions for use, installation and maintenance

Worcester Highflow 4.5 OF Installation and servicing instruction

Worcester

Worcester Highflow 4.5 OF Installation and servicing instruction

Williamson-Thermoflo GWS-090E manual

Williamson-Thermoflo

Williamson-Thermoflo GWS-090E manual

manuals.online logo
manuals.online logoBrands
  • About & Mission
  • Contact us
  • Privacy Policy
  • Terms and Conditions

Copyright 2025 Manuals.Online. All Rights Reserved.