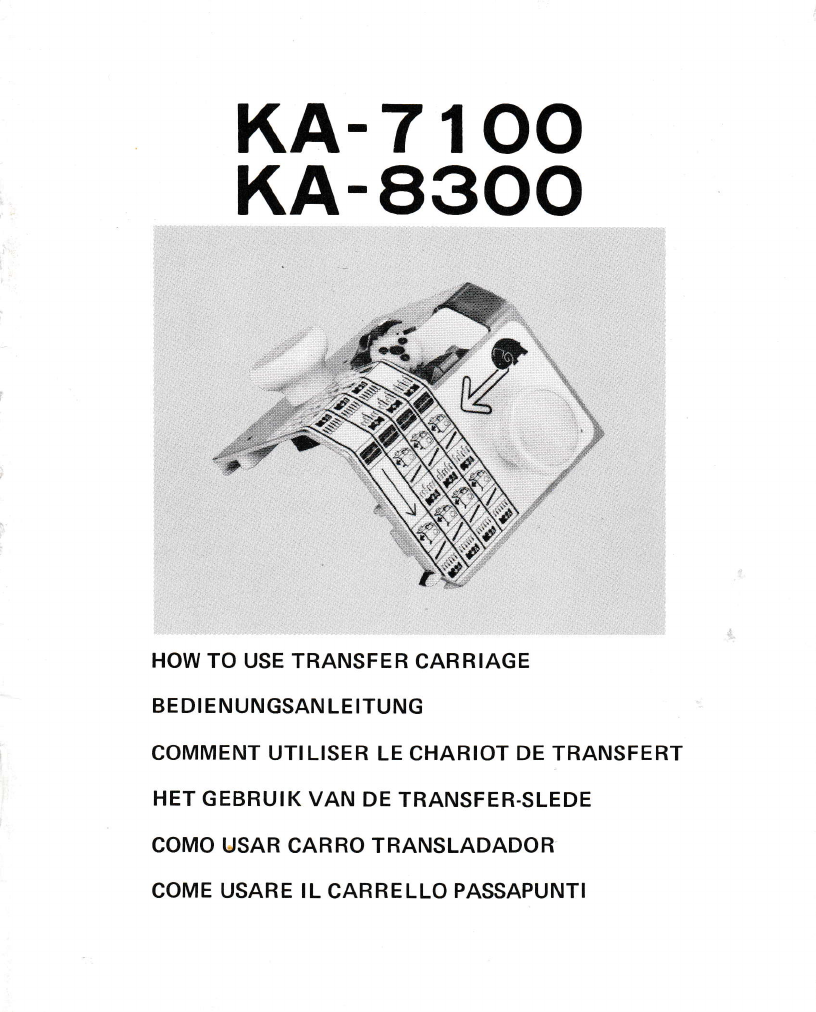
Brother KA-7100 User manual
Other Brother Sewing Machine manuals

Brother
Brother SQ9185 User manual

Brother
Brother RH-9820 User manual

Brother
Brother CS-6000T User manual

Brother
Brother PD-3000 User manual

Brother
Brother Innov-is 40 Mounting instructions

Brother
Brother KE-430F Series User manual

Brother
Brother Innov-is 950D Guide

Brother
Brother Quattro 2 6700D User manual

Brother
Brother BE-0901E PC Instruction Manual

Brother
Brother Innov-is 10A User manual

Brother
Brother Dream Quilter 15 User manual

Brother
Brother PL-2100 User manual

Brother
Brother 882-C50 Quick start guide

Brother
Brother LK3-B448E User manual

Brother
Brother BAS-6150 User manual

Brother
Brother Innov-is 4000D User manual

Brother
Brother Innov-i-s 80 User manual

Brother
Brother Quattro 6000D User manual

Brother
Brother EF4-B651 User manual

Brother
Brother XL-3500 User manual