Table of Contents2
Getting Started................ 4
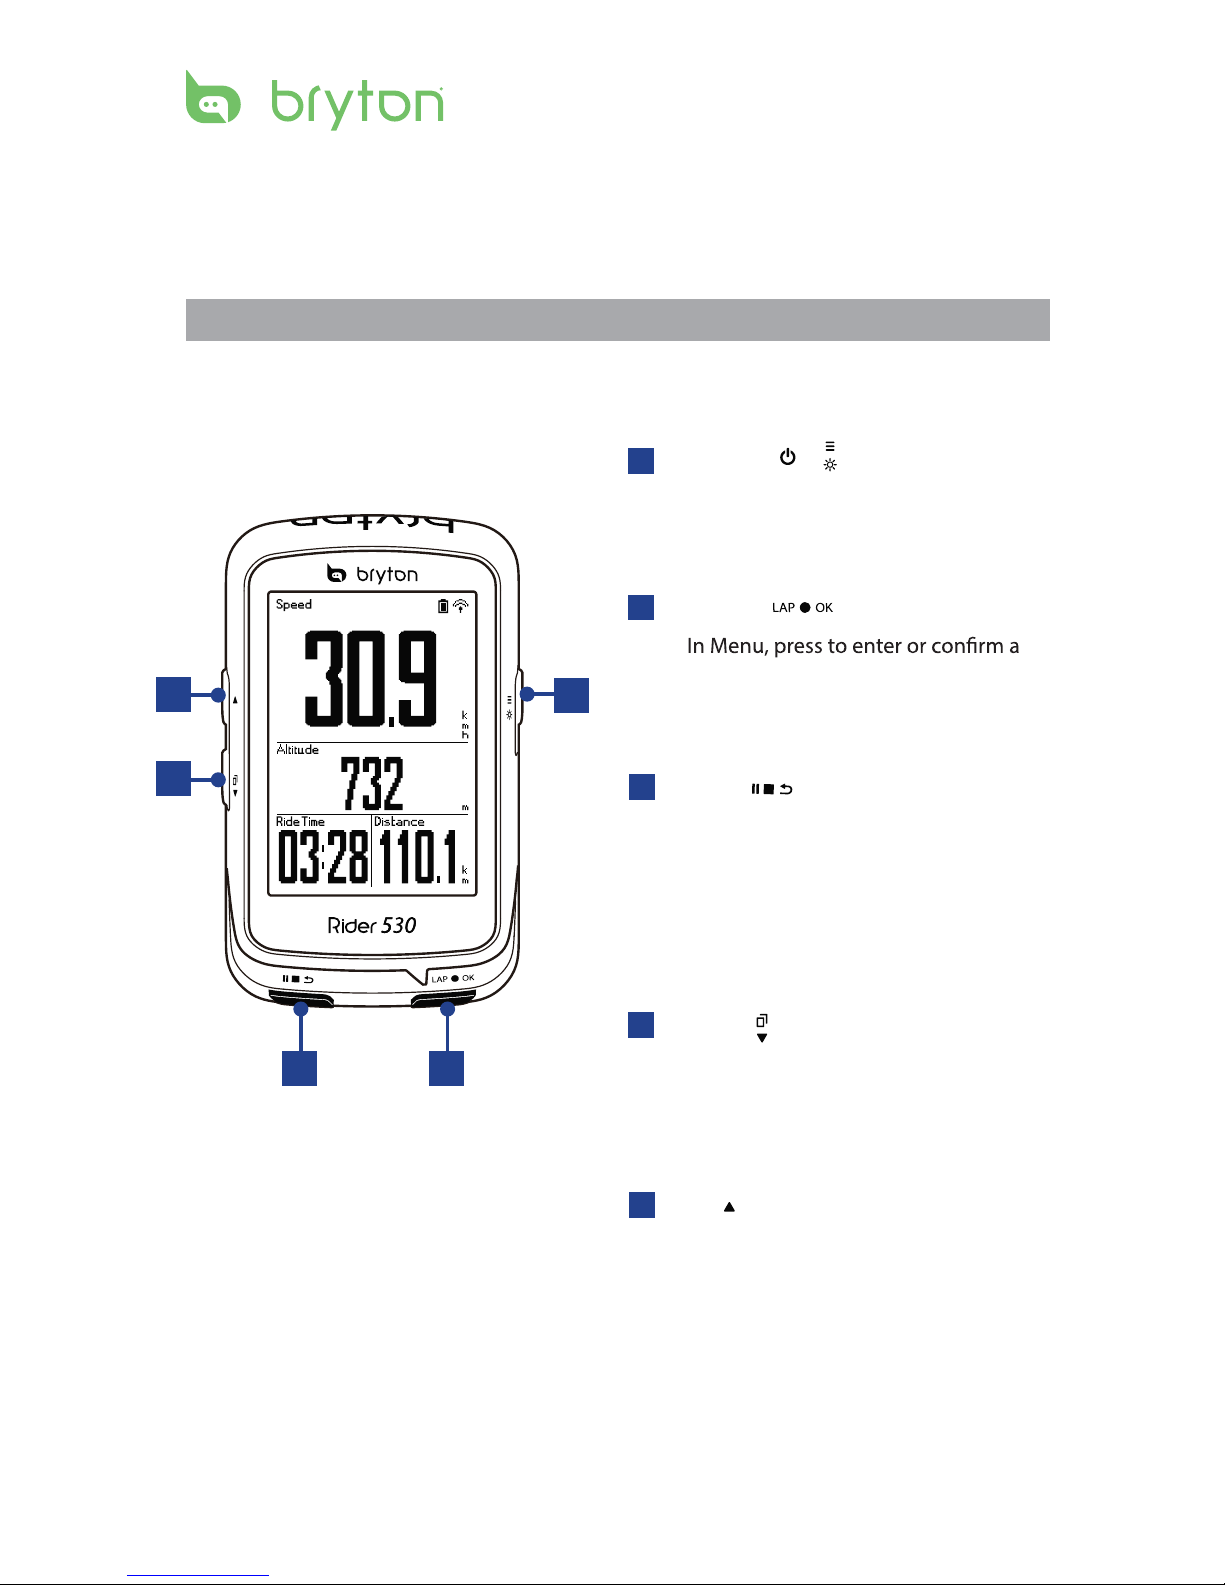
Your Rider 530 ............................. 4
Accessories .................................. 5
Status Icons ................................. 5
Step 1: Charge your Rider 530 ... 6
Step 2: Turn On Rider 530........... 6
Step 3: Initial Setup..................... 6
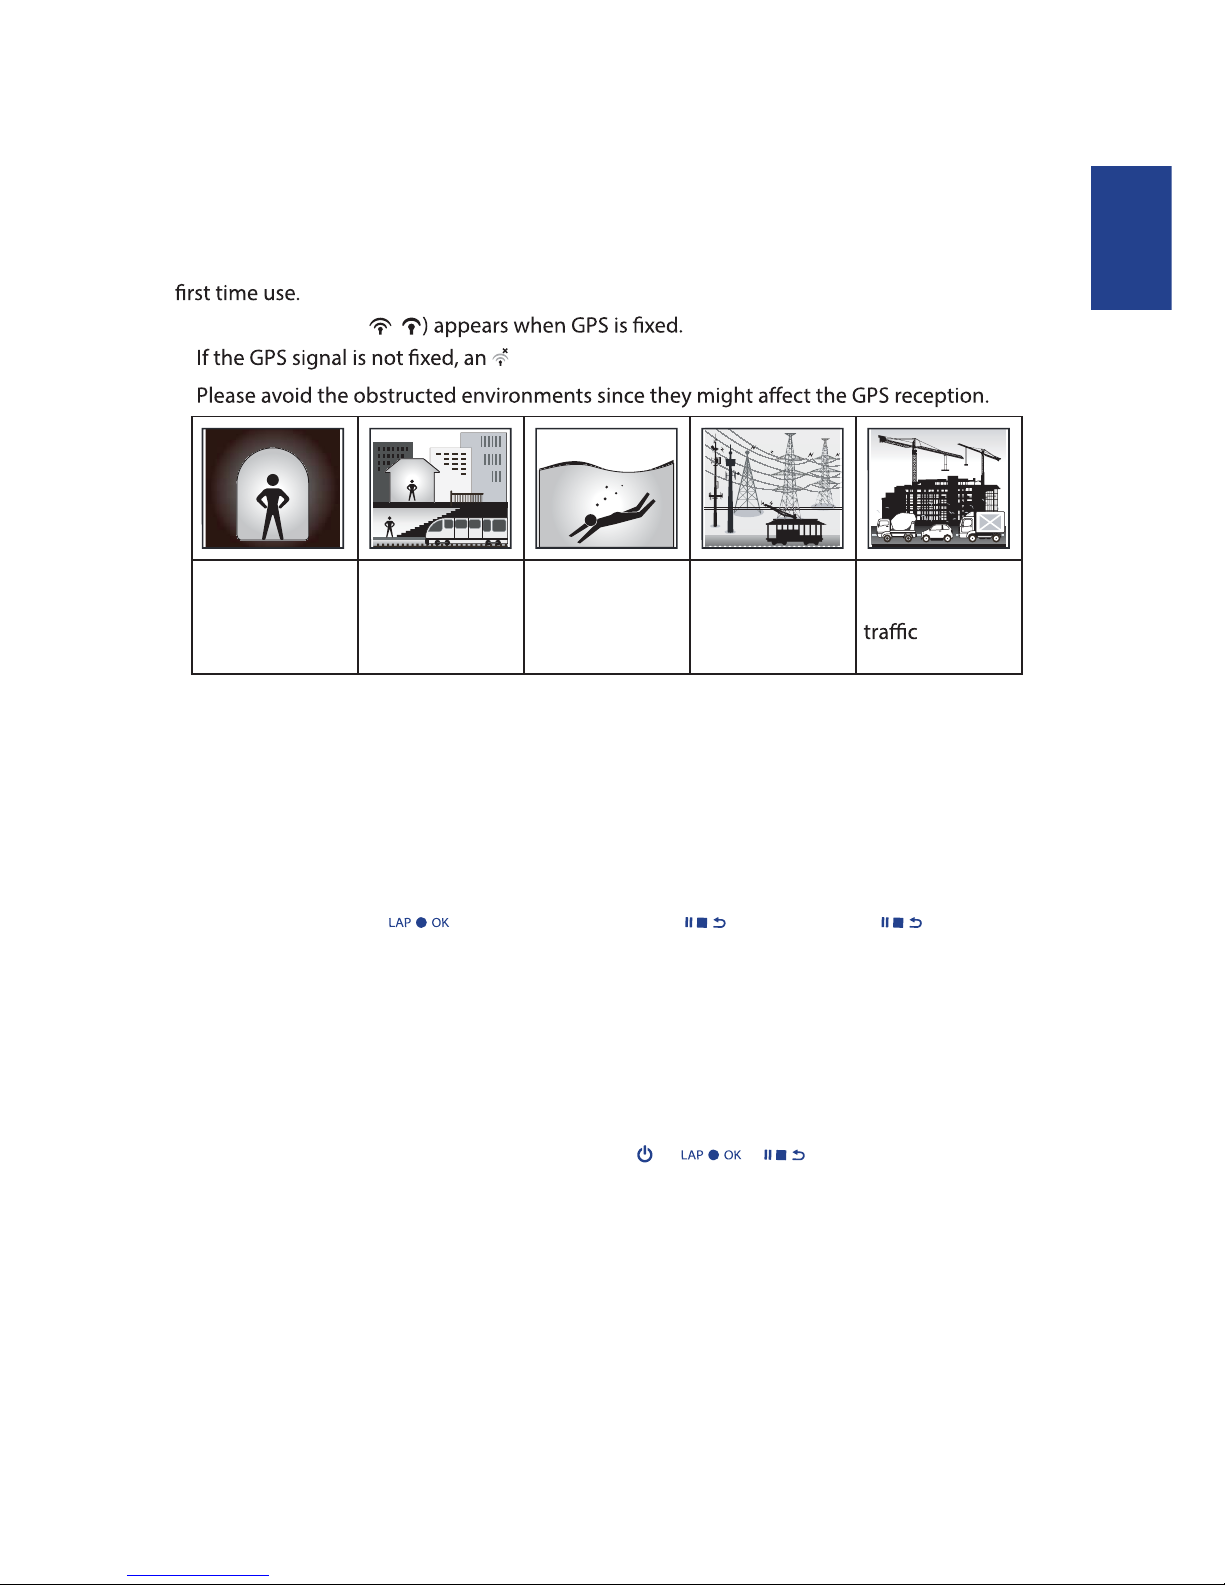
Step 4: Acquire Satellite
Signals.......................................... 7
Step 5: Ride Your Bike with
Rider 530...................................... 7
Share Your Records ..................... 8
...........................7
Training ............................ 9
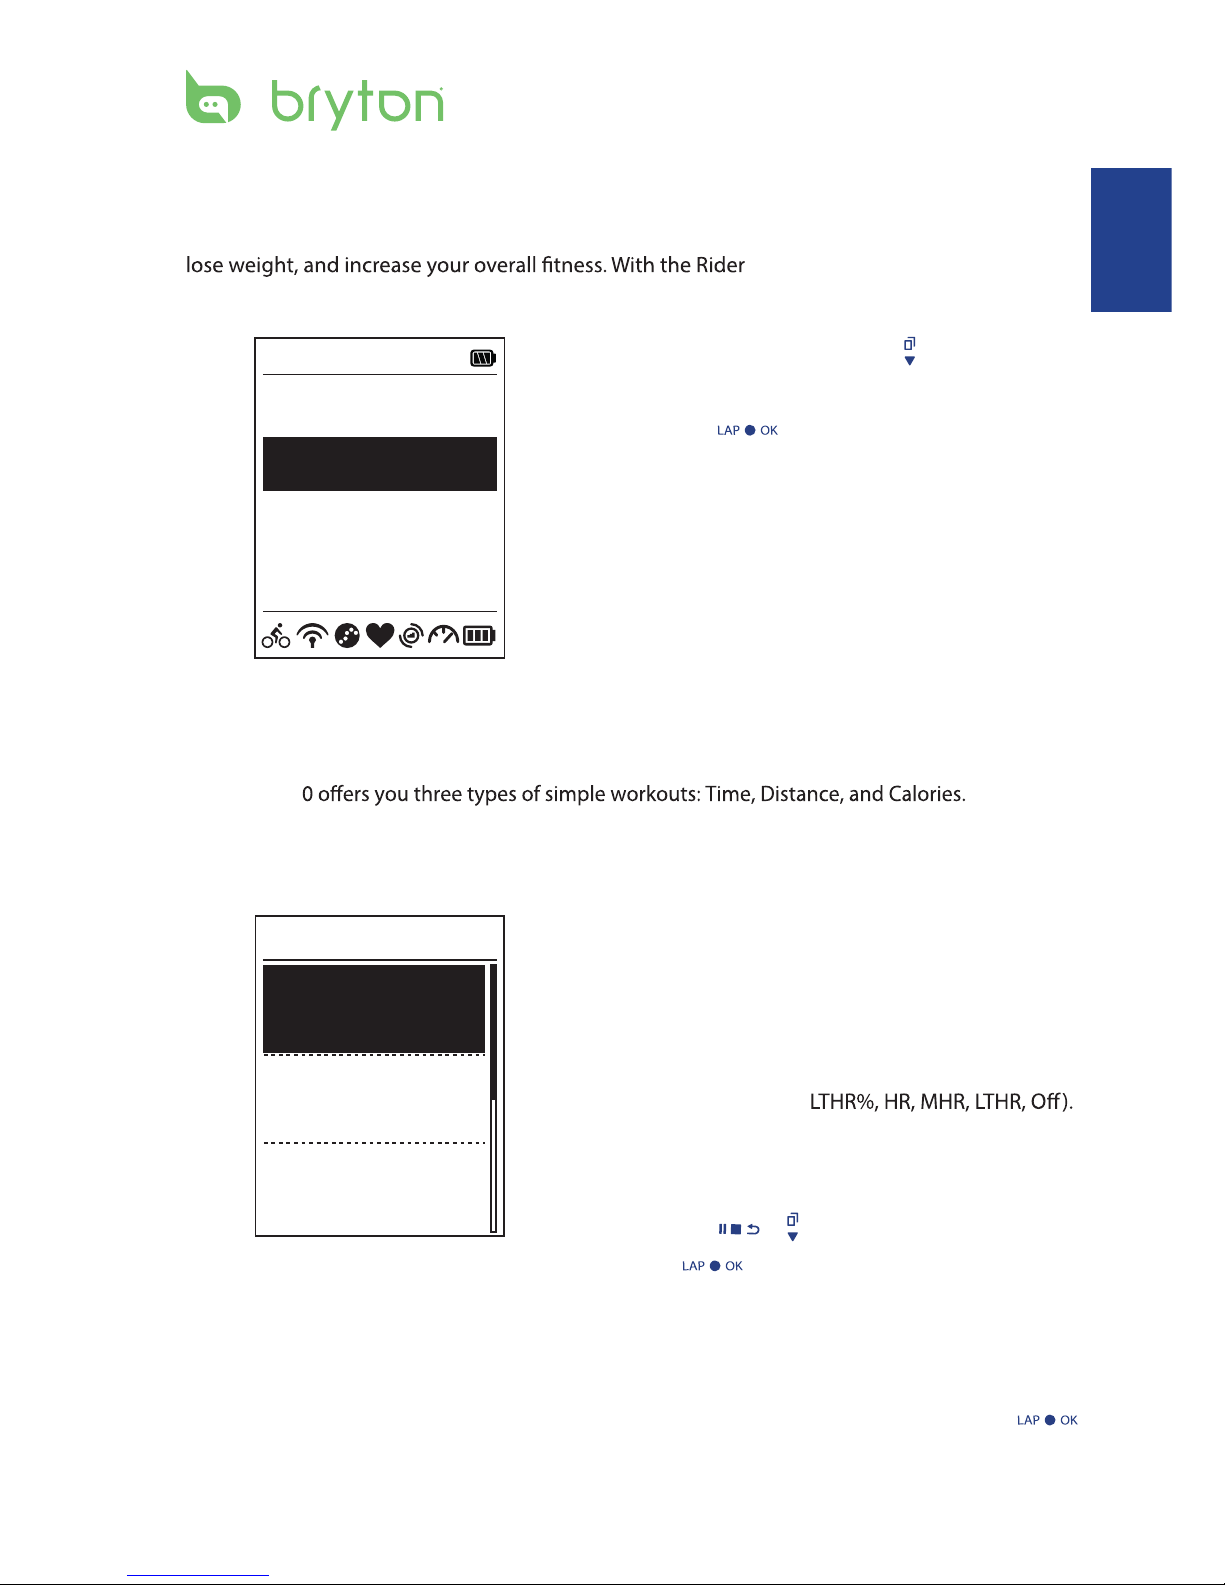
Simple Workouts......................... 9
Interval Workouts ....................... 10
My Workout ............................... 12
Stop Training .............................13
View Exercise/Training
Record........................................ 13
History Flow............................... 14
Settings .......................... 15
Smart Lap................................... 15
Altitude...................................... 16
Data Page .................................. 17
Set Alert ....................................19
Smart Pause ..............................
..............................
19
Sensors
....................................... 30
............
................
............
21
22
Change System Settings
........... 23
View GPS Status
........................ 25
View Software Version.............. 26
Appendix........................ 31
............................ 31
Battery Information.................. 32
Install Rider530 .......................... 33
Install the Speed/Cadence/
Dual Sensor (Optional) .............34
Install Heart Rate Belt
(Optional)................................... 35
Wheel Size and
Circumference ........................... 36
Basic Care For Your Rider 530... 37
Table of Contents
Data Fields ............... 38
Bryton Test ................................ 12
Bluetooth................................... 26
Data Record 20
27
.......................... 28
Start Reminder
................................. 29
Reset Data
................ 28
View Memory Usage
.......... 27
Enable File Saving Mode
Reset Rider 530