3
● Please go to corp.brytonsport.com>Support>Download to download User’s Manual.
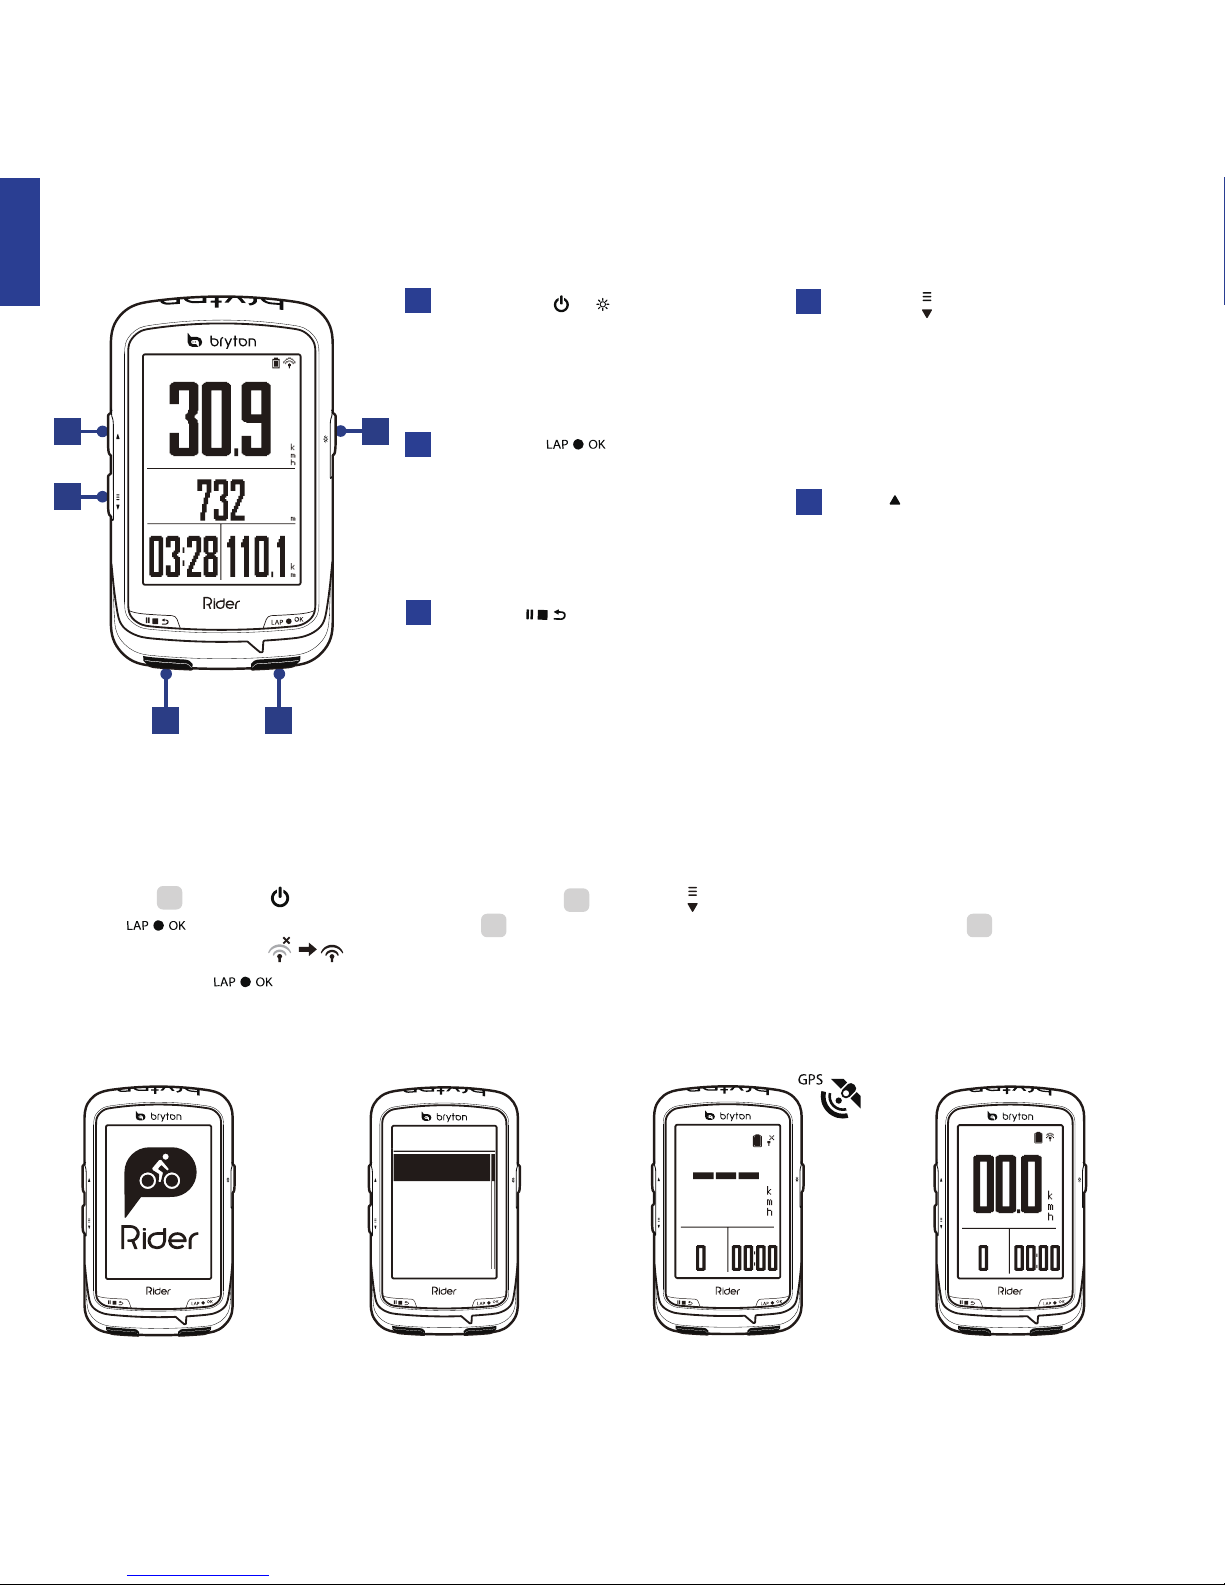
Long press all three keys ( / / ) at the same time to reset the device.
1. Connect the device to your computer via USB cable. 2. Select fit files from Bryton folder in the
device. 3. Upload files to popular training sites including STRAVA, Training Peaks, Endomondo,
Map My Ride, Fit track and many more.
With the access to the internet, your Rider computer automatically updates GPS data, uploads
recorded tracks, downloads planned trips from app server and check for available firmware
update.
Note:
Share Your Tracks via USB
Note:
Reset Rider 530
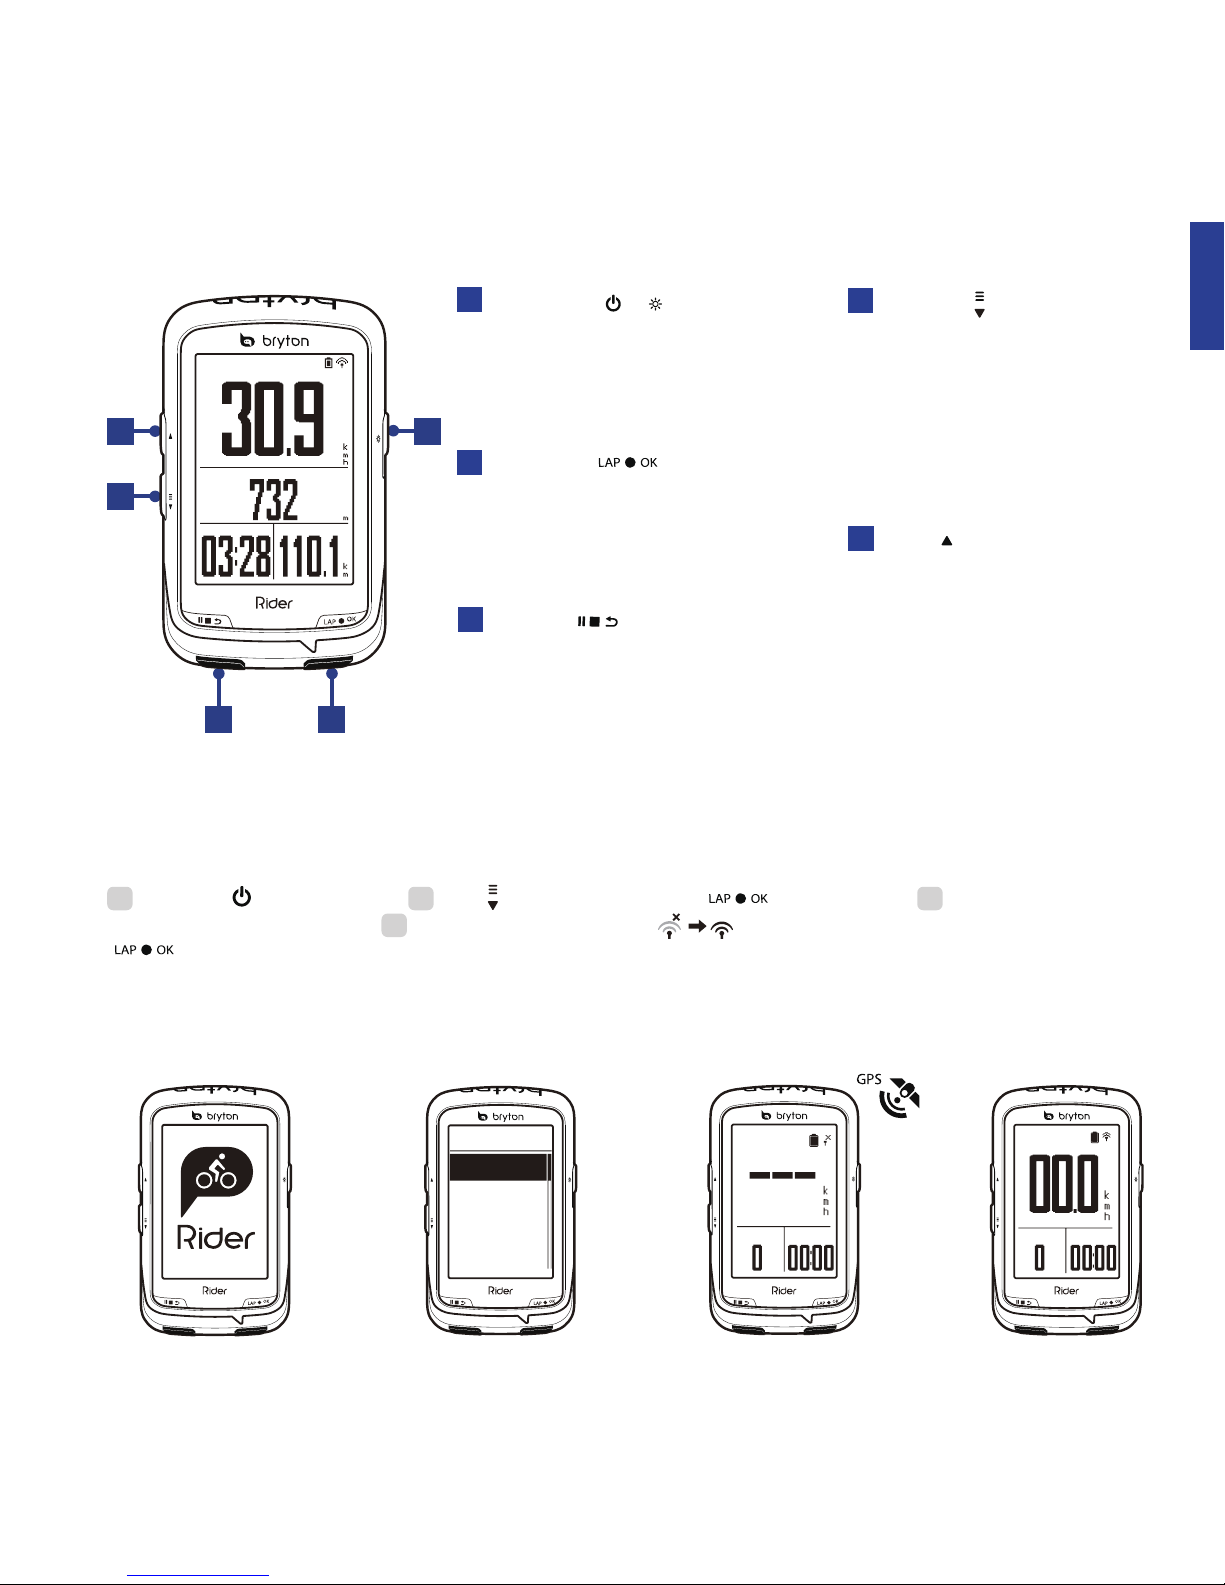
Data Sync
Sync Data to / from Bryton App
● Firmware updates usually take longer to download and install, select NO if you prefer to update
it on your next sync.
● If your device UUID has been added to an Bryton account, QR code will not appear on your
device.
EN
To perform Data Sync, please first go to your device: Settings>Network>Connect to set a
wireless network connection, then go to Data Sync in the main menu and let your Rider
computer smartly guide you through the syncing process.
To add. 1. Scan the QR code labeled on the device securing paperboard inside the box with
your smartphone to download Bryton App. 2. After Bryton App is installed, please sign up for a
new Bryton App account. 3. In the app, tap “Scan Now” to scan the same QR code labeled on
the device securing paperboard to add its UUID to your Bryton App account (or go to Bryton
App: Settings >User Settings>UUID later). 4. If a “successfully added!” message pops up on the
Bryon App, you have successfully added your device to your Bryton account. If not, please tap
“Retry” to scan again or enter the 16 digit device UUID number on the back of your device
manually.
It is required to add your device to your Bryton account before syncing data for the first time.