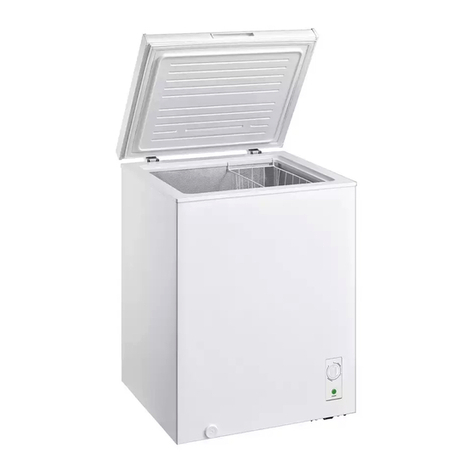
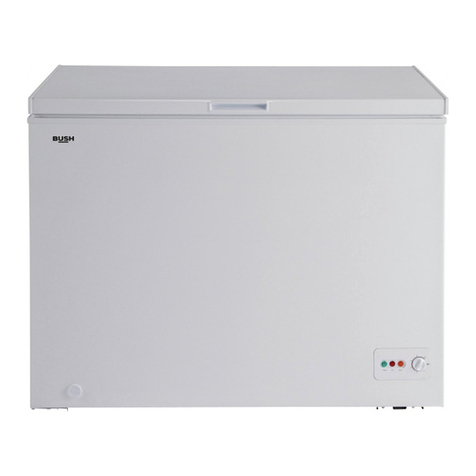
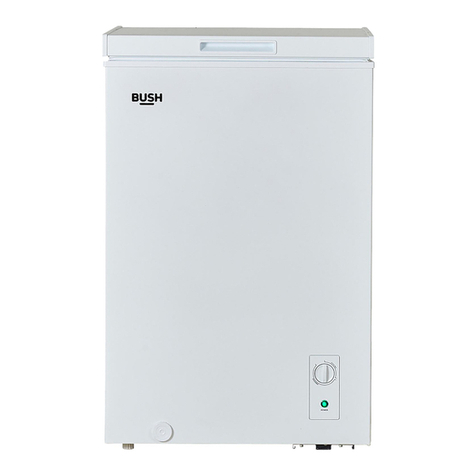
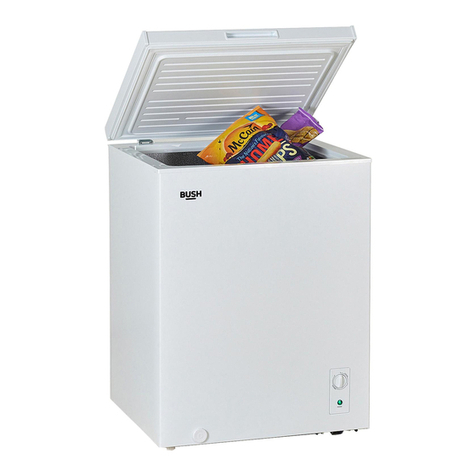
Bush BCF198L User manual

说明书递交文档
设 计
DESIGN
校 对
CO.BY 袁晓娟
孟伟
图号/物料编码 PART NO.
标准化
S
TANDARD 马凯
图纸名称 PART NAME
材
料 MATERIAL
80g 双胶纸
业务
seller
图样
标记
REL
版本号
REV.NO
.
重量
(g)
WEIGHT
比例
scale
批 准
A
UTHORIZ
E
于清 10 1:1
美的冰箱事业部
MIDEA REFRIGERATION
DIVISION
共 页
TOTAL
SHEETS
第 页
NO. OF SHEETS
技术要求
1、 尺寸:32K
1
2 版面更新,自432857后执行 2015.6.1 汤明枝
标记
MARKER 变更内容 修改日期 签名
说明书
江小维
50200105B799
BUSH BCF198L(CE-BD198-TS)
自订单432857之后订单,电话号码开始更新 2014.12.1 江小维
3 参数更新,自440774 后执行 2015.6.15 汤明枝
4 参数更新,自440774执行 2015.6.23 汤明枝
5 参数更新,自440773执行 2015.6.24 汤明枝
6 参数更新,自440773执行 2015.7.4 汤明枝
容积同认证不一致,业务提供呈报
7 更换页码8页内容,自441107订单执行 2015.7.24 蒋
8
更改页码8页内容以及参数页四星,自443577之后订单执行 2015.9.29 蒋卨敏
9 自订单560-44416101之后的订单开始更改整体版面 2015.11.14
10 自订单560-44416101之后的订单开始更改P10页页码 2015.12.5 蒋卨敏
蒋卨敏
卨敏
2. 说明书印刷颜色:单色;
3. 样板需送设计部门封样;
4. 制件必须满足QMB-J53.005 产品说明书及其它类似印刷件技术规范。
5. 需要符合美的冰箱事业的最新版《QMB-GC08.007 有害物质管理规定》的限值要求。

BCF198L

You’ll soon be enjoying your new chest freezer.
It all begins here, with your instructions. Don’t worry,
there’s nothing too technical coming up. Just simple,
step-by-step guidance to get you up and running
quickly. Sound good? Then let’s get started.
Help and Guidance
We’re here to help you get the most from your chest freezer. Should you require
any guidance, a simple solution can often be found online at:
www.argos-support.co.uk
If you still require further assistance, call one of our experts on 0345 257 7271.
2 Help and Guidance

3
Contents
Product support
Troubleshooting 26
Help and assistance 27
Guarantee 28
6
6
10
11
14
Safety information
Safety information
Getting to know your chest
freezer
Ready? Let’s begin
Accessories
Installing your chest freezer
Transportation
Installation
Electrical connections
14
15
18
18
22
22
Using your chest freezer
Before first use
Using your appliance
Useful information
Energy saving tips
Care and Maintenance
General
Defrosting
Power failure
Moving your appliance
Technical specification
22
1
2
3
4
5
Contents
19
19
23
23


1Safety information

6Safety informtion

7
Safety informtion

8Safety informtion

Getting to know your chest freezer 2

Getting to know your chest freezer
Getting to know your chest freezer10

Getting to know your chest freezer
You’ll be up and running in no time
Getting to know your chest freezer 11
Instructions x 1
Accessories included
Scraper x 1
1. Door handle 6. Drain cap
2. Door 7. Power lamp
3. Hinge 8. Side cover
4. Basket 9. Supply cord and plug
5. Temperature knob 10. F rotsaC/too


Installing your chest freezer 3

Installing your chest freezer
Bringing it all together
Installing your chest freezer
14
Caution: 2 people are required to unpack
and handle the appliance, it is recommended that
gloves are worn.
The appliance should be transported only in
an upright position. Do not tilt the appliance
greater than 45°. The packaging as supplied
must be intact during transportation.
After transporting the appliance, leave it for at
least 4 hours before switching on to allow the
cooling system to settle. Failure to comply
could result in damage to the appliance.
Do not move the appliance by pulling the door
or handle as it may damage your flooring and
wall coverings etc.
Ensure the supply cable is not caught under
the appliance during and after moving.
Carefully remove all packaging materials
including the foam base, dispose of correctly.
Ensure sufficient spacing is provided for the
appliance to be installed. Leave space on
both sides (15cm), back (20cm) and above the
appliance (30cm) to ensure proper ventilation.
Do not place the appliance near a heat source
or in direct sunlight.
Do not put any heavy objects on top of the
appliance. It will damage the appliance.
Do not install the appliance in moist and wet
place.
It should be installed on a smooth surface to
avoid excessive vibration and noise.
Each appliance has a climate class (shown on
the rating plate) where it indicates the
temperature range of the appliance operation
in place. The appliance may not work properly
if it is left for a long period at a temperature
outside the specified range.
Refer to section “Care and Maintenance” to
prepare your appliance for use.
Climate Class Amb. T. (°C) Amb. T. (°F)
SN 10 ~ 32°C 50 ~ 90°F
N16 ~ 32°C 61 ~ 90°F
ST 16 ~ 38°C 61 ~ 100°F
T16 ~ 43°C 61 ~ 110°F
Installation
Transportation

Installing your chest freezer
Bringing it all together
Electrical connection
Any electrical work that is required to
install this appliance MUST be carried out by
a qualified electrician.
Warning: THIS APPLIANCE MUST BE
EARTHED
Before making any electrical connections,
ensure that:
Electrical safety is only guaranteed when the
earth system of your house is in accordance
with the related local regulations.
Do not damage the refrigerant circuit.
Do not bend, stretch or pull the supply cable to
avoid electric shock.
Do not use electrical appliances inside the
food storage compartments of the appliance,
unless they are of the type recommended by
the manufacturer.
Ensure the power socket is suitable for the
maximum power of the machine (fuses in the
power circuit must be 13 amp).
The supply voltage should be the same as that
indicated in the technical specifications and
the appliance rating plate.
The appliance should be earthed and in
compliance with the applicable law.
When installed, the power socket must be
within easy reach.
If the socket outlets in your home are not
suitable for the plug supplied with this unit
check with a qualified electrician for
replacement.
The use of adapters, multiple connectors or
extension cables are not recommended.
The appliance must be connected to a 220-
240 volt 50Hz AC supply by means of a three
pin socket, suitably earthed and protected by a
13 amp fuse.
Should the fuse need to be replaced, a 13
amp fuse approved to BS1362/A must be used.
The plug contains a removable fuse cover that
must be refitted when the fuse is replaced. If
the fuse cover is lost or damaged, the plug
must not be used until a replacement cover
has been fitted or the plug is replaced.
A damaged plug should be cut off as close to
the plug body as possible, the fuse should be
removed and the plug disposed of safely.
Plug replacement (UK & Ireland only)
Should you need to replace the plug;
The wires in the power cable are coloured
in the following way:
Blue – Neutral ‘N’
Brown – Live ‘L’
Green & Yellow – Earth ‘E’
As the colours of the wires in the power cable
may not correspond with the coloured markings
identifying the terminals in your plug, and
proceed as follows:
The green & yellow wire must be connected to
the terminal in the plug that is marked with the
letter E or by the earth symbol.
The blue wire must be connected to the terminal
that is marked with the letter N.
The brown wire must be connected to the
terminal that is marked with the letter L.
If power supply cord is damaged, it must
replaced by the manufacturer or its service
agent or a similar qualified person in order to
avoid a hazard.
Installing your chest freezer 1 5


Using your chest freezer 4

Using your chest freezer
Getting the most from your appliance
Using your chest freezer
18
Before first use
Final checks before operating the appliance
Good air circulation around the appliance positioned.
The feet have been adjusted for perfect levelling.
Clean the compartment per recommendation in section “Care and
Maintenance”.
Plug in the appliance and power light will come on.
The compressor starts up and in operation may produce some background noise and it is
normal, this is not a defect.
Using your appliance
1. Temperature adjustment
3. Storing frozen food
The freezer compartment is 4 Star rated and suitable for the freezing and storage of pre
frozen food.
Check the food packaging for suggestion before storage.
2. Indicator light
- Power (Green) indicator - when the unit connected to the mains and turned ON, the indicator
light will be illuminated.
- Run (Red) Indicator - When the compressor is operating, the indicator light will be illuminated.
During the daily operation, the indicator light will be on and off and this is normal.
- Alarm (Orange) indicator - When the temperature inside the cavity is increasing to -10℃or above,
it will illuminate. Once the temperature goes down, the indicator light will turn off.
When you found the indicator is light up , you should double check the cover has been closed properly.
Your freezer has one control for regulating the temperature. The temperature control is located
on the lower right hand corner.
The range of the temperature control is from position" 1" the warmest to "6" the coldest. Adjust the
temperature control to the setting that best suits your needs. The setting of “4” should be
appropriate for home or office freezer use.
To turn the freezer off, turn the temperature control to "OFF".

Using your chest freezer
Getting the most from your appliance
Using your chest freezer 19
Useful information
Energy saving tips
The following guidelines and recommendations are suggested to obtain the best results and storage
hygiene.
Frequent door openings can cause internal temperature rise so the door shall be closed as soon as
possible after use.
For hygiene reasons, it is always a good practise to pack, wrap and cover the food before storing.
Food shall cool to room temperature before storing.
Do not fill the appliance with too much food: cold air must circulate freely for food to be preserved
properly.
Never re-freeze anything that has thawed out unless you cook it again, to kill off harmful bacteria.
Never re-freeze thawed shellfish.
Re-seal packs properly after removing items. This prevents drying or ‘freezer burn’ and a build up of
frost on any remaining food.
Place your freezer away from direct sunlight, your oven or any other heat sources. Allow 20 cm clear
space on both sides and above, and at least 5 cm behind.
Higher cold setting will use more energy. Do not set to maximum cold if it is not necessary.
Frequently open and close door would cause internal temperature rise and it will consume more
energy.
Close the door(s) properly, and make sure the seals and hinges are airtight. Check the seals by putting
a sheet of paper between the door and the main body of the fridge. If the paper moves, your seals
need replacing.
Defrost regularly. Accumulated ice layer should not be more than 5 mm thick.
The pre-set position of basket has already set in the most efficient use of this product.
Table of contents
Other Bush Freezer manuals

Bush
Bush BUCF6082 User manual

Bush
Bush BUCF6082 User manual

Bush
Bush BECFB142L User manual

Bush
Bush MBI55177FRZ User manual

Bush
Bush BCF295L Assembly Instructions
Bush
Bush BSCF145A1 Assembly Instructions
Bush
Bush HD-220RWN User manual

Bush
Bush BSBSFFSS Assembly Instructions

Bush
Bush BECF99L User manual

Bush
Bush M55152SW User manual

Bush
Bush BRTL60170B Assembly Instructions
Bush
Bush BEUCF6082 User manual

Bush
Bush BECF142L User manual

Bush
Bush BUCF6082 Assembly Instructions

Bush
Bush BSNFF55143W Assembly Instructions

Bush
Bush BUCF6082 User manual

Bush
Bush MECF99W User manual

Bush
Bush AB165 Assembly Instructions
Bush
Bush BIFF7030 User manual

Bush
Bush ME5585UCFR User manual