Bush M55152SW User manual


M55152SW
M55152SB

You'll soon be enjoying your newrefrigerator.
It all begins here,with your instructions.Don't worry,
there's nothing too technical coming up.Just simple,
step-by-step guidance to get you up and running
quickly.Sound good?Then let's get started
Help and Guidance
We're hereto help you getthe most from yourrefrigerator.Should you require
any guidance,a simple solution can often be found online at.
www.
If you assistance,call oneof our experts on 0345 257 7271.
bush-support.com
still requirefurther
2 Help andGuidance

Contents 3
Contents
1
2
3
4
5
Safety information
Safety information 6
Getting to know
your refrigerator
Ready?Let'sbegin... 13
1 4
Installing your
refrigerator
Using your
refrigerator
Parts
Transportation 17
Installation 17
Door Reverse 18
Electrical Connection 19
Before first use 22
Using your appliance 22
Useful information 22
Care and Maintenance
General 26
Light bulb replacement 26
Power failure 26
Moving your appliance 26
TechnicalSpecifications 2 7
6Product support
TroubleShooting 30
Help and 31
Guarantee 32
assistance


Safety information 1
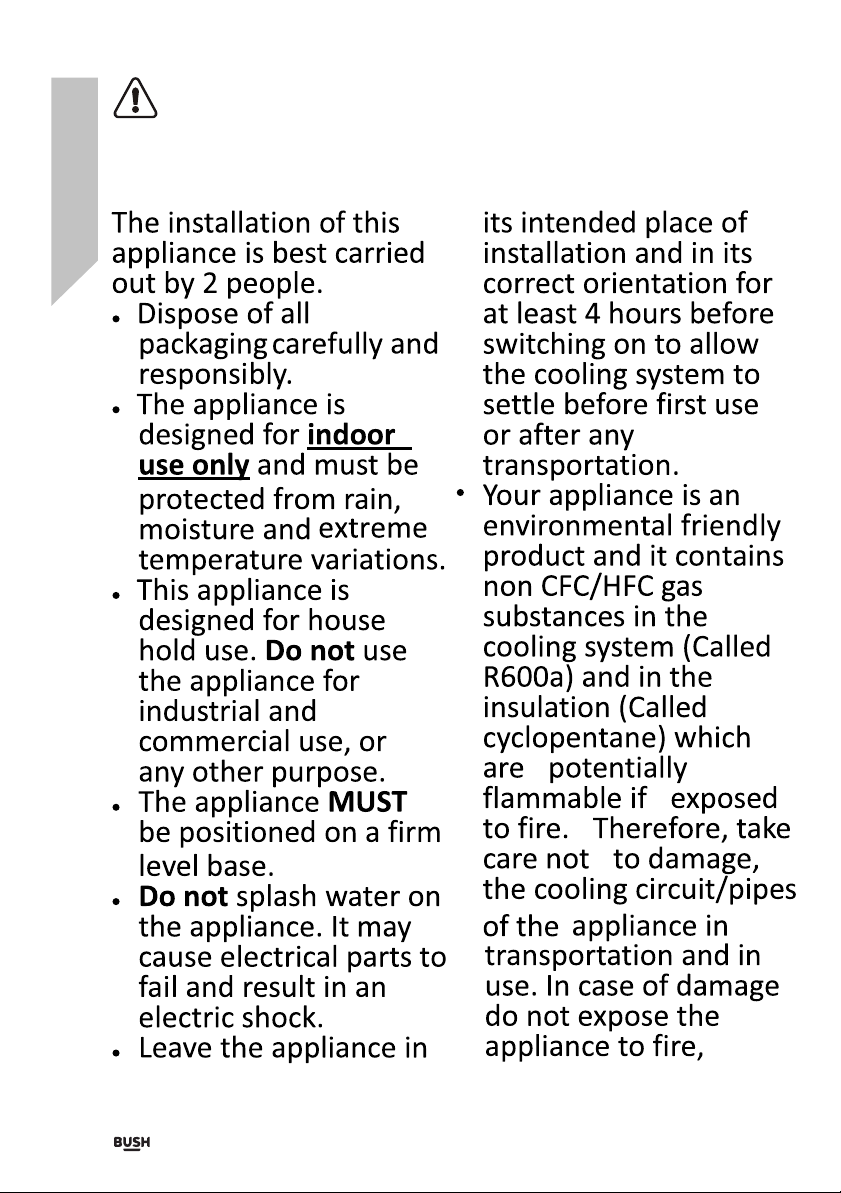
Safety information
Important-Please read these instructions fully
before installing or operating
6 Safetyinformation
Before use

Safety information 7
Safety information
Important-Please read these instructions fully
before installing or operating

8 Safetyinformation
Safety information
Important-Please read these instructions fully
before installing or operating

Safety information 9
Safety information
Important-Please read these instructions fully
before installing or operating

10 Safetyinformation
Safety information
Important-Please read these instructions fully
before installing or operating


Getting to know
your refrigerator 2

Getting to know your refrigerator
You'll be up and running in no time
Ready?Let's begin...
Please read these instructions carefully.They contain
important information which will help you get the best
from yourrefrigerator and ensure safe and
correct installation and operation
If you require any further assistance,our technical
experts arehappy to help.For full details,refer to
the product support section at the end of these
instructions.
Getting to knowyour refrigerator 13

14 Getting toknow your refrigerator
Getting to know your refrigerator
You'll be up and running in no time
1.Thermostatand light
2. Shelf
3.Drain port
4.Crisper cover
5.Crisper
9
Spacers x 2
Accessories included
Instructions x 1
Parts
10
1
2
3
4
5
6
7
8
6.Freezing drawers
7.Compressor(at theback)
8.Adjustable leveling feet
9.Upper bracket
10.Lower bracket


Installing your refrigerator 3

Installing your refrigerator 17
Installing your refrigerator
Bringing it all together
Transportation
Caution: 2 people arerequired to unpack
and handle theappliance, it is
recommended that gloves are worn.
.The appliance shouldbe transported only in an
upright position. Do not tilt the appliance greater
than 45 degrees . The packaging as supplied must
be intact during transportation.
.After transportingthe appliance, leave it forat
least 4 hours before switching on to allow the
cooling system to settle. Failure to comply could
result in damage to the appliance.
.Do not movethe appliance by pulling the door or
handle as it may damage your flooring and wall
coverings etc.
.Empty any water in thedrain traybefore moving.
.Make surethat the defrost waterpipe at the
back of theproduct is fixed to theplastic
evaporating panon the topof the compressor,
to avoiddefrost waterspillage on theon the floor.
.Ensure the supplycable is notcaught under the
appliance during and after moving.
.Carefully removeall packaging materials
including the foam base, dispose of correctly
Installation
.Ensure sufficientspacing is providedfor the
appliance to beinstalled. Leavespace on both
sides (15cm), back(20cm) and abovethe
appliance (30cm) toensure proper ventilation.
.Screw in thetwo spacers at the backof the
appliance.
.Do not placethe appliance neara heat sourceor
in direct sunlight.
.Do not putany heavy objects on topof the
appliance. It willdamage the appliance.
.Do not installthe appliance ina moist andwet place.
.Adjust the feet at front to levelthe appliance. It
should be installedon a smoothsurface to avoid
excessive vibration and noise.
.Each appliance hasa climate class(shown on the
rating plate)where it indicates the temperature
range of theappliance operation inplace. The
appliance may notwork properly ifit is leftfor a
long period ata temperatureoutside the specified
range.
Climate Class
SN
N
ST
T
16~38 C
16~43 C
10~32 C
16~32 C
Amb.T.( C) Amb.T.( F)
50~90 F
51~90 F
61~100 F
61~110 F

12
13
11
12
13
11
18 Installing your refrigerator
Installing your refrigerator
Bringing it all together
Door Reverse
Warning: Remove the mainplug before
reversing thedoor. 2 people maybe
required toreverse thedoor.The refrigerator
has the capabilityof opening thedoor from
either the leftor the rightside. The unitis
delivered toyou with thedoor opening from
the left side.To change the openingdirection,
please follow theseinstructions.
Note: Before reversing the doorswing, unplug
the appliance fromthe mains ordisconnect the
electrical power supply.
1.Take out fourscrew cover(12),removethe top
cover(13),and transferthe hinge coverfrom
left side toright side(11).
2.Removethe two screws (3) holding the top
hinge(4)(right side) tothe frame. Remove
the top hinge(4).
3.Lift thedoor off themiddle hinge pinand place iton
a non-scratchingsurface.
4.Remove thetwo screws(5) holding the middle
hing (6). Remove the middlehinge (6).
5.Lift thelower door offthe bottom hingepin and
place it ona non-scratchingsurface.
6.Removethe two screws (7) holdingthe bottom
hinge (8). Remove the bottomhinge (8).
7.Remove theleft frontleg (9) andtransfer itto the
right side.
8.Beforereplacing the bottomhinge (8), remove the
hinge pin (10) and reversethe direction of
the hinge (8).Reassemble the bottomhinge
(6) on theleft hand sideusing the twoscrews (7).
9.Refit thehinge pin (10)into the bottom hinge (8).
10. Lower thedoor onto thebottom hinge pin(10).
11.While holding thelower door inthe closed position,
reassemble the middlehinge (6) onthe left hand
side using thetwo screws(5). Do notput the
washer(14)on the leftside. Do nottighten the
screws (5) until the top
of the lowerdoor is levelwith the countertop
12.Before replacingthe upper hinge(4), remove the
hinge pin (2)from right holeto left holeof the
upper hinge (4).
13. Lower the upperdoor onto themiddle hinge pin.
14.While holding theupper door inthe closed position,
reassemble the upperhinge (4)on theleft hand
side using thetwo screws(3). Do nottighten the
screws (3) until the topof upper door is level with
the counter top.
15.Reassemble top cover(13).
Door opening from leftside
Door opening from rightside
Levelling the appliance
1.Rotate feetclockwise to heighten.
2.Rotate feet anti clockwise to lower.

Installing your refrigerator 19
Installing your refrigerator
Bringing it all together
Electrical connection
Any electrical workthat is requiredto
install this applianceMUST be carriedout
by a qualifiedelectrician.
Warning: THIS APPLIANCEMUST BE
EARTHED
Before making any electrical connections,
ensure that:
.Electrical safetyis only guaranteed when theearth
system ofyour house isin accordance withthe
related localregulations.
.Do not damagethe refrigerantcircuit.
.Do not bend,stretch orpull the supplycable to
avoid electric shock.
.Do not useelectrical appliances insidethe food
storage compartmentsof the appliance,unless
they are ofthe type recommendedby the
manufacturer.
.Ensure the powersocket issuitable for the
maximum power ofthe machine (fusesin the
power circuit must be 13amp).
.The supply voltage should bethe same asthat
indicated in thetechnical specificationsand the
appliance ratingplate.
.The appliance shouldbe earthed andin
compliance with theapplicable law.
.When installed, thepower socketmust be within
easy reach.
.If the socket outlets inyour home arenot suitable
for the plugsupplied with thisunit check witha
qualified electrician forreplacement.
.The use ofadapters, multipleconnectors or
extension cablesare not recommended.
.The appliance mustbe connected toa 220-240
volt 50Hz ACsupply by meansof a threepin
socket, suitablyearthed and protected by a13
amp fuse.
.Should the fuseneed to bereplaced, a 13amp
fuse approved to BS1362 mustbe used.
.The plug containsa removablefuse cover that
must be refitted when thefuse is replaced.If the
fuse cover islost or damaged,the plug mustnot
be used untila replacement cover has beenfitted
or the plugis replaced.
.A damaged plugshould be cut off as closeto the
plug body aspossible, the fuseshould be removed
and the plugdisposed of safely.
Plug replacement (UK& Ireland only)
Should you needto replace theplug; the wires
in the powercable are coloured in the
following way:
Blue Neutral 'N'
Brown Live 'L'
Green & Yellow Earth 'E'
As the coloursof the wiresin the powercable
may not correspond with thecoloured
markings identifying theterminals in your
plug, and proceedas follows:
The green &yellow wire must be connectedto
the terminal inthe plug thatis marked withthe
letter E orby the earth symbol.
The blue wiremust be connected to the
terminal that ismarked with theletter N.
The brown wire must beconnected to the
terminal that ismarked with theletter L.
If the powersupply cord isdamaged, it mustbe
replaced by themanufacturer or its service
agent or asimilar qualified personin order
to avoida hazard.
This manual suits for next models
1
Table of contents
Other Bush Freezer manuals

Bush
Bush BEUCF6082 User manual

Bush
Bush ME5585UCFR User manual

Bush
Bush BCF198L User manual

Bush
Bush BSNFF55143W Assembly Instructions

Bush
Bush BUCF6082 Assembly Instructions

Bush
Bush BUCF6082 User manual

Bush
Bush BSBSFFSS Assembly Instructions

Bush
Bush MBI55177FRZ User manual

Bush
Bush BECF142L User manual

Bush
Bush BRTL60170B Assembly Instructions

Bush
Bush BIFF7030 User manual

Bush
Bush HD-220RWN User manual

Bush
Bush FE54152W User manual

Bush
Bush BECFB142L User manual

Bush
Bush AB165 Assembly Instructions

Bush
Bush BCF295L Assembly Instructions

Bush
Bush BSCF145A1 Assembly Instructions

Bush
Bush BUCF6082 User manual

Bush
Bush BECF99L User manual

Bush
Bush MECF99W User manual