Cables to Go 22431 User manual

1
Cables To Go JetLAN USB Data Link File
Transfer Cable User’s Manual
Congratulations on your purchase of the Cables To Go JetLAN USB Data Link
File Transfer Cable. The JetLAN USB Data Link cable is a fast solution for
peer-to-peer file transfer between two computers via the USB port.
Package Checklist
Package ChecklistPackage Checklist
Package Checklist
The Cables To Go JetLAN USB Data Link product package includes the
following items:
• Cables To Go JetLAN USB Data Link Cable
• Driver Installation CD
• User’s Manual
Overview
The USB Data Link provides true plug-n-play capability while transferring files
at up to 6Mbps, which is much faster than traditional file transfer products that
use the serial or parallel port. In most applications, you will get faster than
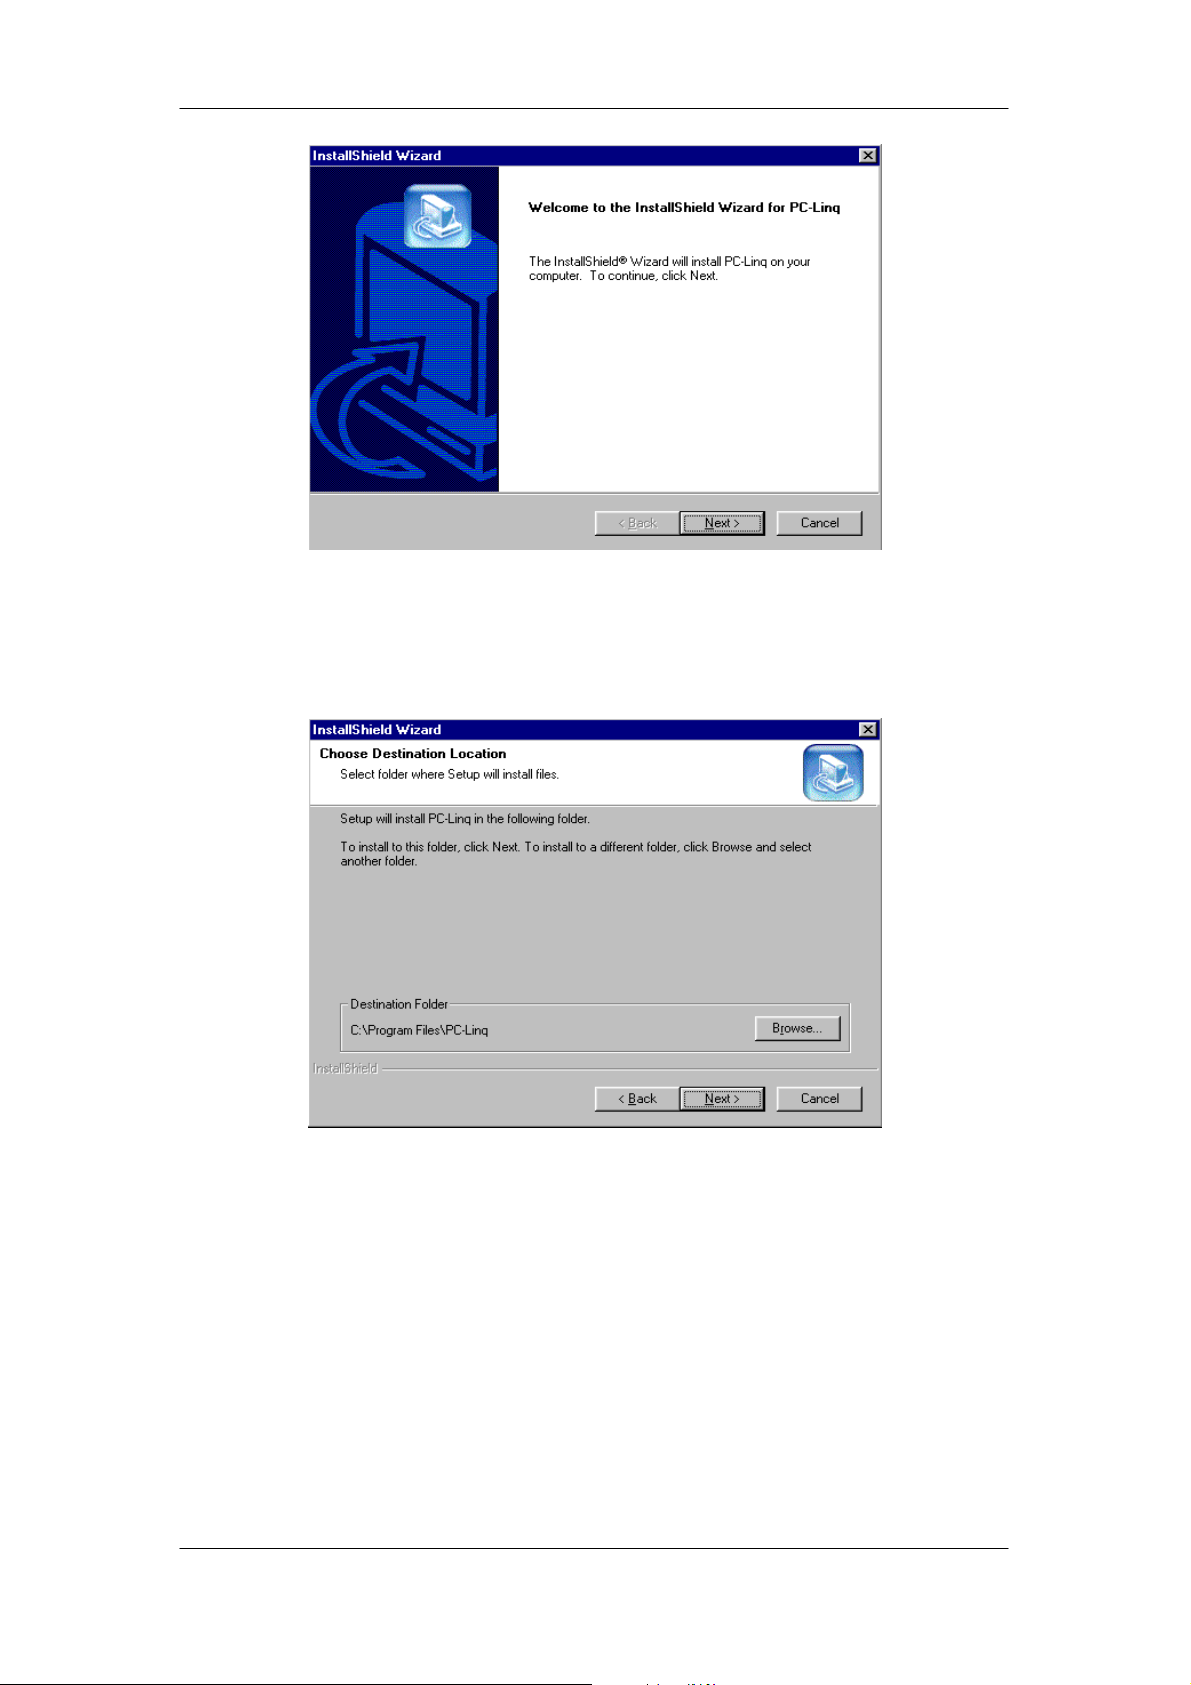
4Mbps of smooth file transfer. The included application program PC-Linq,
which utilizes a Windows Explorer-like user interface, provides an environment
that makes file transfer as easy as drag-and-drop.
Features
Transfer files between two PCs
Full compliance with the Universal Serial Bus Specification Version 1.1
USB full speed connection
Dual data buffer supporting two-way data transfer
Low power consumption
Support suspend and resume for power management
Support remote wake-up
Bus powered from either USB port
Suitable for mobile PC environment
System Requirements
Windows 98/SE/2000/ME/XP
One standard 4-pin USB port (with the symbol )

2
Driver Installation
To begin installation, plug the USB Data Link into the USB port of your
computer. The computer will detect this new hardware and start the New
Hardware wizard. Please follow the steps below to continue the installation.
Driver Installation Under Windows 98 / 98 SE / ME ( Page 2 - Page 6)
Driver Installation Under Windows 2000 (Page 7 – 9)
Driver Installation Under Windows XP ( Page 10)
Program Un-installation
You can uninstall the USB Data Link application program and driver by running
Add/Remove Programs in the Settings/Control Panel and follow the on-screen
instructions to complete the process.
Driver Installation Under Win 98 / 98 SE / ME
1. Windows detects new hardware and searches for new drivers for “USB
Device”.
2. Click Next.

3
3. Select “Search for the best driver for your device (Recommended)”. Click
Next.
4. Select ONLY Specify a Location and type D:\USB Data Link\Win98-2000
in the text field or click Browse… to search for that location. Substitute
D:\ for the letter of your CD-ROM.
5. Click Next.
6. Windows will detect the driver (USBBC.INF) and show the USB Bridge
Cable device.

4
7. Click Next to let Windows copy the required files to your hard disk.
8. When Windows is finished installing the software required for the new USB
Bridge Cable device, click Finish.
9. The welcome page of the InstallShield Wizard will now start automatically.

5
10.Click Next.
11.The “Choose Destination Location” window appears. The default
Destination Folder is “C:\Program Files\PC-Linq”.
Click Next.
12.The default Program Folder will be “PC-Linq”. If you choose “Accessories”
under Existing Folders and click Next, you will be able to find the PC-Linq
file in the Programs folder when you click the “Start” button.

6
13.Click Next and then Finish to complete the installation.
14. If the installation completes successfully, there will be a PC-Linq shortcut
icon on your desktop.

7
Driver Installation Under Win 2000
1. The New Hardware Wizard Welcome screen appears.
2. Click Next.
3. Select “Search for a suitable driver for my device (recommended)”.
4. Click Next.
5. The Locate Driver Files window appears. Select “CD-ROM drives”.

8
6. Click Next.
7. Windows 2000 will search the CD-ROM and find the necessary driver.
8. Click Next.
9. Windows 2000 will install the files. Click Finish to complete the installation.

9
10. The welcome page of the InstallShield Wizard will now start automatically.
Skip to page 5, step 10, to complete the software application installation.

10
Driver Installation Under Win XP
1. The New Hardware Wizard Welcome screen appears. Select “Install the
software automatically (Recommended)”.
2. Click Next.
3. Windows will search and find the drivers for the device.
4. Click Finish to complete the installation.
5. The welcome page of the InstallShield Wizard will now start
automatically. Skip to page 5, step 10, to complete the software
application installation.

11
Using the PC-Linq Application
Connect the cable to both computers. Double-click the PC-Linq icon on the
Desktops of each computer to start the PC-Linq application. Both computers
should now have a screen like this.
The top pane is the Local Machine and the bottom pane is the Remote
Machine. The Local Machine is the machine you are currently using. The
Remote Machine is the other machine connected to the cable. This interface
allows you work with files on both systems or move files between them using
an interface similar to Windows Explorer.
In the bottom right corner of the screen are two green “lights”. This indicates a
good connection on both machines. If either or both lights are red, you do not
have a good connection. Check your cable and start the application again. If
you still cannot get two greens, check the Troubleshooting section on the next
page.

12
Troubleshooting
If you are having trouble connecting, the first thing to check is that the cable is
plugged in properly. You might also try a different USB Port.
If the physical connection is good, verify that the driver installed properly. Open
the Device Manager, and look under Universal Serial Bus Controllers. You
should see a device called “USB Bridge Cable”.
If you do not see “USB Bridge Cable” but instead see “USB Device”,
“Unknown Device” or “USB Bridge Cable” with a yellow warning icon, you
need to reinstall the driver.
1) Right-click the device, and select Properties.
2) Click the Driver tab.
3) Click “Update Driver”
4) Follow the instructions at the beginning of this manual.

13
Disclaimer
DisclaimerDisclaimer
Disclaimer
Information in this document is subject to change without notice. The
manufacturer does not make any representations or warranties (implied or
otherwise) regarding the accuracy and completeness of this document and
shall in no event be liable for any loss of profit or any other commercial
damage including, but not limited to, special, incidental, consequential, or
other damages.
No part of this document may be reproduced or transmitted in any form by any
means, electronic or mechanical, including photocopying, recording or
information recording and retrieval systems without the express written
permission of the manufacturer.
All brand names and product names used in this document are trademarks, or
registered trademarks of their respective holders.
FCC Statement
FCC StatementFCC Statement
FCC Statement
This device generates and uses radio frequency and may cause interference
to radio and television reception if not installed and used properly. This has
been tested and found to comply with the limits of a Class B computing device
in accordance with the specifications in Part 15 of FCC Rules. These
specifications are designed to provide reasonable protection against such
interference in a residential installation. However, there is no guarantee that
interference will not occur in a particular installation. If this device does cause
harmful interference to radio or television reception, which can be determined
by plugging the device in and out, the user can to try to correct the interference
by one or more of the following measures:
• Reorient or relocate the receiving antenna.
• Increase the separation between the device and receiver.
• Connect the computer to an outlet on a circuit different from that to which
the receiver is connected.
• Consult the dealer or an experienced radio/TV technician for assistance.
Table of contents
Popular Cables And Connectors manuals by other brands

tellur green
tellur green TLL155501 user manual

Keysight Technologies
Keysight Technologies 11857B User's and service guide

Holex
Holex 081193 15 instruction manual

Belden
Belden grass valley ICONTROL IC-BASE-EDITION-V3 quick start guide

Digital Equipment
Digital Equipment Pro-Face GPW-CB03 installation guide

Philips
Philips SWV3431S/10 user manual