CT-7030-UD Pg. 5
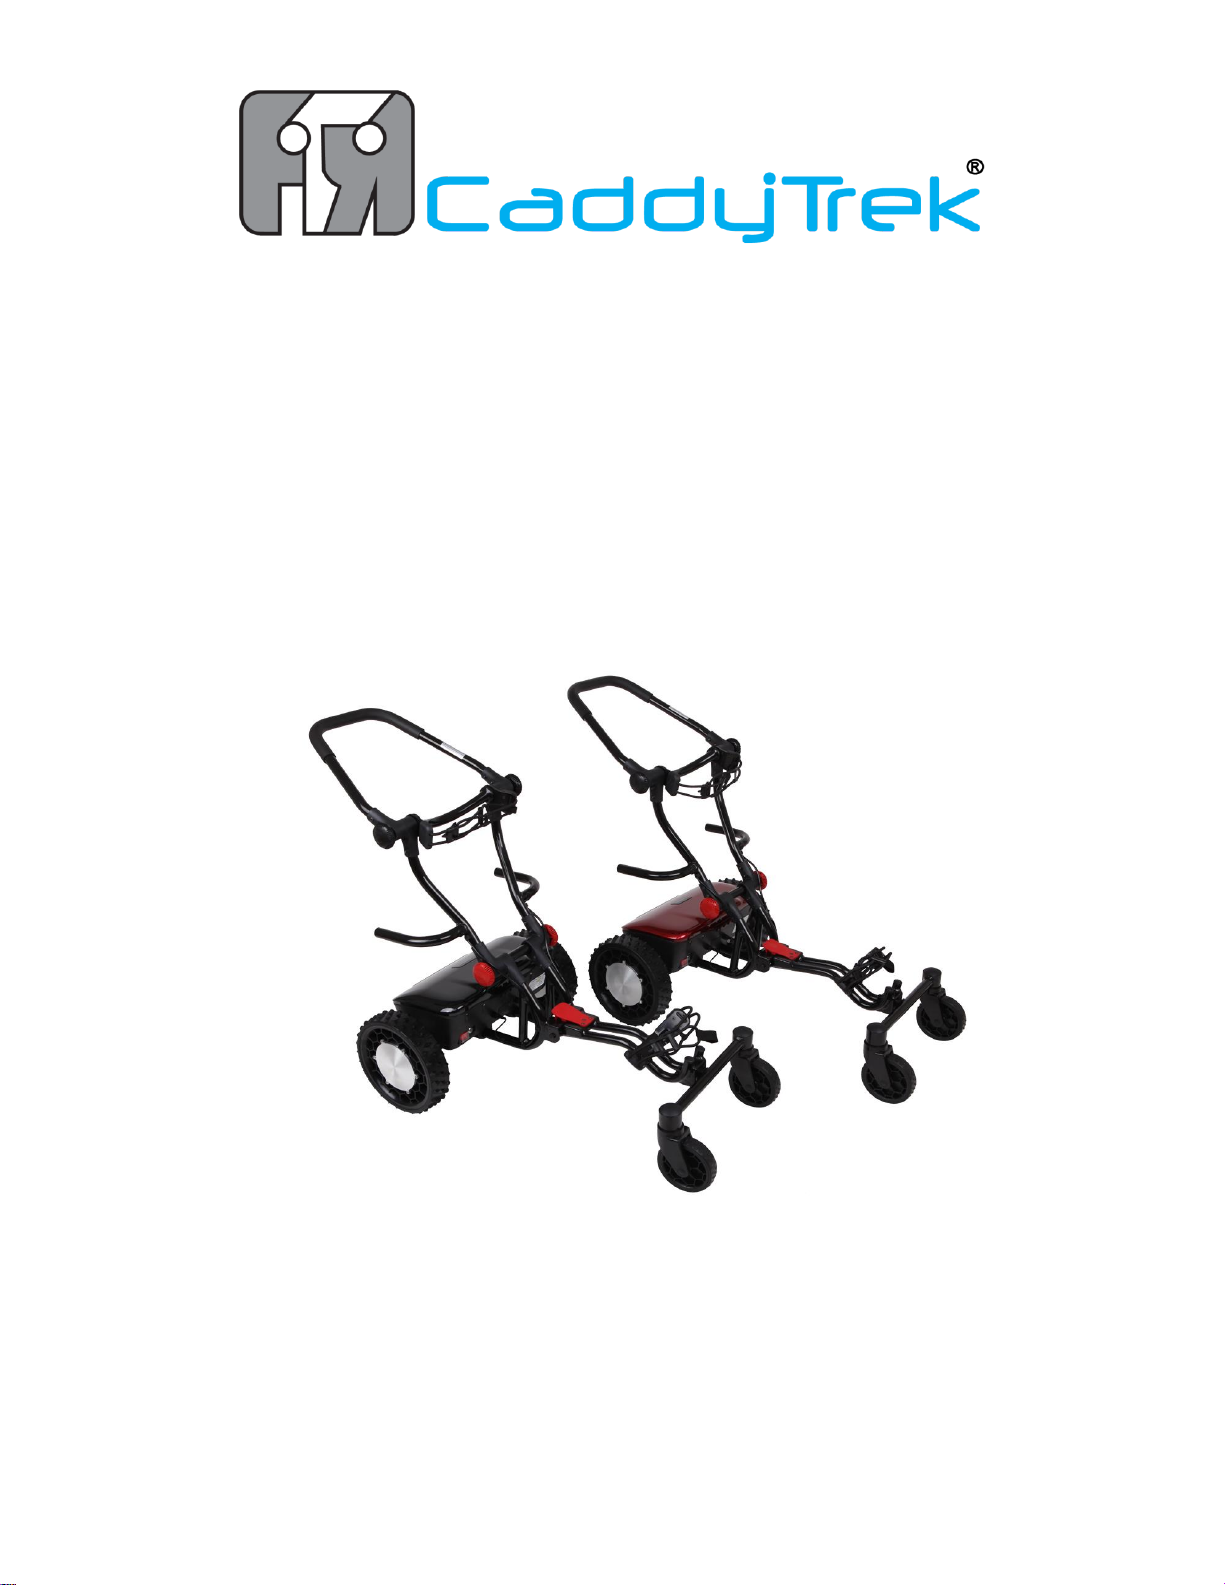
Caster Wheel Maintenance
The caster wheel assembly requires more attention in
terms of maintenance, especially the caster wheels
themselves. Dirt and grass often get stuck in or around
the caster wheel and caster wheel forks—if you let it
accumulate it will weaken the caster wheel.
After your day out on the course, before properly storing
your unit, lightly brush the dirt and grass off the assembly.
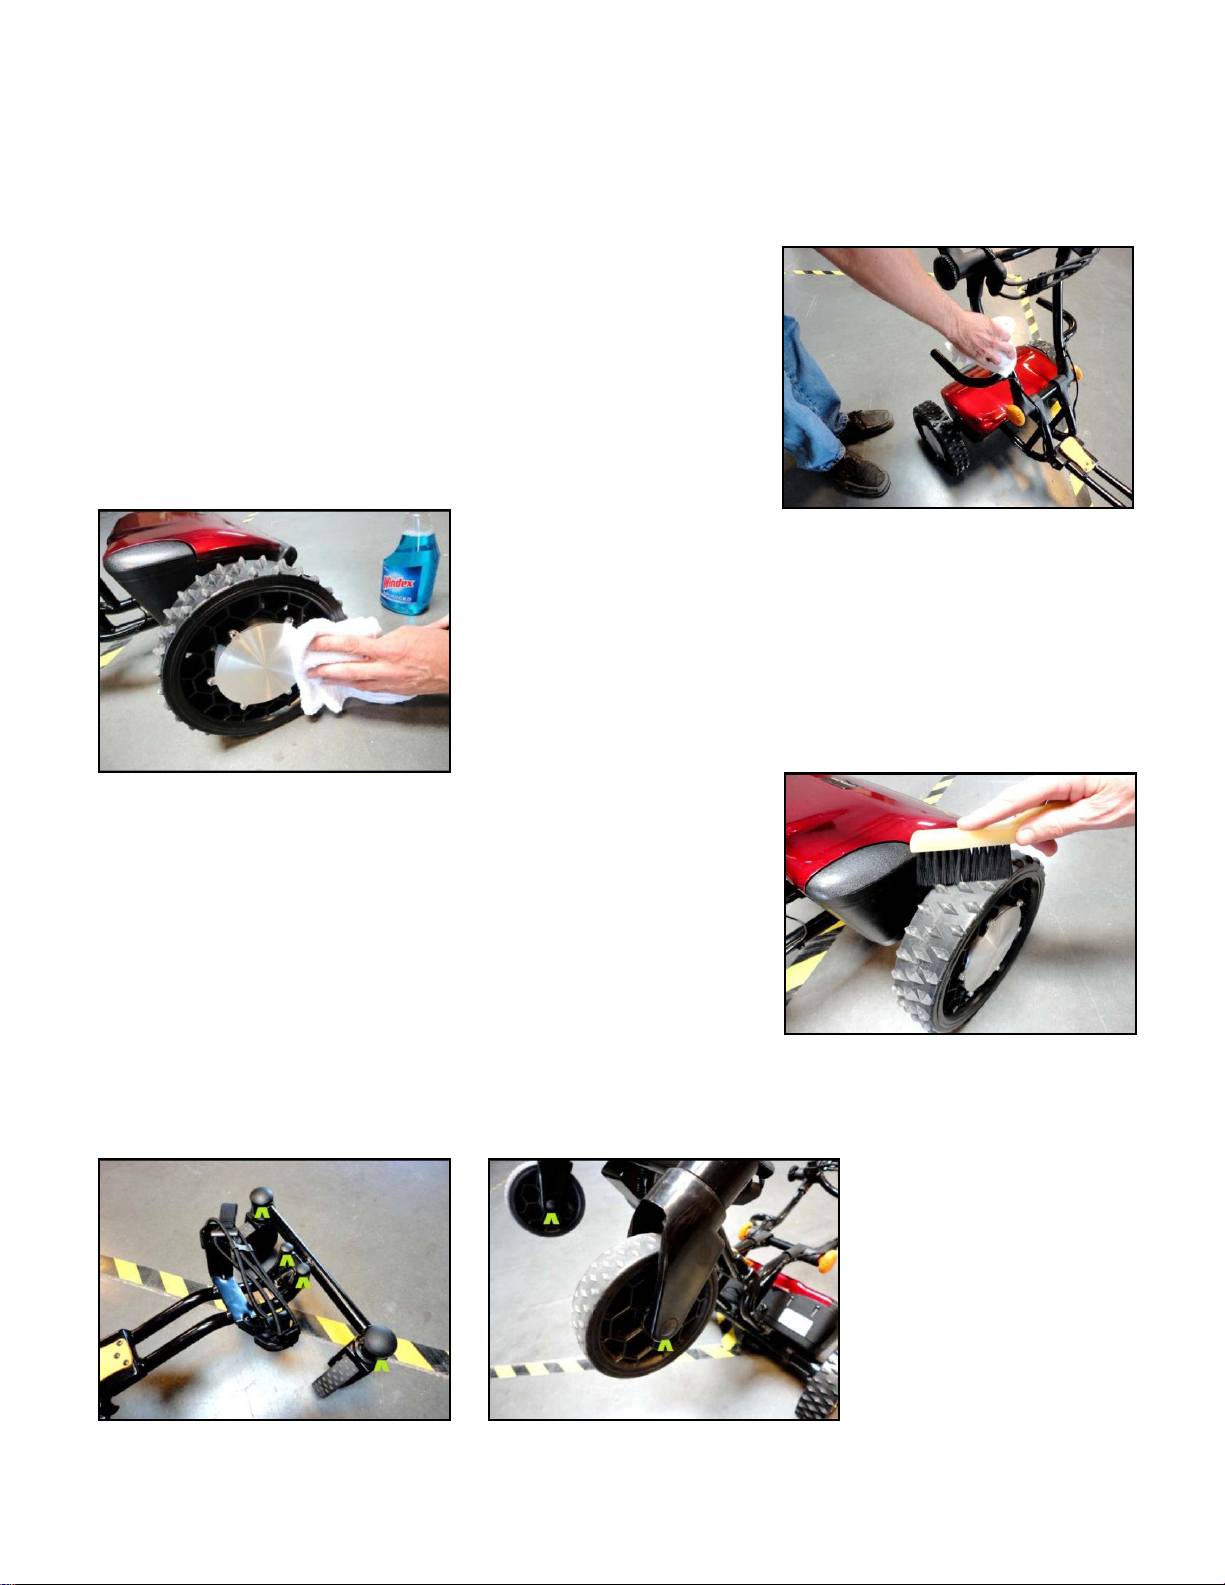
Moisture can seep through to the caster wheel bearings
causing it to rust, and then seize. This will compromise the
CaddyTrek’s mobility significantly.
You can prevent this and improve the caster wheels
longevity by applying a lubrication material on the caster
wheel bearings every few months.
Check the torque on the caster wheel axles. Ideally, the
caster wheel should be able to achieve roughly five
revolutions on a free spin.
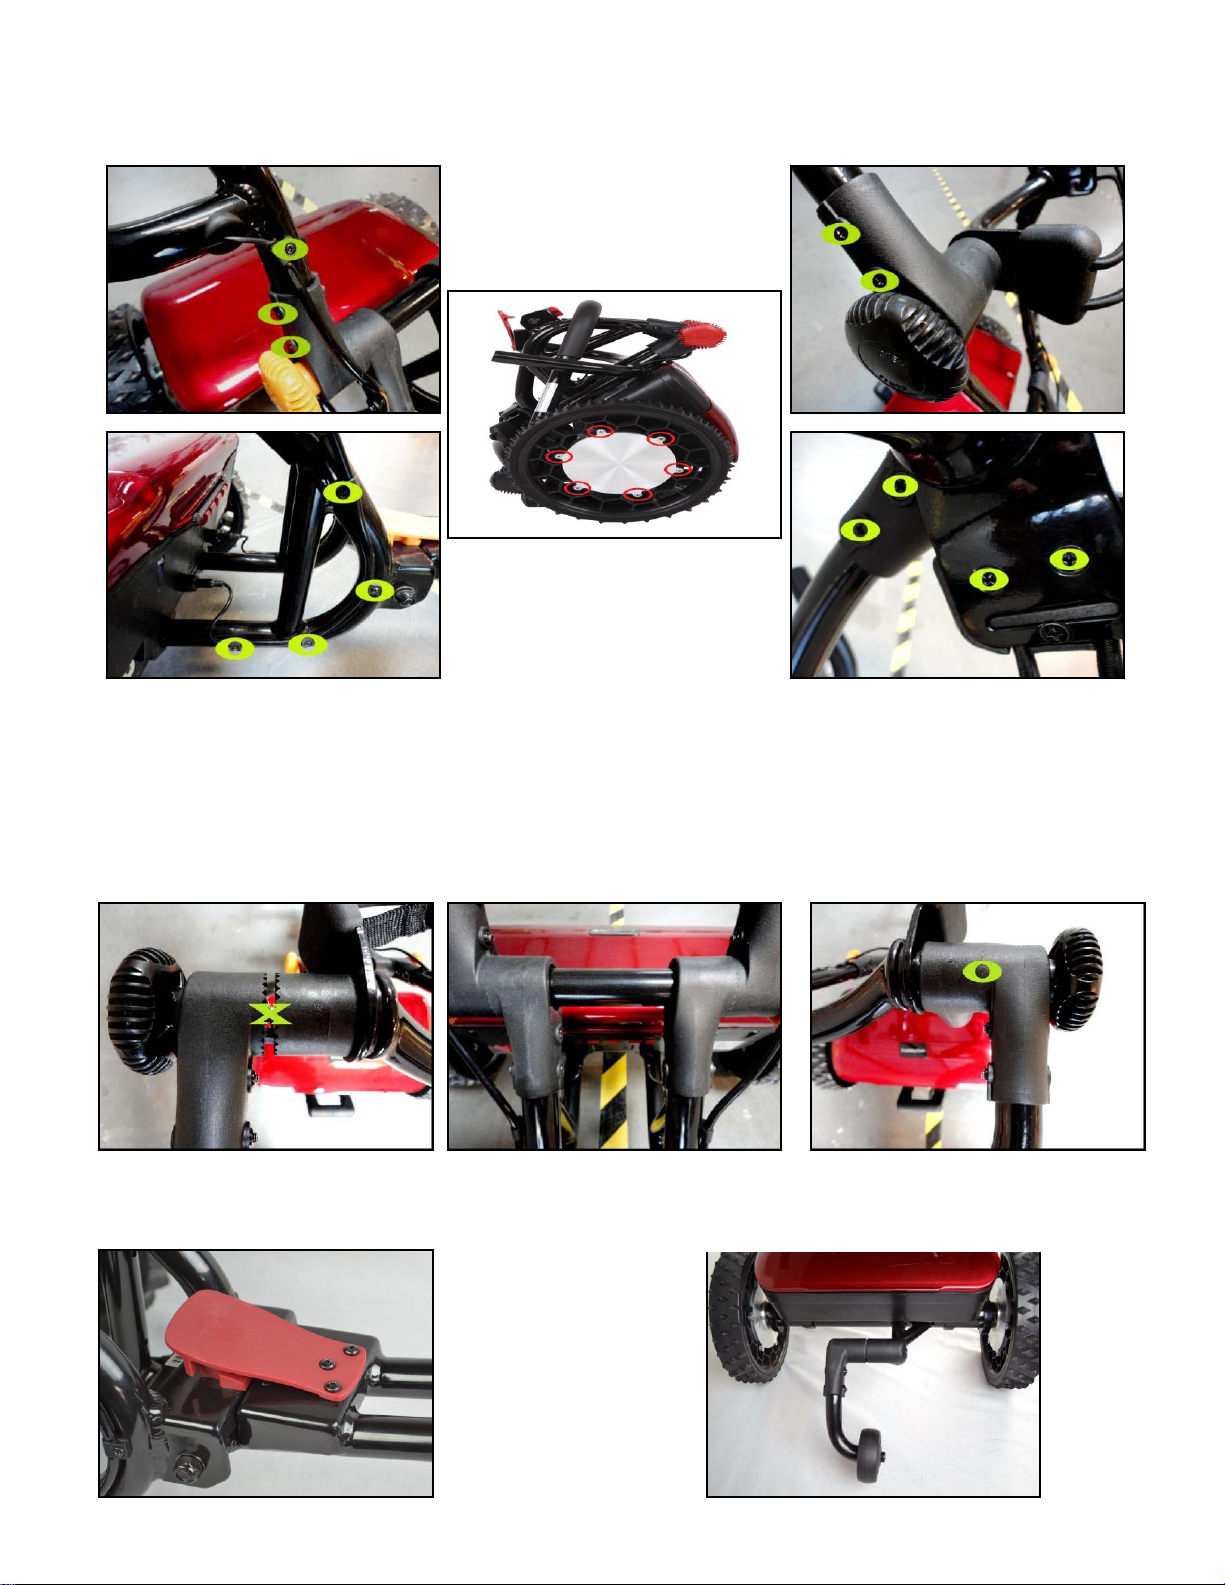
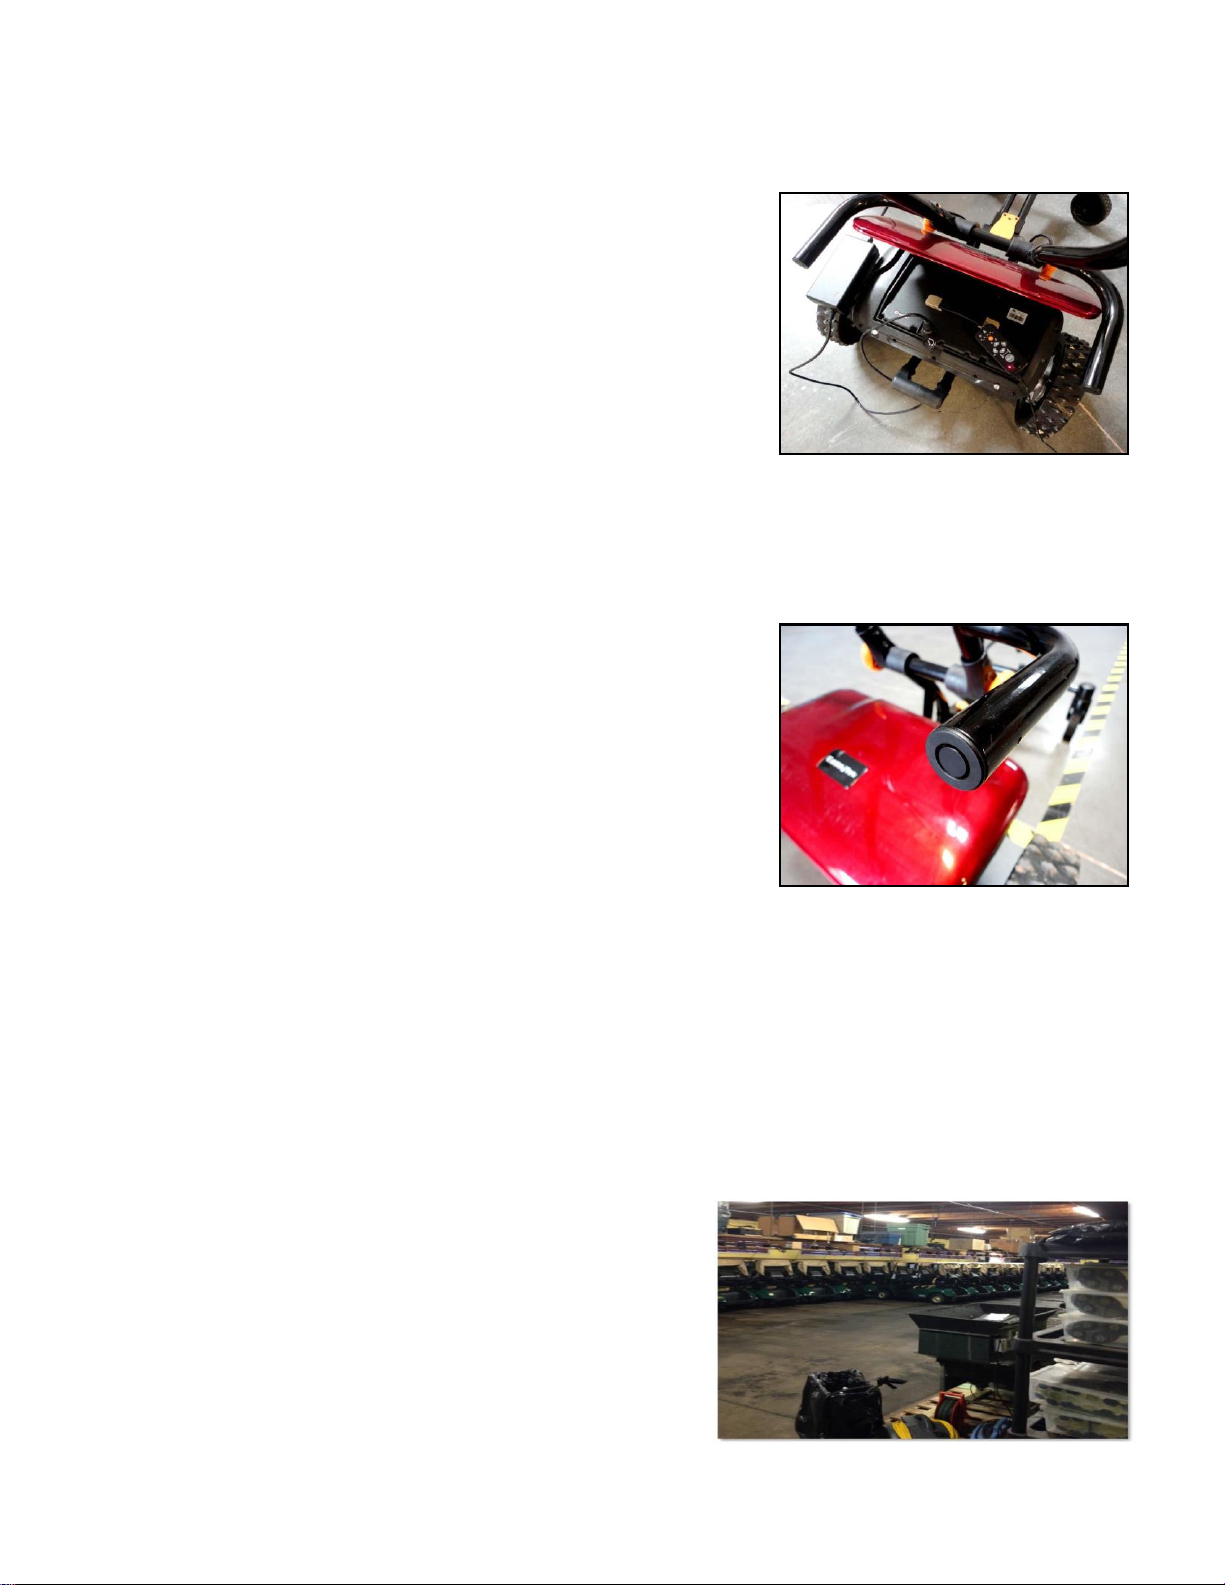
Sensor Maintenance
It is recommended that you check your sensors from
Time to time.
Make sure the plug is screwed into the electronics box
securely.
Check the wire and make sure it is in good shape.
Finally, inspect the sensor head. Make sure it is intact
and is firmly secured to the sensor arms.
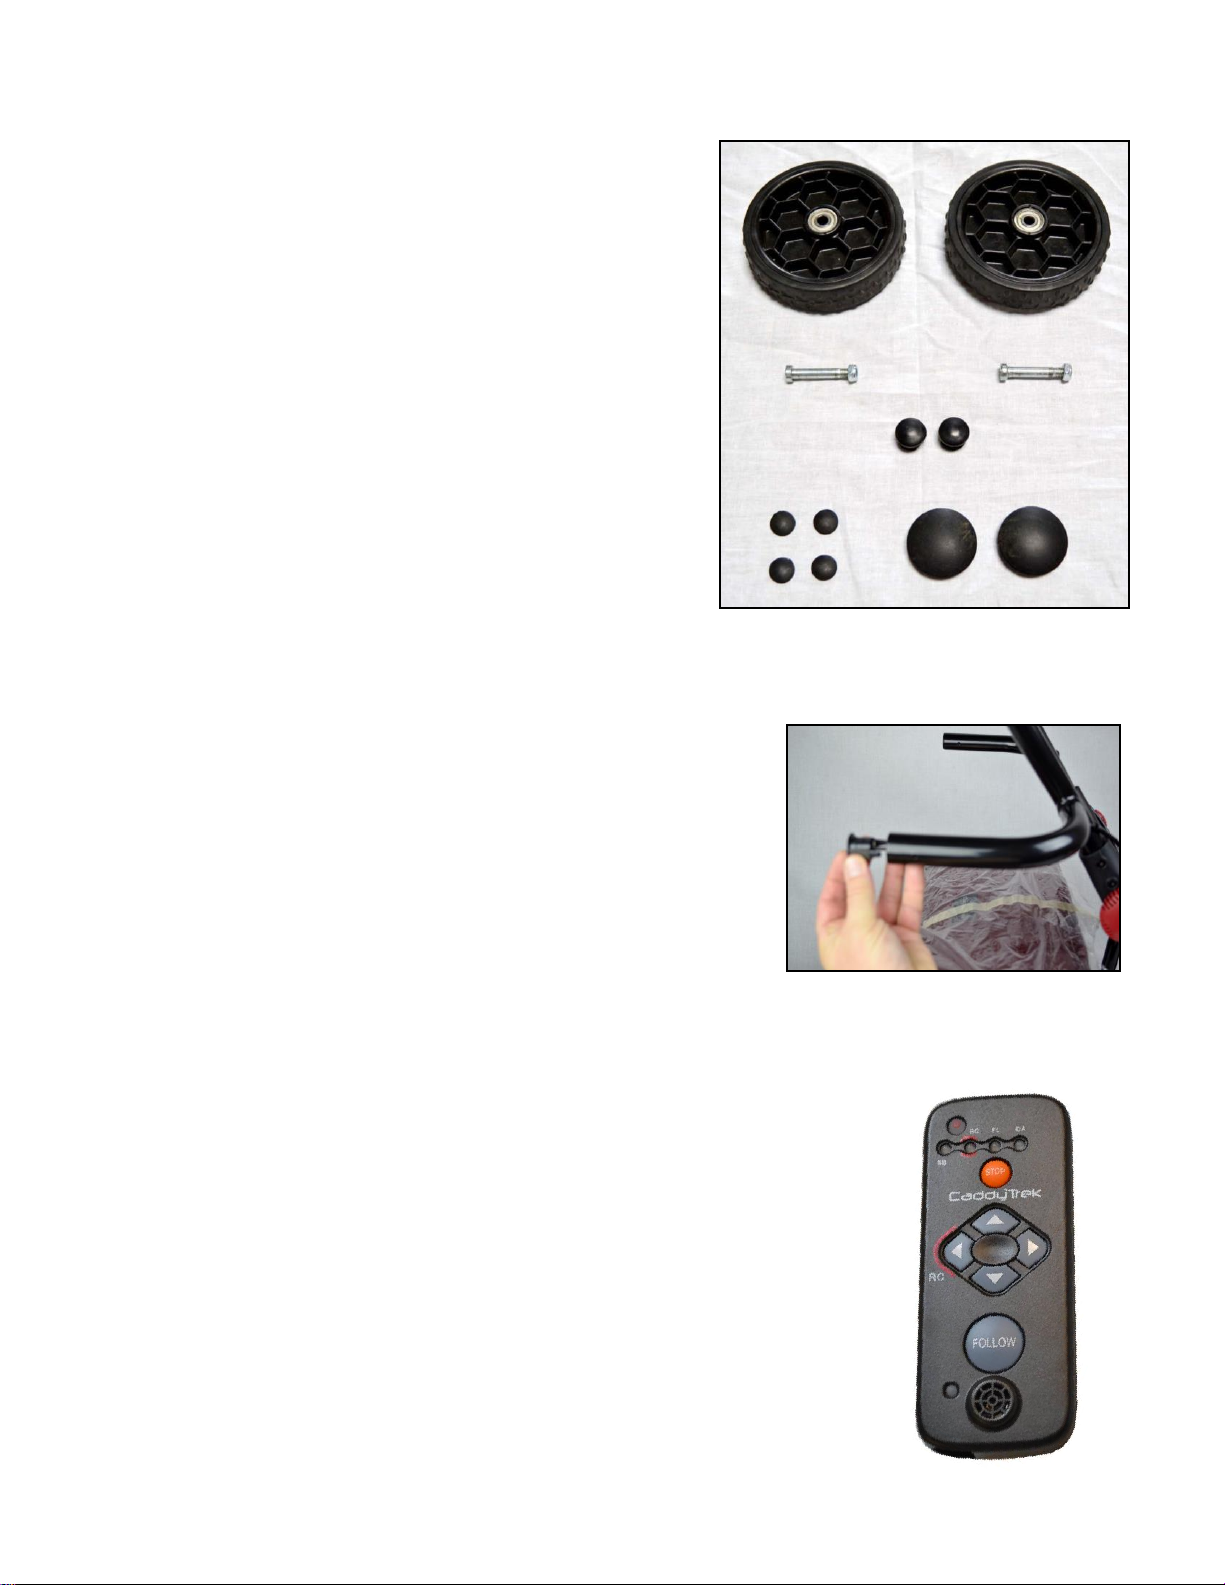
Handset Maintenance
Practice cleanliness with your CaddyTrek handset.
A damp cloth works best for cleaning. Faulty handsets can
cause your CaddyTrek to malfunction or behave strangely.
Keep your handset free from dirt, moisture, and impacts.
Test and press each button making sure it is operational.
Check all modes for functionality: SB (Stand By), RC
(Remote Control), FL (Follow)