Cafe Caps Torino User manual

User manual

“A”
“B”
1 3
2
11
6
7
5
10 9
4
13
14
15
12
8
Détails de la machine à café
Details of the coffee machine
รายละเอียดของเครื่องชงกาแฟ

Max
”G“”E“”C“
1
2
”H“”F“”D“
1 3
2
1
1
3
1 2
3
2
3
1
1
3
2
2
3
3
10
18
6
7
6
C
B
A
4
3
13 13
8
9
11
5
6
16 16
5 5
3
10
16 16
2
4


English Version
1
Read these instructions carefully before using your new coffee machine for the first time.
Keep them in a place where you can find and refer to them later on.
•After removing the packaging, and before using the appliance, make sure the appliance and
all the accessories are working well. If you have any doubt, do not use the appliance until
you consult a professionally qualified electrician.
•The packing materials (plastic bags, expanded polystyrene, nails, etc) should be kept away
from children since they are potential sources of danger.
•Before connecting the appliance, make sure the line voltage is correct. The tag is located on
the bottom of the body of the motor unit.
•If the plus does not fit into the wall outlet, have the wall outlet replaced with another type by
a qualified electrician.
•The use of any electrical appliance implies observance of certain fundamental rules. In
particular:
•do not touch the appliance with wet or damp hands;
•do not use the appliance with bare feet;
•do not pull on the electrical cord or the appliance to pull the plug out of the mains outlet;
•do not leave the appliance exposed to atmospheric conditions (rain, sun, etc.);
•do not allow the appliance to be used by children or disabled persons without
surveillance.
•Before performing any cleaning or maintenance operation, disconnect the appliance from
the mains outlet by removing the plug from the socket or by switching off the electrical
installation.
•If the appliance breaks down or functions improperly, shut it off and do not tamper with it.
Repairs must only be carried out by an after-sales centre authorized by the manufacturer.
Always insist on genuine spare parts.
Non-compliance with what has been stated above could compromise the safety of the
appliance.
•If you decide not to use the appliance of this type anymore, it is recommended that you
make it inoperable by cutting off the mains cord after removing the plug from the mains
outlet.
You should also render harmless those parts of the appliance that could be dangerous,
especially for children who might use an abandoned appliance as a toy.
•This appliance is intended to be used in household and similar applications such as:
- Staff kitchen areas in shop, offices and other working environments;
- Farm houses;
- By clients in hotels, motels and other residential type environments;
- Bed and breakfast type environments
Introduction
General warning

English Version
2
Recommandations
Installation must be performed according to the manufacturer's instructions.
Incorrect installation could cause damage to person, animals and things, for which the
manufacturer cannot be held responsible.
•To avoid dangerous overheating, it is recommended that you unwind the electrical cord to its
entire length and that you use the appliance as recommended in "Precautions".
•Do not allow the power cord to pass around corners, over sharp edges, or over very hot
objects, and keep it away from oil.
•Do not leave the appliance connected when not in use for an extended time. Remove the
plug from the mains outlet when the appliance is not used for an extended time.
•If the electrical cord of this appliance is damaged, it must be replaced by an Authorized
Customer Service Centre since specialized tools are necessary.
•Keep the appliance at a distance of at least 60 cm from washbasins, taps or flames.
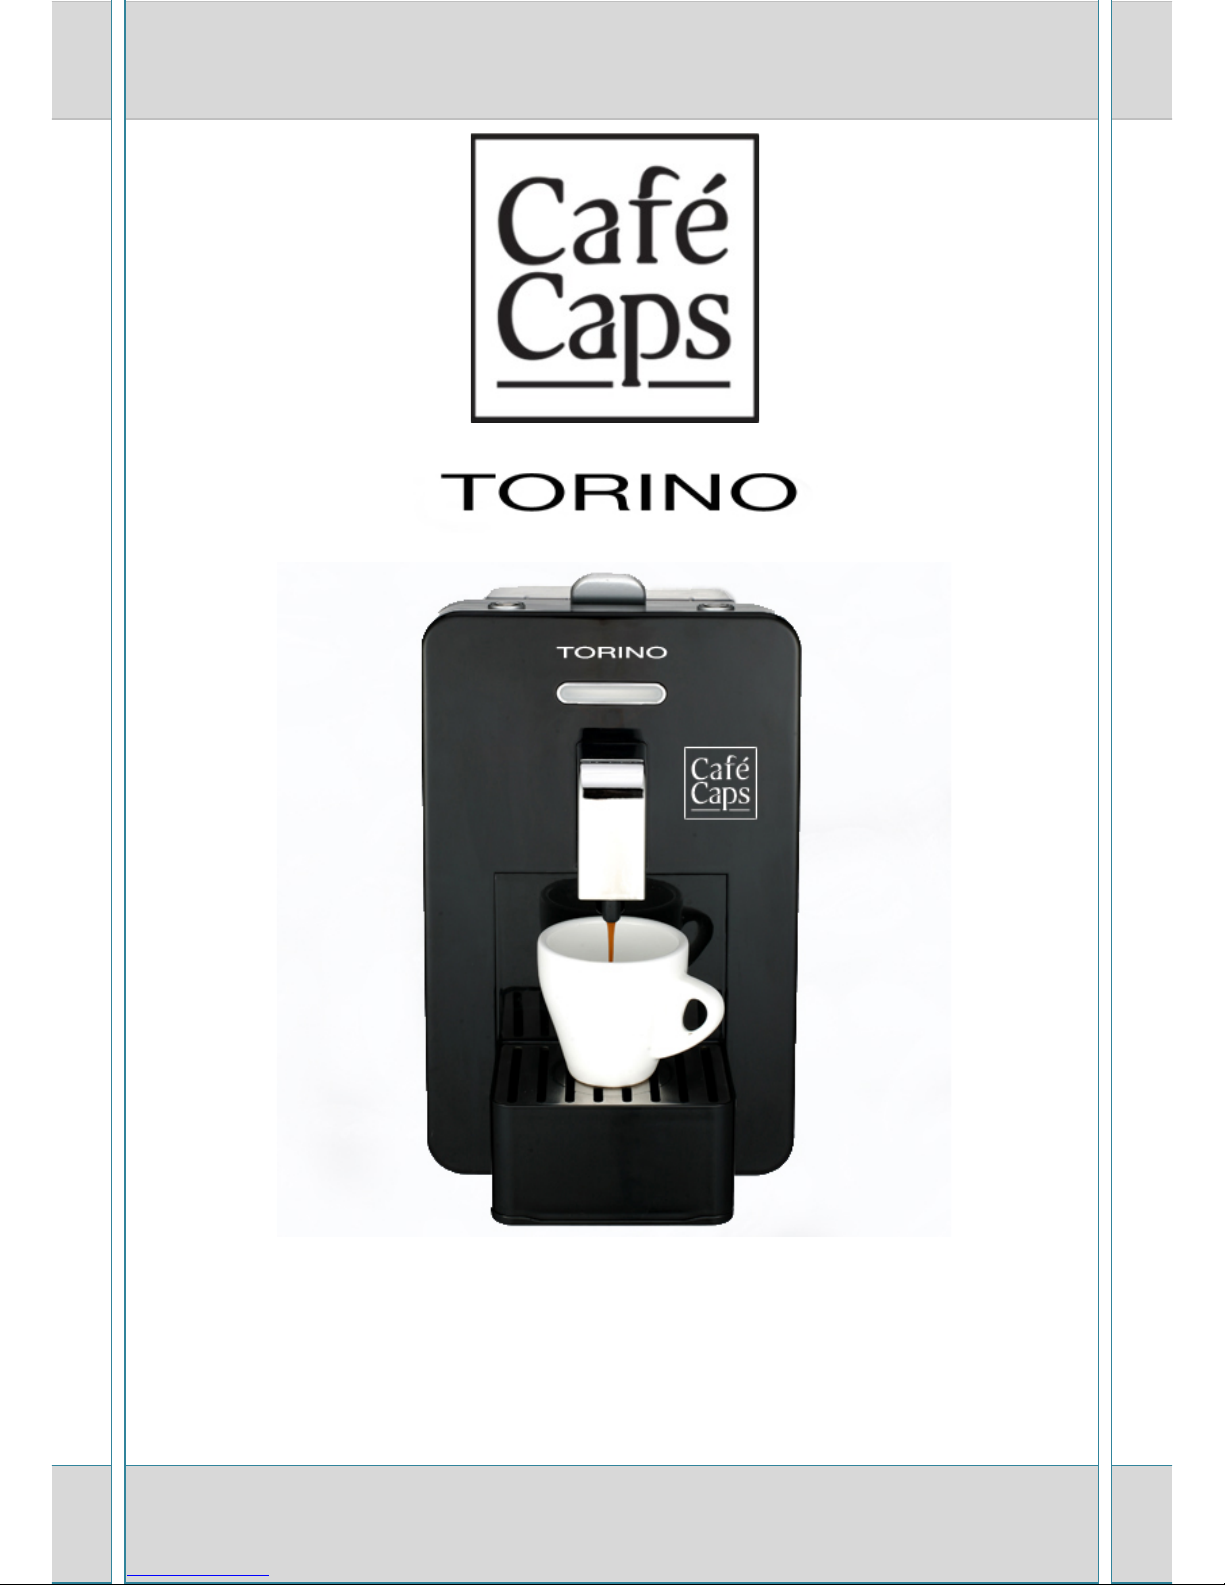
This appliance has been designed to make coffee from capsules and must only be used for this
scope.
Any other use would be improper and therefore dangerous.
The manufacturer cannot be held responsible for any damage deriving from improper,
incorrect or unreasonable uses.
•Before using the appliance, make sure it is in perfect working order. Likewise, the electrical
plug and sheath should not be cracked or broken. If the conditions described above are
observed, immediately unplug the appliance from mains outlet and take it to an authorized
CAFECAPS dealer for necessary checking.
This appliance is not intended for use by persons (including children) with reduced physical,
sensory or mental capabilities, or lack of experience and knowledge, unless they have been
given supervision or instruction concerning use of the appliance by a person responsible for
their safety.
Children should be supervised to ensure that they do not play with the appliance.
•Do not leave the appliance unattended while turned on.
•The electrical safety of this appliance relies strictly on its connection to an efficient
grounding system, as set forth by current safety standards in force. This safety requirement
is of paramount importance and must be ascertained by a skilled electrician.
•The appliance must only be connected to the electrical system with a grounded plug.
•Do not carry and/or pull the appliance holding it by the cable.
•Never submerge the appliance in water when cleaning it.
•The surfaces get hot during use.
•Set the appliance on a flat, even, and stable surface.
•Place the coffee machine in a safe place, where nobody can tilt it or be harmed by it.
•Do not use the coffee machine in the open air. Never leave the machine in areas where
temperatures are lower or equivalent to 5°C if it is filled with water.
•Do not place the appliance on hot surfaces or close to open flames, as this will damage the
appliance
•If the appliance will be not be used for an extended time period, empty the water tank.
•Should there be a problems with the appliance, contact an authorize CAFECAPS dealer.
•Avoid repairing the appliance on your own.

English Version
3
•Any repairs carried out on the device by unauthorized personnel will automatically
invalidate the warranty, even if it has not reached the expiry date.
•These instructions contain essential information for proper operation and accurate
maintenance of the appliance as well as information on appliance functions.
•Understanding such information and adhering to the instructions given in this booklet is
critical for hazardless, safe operation and maintenance of the appliance.
•Please contact your local retailer or the manufacturer if you require further information or if
you encounter problems that you feel have not been adequately covered or explained
clearly in these instructions for use.
•Also, please note that the contents of this instructions manual are not part of any earlier or
existing arrangement, legal agreement or contract and that no future arrangement,
agreement or contract will alter the substance of the contents in this manual.
•All of the manufacturer's obligations are contained in the appliance sale agreement, which
also contains the full and exclusive terms and conditions of guarantee.
•All the terms of guarantee contained in the sale agreement are neither restricted nor
extended by way of these explanations.
•These instructions for use contain information protected by copyright.
•These instructions for use may not be photocopied or translated into another language
without the prior written permission of the manufacturer.
The manufacturer accepts no liability for damage caused by:
•Use which is improper or which does not conform to that which is intended;
•Repairs that are not carried out at an authorized CAFECAPS dealer;
•Tampering with the power table;
•Tampering with any component of the appliance;
•Malfunctions caused by water scale and by failure to periodically de-scale the unit;
•Malfunctions caused by operating the appliance at voltages other than that specified on the
nameplate;
•Use of non original parts and accessories.
In such cases the warranty shall be null and void.
For more information, or for issues either not covered or not sufficiently covered in these
instructions, please contact your CAFECAPS dealer.
Legal notice

English Version
4
• Pump…………………………………………….……………… 20 bar
• Water tank capacity…………………………………….………...1.5 L – 50.72 FL.OZ.
• Appliance size…………………………………………….….. (cm) (L*W*H): 35 x 17 x 28
………………………………………………………………….(in) (lxpxh): 13.8” x 6.7” x 11”
• Weight………………………………………….……..…………5.3 kg – 11.68 lb
• Capsule container……………………………..............…………15 CAFECAPS capsules
•Power………….…………………………………………….1200 W – 230 v 50-60 Hz
NAMES OF PARTS (Figure A)
Product specifications
1. Body of the appliance
2. Coffee dispenser nozzle
3. Capsule loading lever
4. Capsule insertion door
5. Water tank (removable)
6. Drip grill
7. Drip tray and capsule receptacle
(removable)
8. Water softening filter
9. Appliance on/off switch
10. Capsule insertion box
11. Switched on appliance indicator
- Flashing: appliance in heating mode
- White: appliance ready
- Red: water finished or capsule container full
12. Display
13. Small beverage dispensing luminous button
14. Large beverage dispensing luminous button
15. Standby luminous button
Standby function: when held pressed the appliance
goes into standby and consumes less than 2W.

English Version
5
•Extract the tank (5) by raising it upwards and remove the cover (16). (Fig. "Dl")
•Fill the tank with water until the indicated maximum level. (Fig. "D2")
•Reinstall the tank by resting it on the water valve. Press the top part of the appliance until
you hear a click. To avoid water from leaking out, make sure that the tank is securely
fastened. (Fig. "D3")
•Mount the cover (16). (Fig. "D3")
Before filling the tank, ALWAYS disconnect the plug from the electrical socket.
Use cold top water only to fill the water tank. Use fresh water every time you fill the tank. Do
not use sparkling mineral water or other fluids.
Always ensure that there is water in the tank. Running the water pump with no water in the
tank will cause the pump to overheat.
When using for the first time, or if the appliance has been switched off for a long time, you must rinse it
first. By performing this quick procedure, you will ensure that all inner circuits are rinsed.
•Wash the tank (5) using a hard brush, water and dishwashing liquid, then clean it thoroughly,
dry and reposition it.
•Fill the tank with water until the indicated maximum level.
•Switch the appliance on by pressing the button (9).
•Remove the grid (6).
•With the appliance heated up, and without inserting any capsule, press the button (14) and
wait for dispensing to finish. Repeat the operation 2 or 3 times. The water dispensed will be
collected in the drip tray (7).
Before the preparation of the coffee, the appliance has to warm up
•Fill the tank with water until the indicated maximum level.
•Insert the plug of the power cord into the electrical socket.
•Switch the appliance on by pressing the button (9).
Note
When switching on, the pump is activated charging the circuit, the flattening (11), (13) and
(14) start flashing and the appliance performs a short heating and system cleaning cycle.
(Heating-up phase)
•When the correct temperature is reached, the flattening (11), (13) and (14) light up
constantly.
Starting/warming up the coffee machine
Rinsing the appliance inner circuits (Figure A - D)
Filling the tank (Figure D)
Use

English Version
6
Only use espresso coffee from capsules
Make certain that there is enough water in the tank (5). Do not use the
machine without water in the tank (5). Check that the capsule container (7) is
empty.
•Place a cup on the grid (6) and center it under the dispenser nozzle (2).
•Slowly lift the control lever (1) back (until it stops) (3). (Fig. "Fl")
•Open the capsule insertion door (10). (Fig. "F2")
•Put the capsule into the special compartment (4) placing its outer edges in
the guides. (Fig. "F2")
•Close the capsule insertion door (10).
•Completely lower the lever (3). (Fig."F3")
•Press button (13) or (14). (Fig."B")
•As soon as the programmed quantity of product has been dispensed, dispensing stops
automatically.
•When the supply has finished lift back slowly the control lever (3) (until shutdown) for
remove the used capsule.
Note
The grid height (6) can be adjusted depending on the cup size.
To adjust the height of the grid (6) position or remove the drip tray (18) (Fig. "G").
Useful tip
Use thick cups when preparing Espresso and try to heat them beforehand. This will keep your
coffee warm for longer.
The machine will go into standby after not being used for 15 minutes. To switch the machine back
on, press the button (15). (Fig. B).
•Switch the appliance off by pressing the switch (9)
•Switch the appliance on by pressing the switch (9) and keep the button (15) down; the
display (12) shows the total number of supplies.
Every 10 supplies the display shows the symbol 1_1 full drawer; you need to empty the drawer.
•Lift up the drip tray (7) slightly and extract it from the appliance.
•Remove the container (A) from the tray, empty it and rinse it.
•Clean ail residues of water and coffee from the tray (B), the drip tray and the grid (6).
•Reassemble ail the parts and insert the complete drip tray (7) back into the appliance. The
counter sets automatically to zero by inserting a new capsule.
Emptying the capsule receptacle (Figure H)
Dispensing counter
Energy saving
Preparation of a coffee (Figure A- B –F)

English Version
7
•Switch the appliance off by pressing the switch (9).
•Switch the appliance on by pressing the switch (9) and holding the button (13) down.
Note:
The buttons (13) and (14) start flashing quickly and the display shows the writing "LS".
•Press the button (13) to set the small beverage dispensing temperature.
Note:
The display (12) shows the writing "S" for 2 seconds and then the default temperature
expressed in "°".
•Press the button (14) to increase the temperature or press the button (13) to decrease it (min.
65 °C / max. 106 °C).
•Press the button (15) in order to memorize the temperature.
•Press the button (14) to set the large beverage dispensing temperature.
Note:
The display shows the writing "L" for 2 seconds and then the default temperature expressed
in "°".
•Press the button (14) to increase the temperature or press the button (13) to decrease it (min.
65 °C / max. 106 °C).
•Press the button (15) in order to memorize the temperature.
•Press the button (15) to exit the temperature setting.
•Switch the appliance off by pressing the switch (9).
•Switch the appliance on by pressing the switch (9) and holding the button (14) down.
Note:
The buttons (13) and (14) start flashing quickly and the display shows the writing "LS".
•Press the button (13) to set the small beverage dispensing portion.
Note:
The display (12) shows the writing "S" for 2 seconds and then the default portion expressed in
"cc".
•Press the button (14) to increase the portion or press the button (13) to decrease it (min. 20
cc / max. 240 cc).
•Press the button (15) in order to memorize the portion.
•Press the button (14) to set the large beverage dispensing portion.
Note:
The display shows the writing "L" for 2 seconds and thon the default portion expressed in
"cc".
•Press the button (14) to increase the portion or press the button (13) to decrease it (min. 20
cc / max. 240 cc).
•Press the button (15) in order to memorize the portion.
•Press the button (15) to exit the portion setting.
Programming the quantity
Programming the temperature

English Version
8
•Without inserting any capsule, press the button and wait for dispensing to finish. The water
dispensed will be collected in the drain tray (12, figure 1).
•Empty the drain tray.
•To clean the body of the appliance (1) uses a wet cloth but do not use abrasive detergents.
•After each use:
- Lift up the drip tray (7) slightly and extract it from the appliance.
- Wash the components (A, B, C and 6) with lukewarm water and normal dish-washing
liquid.
- Empty the water from the tank (5), rinse and dry it.
Do not wash the components (A, B, C and 6) or the tank (5) in a dishwasher.
•Before plugging the appliance into the mains, make sure that it and its components are
completely dry.
Before cleaning,ALWAYS unplug from the mains outlet.
Never immerse the body of the appliance (1) in water or other liquids nor wash it in am
dishwasher.
It is forbidden to dry any part of the appliance in conventional and/or microwave ovens.
•Power off and unplug the appliance if it is not going to be used for a prolonged period of
time.
•Store the appliance in a dry place, away From dust and out of the reach of children.
•We would advise you to store the appliance in its original packaging.
•Temperatures in the storage area should not be lower than 5°C, to avoid damage to the inner
parts of the appliance from water freezing inside it.
Long periods without using the appliance
Cleaning the appliance
Daily Cleaning
Maintenance

English Version
9
The formation of lime scale is a natural consequence of using the appliance. De-scaling is necessary
every 5-6 months; if the water is very hard, you need to de-scale the appliance more often. To de-
scale your machine, you can use any commercially available non-toxic, non-harmful de-scaling
product.
•Switch off the appliance.
•Remove the tank and empty it.
•Fill the tank with the de-scaling solution following the instruction on the product package.
•Remove the grill.
•Switch on the appliance.
•Without inserting any capsule, press the button (13) and wait for dispensing to finish. The
water dispensed will be collected in the drip tray (7).
•Switch off the appliance.
•Leave the de-scaling solution in for about 10-15 minutes, with the appliance off.
•Repeat the procedure from point 5 to 7 tilt the de-scaling solution tilt the tank is empty.
•Remove the water tank, rinse it accurately and fill it again with fresh water.
•Switch on the appliance.
•Without inserting any capsule, press the button (13) and wait for dispensing to finish. Repeat
the operation until the tank is emptied. The water dispensed will be collected in the drip tray
(7).
•When the tank is empty, switch off the appliance.
•Fill the water tank again and repeat the procedure from point 12.
•When the second rinsing cycle is complete, fill up the tank again. The appliance will now be
ready for use.
De-scaling

English Version
10
If the machine is not working properly, make the simple checks set out below. If the problem is not
among those listed or if it still persists, even if you follow the advice given, contact an authorized
CAFECAPS dealer.
Problem
Causes
Corrective action
The product is not
dispensed.
•
The tank is empty.
•
The water tank is not fully
seated.
•
Capsule drawer full.
•
The ducts are blocked with
limescale.
-
The pump is defective.
•
Fill the tank.
•
Seat the tank properly.
•
Empty the capsule
receptacle.
•
Carry out decalcification
•
Contact CAFECAPS dealer.
The coffee is
not
hot enough.
•
Cups are cold.
•
The heating system is
defective.
•
Pre-heat the cups
•
Contact CAFECAPS dealer.
The pump is too noisy.
•
The water tank is not fully
seated.
•
The pump is defective.
•
Seat the tank properly.
•
Contact CAFECAPS dealer.
A few drops come out of
the dispen
ser, especially
when the machine is
warming up.
•
This is not a fault.
•
If is normal for a few drops
to come out, this is not a
defect.
Coffee tastes sour.
•
The machine was not rinsed
properly after descaling.
•
Re-rinse the machine.
Display
Alarm
Corrective action
E_1
•Temperature alarm.
•Contact the dealer.
E_2
•
The water tank is not fully
seated.
•
Seat the tank properly and
switch on the appliance.
•
If the problem persists,
contact CAFECAPS
dealer.
E_3
•
Water shortage.
•
Refill the tank.
I_I
•
Full capsule drawer.
•
Empty the drawer.
Troubleshooting

English Version
11
•This produce complies with the Directive 2002/96/EC.
•The symbol representing the crossed out trash can on the appliance indicates that the
product, at the end of its useful life, must be treated separately from domestic waste. It must
be taken to a recycling center for electrical and electronic appliances or turned in to the point
of sale when purchasing a new, equivalent, appliance.
•The user is responsible for taking the appliance to the recycling center at the end of its life,
under penalty of the sanctions foreseen by the current legislation on waste handling.
•Correct consignment of the no-longer used appliance to a recycling center for treatment and
environmentally compatible elimination contributes to avoiding a negative impact on the
environment and public health, and permits recycling of the materials from which the
product is made.
•For more detailed information regarding the available collection systems, contract the local
refuse center or the store where the product was purchased.
•The manufacturer and the importers comply with their responsibility for recycling, treating
and environmentally compatible disposal of waste both directly and in a collective system.
Disposal

Cafecaps Ltd.
105 Sukhumvit Soi 57
Klongton Nua, Wattana
Bangkok, 10110
+66 2 392 1978
Table of contents
Other Cafe Caps Coffee Maker manuals