manuals.online logo
Brands
  1. Home
  2. •
  3. Brands
  4. •
  5. Califone
  6. •
  7. Cassette Player
  8. •
  9. Califone 5275 User manual

Califone 5275 User manual

Page
2
SPECIFICATIONS
Power output:
Wow and Flutter:
Audio Frequency Response:
Signal
to
Noise Ratio:
Mic Input:
Aux
Input:
Aux Output:
Sync Track Frequency Response:
Sync
Input/Output:
Sync
Tones:
Fast Forward/Rewind Time:
Speaker:
Power Source:
Dimensions:
Weight:
2 watts
continuous
(rms) into 9 ohms at less than 5%
THD,
Less than 0.22% wrms
8Hz to 10kHz
+/-3dB.
45 dB minimum unweighted.
0.25
mV
sensitivity, for use with microphones with
impedance ratings between 50 and
5,000 ohms.
250 mV sensitivity at 15,000 ohms impedance.
500
mV from
0 dB reference tape, 250 nW/m.,
I,000
ohms impedance
80
Hz to
8,000Hz
+/- 5
dB.
500 mV rms referred to 250
nW/m.
recorded level
150 Hz Tape Stop/Restart, 1,000 Hz Slide advance.
100 seconds for
C-60
cassette.
5”
round.
12OV
50-60 Hz AC (240V 50-60 Hz option available)
or four D-size batteries.
1
1”
x
1
1”
x
3-1/2”.
Approximately 6.0 Ibs.
DESCRIPTION OF OPERATION
POWER SUPPLY
Power can be supplied to the 5275 either via line cord or bat-
teries. The unit comes wired for
12OVAC
but the wiring can be
changed to 230VAC. Contact the factory for details. Q10 is a
diode-connected germanium transistor, used to keep AC-de-
rived power from being fed into the batteries while offering the
lowest forward voltage drop from the battery supply. D21 pre-
vents
battery voltage from charging C97, eliminating
the
possibil-
ity
of
capacitor leakage causing
the battery
to rundown.
SW9 switches on the power whenever the tape transport is en-
gaged. Thedifferent
LEDs can
be monitored by putting the trans-
port into
Play
and Pause.
AUDIO RECORD/PLAYBACK
The use of an integrated circuit designed specifically for cassette
systems considerably simplifies the circuitry necessary for re-
cord and playback of audio signals in the 5275. This monolithic
IC
contains a preamplifier circuit, an automatic level control cir-
cuit, a bridged power amplifier, and a meter drive circuit. Con-
sequently, the external circuitry for the audio
portion
of the 5275
consists
mainly of switching, equalization, and coupling. The only
active devices are Q12 and Q13, which mute the main amp dur-
ing turn-on while the
preamp
voltages
come
up and stabilize.
Q14,
an Aux Out buffer, and
Q18,
which locks the ALC circuit off
in Audio Playback.
For recording, the Bias Oscillator is turned on via
SW1-5
by bias-
ing
Q2to
saturation. This provides aground
to the emitter of
Ql,
which starts the Bias Oscillator.
With no external inputs
connected
to the unit, the Internal Micro-
phone is automatically connected as a signal input in the Record
Mode. Plugging in an Auxiliary Input disconnects the Internal
Mike; connecting an External Microphone disconnects either the
Internal Mike or the Aux Input. The Internal Loudspeaker is dis-
connected in the Record Mode to eliminate acoustic feedback.
The signal being recorded can be monitored via the External
Speaker Jack by headphones or by a loudspeaker placed far
enough from the signal source to prevent acoustic feedback.
CAUTION: Always be sure the Red Cue (Sync) Rec/Erase light
is OFF when playing an audio-only tape with material recorded
on both sides.
When playing back prerecorded tapes, it is possible, under the
following circumstances, to erase the side of the tape you are not
listening to:
1.
Sync
Rec/Erase On
2.
Erase Prevention Tab for other side is in place (affects home-
made tapes: commercial tapes come with this
tab
removed).
The reason for this is that the Sync Track recorded by the 5275
corresponds to the “other side” of a normal audio-only cassette.
Thus
if
you take a cassette you have recorded and play it on the
5275
with
the Sync Record Switch on, you will erase the side
you
are not listening to unless me small plastic tab at the rear
right
has been pushed out. If the tab has not been removed,
SW8
will
dose. allowing SW5 to turn on the
Sync
Record/Erase circuitry.
Commercial tapes are not subject to this problem as they
come
with no tab in place.
SYNCTONERECORDANDPLAYBACK
The 5275 has circuitry for sensing and recording
150
Hz and 1
kHz
tones for making and using ANSI Standard synchronized
slide programs using one or two slide projectors or one slide pro-
jector with a Sync (Cue) Tone to stop the cassette motor. The fol-
lowing
description primarily
concerns
itself with the 150 Hz sens-
ing circuit; the 1
kHz
circuit is identical in theory, differing only in
time constants, except as noted.
The heart of the circuit is a twin-T network in the feedback of
IC3D.
This network has medium
Q
and makes the IC a sensitive
filter. When the Q issufficientlyincreased, the IC
bewmes an os-
cillator.
The combination of R132 and
R163
makes the network
have only medium
Q;
when
Q8
shunts
R163,
the circuit oscil-
lates, generating a Sync Tone.
Page 3
SYNC PLAYBACK SECTION
Let’s follow
does
a prerecorded Sync
Tone of 150 Hz through the unit,
noting
the difference between what a 150 Hz and a 1
kHz
tone
In the Playback Mode, RL-3 is off, leaving the Sync Track Erase
and Record/Playback Heads connected as shown in the
schematic.
The signal comes
off
the head and is mixed with
2.3V
DC from voltage divider RlO7,
R108,
R111 This DC voltage
biases
IC2A
for midpoint operation. The
signal is amplified and
equalized by
IC2A,
further amplified by Q15, and goes through
SW4-1
and the Sync Out Jack. The
2.3V
DC level is present at
the output of
IC2A,
and is
fed
through
R128
to the emitter of
Q4
and through R141 to the base of
Q5.
SW4-1
is set
to
either Tape
Stop or
Proj
2 for Sync use; the center CM position is
used when
playing a standard audio tape
so
that a 150 Hz audio tone on the
cassette will not command a Motor Stop. When an output is
taken from the Sync Out Jack, the Sync Tone does not proceed
through the 5275, ensuring that a Motor Stop command can not
stop the motor when a program tape is being copied.
VR3 adjusts the level of the Sync signal going into the Tone
Sense and Projector/Motor Control circuits. The signal is fed to
the non-inverting input of IC3D, which is biased by
RI20
and
Rl35. The
twin-T
network feeds back to
IC3D
all but the Sync
Tone. causing the Sync Tone to be greatly amplified. Q16 is on
during normal playback, so the signal proceeds to a
rectifier
and
filter circuit which turns on
IC2D,
a comparator with hysteresis
set
to trigger with any input greater than one signal diode drop
(approx.
0.2V
DC). At this point several things can happen in the
150 Hz circuit; in the 1 kHz circuit, Cl3 turns on
RL-1,
advancing
Projector 1
one
frame.
In the
150
Hz circuit. Q6 is turned on when
IC2D
comes high. If
”
SW4 IS
in
the
Proj
2 position, this turns on RL1, advancing
Pro-
jector
2 by one frame. If SW4 is in the Tape Stop position, Q6
brings the emitter of
Q5
low in comparison with the 2.3V DC de-
rived from
lC2A,
turning on
Q5.
The charge on C96 (at the motor)
is then shunted to ground through RI 64,
Q5,
SW4, and
Q6,
turn-
ing off
Q1
,
and the motor stops. As
the charge on C67 drops to
zero volts,
C102
discharges and Q16 turns off. Current flows
through
Q4
to the base of
Q6,
keeping the motor off until SW7,
the Tape Stop/Restart Switch, is activated.
When SW7 is activated,
5V
DC is fed through D6 to the base of
Q4.
D25,
connected from
RI74
and C63 to the motor (which is
now
off
and effectively at ground), shunts this voltage
away
from
the 150 Hz generating circuit described in the Sync Record
sec-
tion
below,
thus keeping
the
motor from being turned off again
during the restart process. Bringing up the base of Q4 turns it off,
turning
off
Q6,
turning
off
Q5,
allowing C96 to charge, turning on
Q11
and the cassette motor. Q16 is already turned off, so any re-
maining Sync Tone on the tape can not restop the motor. The
collector voltage of Q6 is pulled up by
RR144
and Tape Stop LED
0D18.
CC102onQ16
iisis meanwhile slowly charging; about onesec-
ond is necessary to charge this capacitor and enable the circuit
to tum
the motor off
again.
In the Playback Mode, any external Sync In is shunted to ground
through
Rl45,
bias trap C73 and L4, and RL-3. The Sync Out
Jack disconnects the sync signal from the Sync Tone Sense cir-
cuitry
whenever a connector
is plugged into the
SyncOut
Jack so
that a Motor Stop command on
the
tape will not stop the motor
while a tape is being copied.
During Audio Record, a large amount of Bias frequency signal is
induced in the Sync Playback head;
Q17 shunts
this to ground in
the
Audio Record Mode to keep the electronics from being over-
whelmed by this unwanted Bias
signal.
SYNC RECORD SECTION
SW5
and SW6 enable the Sync (Cue) Tone Erase/Record cir-
cuitry when they are closed, biasing
IC2B
for midpoint operation,
turning on RL-3 and Dl6, and biasing Q2 into saturation, which
starts the Bias Oscillator by providing a ground for the emitter of
Q1.
(For audio recording, the biasoscillator is turned on
by
SW1-
5 whether Sync Record is on or off.) SW6 is located in the tape
transport, behind the right side of the cassette. It closes when the
Erase Prevention Tab of the cassette is in place.
(See
the Cau-
tion in the Audio Playback section regarding accidental erasure
of prerecorded tapes.) SW5 is the front panel Sync Record
Switch.
When SW5 and SW6 are both closed and the transport is en-
gaged. Sync Tones are recorded on the cassette whenever
SW6, Slide Advance
(Proj
I), or
SW7, Tape Stop/Restart (or
Proi
2),
is closed. Sync tones
are
audible through the loudspeaker
during the Sync Record due to magnetic coupling between the
two halves of the Record/Playback Head.
Let’s follow the
signals through the record circuitry of the 150 Hz
section, noting the differences between the 150 Hz and 1
kHz
sections. The 150 Hz section is chosen for this example as it is
the more complicated circuit.
When RL-3 closes, its terminals 9 and 15 shunt to ground the 2.3
V DC bias on the non-inverting input of
IC2A.
This brings the DC
level of
IC2A’s
output to ground, removing this voltage from the
emitter of Q4 and the base of Q5. As a result,
the
Sync Tones
generated by the 150 Hz oscillator can not
turn
off the motor in
the Sync Record Mode.
When the unit is in Audio Record, magnetic coupling between
the two halves of the Record Head induces a very low current 60
kHz
Bias voltage into the input of
IC2A.
Q17 shorts any resultant
output to ground so that it can not be fed into the tone sense cir-
cuitry.
Momentary
closure
of
Tape Stop/Restart Switch SW7 (or short-
ing pins 3 and 5 of the Remote Plug via a remote control unit) ap-
plies
5V
DC to R174 and
D8.
C63
makes
this into a pulse which
is fed through
D15
and R171 into
IC3C,
a one-shot with about a
0.5 second on-time. The positive output from
IC3C
turns on
Q8,
shorting
R163 and greatly increasing
the Q of
the twin-T network.
turning IC3D into an oscillator. The output of
IC3D
goes into IC2B
through a mixing network and level set rheostat VR4. The output
of
IC2B
is fed through the Sync In Jack. If no plug is in this jack,
the signal proceeds through
bias trap C73, L4 directly to the re-
cord head. Record bias is fed to the Record head through C51
andRll4.
The outputs of
IC3D
and
IC3A
are also fed into their
respective
rectifier networks and
IC2D.
It is therefore normal for Projector 1
relay RL-1 to close whenever a 1
kHz
Sync Tone is recorded on
the tape. If SW4 is in the
Proj
2 position, RL-2 will close whenever
a 150 Hz tone is recorded on the tape.
When an external
Sync source
is used, Sync In
Jack J7 prevents
any internally generated tones from reaching the Record Head.
External Sync In senstivity is nominally 500mV.
Connecting
a
plug to Sync Out Jack J6 prevents Sync Tones recorded on the
tape from reaching the sensing circuitry. Sync Out signals
are
also
nominally
5OOmV.
Page 6
TROUBLESHOOTING THE 5275
TROUBLESHOOTING SECTIONS
The Troubleshooting Information on the following pages has been divided
into three sections with subsections in order to make it easier for the techni-
cian to find the particular section of interest. It is recommended that the fol-
lowing outline be used for troubleshooting:
1.
2.
3.
4.
Try out the unit, preferably with the customer’s tape, until the malfunc-
tion occurs.
If the motor works, skip Section I, Power Supply, and go directly to the
relevant section.
Note that the subsections are in functional order; for instance troub-
leshooting a problem with Audio Record means that Audio Playback
must first be verified.
The Sections
are
as follows:
I.
Power Supply and Motor
IIA. Audio Playback
IIIA. Sync Tone Generator
IIB.
Audio Record
111B.
Sync Record
IIIC.
Sync Playback
IIID. Sync and Audio Record
Directions:
Follow
each test in order. The correct voltage or
terminal, which is located on
the
left
side of the unit and has a
waveform
will lead
you
to the next step;
an
in correct rneasure-
black wire connected to It.
ment
will lead you to the defective component(s). From Step
All voltages given are nominal, and
may
be 10% above or
2on, the ground
connectiin
is taken from the negative battery
below the stated voltages.
1.
POWER SUPPLY AND MOTOR
Page 7
I
I
Most of the following tests
are
concerned with components to outside circuitry, so improper voltages on these pins, if ex-
connected to
ICl.
If, at any point, there is
a
performance
ternal pads are
good.
suggest
replacement
of
the IC:PINS 2,
problem and all external components check
good,
recheck
3,4,6,8,13,17.18,19,20.
the DC voltages
on
IC1
The following pins are all AC coupled
IIA.
AUDIO PLAYBACK
IIB
AUDIO RECORD
Page 8
Review the Sync Tone Record and Playback section of the After Step 1, the following text deals directly with
the
150 Hz
General Description; your troubleshooting will be facilitated
section. Component designations for the 1 kHz section are in
by understanding the description of operation given there.
parenthesis where the two sections have common parts.
IIIA.
SYNC TONE GENERATORS
Page 9
Page
10
I
SWITCH DESIGNATIONS TRANSISTOR FUNCTIONS
Q
1 Bias Oscillator
Q
2 Bias Oscillator Enable
Q
3 Projector 1 Relay Drive
Q
4 Motor Restart
0
5 Motor Stop Control
Q
6
Projector 2 Relay Drive, Motor Stop
Q
7 1
kHz
Oscillator Start
Q
8
150
Hz Oscillator Start
Q
9
5.OV
DC Regulation
Q10
Battery Diode
Q11
Motor Supply Regulation/Shutoff
Q12
Power-up Audio Mute Circuit
Q13
Power-up Audio Mute Circuit
Q14 Aux Out Buffer
Q15 Sync Playback
Q16
Motor Restart Tone Interrupt
Q17 Sync Out Shunt
Q18 Playback ALC Defeat
SW Function
SW1
REC/PLAY,
shown in Play
SW2 PA
SW3 ALC
SW4 Tape
Stop/Off/Proj.
2
SW5 Sync Record/Erase
SW6 Slide (1) Advance
SW7 Tape Stop/Restart,
Slide (2) Advance
SW8 Anti-Sync Record
SW9 Main Power
Location
Main PC Board
Front Panel
Front Panel
Jack Panel
Front Panel
Front Panel
Front Panel
Transport, right rear
Transport
INTEGRATED CIRCUIT FUNCTIONS
ICl
TA7224P
Preamp, ALC, Main Amp,
Meter Drive
IC2
TA75324P
A:
Sync
Playback/EQ
B:
Sync Oscillator Out
c:
Proj 1 Drive Comparator
D:
Proj 2 Drive Comparator
1
kHz
Filter/Oscillator
1
kHz
Oscillator Start
150 Hz Oscillator Start
150 Hz Filter/Oscillator
I
RELAY FUNCTIONS
I
RL 1
Projector 1 Advance
RL 2
Projector 2 Advance
RL 3
Sync Record
IC3
TA75324P
A:
B:
c:
D:
II
BAllmY
BLOCK DIAGRAM5275

Other Califone Cassette Player manuals

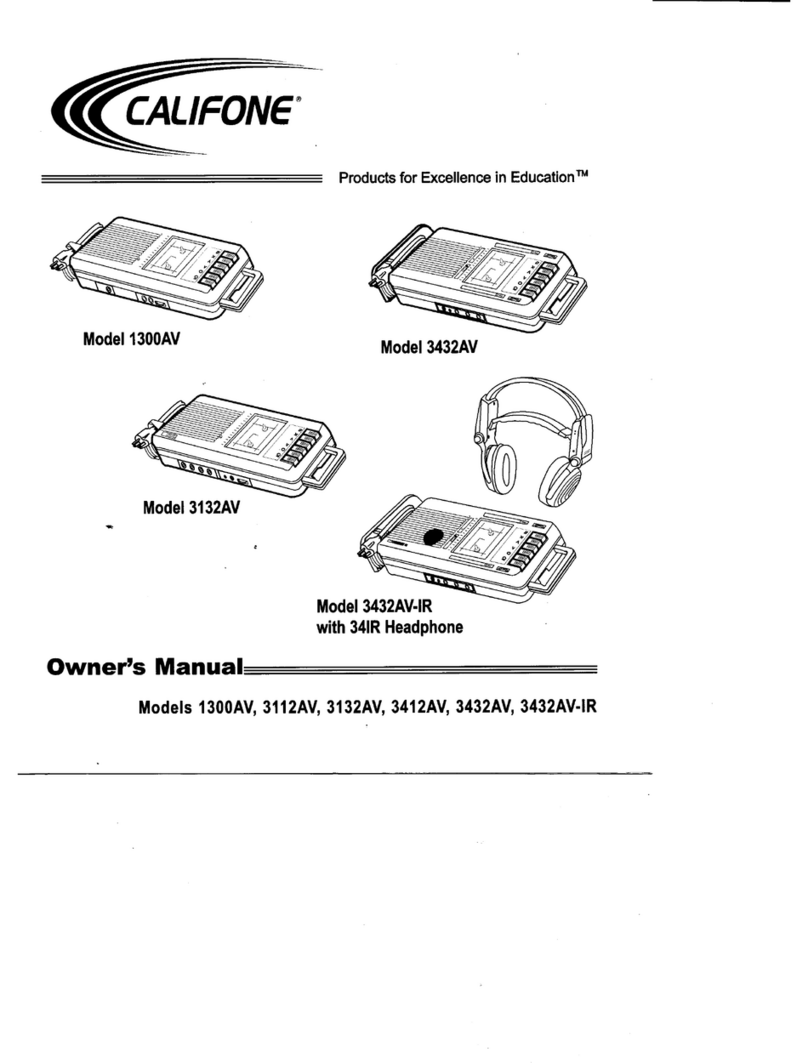
Califone 1300AV User manual

Califone

Califone 1300AV User manual

Califone Califone Economy 3132AV  3132AV 3132AV User manual

Califone

Califone Califone Economy 3132AV 3132AV 3132AV User manual

Califone 3432PLC User manual

Califone

Califone 3432PLC User manual

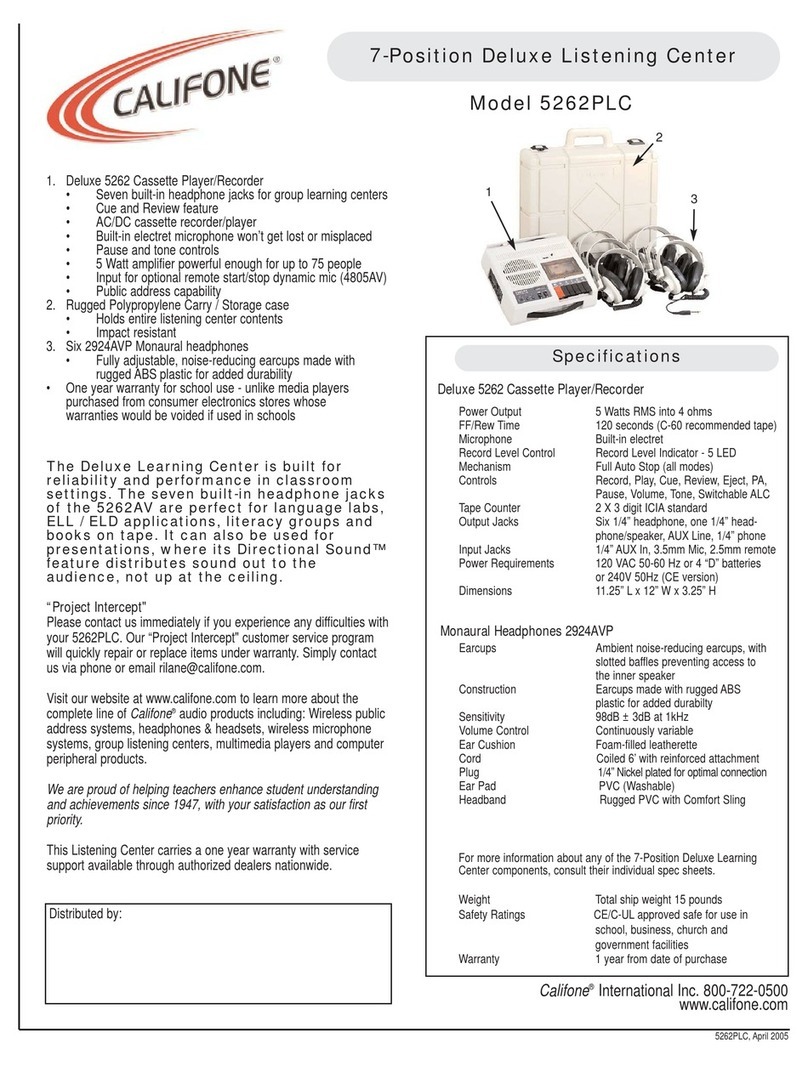
Califone 5262PLC User manual

Califone

Califone 5262PLC User manual

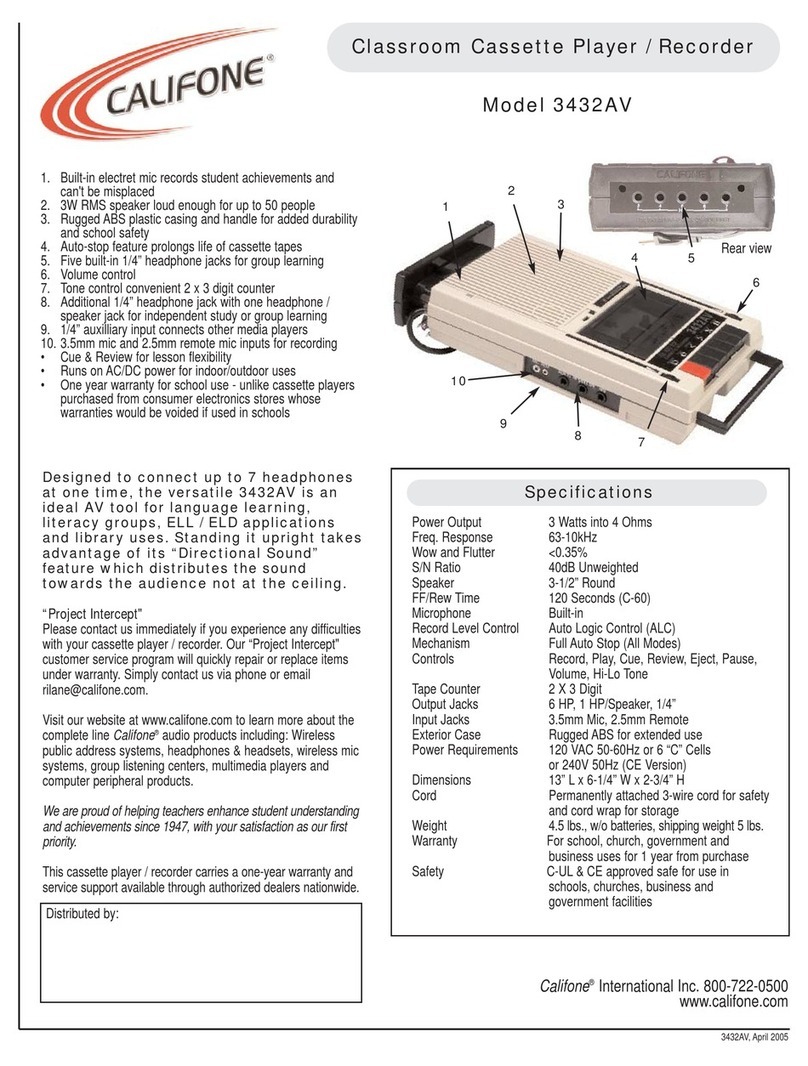
Califone Califone Classroom 3432AV  3432AV 3432AV User manual

Califone

Califone Califone Classroom 3432AV 3432AV 3432AV User manual

Califone Califone 5272AV  5272AV 5272AV User manual

Califone

Califone Califone 5272AV 5272AV 5272AV User manual

Califone 1300AV User manual

Califone

Califone 1300AV User manual

Califone CAS1500 User manual

Califone

Califone CAS1500 User manual

Califone 1300AV User manual

Califone

Califone 1300AV User manual

Califone 1500AV-BL User manual

Califone

Califone 1500AV-BL User manual

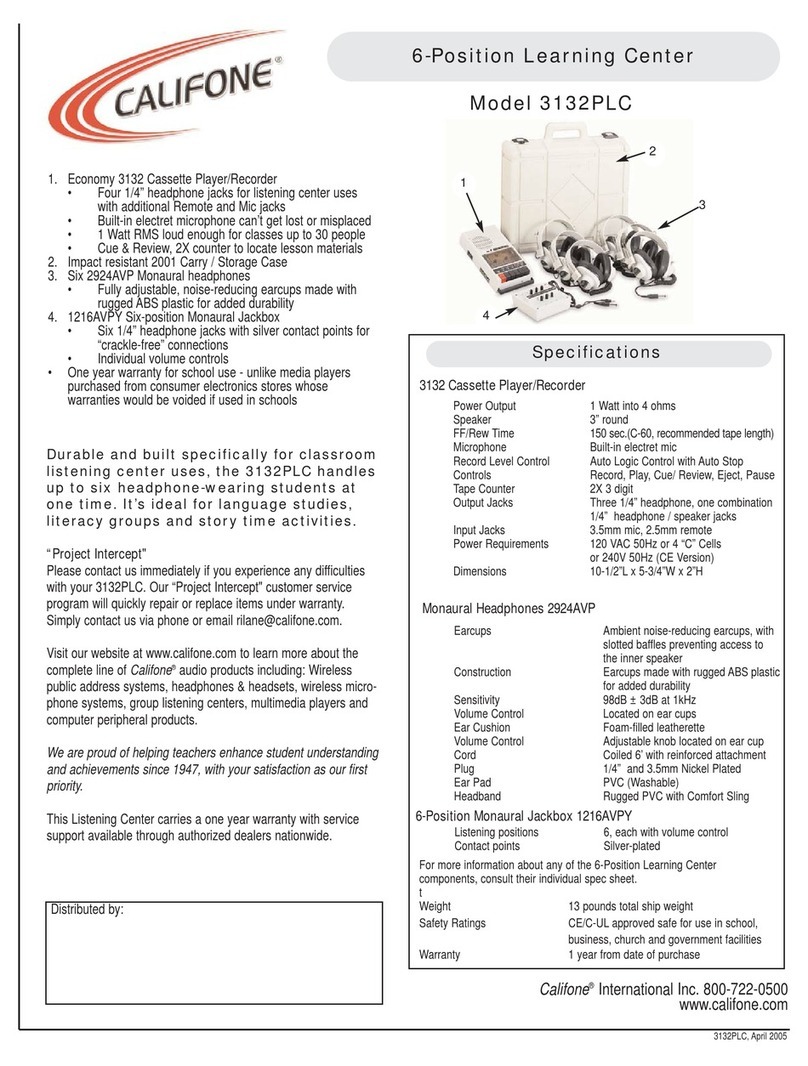
Califone 3132PLC User manual

Califone

Califone 3132PLC User manual

Califone 3432IR-PLC User manual

Califone

Califone 3432IR-PLC User manual

Califone Califone 5262AV  5262AV 5262AV User manual

Califone

Califone Califone 5262AV 5262AV 5262AV User manual

Califone Califone Economy 3112AV  3112AV 3112AV User manual

Califone

Califone Califone Economy 3112AV 3112AV 3112AV User manual

Califone 2395-02 Music MakerPlus User manual

Califone

Califone 2395-02 Music MakerPlus User manual

Califone Califone 1300AV  1300AV 1300AV User manual

Califone

Califone Califone 1300AV 1300AV 1300AV User manual

Popular Cassette Player manuals by other brands

Memorex MX3700 user guide

Memorex

Memorex MX3700 user guide

NAD Monitor 6300 Series Instructions for installation and operation

NAD

NAD Monitor 6300 Series Instructions for installation and operation

Philips D 6650 Service manual

Philips

Philips D 6650 Service manual

Sharp QT-30GD Service manual

Sharp

Sharp QT-30GD Service manual

Sony WALKMAN WM-FX221 user manual

Sony

Sony WALKMAN WM-FX221 user manual

Vitek VT3473 GY instruction manual

Vitek

Vitek VT3473 GY instruction manual

Yamaha KX-10 owner's manual

Yamaha

Yamaha KX-10 owner's manual

Sony Walkman WM-FX271 operating instructions

Sony

Sony Walkman WM-FX271 operating instructions

SoundMax SM-2407 instruction manual

SoundMax

SoundMax SM-2407 instruction manual

Radio Shack 14-1124 owner's manual

Radio Shack

Radio Shack 14-1124 owner's manual

Toa BA-800 Specifications

Toa

Toa BA-800 Specifications

Sony Pressman TCM-4TR Specifications

Sony

Sony Pressman TCM-4TR Specifications

JVC RC-636L Service manual

JVC

JVC RC-636L Service manual

Sony WALKMAN WM-FX221 Getting started guide

Sony

Sony WALKMAN WM-FX221 Getting started guide

Aiwa HS-RX408 operating instructions

Aiwa

Aiwa HS-RX408 operating instructions

Panasonic RQ-C05V operating instructions

Panasonic

Panasonic RQ-C05V operating instructions

Teac W-450R owner's manual

Teac

Teac W-450R owner's manual

Sony CFM-20 operating instructions

Sony

Sony CFM-20 operating instructions

manuals.online logo
manuals.online logoBrands
  • About & Mission
  • Contact us
  • Privacy Policy
  • Terms and Conditions

Copyright 2025 Manuals.Online. All Rights Reserved.