3. Locate Template #1 and find proper hole set by matching letter from Overhang
Measurement Tool (see Step 1). For example: If overhang is 7/8"; corresponding
letter is “C”—use holes aligned with
“C” on Template #1.
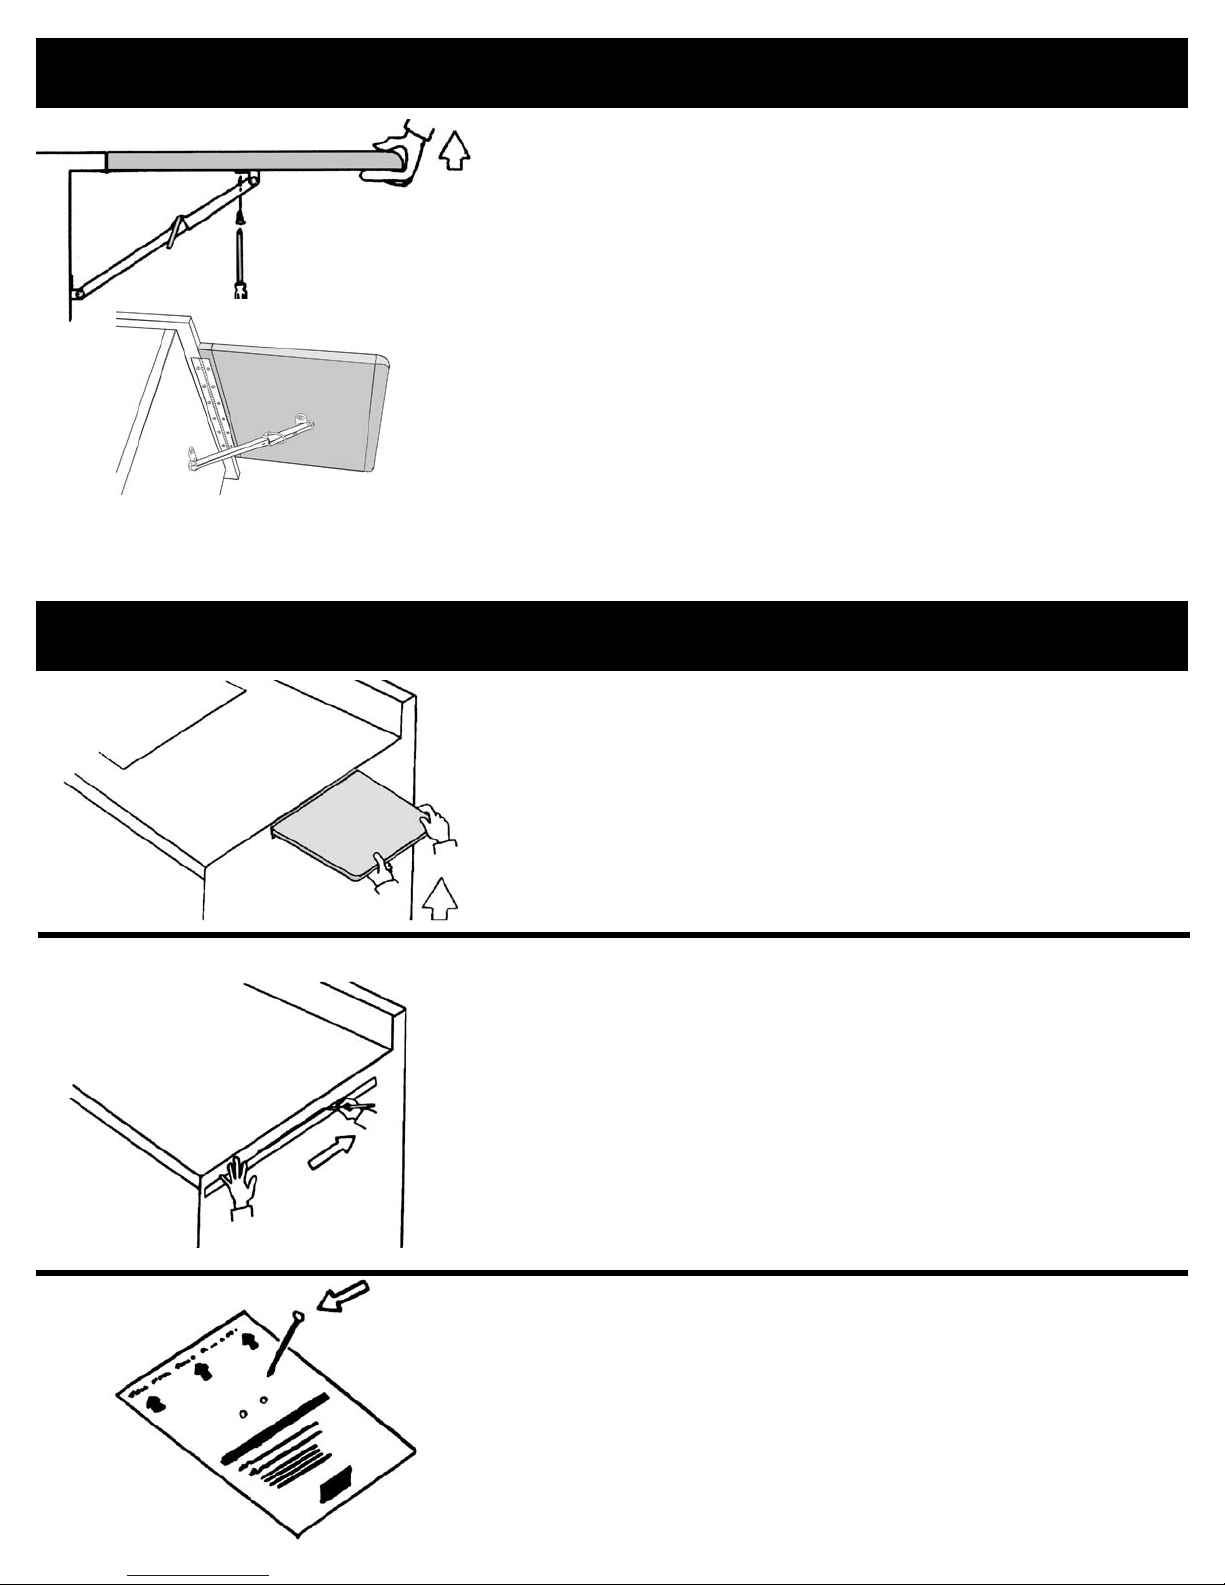
With a nail or pen, carefully punch through both corresponding holes (see Figure D).
Template #1
Figure E).
Example
Template #1.
cabinet side dimensions are listed in Figure F at left. Measure
overhang and find closest listed dimension on chart. Move across to
corresponding side measurement. Using side dimension, measure
(Do not include
hinge thickness in measurement.)
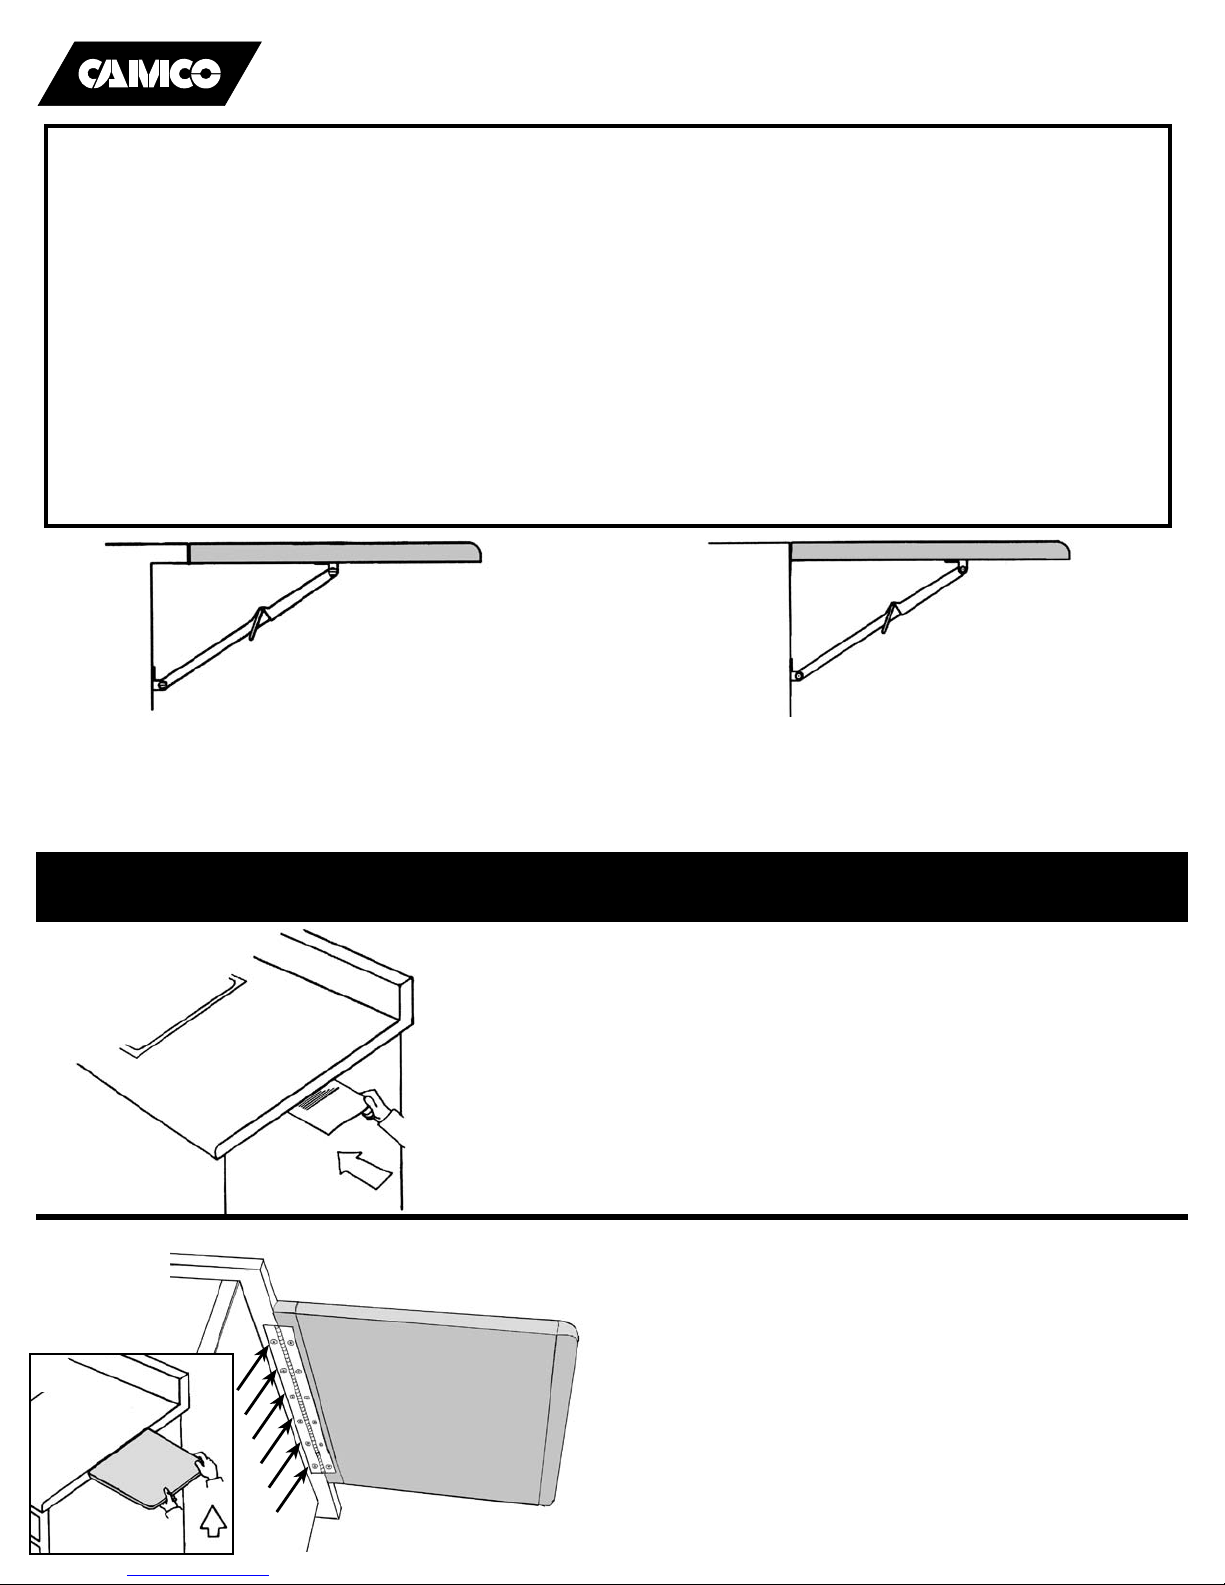
Section A - Countertops with Overhang (continued)
D
E
F
2
G
H
Overhang Side
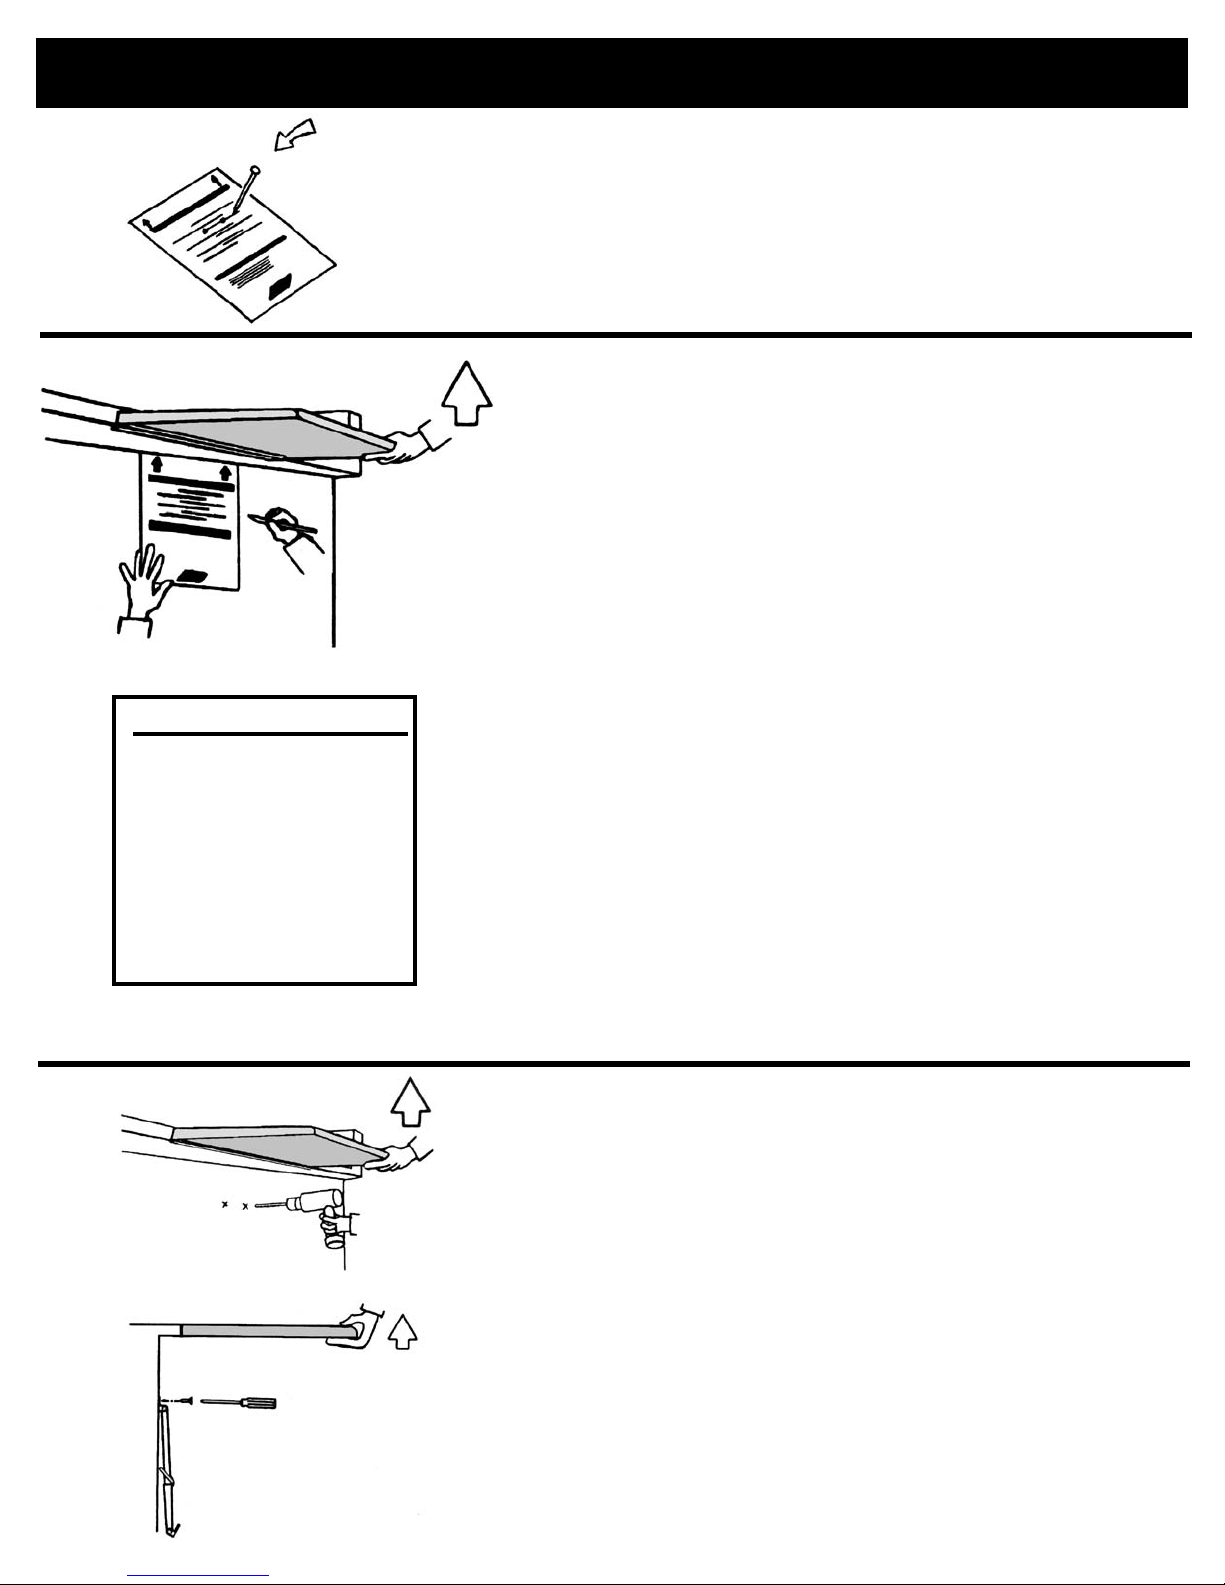
(Figure G).
side with screws provided (Figure H).
be installed on cabinet base.
A-
B-
C-
D-
E-
F-
G-
H-
I-
J-
K-
L-