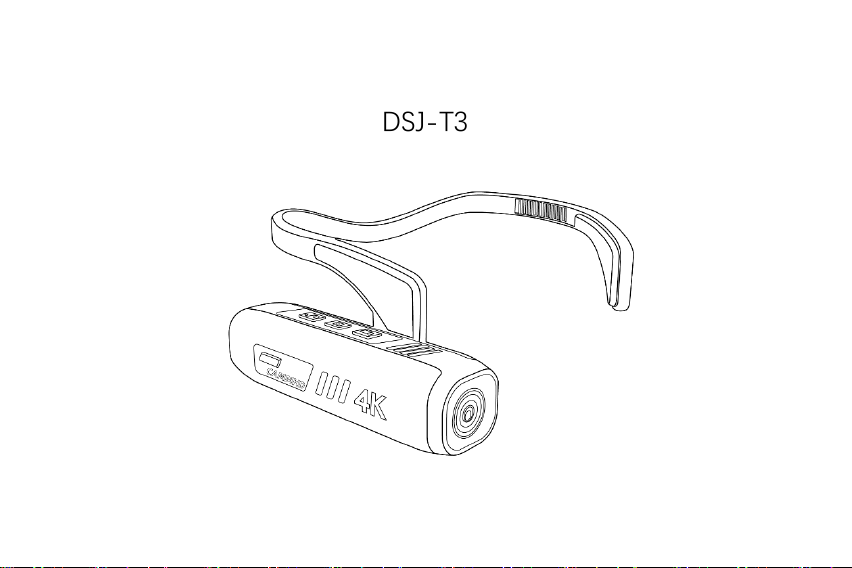
CAMMHD DSJ-T3 User manual

Head Mounted Body Camera User Manual
DSJ-T3

Product structure diagram

⑴USB interface
⑵TF card slot ⑶Reset button
⑷Power button ⑸Camera button
⑹Video button ⑺microphone
⑻Red/green/blue indicator light ⑼HDMI interface
⑽speaker ⑾Lens

Operation guide
Charging: This machine has a built-in rechargeable lithium battery. When using it for
the first time, please do the following:
1. Use USB to connect to the computer to charge.
2. Use a 5V/1A-2A charger for charging.
3. The red light is always on when charging, it can be fully charged in about 6 hours,
and the indicator light is off.
Use:
1. Power on
Press and hold the power button for 2s, the green light will turn on, then press and
hold the power button for 2s to turn off, and the light will turn off.
2. Video
Short press the "record button", the green light flashes slowly to start recording, and
then short press the "record button" to stop recording and save, the green light is
long on.

Note: The length of the recording file can be set through the APP; before recording,
a TF card needs to be inserted.
3. Take a photo
In standby mode, short press the camera button and the green light flashes twice to
take a photo.
4. WIFI on and off
In standby mode, short press the power button to turn on WIFI, and short press again
to turn off WIFI.
5. The computer plays the file
Use a data cable to connect to the computer, or take out the TF card, use a card
reader to connect to the computer to upload, and use a mainstream video player to
play.
Note: The body camera needs to be powered on first and then connected to the
computer.

6. Indicator status description
Indicator color
red light
blue light
green light
Function
charging
indicator
WIFI indicator
work indicator
Long bright
charging
WIFI is connected
The machine is on standby
light flashes
/
WIFI is on but not
connected
On camera
Flash 2 times
/
/
Photograph
flash
/
/
No card / card not recognized /
memory card full
Lights off
finished
charging
Turn off WIFI
shutdown

Download, install and use mobile APP
1. Download and install QScamera, the IOS system can be downloaded in the Apple
Store, and the Andriod system can be searched, downloaded and installed in the
application treasure.
NOTE:If the latest ISO system of the 13 mobile phone or the manufacturer's system of
the pure imported brand mobile phone cannot be connected to the C2 app,Please
scan the "Special Compatible QR Code" below to connect (see the picture below ↓↓
).

2. APP connection
①Long press the power button to turn on the camera and enter the standby state,
short press the power button to turn on the body camera WIFI, the blue light
flashes.
②Open the phone settings menu, enter the WIFI list, and find the local name "QS-
AS05-XXXXXX".
③Click the WIFI name and enter the password "1234567890" to successfully
connect to the WIFI.
④Return to the phone, open "QScamera" to enter the main preview interface.
3. APP video/photo
①Click on the APP and click on connect to WIFI to enter the device connection
interface, click on the recording option below the device. Click the camera icon and
the machine starts recording.
②Click the recording icon to stop recording and save it on the TF card of the
machine.
③Click the photo icon below, the camera will send out a photo prompt sound,

and the photo is completed.

4. APP settings
In the preview interface of the APP homepage, select the corresponding function
(photograph, time-lapse photo, time-lapse video, video) in the bottom image of
the screen, and click the setting icon to enter the setting menu.
The main function settings are: resolution setting, fast recording, anti-shake
function switch, white balance, slow motion, recording time (cycle recording time),
etc.

5. APP playback
In the preview interface of the APP homepage, click the file icon in the lower left
corner, enter the file category, and select the file to view or playback.
6. Download to local and share
①Open the file category on the APP, click the square icon in the upper right corner,
and select the file to be downloaded to download.
②Open the "File Management" folder of the phone, and find the files that have
been downloaded to the local area to share.


7. Delete files
Select the file to be deleted and click the delete icon to delete the file to be deleted
on the TF card on the machine.
Note:
1. The machine time is synchronized with the mobile phone, no additional settings
are required.
2. The video recording with low pixel and high frame number does not support the
anti-shake function, such as 720P@120 frames does not support the anti-shake
function.
3. If the card cannot record video, please connect the camera to the computer to
format the memory card. If you have any questions about formatting, please
contact the email address on the back of the manual.
4. The WIFI cannot be turned on when the machine is recording; after turning on
the WIFI, you cannot operate video recording or take pictures on the body camera.
5. If the machine is abnormal, you can use a sharp object to click the reset button to
restart the camera, and it can work normally.

6. The machine will automatically shut down after 3 minutes of non-recording or
open WIFI state.
7. When the battery is low, the camera automatically stops recording and
automatically saves and shuts down.
8. Do not immerse the body camera in water for a long time.
9. If you need to change the WIFI password, please note that the number of
characters in the password cannot be less than 8 digits. If you have problems with
your WIFI connection, you can always contact us.
If you cannot connect to WIFI or record video, please follow the steps below:
Insert the card into the C2 Camera →connect to the mobile app →immediately
open the "local format" option in the app →format the local memory card →aft
er the above operations are completed, the problem of "dropping" or "not record
ing" can be solved .

Installation and disassembly
Installation and disassembly:Fix the body camera to the headband screw hole
Helmet mount
3M glue is attached to the helmet mount and glued to the helmet, and the other
mount is attached to the machine.

Install TF/SD card
①Make sure the body camera is turned off before installation.
②Open the silicone cover of the Micro SD card holder on the body camera.
③Insert an SD card into the card slot according to the direction of the Micro SD
card in the card slot.
④After the SD card is loaded, cover the silicone cover.
After the above operations are completed, it can be turned on for use.

CAMMHD
Table of contents
Other CAMMHD Digital Camera manuals