CAMOAT RoadSafe1 User manual

CAMOAT RoadSafe1 Dash Cam Recorder
Thank you for purchasing CAMOAT RoadSafe (RS1) – an advanced vehic e dash cam
recorder with a separate disp ay hub system that is specifica y designed to capture
rea -time video of events happening outside your vehic e whi e driving.
The camera is separate from the main disp ay hub and mounted on your car’s
windshie d or rear-view mirror. The separation makes the camera unit sma er and more
discreet which a ows the disp ay hub unit to be stored safe y out-of-sight. The RS1 uses a
170° Wide Ang e Lens for the best fie d of view and records video in crysta c ear Fu HD
1080P to ensure a the important detai s of your trip are recorded. This User Manua
gives you step-by-step instructions and advice to he p you get the best experience from
your new device. P ease read carefu y before using the RS1.
SAFETY PRECAUTIONS
These usage and safety guide ines are important. P ease fo ow them carefu y to ensure
safe conditions and he p protect your RS1 from potentia damage.
Genera Use
•For in-vehic e use on y.
•Do not operate the RS1 whi e driving.
•Never a ow the RS1 to come in contact with water or any other iquids.
•
Do not use the RS1 in environments with strong magnetic fie ds or excessive
vibration.

Mounting Location
•Never p ace the RS1 where the driver’s view or dep oyment of airbags can be
obstructed.
•
Mount the RS1 within the range of the windshie d wipers to ensure c ear visibi ity in
rain.
Package Contents
RS1 HD Camera Lens, Disp ay Hub, Rear-view Mirror & Windshie d Mounting System,
16GB C ass-10 microSD Card, Car Charger, Disp ay Pouch, and Instruction Manua
Features
•Smooth, detai ed FULL HD 1080P recording @ 30fps reso ution
•Bright 2.7” co or TFT screen
•Super wide 170° and 6 g ass wide ang e ens
•WDR (Wide Dynamic Range) video system
•End ess ooping mode
•Auto ON/OFF. Works automatica y without any human touch
•Motion Detection
•Accident Auto Detection, G-Sensor with customizab e sensitivity
•Bui t-in microphone
•Bui t-in speaker
•Supports 10 anguages
•Safety First: NO Li-po ymer battery inside
•Bund ed 16GB microSD memory card

GETTING STARTED
Insta ing the Memory Card
Before you can use or turn on the device, you must insta a memory card.
1. Press the provided memory card into the s ot on the disp ay hub.
2. When you hear a c ick, the memory card is secure in the disp ay hub s ot.
Connecting the Device to Vehic e Power
1. Turn off the vehic e.
2. Mount camera ens on the rear-view mirror or windshie d.
3. Route the HDMI cab e around the interior of the vehic e.
4. P ug the camera ens in the HDMI port on the disp ay hub.
5. P ug the power cab e into a power out et in your vehic e.
6. P ug the other end of the power cab e into a USB port on the disp ay hub.
7.
Turn on the vehic e.
Auto Start
When the device connects to a 12-vo t power out et, the RS1 turns on automatica y
when you turn on your vehic e and powers down when the vehic e turns off.

HDMI Cord Management
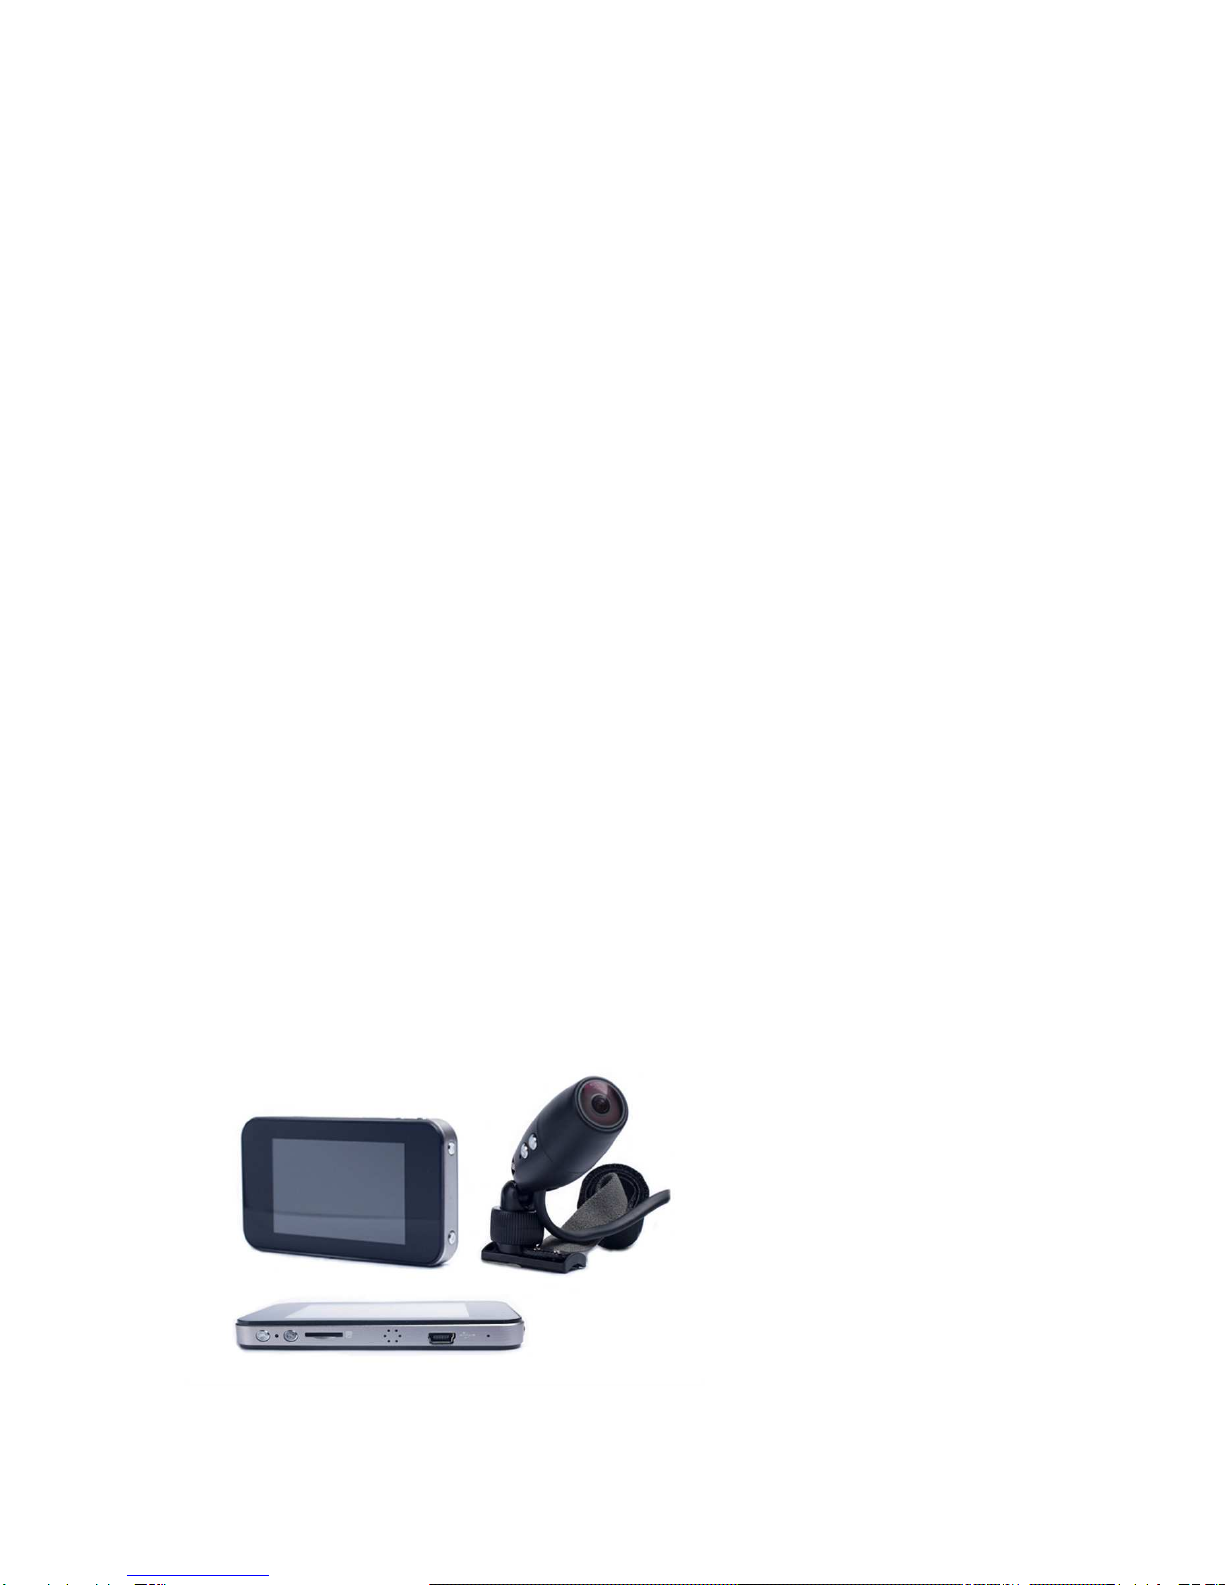
The RS1 comes with an 11 inch HDMI cord. Route the HDMI cord to the disp ay hub.
P ace the disp ay hub in a discreet area such as the g ove box or the bottom/inner side
of driver/passenger seat.
The RS1 is pre-configured with the most optima reso ution setting. Insta the camera ens
onto your windshie d or rear-view mirror so the ens is not b ocking your view. Once the
above is done, and you start your vehic e, the unit starts to record automatica y. Using
the TFT screen, point the camera to where you wou d ike to record.
The TFT screen automatica y powers down, but the RS1 continues to record, and a
green LED ight f ashes to indicate that the unit is recording. To view the disp ay brief y
press the UP or DOWN button and the disp ay turns on and then turns off again after a
brief period.
When you power down the vehic e, the RS1 automatica y powers down after 3 sec. The
recording ength per fi e is adjustab e from 1, 2, or 3 minute segment engths in the oop
setting.
Video Recording
The RS1 immediate y begins recording video when it turns on, and it continues
recording, overwriting the o dest, non-protected videos unti it turns off ( ooping).
Protecting a Video Fi e
The RS1's sensor automatica y detects accidenta co isions. The sensor a so ca ed a
Gravity Sensor (G-Sensor) has sensitivity adjustments in Settings. By defau t, the G-Sensor
is on and is set to Low Sensitivity. When the sensor detects a co ision, the RS1
automatica y ocks the c ip to prevents any overwriting. You can a so manua y protect
videos at any time by pressing the Menu button whi e recording. A key icon indicates
that c ip is ocked and prevents overwriting, the on y way to de ete the fi e is manua y.
Taking a Picture
Press the OK button to stop the RS1 from recording and the on-screen recording icon
stops f ashing. Press the MODE button to switch to Picture Mode. In this mode press the
OK button to take a picture, and push the UP and DOWN buttons to zoom in and out.

Viewing Videos and Photos
The RS1 has a 2.7” TFT screen to ca ibrate the cameras viewing ang e as we as p aying
back video with sound or viewing pictures. The screen a ows the user to be ab e to
change settings without having to p ug the RS1 to a computer. There are 3 modes:
Video, Photo, and Video/Photo p ayback. Press the Mode button when the RS1 is not
recording to a ow the user to se ect between modes.
1. To stop the RS1 from recording, press the OK button.
2. Press the MODE button unti the Video/Photo P ayback se ection appears.
3. Se ect between the videos and photos by using the UP and DOWN buttons.
4. P ay and pause a video using the OK button, and to exit the video, press the MODE
button.
VIDEO SETTINGS / DEVICE SETTINGS
Enter the Video Settings by pressing the MENU button whi e the RS1 is id e and not
recording. Enter Device Settings by quick y pressing the MENU button again. Be ow is a
ist of settings and options.
** Important - Saving Settings
To save settings, after the desired settings are se ected, press the POWER button
to turn the device off and save your most recent settings.
1
VIDEO SETTINGS
Reso ution:
Set the reso ution/qua ity of recording videos, avai ab e options are
1080FHD, 720HD.
Loop Recording:
Se ect 1, 2 or 3 minute oop c ips, or se ect OFF for one continuous
fi e. When the memory card fi s up with c ips, the o dest fi es are overwritten. If Loop
Recording is set to OFF, the RS1 records unti the microSD card is fi ed, and then stops

recording. Format the card to use the device again. Loop Mode is recommended.
Motion Detection:
This is OFF by defau t and shou d not be ON when driving, it is strict y
for a parked vehic e situation.
Record Audio:
ON or OFF; on defau t audio recording is OFF, turn ON to record audio
whi e recording video.
G-sensor:
OFF, LOW, MEDIUM, or HIGH Sensitivity. A so known as the G-Sensor, this
mechanism detects sudden co isions and automatica y ocks the recording to prevent
overwriting. (NOTE: Adjust the sensitivity if the sensor does not detect events or
incorrect y detects events during norma driving.)
2
DEVICE SETTINGS
Date/Time:
Sets Date and Time. Use the OK button to switch between va ues and the
UP and DOWN button to change numbers.
Key Audio:
ON or OFF
Language:
Eng ish, French, Spanish, Portuguese, German, Ita ian, Simp ified Chinese,
Traditiona Chinese, Russian and Japanese.
Frequency:
50Hz or 60Hz. Depending on the region of the wor d being used, 60Hz is
genera y for the America’s and parts of China.
Screen Disp ay:
Set duration for disp ay to automatica y turn off after recording
begins.
Format:
Format the microSD card right on the RS1 instead of formatting the memory
card via computer. Formatting right on the device is usefu for continuous recording
when the microSD card fi s out. (NOTE: Check and format microSD card once per
month is recommended.)

Defau t Setting:
Restores the RS1 back to factory settings.
Version:
Current operation version.
FEATURE SHORTCUTS
He pfu one button press shortcuts for key features are be ow.
•Microphone: To togg e between ON and OFF press the mute button on the camera
ens whi e recording.
•Recording: Press the recording button on the camera ens to force START or STOP
record.
TROUBLESHOOTING
If a prob em occurs with your RS1 p ease first check the information isted be ow before
send your device for repair.
I was using my RS1, and now no buttons are responding.
Try unp ugging the car adapter from your RS1, and then reconnecting it to your RS1
again.
Why my RS1 cannot read videos on my memory card?
•Edited and deformed videos may not disp ay proper y on your RS1
•RS1 on y p ay fi es generated by RS1.
SUPPORT
At CAMOAT we be ieve customer support is paramount. Shou d the troub eshooting tips
above be of no use? P ease contact us immediate y.

WARRANTY
1 Year Manufacturer Limited Warranty
CAMOAT warrants to you, the origina retai purchaser (“Consumer”), that this product
(“Product”) wi under norma use operate substantia y in accordance with the
accompanying documentation for a period of one (1) year from date of origina
purchase. Consumer’s so e and exc usive remedy and CAMOAT’s so e and exc usive
responsibi ity under this warranty wi be, at CAMOAT’s option, either to repair or rep ace
the defective Product during the one (1) year imited warranty period so that it performs
substantia y in accordance with the accompanying documentation on the date of
your initia purchase. Any rep acement may be, at the option of CAMOAT, a new or re-
manufactured Product. If CAMOAT, in its so e discretion, determines it is no reasonab e
to rep ace the defective Product, CAMOAT may refund to Consumer the purchase
price paid for the Product.
www.camoat.com
Table of contents