Outstanding
Features
Variable
~hutter
Opening
Angle
Mechanism
The variable shutter opening angle mecha-
nism sets the angle at 220°
for
XL filming,
150°
for
regular shooting and 150° - 0°
for
fading effects. Exposure is automatically
set at either 220° or 150° to insure correct
exposure. The variable shutter opening
angle is a unique double-blade mechanism.
Synchronous
Domle
Sound
Recording
System
Shooting
with
synchronous sound record-
ing is possible because
of
abuilt-in pulse
generator and by using exclusive adapter,
stereo tape recorder
for
good quality
sound.
XL
echanism
Excellent
for
Indoor
Shooting
It is possible to film under dim light con-
ditions, a dark room or at
night
because of
this camera's features such as its ac-
ceptability of highly sensitive film, 220°
shutter opening angle, exceptionally fast
lens, highly sensitive exposure meter. The
bright viewfinder an9 highly accurate
range-finder are additional advantages for
this kind
of
photography.
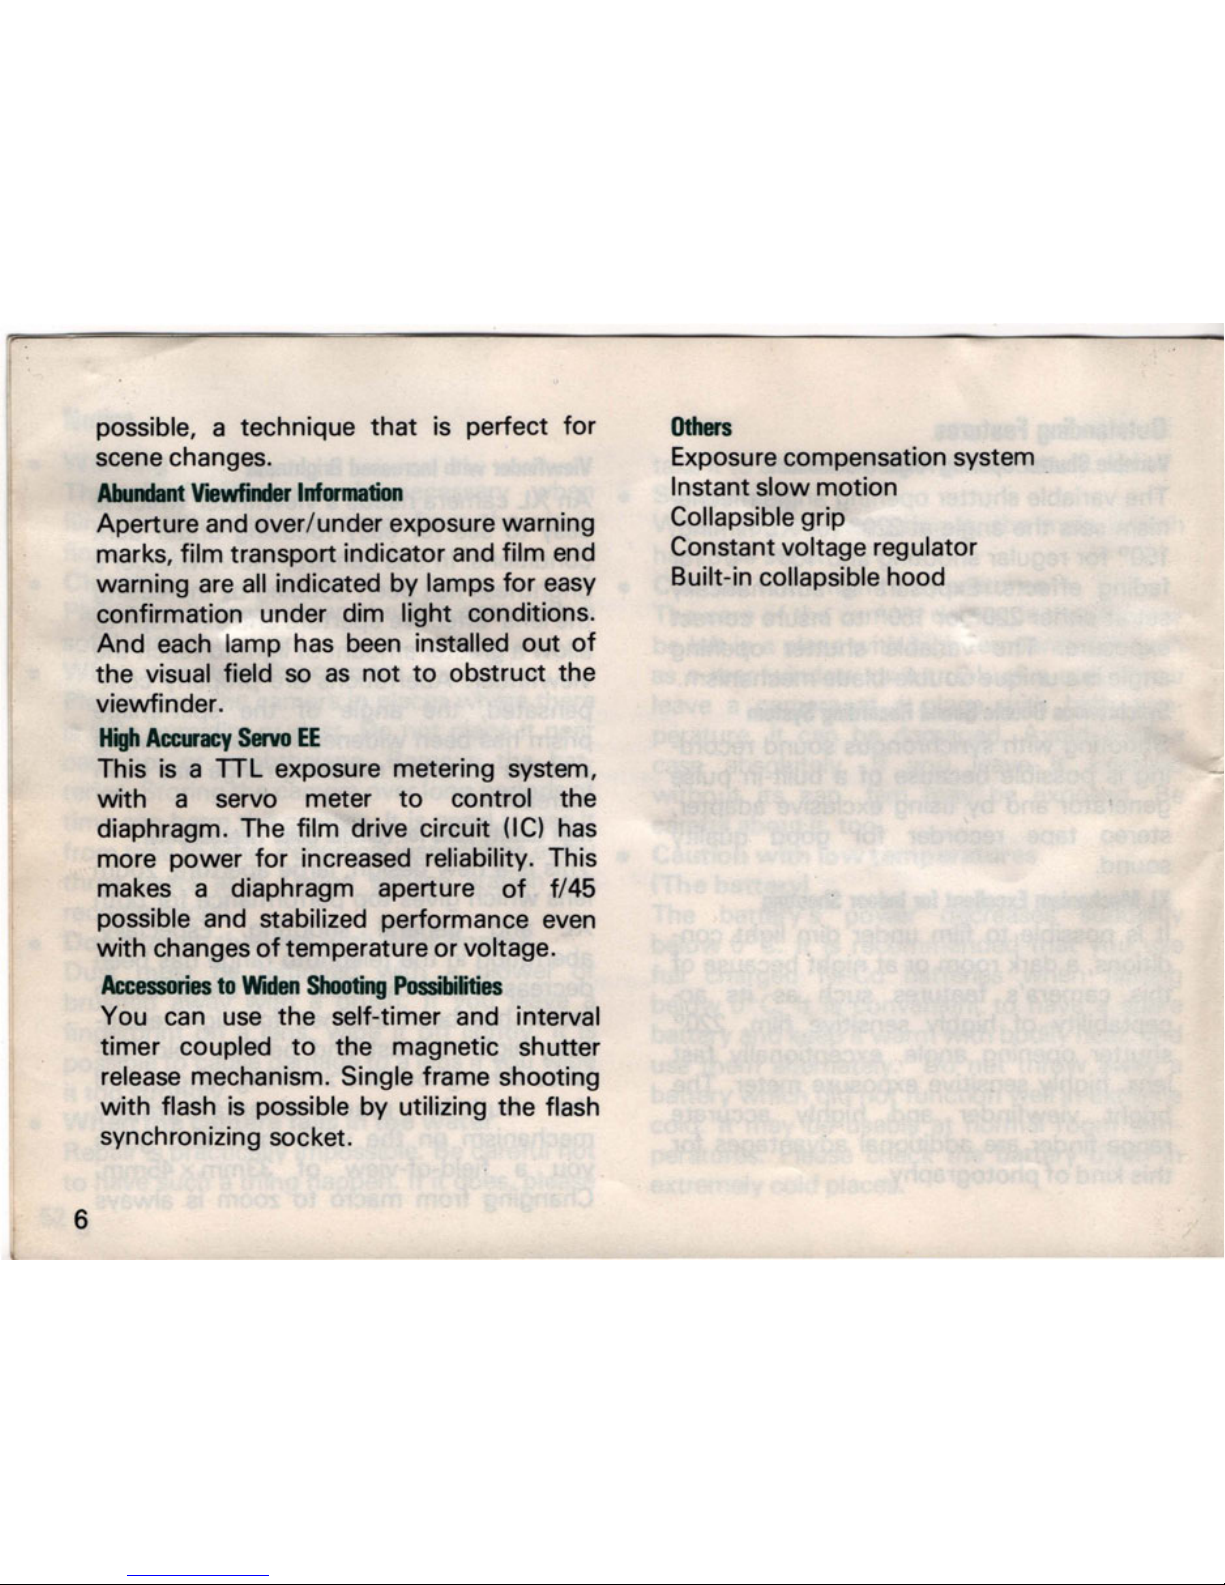
Viewfinder
with
Increased
Brightness
An XL camera needs a viewfinder
which
is
easy to see
for
easy focusing under dark
conditions. In this camera, the viewfinder's
brightness has been doubled by increasing
the lens' effective aperture and exit pupil to
.allow a greater amount of light to reach the
viewfinder. Aberrations are 'properly com-
pensated, the angle of the split-image
prism has been widened
for
easier viewing
and the accurate metering range ·has·been
increased.
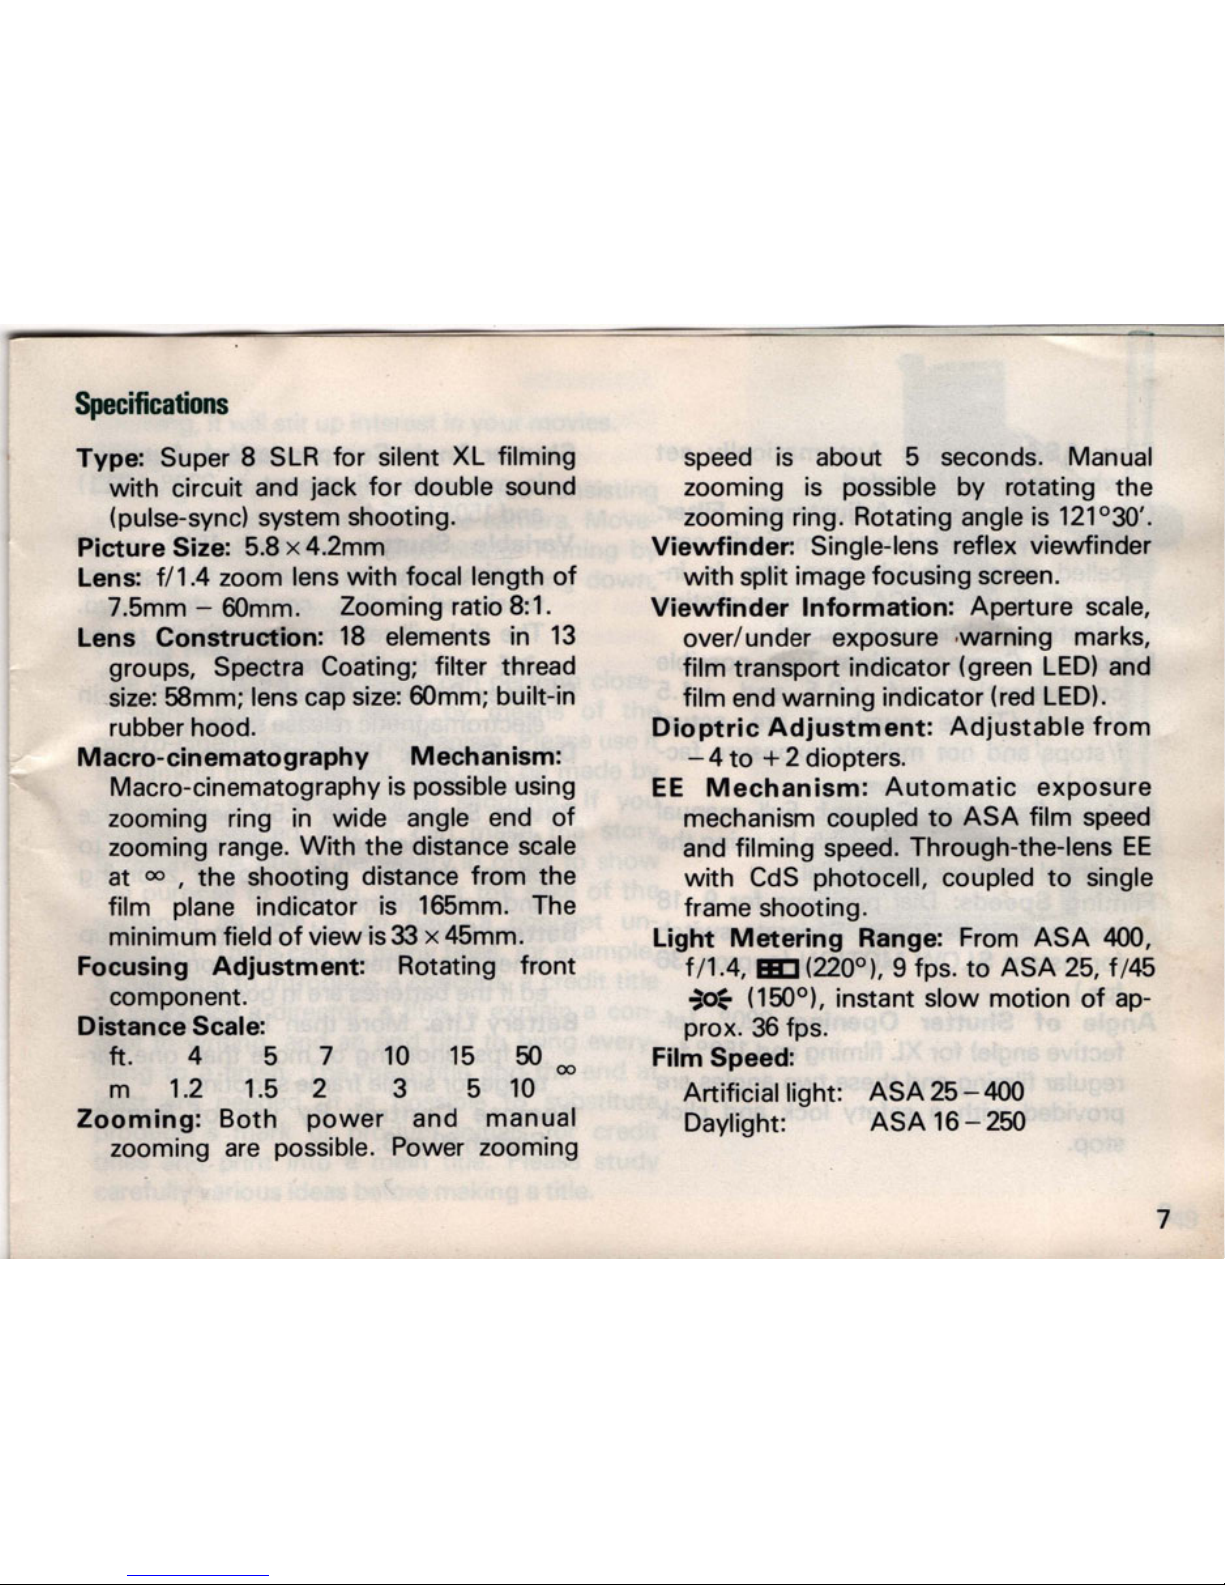
High
Quality
Lens
for
Faithful
Color
Reproduction
This is a
new
design, large aperture, zoom
lens
which
gives
top
performance
for
both
XL and general shooting. Especially,
aberration in the telephoto range has been
decreased and the ideal light transmission
factor has been attained
for
high resolu-
tion, high contrast and perfect color ba-
lance
throughout
the zooming ranqe, And
the
built-in
macro-cinematography
mechanism on the wide-angle end gives
you a field-of-view
of
33mm x 45rnm.
Changing from macro to zoom is always
. . 5