4. Neutral Density: Changes the amount of light passing to the sensor by placing a dark
filter in the light path. A neutral density filter does not affect the color of the image. The
CANON XA10 does this electronically as you adjust the aperture.
Demonstrate and explain the "Zebra" feature.
•Use the zebra pattern as a guide for adjusting
your exposure. You can look for two Zebra levels:
70% and 100%. (The Zebra pattern will not
appear on your recording.)
•Touch the tool icon (e) to select the Zebra levels.
•Touch the 70% or 100% button and then touch
the “go back” icon.
•The Zebra pattern will appear on the areas exposed at 70% or overexposed areas at the
100% setting.The 70% level is useful for setting the proper exposure for faces… when
the zebras just start to appear on the face, the person is correctly exposed
•Touch (f) again to turn off the Zebra pattern.
You can also turn on the waveform monitor (g) to help you judge exposure if you know how to use it. Just
touch the WFM button (g) to bring up the wave form. Touch it again to remove it.
Other Settings:
Infrared Recording. Switch the INFRARED lever to ON and off. (You can choose between a
black & white or green cast in the menu system.) The infrared switch greatly increases the
camera’s sensitivity in low light situations but the video is monochrome (no colors).
Demonstrate how to record a series of scenes
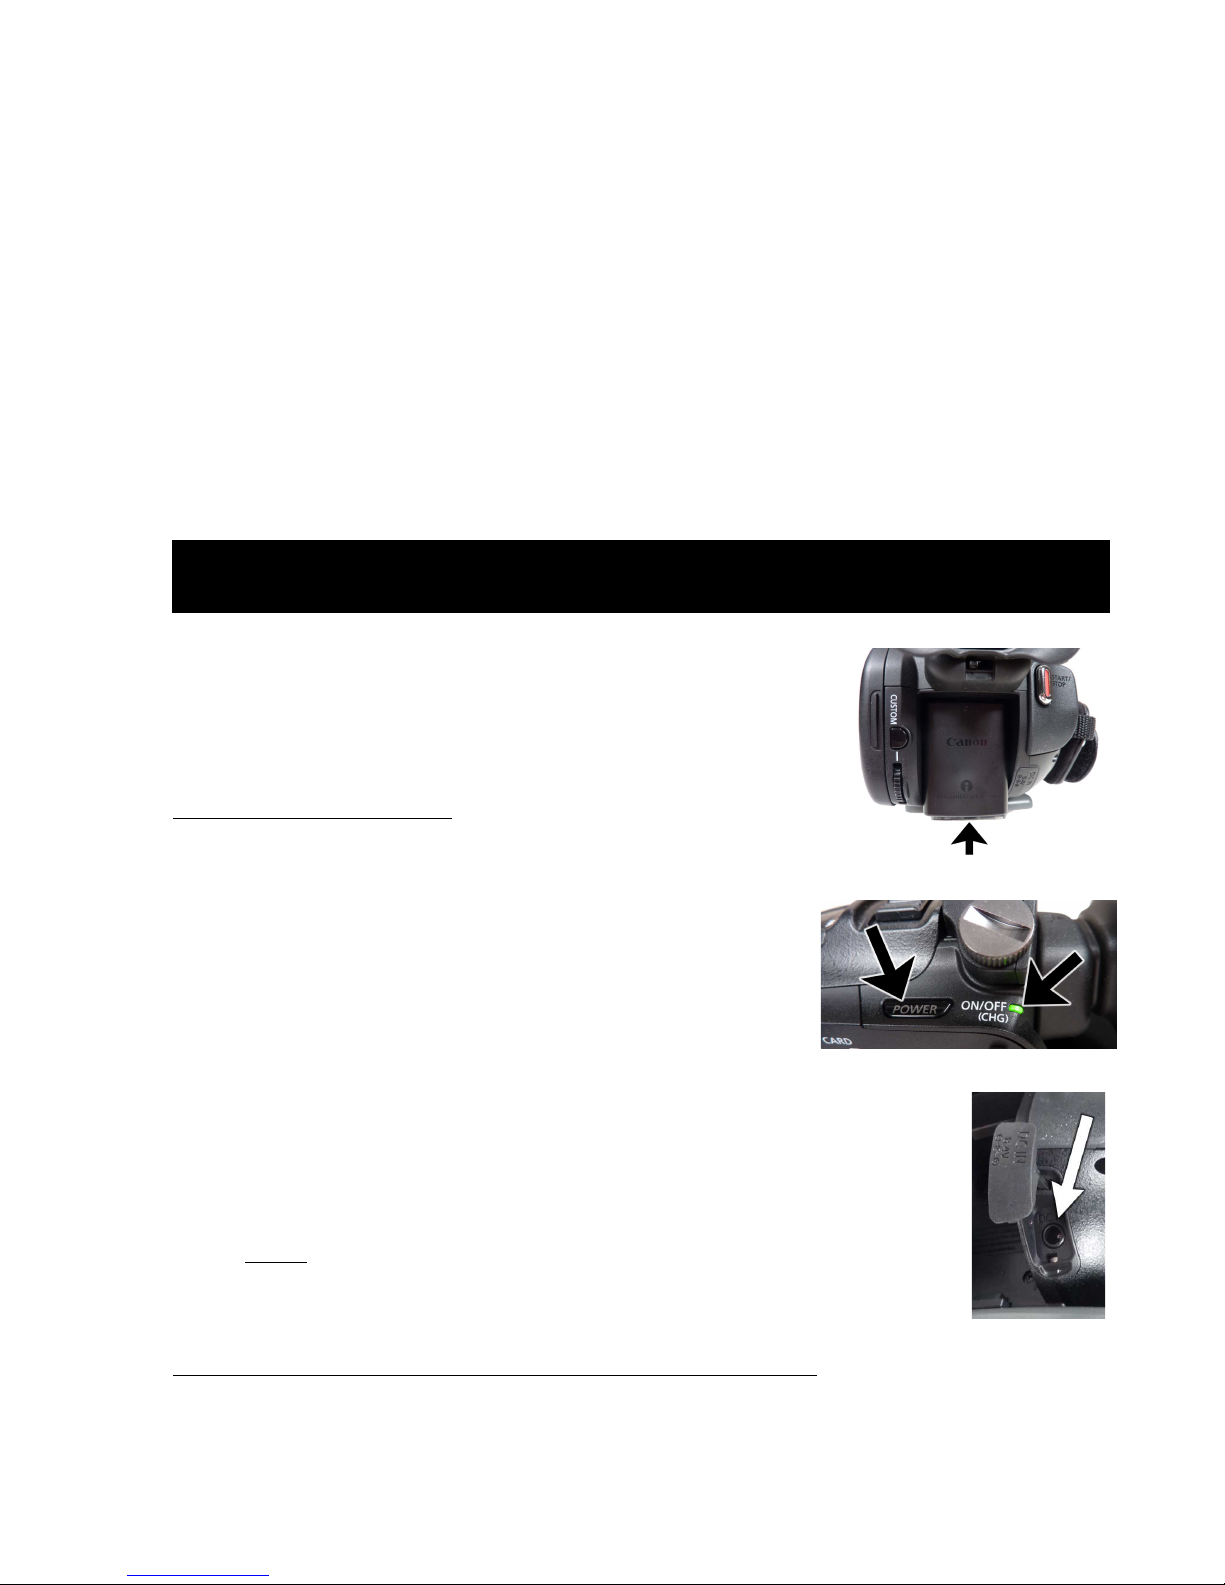
1. Make sure your electrical power or battery is attached.
2. Turn on the camcorder.
3. Remove the lens cap.
4. Flip open your LCD screen or use the viewfinder.
5. You have three camera modes to choose from for recording. For our purposes, you will
first use the Manual mode.
6. First, set the white balance.
7. Second, focus and frame (compose) a scene.
8. Third, set the correct exposure.
9. Then, press START/STOP to begin recording. Record for 5 to 10 seconds. Press
START/STOP again to pause recording.
10. Focus, frame, expose, and record 2 more scenes each 5-10 seconds.
11. Switch the camera to AUTO and shoot another scene, letting the camera focus,
expose, and white balance automatically.
12. Demonstrate 3 ways to start and stop recording.
a. Button at the back of the camera
b. Button on top of the handle
c. “START” button on the touch screen when you select the “ZOOM” menu.
13. NOTE:If the LCD is difficult to see, turn on the LCD backlight to make it brighter by
holding the DISP button down for more than two seconds. Do it again to go back to
normal.