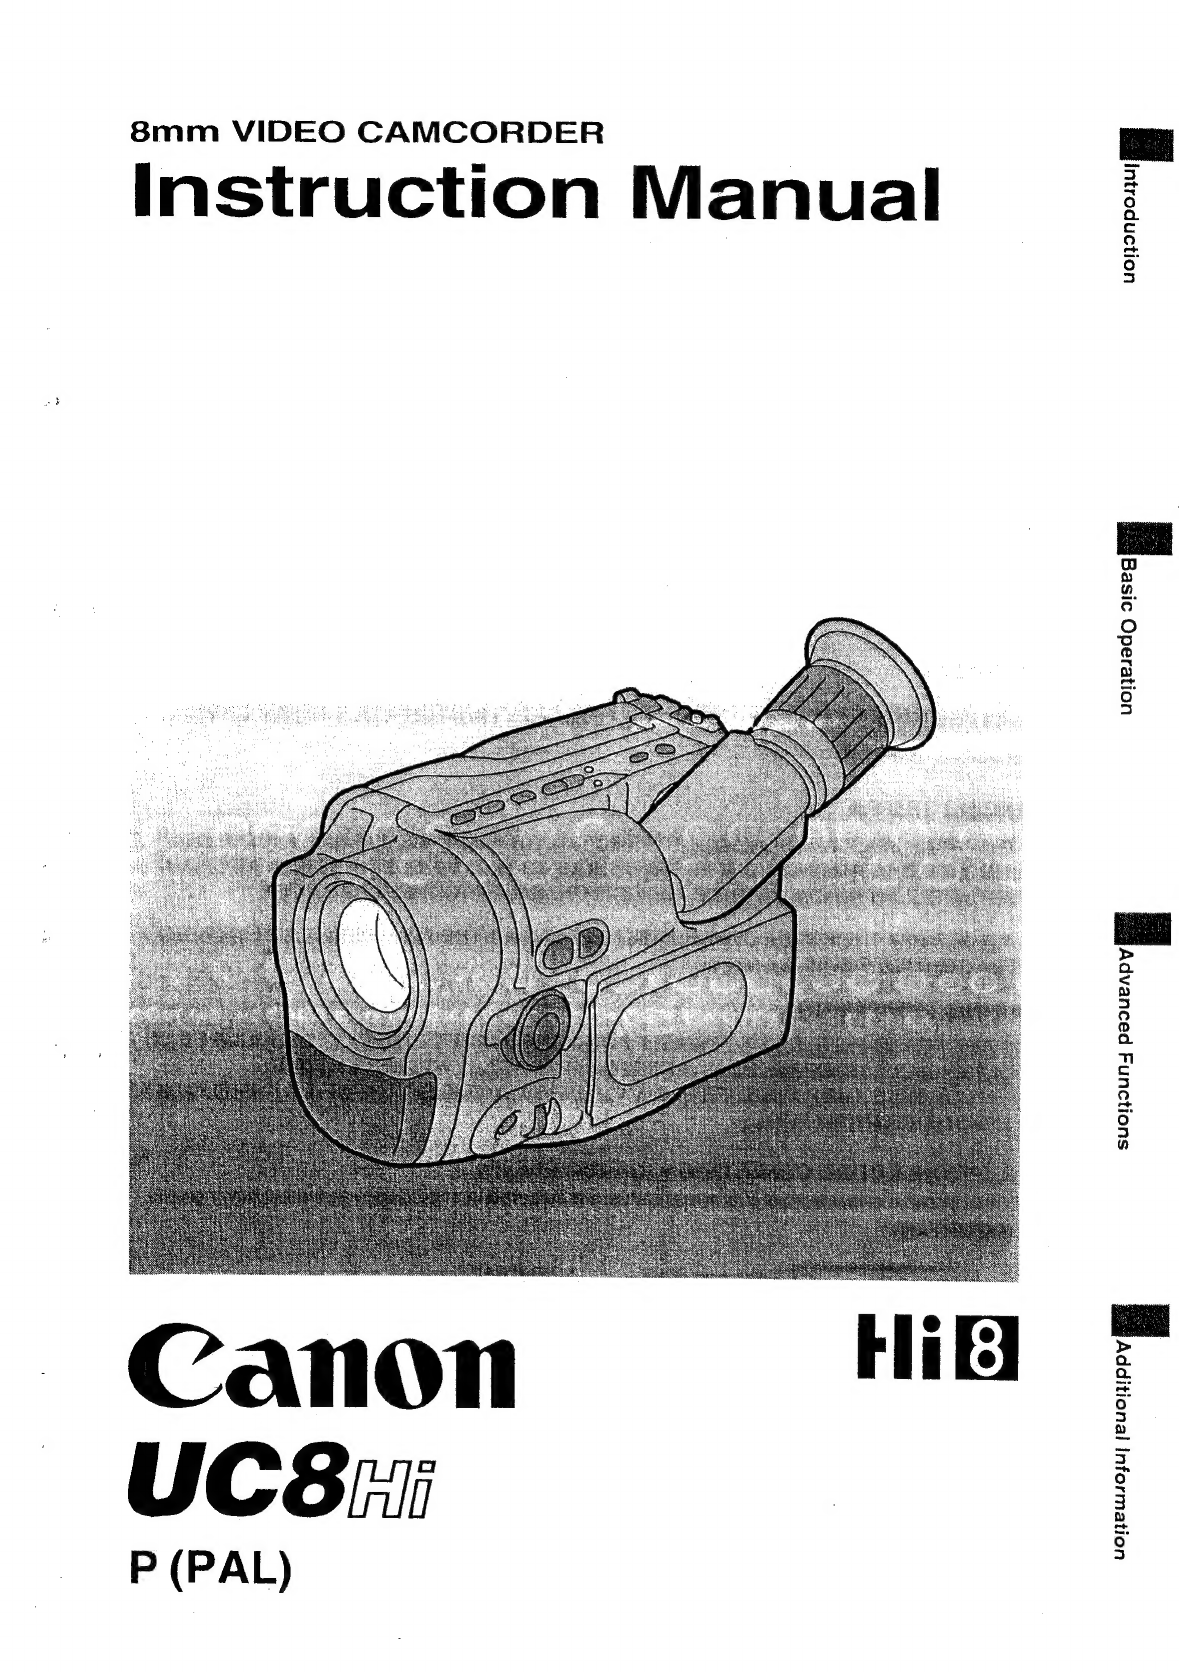
Contents
Introduction
important
Usage
Instructions
.....00..
0.
ee
eee
ceeeeeeeennrareees
2
Thank
you
for
Choosing
@
Canon
0.0...
eeeeecceecceecetecseeeeseeeceecene
3
Introducing
the
UCB
sie.
ccdcsgsi
cecectsbisetdeAdegaitestenaiesetisereacdavass
4
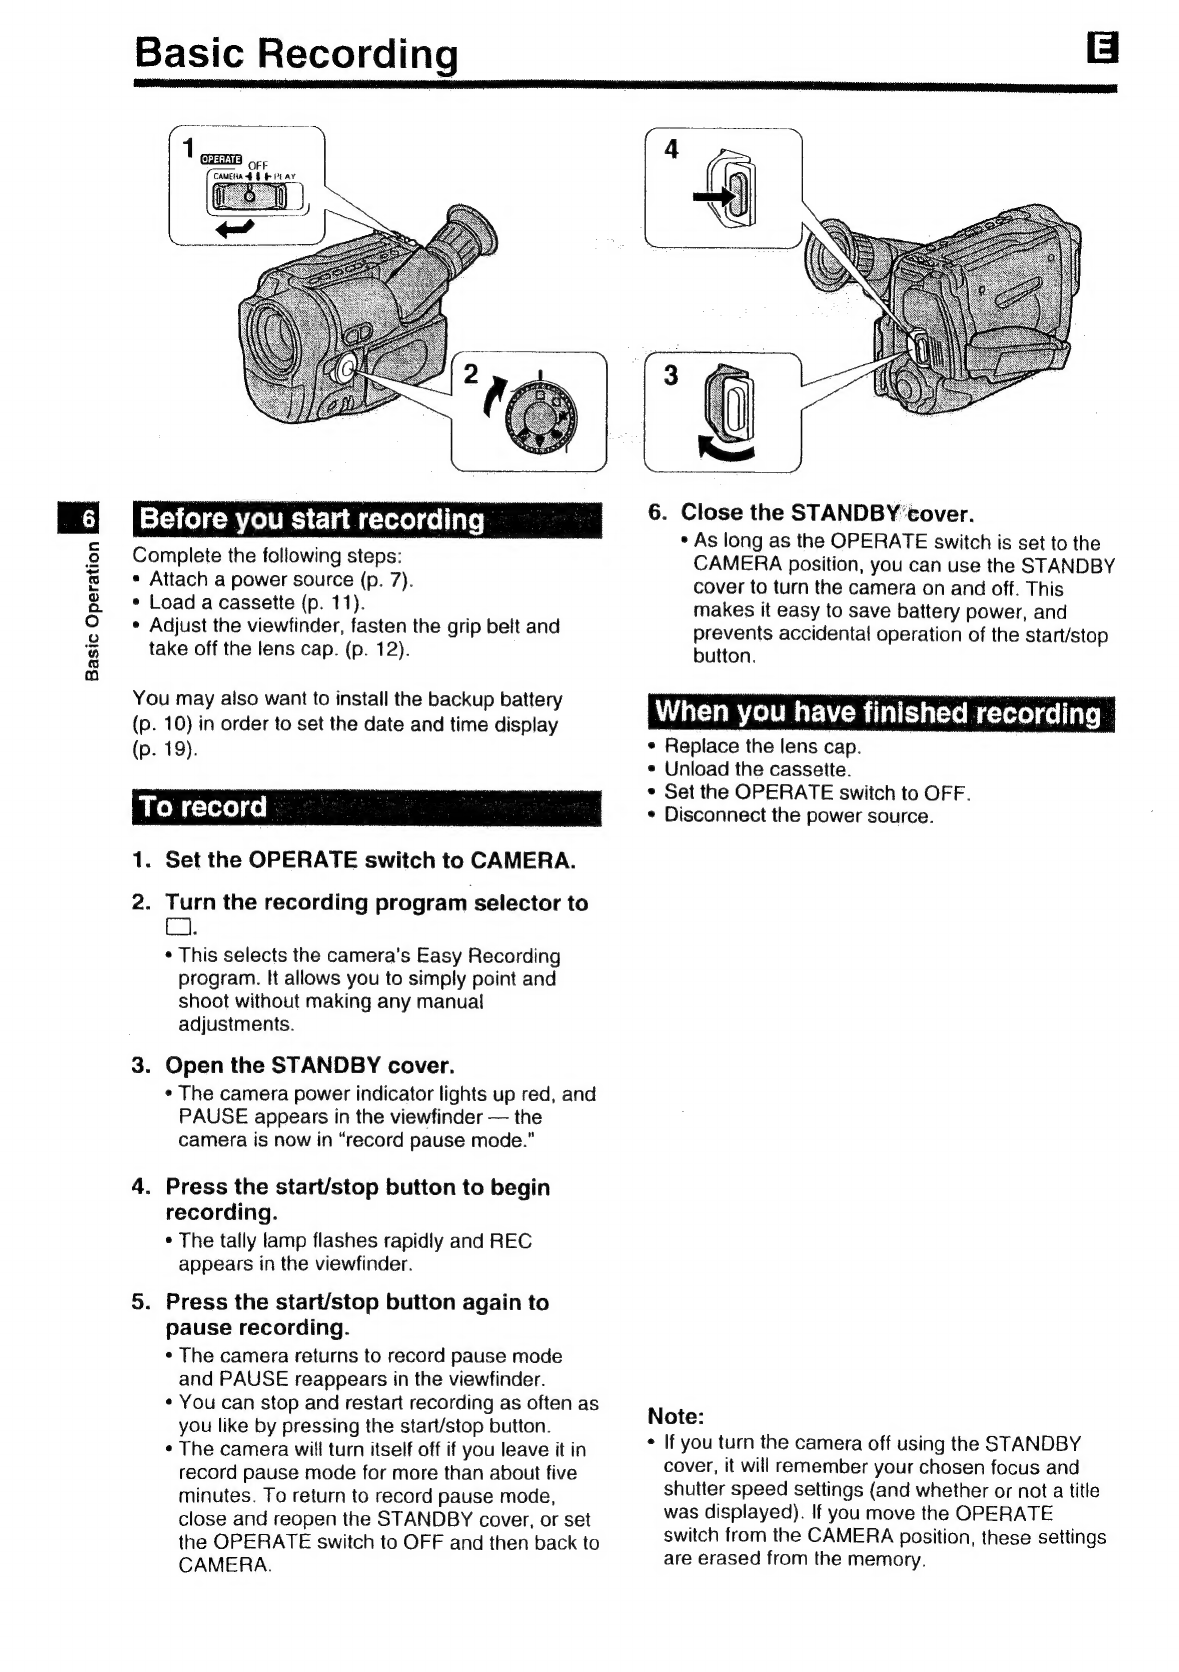
Basic
Operation
Basic
ReEGOrdinG
oi.
isc.
c.3chctecaee
nig
eatineoes
ida
wisasendotaede
Wise
dati
6
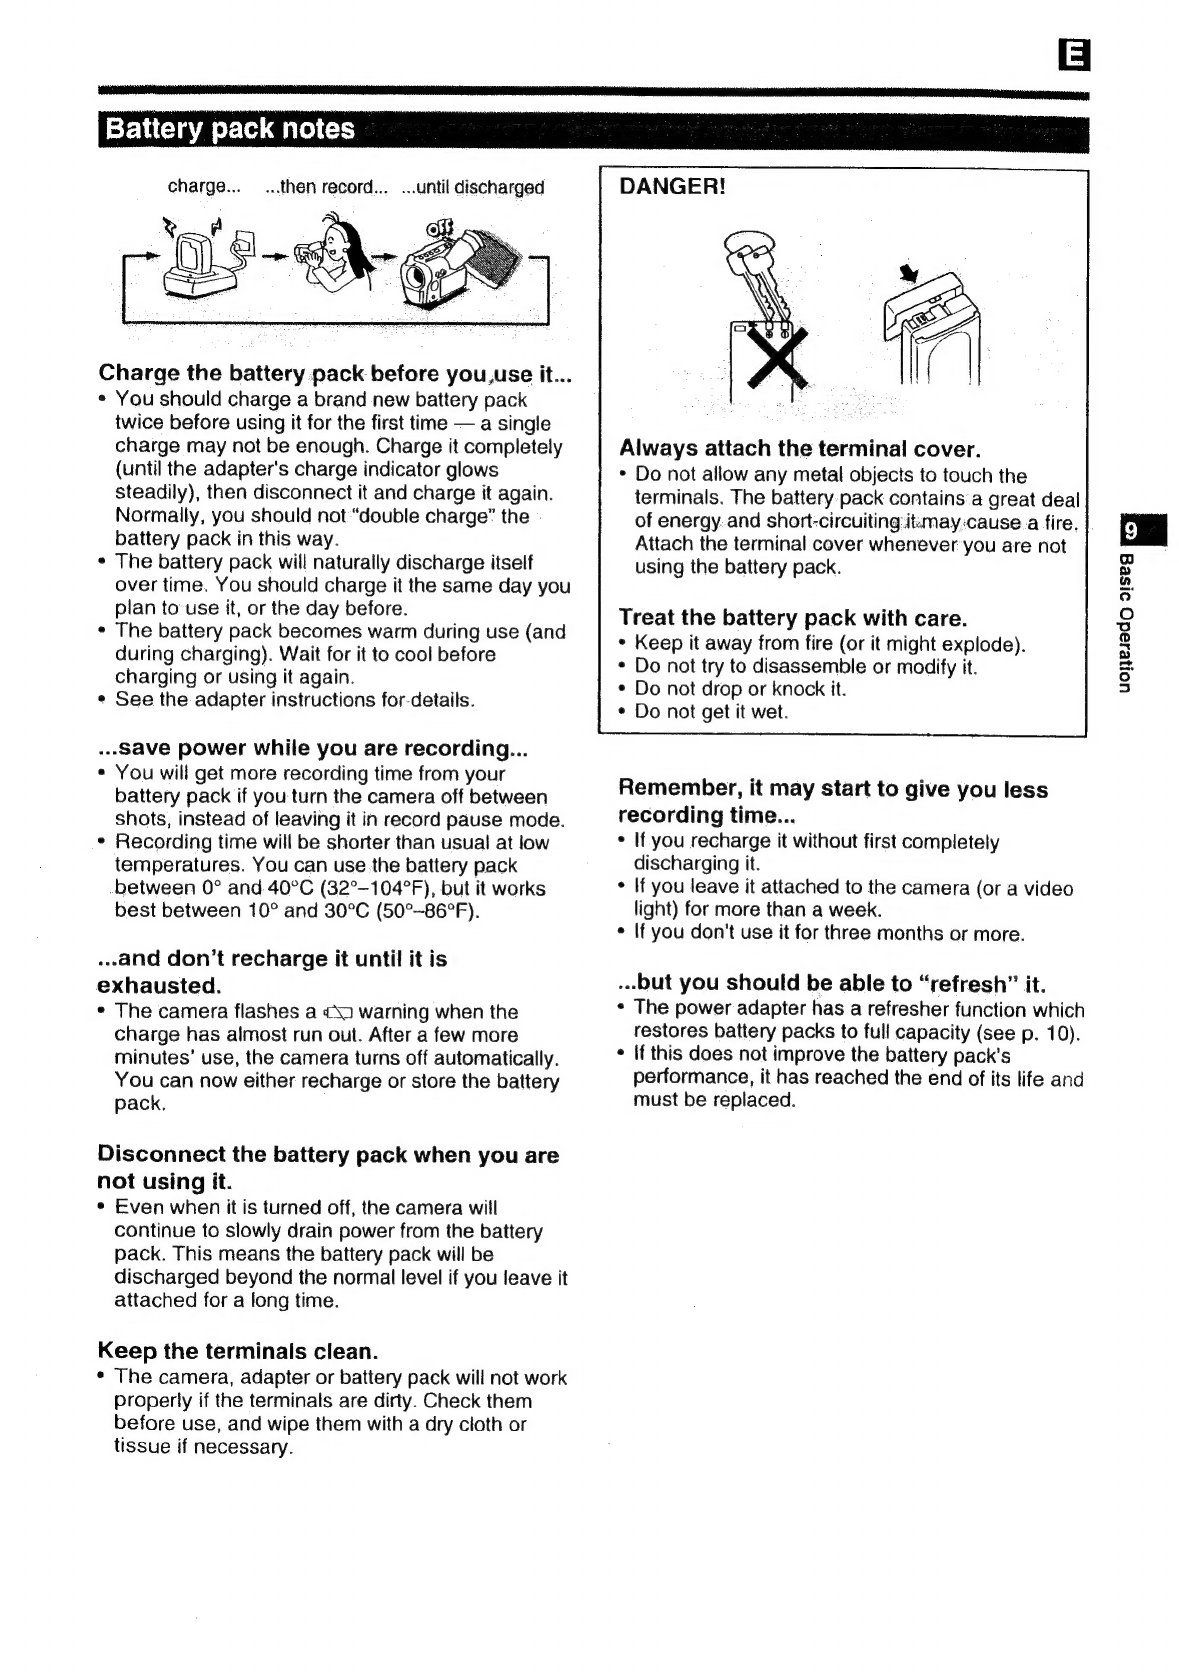
POWER
SOUICES:
wie
nctacstidedcctiaces
tue
guavemen
Meraieeeenanaesieas
ies
7
ASSO
NGS
cee
cuais
waa
spetas
cen
ssouiadaesld
eeernere
dina
eieinn
Mauea
SG
11
Preparing:
te
Camera
ccccactstine
vests
iaredevanaciasencacce
gi
aval
aeoment
12
PRAY
DE
CR
cess
sates
ties
ie
sachet
ate
ac
elses
Sunda
ia
Ned
atte
EN
fos
13
Playback
COmnecnancycccejeciatoseyitedsivceenaiterseasend
aes
tieuiceueauics
14
Advanced
Function
ZOOMING
esos
eos
hcp
ate
deseo
avatars
eae
Rete
Ae
ae
eae
adeperar
aoiwe
17
Wireless
Controller
..............cccccccsccsscsscsecesdenccescesceesevessscseverenecs
18
Dater
and
Witte
ssccc
ihc
eae
eatin
eee
leks
eawerdes
19
MU
CS
2,
WES
Les
Sle
he
tae
laa
Tate
adaagaa
st
cuards
wulie
ag
habe
ahi
na
20
PAG
Av
saracatetesideden
Grcadunist
eds
ese
Pune
tuts
Mund
aah
tase
one
deaka
tase
21
Choosing
a
Recording
Program
............cccccccssscssccesecsessssssneeese
22
POCUSIING
scscate
st
oren
th
2c
ccna
alanaiad
Sneaan
wed
anataresauieieseamay
ecu
24
EXDOSUG
CORON
oie
cosse
ster
st
siinctausscxsteneetledey
sess
teaver
secesueatateaaves
25
Mand
SUNG
x
ccis
awiive
a
estas
ki't
ftuasscdadatnet
eaiateivsetaeuanc
ols
26
Record
Search
and
Record
Review
.................ccccceesececeeecceueeees
27
CITING):
TO
Slee
A
facts
te
tady
led
ptt
tra
aetaace
da
mytnetdah.
Getesalatee!
28
Additional
Information
Making
-Betler
ViIdGOS
scar
ais
coscstevractpuasis
Seasursevepuies
css
keewetesestereee
29
WC
BEE
VIGGO
SY
SION
sez
ecsxccrcaravileclaweadiearopusedale
camnnoatteeattaadeus
ve
30
Optional
ACCESSONGS
in.82
tocar
hecaesdenaccictedasy
chev
ediocnatvetdbals
31
Cautions
and
Maintenance
00.0.0...
cccccecesessssseeeeetesessenseneess
34
TEGUBIESHOOUAG
ce
ccaicincceridsdesaus
scorn
Na
leadeqineisaessundytoteduans
Covasessane
36
Viewlinder
DISBlA
VS
ace...
ccc
sacenatnstacdvatixsvuyesans
Wisp
cQualiiaces
dasa
by
cude
37
PNQIVIGV
ICHAT
scieses
eit
apie
aced
ee
dasa
Wesbawtus
Suggeage
siuiestwiehalushiaaeSes
38
POCINCAMONS
rs
i5.5
oases
ee
ks
Sots
Seta
el
ale
chad
rele
eneeinteanG
piace
wiiedeas
40
WIR
Oe
ox
ie
hac
eave
eines
ae
Late
testes
ee
heaeott
cue
re
schi
Bceigekone
41
uononpostuy
Y