manuals.online logo
Brands
  1. Home
  2. •
  3. Brands
  4. •
  5. Canon
  6. •
  7. Digital Camera
  8. •
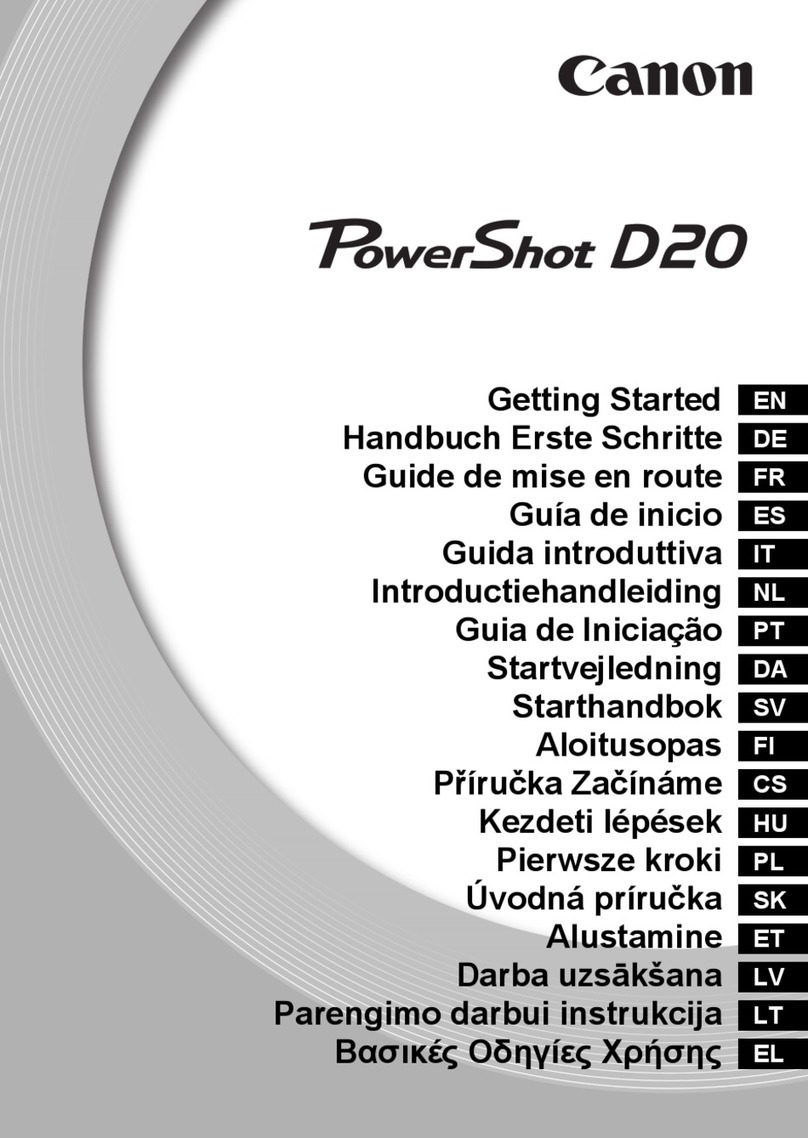
  9. Canon PowerShot D20 User manual

Canon PowerShot D20 User manual

Other manuals for PowerShot D20

4

Other Canon Digital Camera manuals

Canon EOS EOS 30D Quick reference guide

Canon

Canon EOS EOS 30D Quick reference guide

Canon PowerShot S3 IS Digital Camera Assembly instructions

Canon

Canon PowerShot S3 IS Digital Camera Assembly instructions

Canon T50 User manual

Canon

Canon T50 User manual

Canon PowerShot A2600 User manual

Canon

Canon PowerShot A2600 User manual

Canon EOS 60D User manual

Canon

Canon EOS 60D User manual

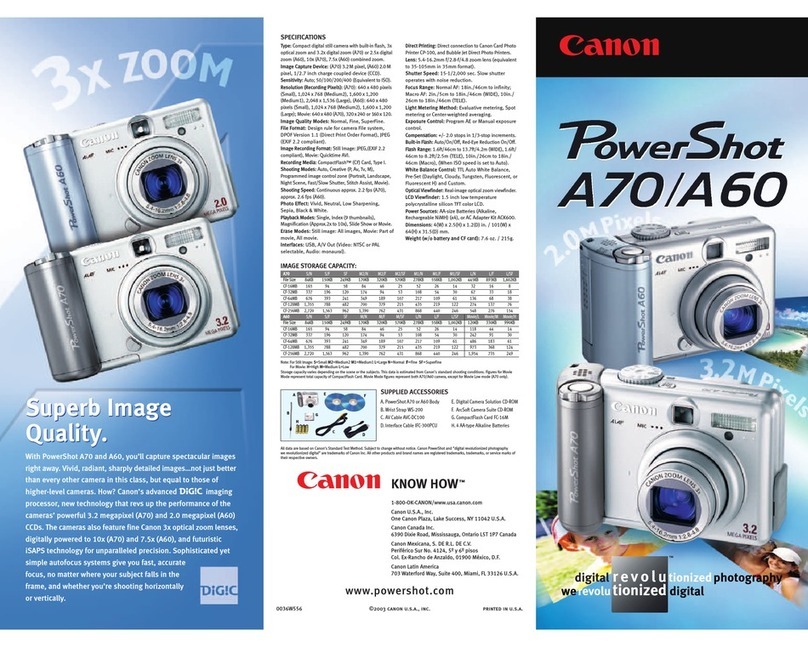
Canon PowerShot A60 User manual

Canon

Canon PowerShot A60 User manual

Canon PowerShot A420 User manual

Canon

Canon PowerShot A420 User manual

Canon PowerShot SD900 User manual

Canon

Canon PowerShot SD900 User manual

Canon PowerShot S200 User manual

Canon

Canon PowerShot S200 User manual

Canon EOS 5D Mark II User manual

Canon

Canon EOS 5D Mark II User manual

Canon PowerShot SX600 HS User manual

Canon

Canon PowerShot SX600 HS User manual

Canon EOS-1D Mark II Digial User manual

Canon

Canon EOS-1D Mark II Digial User manual

Canon PowerShot SD750 Digital ELPH User manual

Canon

Canon PowerShot SD750 Digital ELPH User manual

Canon EOS 7D Mark II (G) User manual

Canon

Canon EOS 7D Mark II (G) User manual

Canon PowerShot A20 Mounting instructions

Canon

Canon PowerShot A20 Mounting instructions

Canon EOS-1D Mark II Digial User manual

Canon

Canon EOS-1D Mark II Digial User manual

Canon PowerShot N100 User manual

Canon

Canon PowerShot N100 User manual

Canon Powershot S2 IS User manual

Canon

Canon Powershot S2 IS User manual

Canon IXUX 240 HS User manual

Canon

Canon IXUX 240 HS User manual

Canon EOS-1Ds Mark III User manual

Canon

Canon EOS-1Ds Mark III User manual

Canon PowerShot SX50 HS User manual

Canon

Canon PowerShot SX50 HS User manual

Canon Powershot SX520 HS User manual

Canon

Canon Powershot SX520 HS User manual
Canon EOS 1D Mark III User manual

Canon

Canon EOS 1D Mark III User manual

Canon EOS Rebel T2 User manual

Canon

Canon EOS Rebel T2 User manual

Popular Digital Camera manuals by other brands

Xiaomi 70mai Dash Cam Lite user manual

Xiaomi

Xiaomi 70mai Dash Cam Lite user manual

Samsung PL70 Quick start manual

Samsung

Samsung PL70 Quick start manual

GE E1680W user manual

GE

GE E1680W user manual

Tevion MD 86497 user guide

Tevion

Tevion MD 86497 user guide

Exakta VX Features

Exakta

Exakta VX Features

Kodak Digital Science DC120 user guide

Kodak

Kodak Digital Science DC120 user guide

Nikon FM3A Specifications

Nikon

Nikon FM3A Specifications

Vectra Fitness H1 Quick reference guide

Vectra Fitness

Vectra Fitness H1 Quick reference guide

Nikon COOLPIX 775 quick start guide

Nikon

Nikon COOLPIX 775 quick start guide

Olympus IR 500 - 4MP Digital Solutions Camera Manuel de Référence

Olympus

Olympus IR 500 - 4MP Digital Solutions Camera Manuel de Référence

Samsung EC-L100ZBBA brochure

Samsung

Samsung EC-L100ZBBA brochure

FujiFilm FINEPIX BL01124-201 owner's manual

FujiFilm

FujiFilm FINEPIX BL01124-201 owner's manual

Panasonic DMC-L10KPP Service manual

Panasonic

Panasonic DMC-L10KPP Service manual

Hyundai Electric HYU-CC-CHBF12001 Quick installation guide

Hyundai Electric

Hyundai Electric HYU-CC-CHBF12001 Quick installation guide

Sony DSC-WX80 specification

Sony

Sony DSC-WX80 specification

Nikon Nuvis S - Point & Shoot instruction manual

Nikon

Nikon Nuvis S - Point & Shoot instruction manual

Olympus CAMEDIA C-3030ZOOM overview

Olympus

Olympus CAMEDIA C-3030ZOOM overview

Teledyne Piranha4 user manual

Teledyne

Teledyne Piranha4 user manual

manuals.online logo
manuals.online logoBrands
  • About & Mission
  • Contact us
  • Privacy Policy
  • Terms and Conditions

Copyright 2025 Manuals.Online. All Rights Reserved.

CaHOH
"Powe,-Sho,DEO
Camera User Guide
Before use be sure to read this c including the
3recautions. with how to use the camera
correctly.
Keep the guide handy for future reference,
I_ Sheot_ng Close-ups (Macro)
To restrict the focus to subjects at close range, set the camera to _. For
details on the focusing range, see "Specifications" in the Getting Started
guide.
Press the 4 button, press the 4 _ buttons to
choose _, and then press the @ button.
Once the setting is compJete, _ is displayed.
.............@
and the camera will not focus.
_Sheoting in Manual Focus _le_e
When focusing is not possible in AF mode, use manual focus. You can
specify the genera! focal position and then press the shutter button halfway
to have the camera determine the optimal foca} position near the position you
specified. For details on the focusing range, see "Specifications" in the
Getting Started guide.
Choose MF.
Press the _ button, press the _ _ buttons to
choose MF, and immediately press the _._
buttons.
109
Shooting Range and Focusing
Specify the general focal position.
Referring to the on=screen MF indicator bar
(which shows the distance and focal position)
and the magnified display area, press the ,_v
buttons to specify the general focal position,
then press the @ button.
, Fine-tune the focus.
Press the shutter button halfway to have the
camera fine-tune the focal position (Safety
MF).
(_ AF frame mode or size cannot be changed while focusing manually
(p. 112). if you want to change the AF frame mode or size, cancel
manual focus mode first.
Focusing is possible when using the digita_ zoom (p. 62) or digital
tele-converter (p. 111 ), or when using a TV as a display (p. 171 ), but
the magnified display will not appear.
MF Indicator
To focus more accurately, try attaching the camera to a tripod to stabilize it.To hide the magnified display area, press the MENU button and set [MF-Point
Zoom] on the O tab to [Off] (p. 42).
To deactivate automatic focus fine-tuning when the shutter button is pressed
halfway, press the MENU button and set [Safety MF] on the _ tab to [Off]
(p. 42).
110
iiiiiiiii_
iiiiiiiii_
iiiiiiiii_
O.oot,ooOoooeaoO oeus,ooiiiiiiiii'i i !!i ! !i
_'_Digital Tele-Converter
L
The foca! length of the lens can be increased by approximately 1.5x or 2.Ox.
This can reduce camera shake because the shutter speed is faster than it
would be if you zoomed (including using digital zoom) in to the same zoom
factor.
Press the MENUbutton, choose [Digkal
Zoom] on the _ tab, and then choose the
desired option (p. 42).
The view is enlarged and the zoom factor is
displayed on the screen.
Bmages will look grainy at a resolution (p. 68) of Lor M1. Bnthis
case, the zoom factor is shown in blue.
The digital tele=converter cannot be used with digital zoom (p. 62)
and AF-point zoom (p. 73).
The digital tele=converter is only available when the aspect ratio is
4:3.
(b
The shutter speed may be equivalent when you press the E€3(telephoto) zoom
button for maximum telephoto, and when you zoom in to enlarge the subject to
the same size following step 2 on p. 62.
111
Shooting Range and Focusing
Change the AF (auto focus) frame mode to suit the shooting conditions as
follows.
Press the MENUbutton, choose [AF Frame]
on the _ tab, and then choose the desired
option (p. 42).
_ Face AiAF
Detects people's faces, and then sets the focus, exposure (evaluative
metering only), and white balance (_ only).
After you aim the camera at the subject, a white frame is displayed around
the person's face determined by the camera to be the main subject, and up
to two gray frames are displayed around other detected faces.
When the camera detects movement, frames will follow moving subjects,
within a certain range.
After you press the shutter button halfway, up to nine green frames are
displayed around faces in focus.
_g_ If faces are not detected, or when only gray frames are displayed
(without a white frame), up to nine green frames are displayed in the
areas in focus when you press the shutter button halfway.
If faces are not detected when Servo AF (p. 115) is set to [On], the AF
frame is displayed in the center of the screen when you press the
shutter button halfway.
Examples of faces that cannot be detected:
Subjects that are distant or extremely close
Subjects that are dark or light
Faces in profile, at an angle, or partly hidden
The camera may misinterpret non-human subjects as faces.
No AF frames are displayed if the camera cannot focus when you
press the shutter button halfway.
112
Shooting Range and Focusing
_Center
One AF frame is displayed in the center. Effective for reliable focusing.
(_ A yellow AF frame is displayed with _ if the camera cannot focus
when you press the shutter button halfway. Note that AF=point
zooming (p. 73) is not possible.
The AF frame size is set to [Normal] when you use the digital zoom (p. 62) or
digital tele-converter (p. 111), and in manual focus mode (p. 109).
8
_ Reeomposing Shots While the Focus is Locked
As long as you keep the shutter button pressed halfway, the focus and
exposure are locked. You can recompose shots as needed before shooting=
This feature is called Focus Lock=
Focus.
Aim the camera so that the subject is
centered, and then press the shutter button
halfway.
Confirm that the AF frame displayed around
the subject is green.
Recompose the shot.
Keeping the shutter button pressed halfway,
move the camera to recompose the shoL
Shoot.
Press the shutter button all the way down.
113
Shooting Range and Focusing
_!ii_iiiiiiiiiiiiiiiiiiiiiii_i_i_iiiiiii_i!!i!i!_!_!i!iii_!_,_!_i_i_i_i_i_i_i_i_i_i_i_i_i_i_i_ii'
@Choosing Subjects to Focus On (Tracking AF)
Shoot after choosing asubject to focus on as follows.
Choose [Tracking AF].
Follow the steps in "Changing the AF Frame
Mode" (p. 112) to choose [Tracking AF].
_ }s displayed in the center of the screen.
Choose asubject to focus on.
Aim the camera so that E_ is on the desired
subject, and then press the 4 button.
When the subject is detected, the camera beeps
and _ .j is displayed. Even if the subject moves,
the camera will continue to track the subject
within a certain range.
If no subject is detected, _F is displayed.
To cancel tracking, press the 4 button again.
Shoot.
Press the shutter button halfway. : :j
changes to a blue [], which follows the
subject as the camera continues to adjust the
focus and exposure (Servo AF) (p. 115).
Press the shutter button all the way down to
shoot.
Even after your shot, : : is still displayed and
the camera continues to track the subject.
114
Shooting Range and Focusing
(_ [Servo AF] is set to [On] and cannot be changed.
Tracking may not be possible when subjects are too small or move
too rapidly, or when subject color or brightness matches that of the
background too closely.
[AF-Point Zoom] on the _ tab is not available.
is not available.
_4 without pressing the 4 button. After your shot, E_Fis displayed in the center of
the screen.
When shooting in MF mode (p. 109), press and hold the 4 button for at Ieast
one second.
_" Sheeting w_th Servo AF ....................................................
,/@
This mode helps avoid missing shots of subjects in motion, because the
camera continues to focus on the subject and adjust the exposure as long as
you press the shutter button halfway.
Configure the setting.
Press the MENUbutton, choose [Servo AF]
on the _ tab, and then choose [On] (p= 42).
Focus.
The focus and exposure are maintained
where the blue AF frame is displayed while
you are pressing the shutter button halfway.
115
Shooting Range and Focusing
(_ Focusing may not be possible in some shooting conditions.
BnIowqight conditions, Servo AF may not be activated (AF frames
may not turn blue) when you press the shutter button halfway. Bnthis
case, the focus and exposure are set according to the specified AF
frame mode.
Bfadequate exposure cannot be obtained, shutter speeds and
aperture values are displayed in orange. Release the shutter button,
and then press it halfway again.
AF lock shooting is not available.
[AF-Point Zoom] on the _ tab is not available.
Not available when using the self-timer (p. 63).
The focus can be Iocked. After you lock the focus, the focal position will not
change even when you release your finger from the shutter button.
Lock the focus.
With the shutter button pressed halfway,
press the 4 button.
The focus is now locked, and AFhis
displayed.
To unlock the focus, release the shutter
button and press the 4 button again. In this
case, AFLis no longer displayed.
Compose the shot and shoot.
116
You can have the flash fire for each shot. For details on the flash range, see
"Flash Range" (see "Specifications" in the Getting Started guide).
Press the _ button, press the 4_ buttons to
choose _., and then press the @ button.
Once the setting is complete, _ is displayed.
_Shoot_ng with SJow Synehro i/
With this option, the flash fires to increase the brightness of the main subject _
(such as people) while the camera shoots at a slow shutter speed to increase
the brightness of the background that is out of the flash range.
For details on the flash range, see "Flash Range" (see "Specifications" in the
Getting Started guide).
Configure the setting.
Press the _ button, press the _ buttons to
choose _*, and then press the _ button.
Once the setting is complete, _ isdisplayed.
Shoot.
Even after the flash fires, ensure that the
main subject does not move until the shutter
sound is finished playing.
dd_ ount the camera on a tripod or take other measures to keep it still
and prevent camera shake. In this case, set [IS Mode] to [Off]
(p. 119).
117