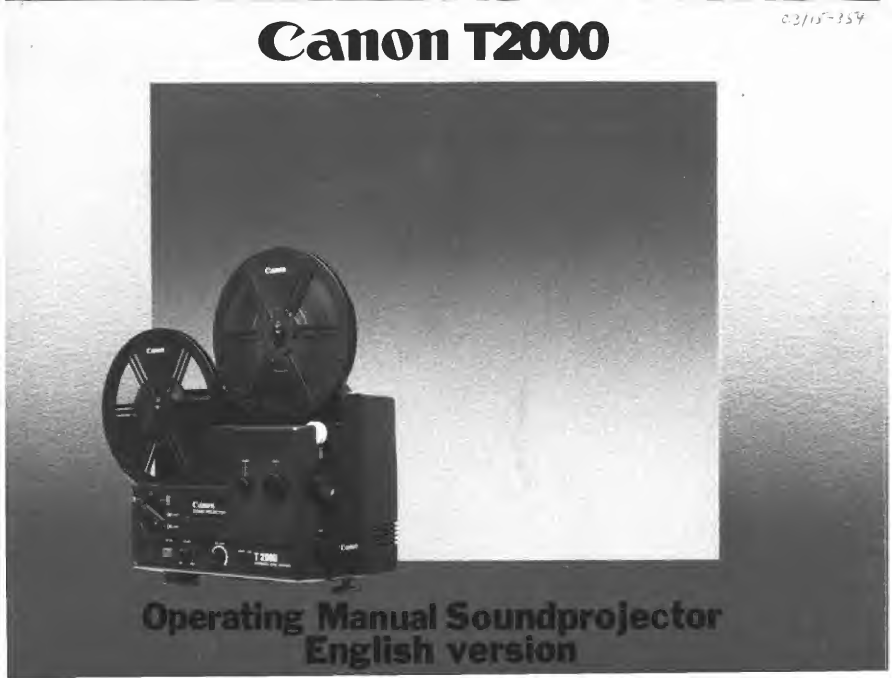
Canon T2000 User manual
Other Canon Projector manuals

Canon
Canon LV-5100 Owner's manual

Canon
Canon LV-7325U User manual

Canon
Canon LV-X2U/D78-5352 User manual

Canon
Canon WUX6000 User manual

Canon
Canon LH-WU350UST User manual

Canon
Canon LV-8320 User manual

Canon
Canon LV-7585 User manual

Canon
Canon REALiS X600 User manual

Canon
Canon LV-7385 User manual

Canon
Canon LX-MU500 User manual

Canon
Canon 1318C002 User manual

Canon
Canon LV-7345 User manual

Canon
Canon XEED SX6 User manual

Canon
Canon LV-8300 User manual

Canon
Canon 7365 - LV XGA LCD Projector User manual

Canon
Canon 7215 - LV XGA LCD Projector User manual

Canon
Canon LV-X4 LV-7230 User manual

Canon
Canon LV-8235 UST User manual

Canon
Canon WUX450 User manual

Canon
Canon LV-7255 User manual