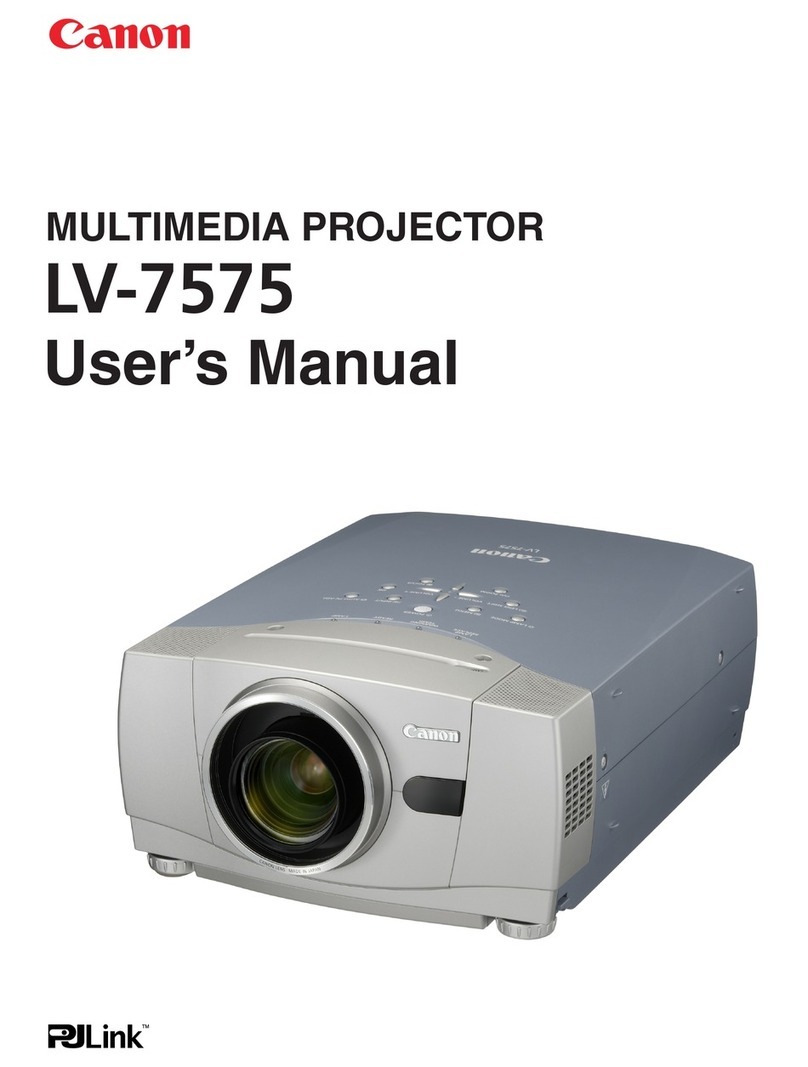
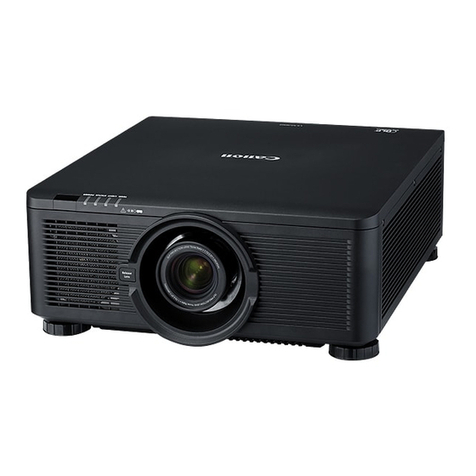
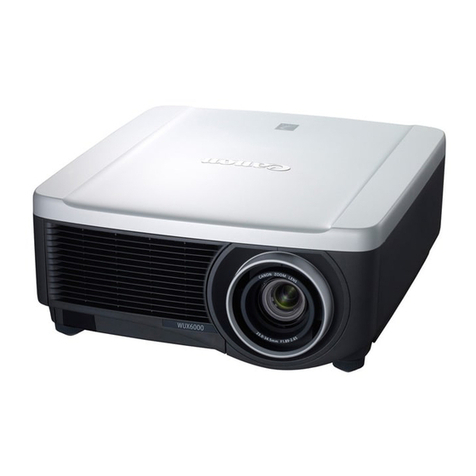
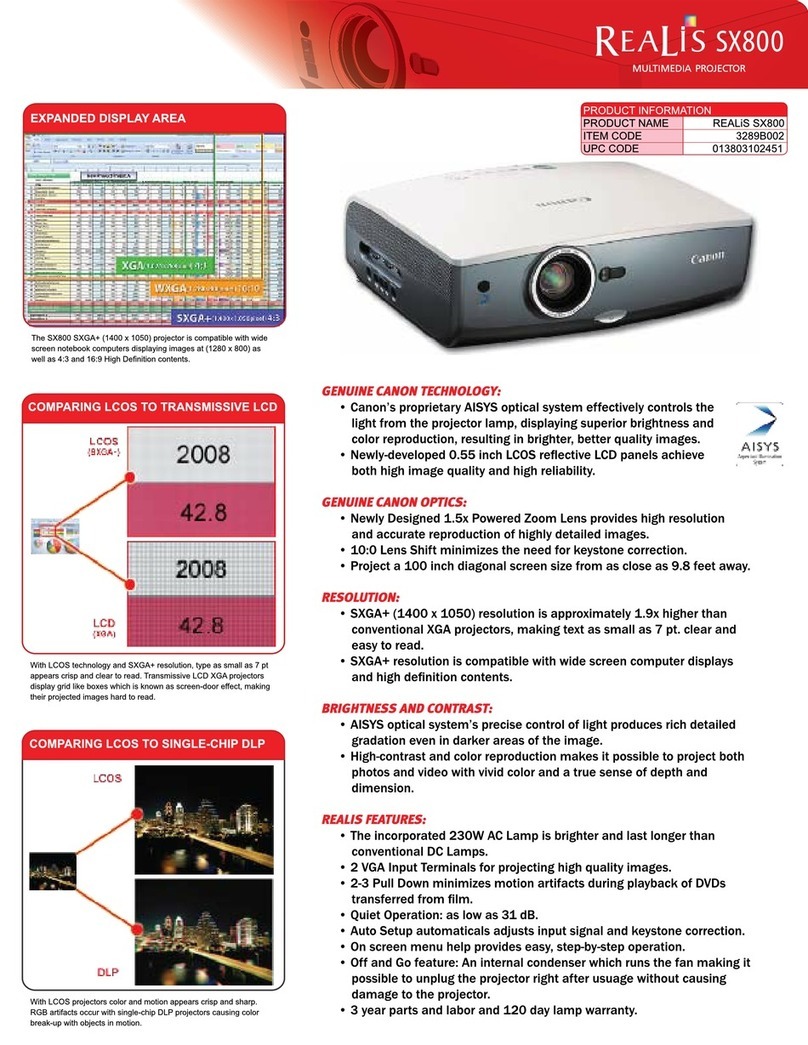
Canon REALiS WUX4000 D User manual

Installation
Connecting to a Network
Maintenance
Appendix
Index
AppendixInstallation Manual
Projecting an Image
Safety Instructions
Before Use
Table of Contents
Setting Functions from Menus
Useful Functions Available
During a Presentation
User’s Manual
ENG
MULTIMEDIA PROJECTOR
User’s Manual /
Installation
Manual

2
How to Use This Manual
Thank you for purchasing a Canon projector.
The WUX5000 / WUX4000 Multimedia Projector (hereinafter referred to as “the projector”)
is a high-performance projector that is capable of projecting a high-resolution computer
screen and high-quality digital image on a large screen.
User’s Manual (Operation) / Installation Manual (Installation and Maintenance) (This Man-
ual)
This manual combines the user’s manual and the installation manual for the WUX5000
and WUX4000 Multimedia Projectors. The user’s manual provides information on how to
use the projector. The installation manual describes how to install the projector and con-
nect to a network, as well as perform maintenance. Read this manual thoroughly to make
the most of your projector. Installation of the projector should be performed by a qualified
technician. Contact the Canon Customer Support Center for further information.
Symbols Used in This Manual
Meanings of the symbols used in this manual are as follows.
A precaution about operation or restriction is given here.
Symbols of Button Operations
The projector can be operated using the but-
tons on the remote control or on the side of the
projector. The remote control allows you to
operate all functions of the projector. In this
document, the button’s operations are shown
as below.
Indicate the buttons to be pressed
Adjusting the Image Size
The size of the projected image can be adjusted b
remote control or the LENS button on the projector.
Change the projector installation position if your de
adjust it with the zoom function. (P125)
1Press either the ZOOM button on the remote control
Remote control Projector
Push twice
Remote control button operation
Operation of buttons on side of
projector
COPYRIGHT NOTICE
Please note that enlarging or reducing the size of an image for commercial pur-
poses or public presentation may infringe on the legally protected copyright or the
copyright holder of the original material.
About Trademarks
• Ethernet is a registered trademark of Xerox Corporation.
• Microsoft, Windows, Windows XP, Windows Vista and Windows 7 are registered
trademarks or trademarks of Microsoft Corporation in the United States and / or
other countries.
• Mac, Mac OS and Macintosh are trademarks of Apple Inc., registered in the United
States and / or other countries.
• HDMI, the HDMI logo and High-Definition Multimedia Interface are trademarks or
registered trademarks of HDMI Licensing, LLC.
• PJLink is a registered trademark, or an application has been submitted for trade-
mark, in Japan, the United States and / or other countries or regions.

3
Quick Reference Guide
This Quick Reference Guide will help you find functions that make full use of the projector
and are useful for producing an attractive presentation, etc.
Connecting to the Computer (P39 - P41)
Connecting to AV Equipment (P42 - P44)
Starting Projection (P45 - P47)
Selecting an Input Signal (P48 - P49)
Adjusting the Image Size and Focus (P58,
P59)
Adjusting Keystone Distortion (P62)
Adjusting Aspect Ratio (P52 - P57)
Eliminating Flickers from Computer Screen
and Adjusting Positional Shift (P79, P80)
Projecting an Image on a Greenboard (P84)
Selecting an Image Mode Suitable for the
Projecting Image (P88)
Making Fine Color Adjustments (P92)
Removing Noise (P94)
Temporarily Blacking Out an Image (P68)
Freezing the Picture (P68)
Adjusting the Volume (P69)
Muting the Sound (P69)
Zooming an Image (P70)
Showing the Elapsed Time (P71)
Resetting Password (P103)
Initializing the Network Setting (P141)
Resetting to the Default Setting (P109)
Reducing the Lamp Brightness (P97)
Using the Power Saving Mode (P98)
Turning on the Projector by Connecting the
Power Cord (P98)
Disabling the Beep During Operation (P99)
Disabling Buttons (P99)
Hiding Guide Messages (P101)
Setting a Password (P103)
Connecting the Projector
Projecting an Image
Adjusting the Image
Adjusting Colors and Image Quality
Producing a Presentation
Changing the Remote Control Channel
(P100)
Resetting Projector Setting
Miscellaneous Functions

4
Table of Contents
How to Use This Manual.............................................................................................. 2
Quick Reference Guide................................................................................................ 3
Safety Instructions..................................................................................................... 10
Safety Precautions ................................................................................................................... 11
CAUTION ON HANGING FROM THE CEILING...................................................................... 11
■ READ AND KEEP THIS OWNER’S MANUAL FOR LATER USE...................................... 12
AC Power Cord Requirement................................................................................................... 14
Federal Communication Commission Notice ........................................................................... 15
Canadian Radio Interference Regulations ............................................................................... 15
Precautions for Use.................................................................................................................. 16
Precautions for Installation ....................................................................................................... 17
Precautions on the lamp........................................................................................................... 19
Precautions for the batteries of the remote control .................................................................. 20
Before Use ........................................................................................................ 23
Supplied Accessories................................................................................................ 24
■ Installing Remote Control Batteries................................................................................. 24
Preparing the Remote Control.................................................................................. 26
■ Remote Control Operating Range .................................................................................. 26
Part Names ................................................................................................................. 27
Main Unit .................................................................................................................................. 27
■ Front Side........................................................................................................................ 27
■ Rear Side ........................................................................................................................ 28
■ Bottom Side.....................................................................................................................28
Remote Control ........................................................................................................................ 30
Side Control.............................................................................................................................. 32
■ LED Indicator Displays ................................................................................................... 33
Input Terminal .......................................................................................................................... 34
User’s Manual (Operation) .............................. 35
Projecting an Image ......................................................................................... 37
Steps for Connecting the Projector and Projecting an Image ............................... 38
Connecting the Projector .......................................................................................... 39
Connecting the Projector to a Computer .................................................................................. 39
■ Connecting to RGB Monitor Output Terminal (Analog Connection) ............................... 39
■ Connecting to DVI Monitor Output Terminal (Digital Connection) .................................. 40
■ HDMI cable (Input signal type: [HDMI] – P48) ............................................................... 41
■ Outputting Audio to Speakers......................................................................................... 41
Connecting to AV Equipment ................................................................................................... 42
■ Connecting to Digital Video Output Terminal (Digital Connection) ................................ 42
■ Connecting to Analog Video Output Terminal (Analog Connection) .............................. 43
■ Outputting Audio to Speakers......................................................................................... 44

5
Table of Contents
Table of Contents
Starting Projection .....................................................................................................45
■ When the Language Selection Screen Appears ............................................................. 46
■ When the Password Input Screen Appears .................................................................... 46
■ When “No signal” Appears.............................................................................................. 46
■ When Notebook Computer Screen Does Not Appear.....................................................47
■ Adjusting Image .............................................................................................................. 47
Changing Notebook Computer Screen Output ......................................................................... 47
■ Turning on External Monitor Output................................................................................. 47
Selecting an Input Signal (INPUT) ............................................................................48
■ Types of Input Signals ..................................................................................................... 48
■ Selecting an Input Signal................................................................................................. 49
Adjusting the Image...................................................................................................50
Setting the Display Resolution of the Computer ....................................................................... 50
■ Windows 7 .......................................................................................................................50
■ Windows Vista ................................................................................................................. 50
■ Windows XP..................................................................................................................... 50
■ Mac OS X......................................................................................................................... 51
AUTO PC .................................................................................................................................. 51
■ Performing the Auto PC Function .................................................................................... 51
Selecting Screen Aspect and Aspect........................................................................................ 52
■ Selecting Screen Aspect ................................................................................................. 52
■ Selecting Aspect Ratio .................................................................................................... 56
Adjusting the Image Size ..........................................................................................................58
Adjusting the Focus .................................................................................................................. 59
Adjusting the Image Position ....................................................................................................60
■ Resetting the Position ...................................................................................................... 61
Adjusting Keystone Distortion...................................................................................................62
■ Resetting the Keystone Adjustment ................................................................................63
Selecting an Image Mode ..........................................................................................64
■ Image Modes................................................................................................................... 64
■ How to Select an Image Mode ........................................................................................65
Turning Off the Projector...........................................................................................66
Useful Functions Available During a Presentation ....................................... 67
Useful Functions Available During a Presentation .................................................68
Temporarily Blacking Out an Image .........................................................................................68
Freezing the Picture.................................................................................................................. 68
Adjusting the Volume................................................................................................................ 69
Muting the Sound......................................................................................................................69
Zooming an Image.................................................................................................................... 70
Showing the Elapsed Time ....................................................................................................... 71
Setting Functions from Menus........................................................................ 73
How to Use Menus .....................................................................................................74
■ Menu Configuration ......................................................................................................... 74
■ Basic Operation of Menu................................................................................................. 75
This manual suits for next models
2
Table of contents
Other Canon Projector manuals

Canon
Canon LV 7490 User manual

Canon
Canon SX20 - POWERSHOT IS SX1 User manual

Canon
Canon LX-MU700 User manual

Canon
Canon LV-7355 User manual

Canon
Canon WX6000 Installation manual

Canon
Canon Projectors User manual

Canon
Canon LV-7215U User manual

Canon
Canon SX50 - REALiS SXGA+ LCOS Projector User manual

Canon
Canon RE-450X User manual

Canon
Canon LE-5W User manual

Canon
Canon LV-8227A User manual

Canon
Canon LV-7240 User manual

Canon
Canon Rayo S1 User manual

Canon
Canon LV-7290 User manual

Canon
Canon LV-S1 User manual

Canon
Canon XEED WUX10 User manual

Canon
Canon LV-CL15 User manual

Canon
Canon T2000 User manual

Canon
Canon LV-7290 User manual

Canon
Canon REALiS SX6000 Pro AV User manual