manuals.online logo
Brands
  1. Home
  2. •
  3. Brands
  4. •
  5. Carron Phoenix
  6. •
  7. Plumbing Product
  8. •
  9. Carron Phoenix Seraphina User manual

Carron Phoenix Seraphina User manual

3-in-1 Hot Water Tap
Assembly & Instructions
Introduction
TAP is suitable for dispensing boiling water (100oc) as well as normal hot
and cold water and is for domestic kitchen use only The connections of the
mixer section can be connected with the filter valves directly to the hot
and cold water mains. The boiling water hose of TAP should be directly
connected to the heating tank (please see Heating Tank instructions).
In this instruction leaflet are the instructions for the correct and safe use
of TAP. If TAP is not installed according to the following instructions, your
warranty is rendered invalid. The manufacturer is not liable for damages
resulting from non-compliance with the installation or user instructions.
(1) (2)
(3)
(4)
(5)
(6)
(7)
Installation Instructions Caution: TAP must only be connected to the Carron Phoenix heating tank.
Preparation:
i) Mount the heating tank following the separate heating tank instructions
ii) Locate TAP on the sink or worktop.
Note: Be sure to place the tap to suit left or right handedness.
TAP provides 100oc water, therefore we recommend you position the
spout opposite to the boiling water control to avoid scalding. Bear in mind the
position of the sink bowl. You can reverse the hot and cold water
operation by exchanging the position of the hot and cold water hoses
within the tap body.
iii) If mounting TAP directly on to the worktop, drill a hole 035mm at least
60m from the wall or back of the worktop.
iv) Slide the plinth(2) and o-ring(3) over the base of the tap.
(ii)
(iii)
(iv)
Mounting
i) Slide TAP with the flexible hoses attached throughthe drilled taphole in
your sink or worktop.
ii) Slide the gasket (4) and retaining plate (5) on to the threaded tube.
iii) Tighten the locking spanner (6) firmly.
iv) Connect the flexible boiling water hose of the tap to the boiling water
hose of the heating tank. Make sure to fit the gasket (7) between
both hoses.
v) Connect the hot and cold water hoses with the mains pipe.
Caution: Place the gasket between the hose of the tap and the hose of the tank.
A spare gasket is supplied with the tank.
(i)
(ii)
(iv)
(a)
(b)
(c)
(a): cold water (10mm compression fitting)
(b): hot water (10mm compression fitting)
(c): boiling water (connection M10 x 1.25 &
gasket)
(c)
Package Contents
1 x TAP (1)
1 x plinth (2)
1 x seal (3)
1 x rubber gasket (4)
1 x clamp plate (5)
1 x locking spanner (6)
1 x gasket (7)
Filling and venting the heating tank
i) Close the boiling water tap.
ii) Open the mains valve.
iii) Open the inlet valve of the pressure relief valve.
iv) Open the boiling water tap.
v) Wait until water flows from the tap.
vi) Let the water flow for 3 minutes until clear water flows
from the tap.
vii) Check for leaks and rectify as necessary.
Continue with installation of heating tank following heating tank
installation instructions.
(ii)
(iii)
(vi)
(i)
(iv)
Operation of boiling water function
When you start to use TAP, always flush a cupful of residual water. This will eliminate the air bubbles from the surface
water of your drink.
Caution: TAP delivers 100oc water and care should be taken to avoid scalding.
This appliance is not intended for use by children, users with a
physical or mental disability or user with insufficient knowledge,
unless they have received instruction on the operation of the
appliance.
TAP is fitted with a childproof control button which requires a
push and turn action to operate.
i) It is advisable to hold your cup, teapot or saucepan close to the outlet of
the tap spout. This will prevent the water from splashing and enable you
to operate TAP safely.
ii) Press the release button and turn the handle.
Note: releasing the button will automatically shut off the boiling water
supply.
Operation of hot/cold water
Utilise the TAP lever in the conventional way for the normal supply of normal hot/cold water.
(ii)
!
Maintenance
Depending on your geographic location and the quality of your water, the aerator on the tap may eventually calcify. Only use
cleaners containing citric acid as other cleaning agents may affect the material.
Tap aerator decalcification
i) Unscrew the aerator collet.
ii) Clean the aerator with a suitable cleaning agent.
iii) Replace the aerator into the collet
iv) Replace the o-ring on the aerator and tighten.
(i)
(ii) (iii)
(iv)
(iv)
Troubleshooting
Complaint Likely cause Solution
Water leak Connection leak Tighten connection or replace it.
Tap does not supply boiling water See Heating Tank instructions
TAP does not supply any water Check whether mains water valve and
pressure relief valve are open.
Alternatively, please contact after-sales
agent.
TAP only supplies cold water See Heating Tank instructions
Reduced water flow or splashing water Debris or calcium deposits in tap aerator Descale the lime deposits in tap aerator
This appliance is guaranteed by Carron Phoenix to be free from material and manufatcturing defects. This warranty is subject to the following terms and
conditions:
The Carron Phoenix TAP is guaranteed against manufacturing defects and defective materials and workmanship for 5 years. Carron Phoenix will, where
appropriate, provide replacements for your tap and their discretion. Any associated or ancillary costs to be incurred by you as a result of replacement of the
tap or parts under this guarantee shall in all cases be previously approve by Carron Phoenix.
This guarantee is in addition to and does not affect your statutory rights.
After sales services department:
Tel: 08?? ???? ????
CARRON PHOENIX LTD / WEST PARK / MIOC / STYAL ROAD / MANCHESTER / M22 5WB / T: 0161 436 6280

Other Carron Phoenix Plumbing Product manuals

Carron Phoenix RENO User manual

Carron Phoenix

Carron Phoenix RENO User manual

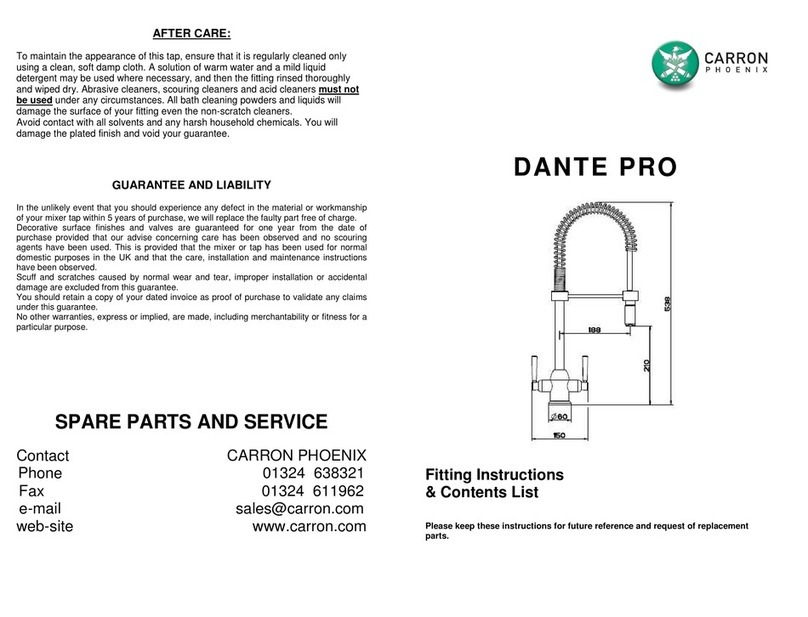
Carron Phoenix DANTE PRO User manual

Carron Phoenix

Carron Phoenix DANTE PRO User manual

Carron Phoenix SAVONA User manual

Carron Phoenix

Carron Phoenix SAVONA User manual

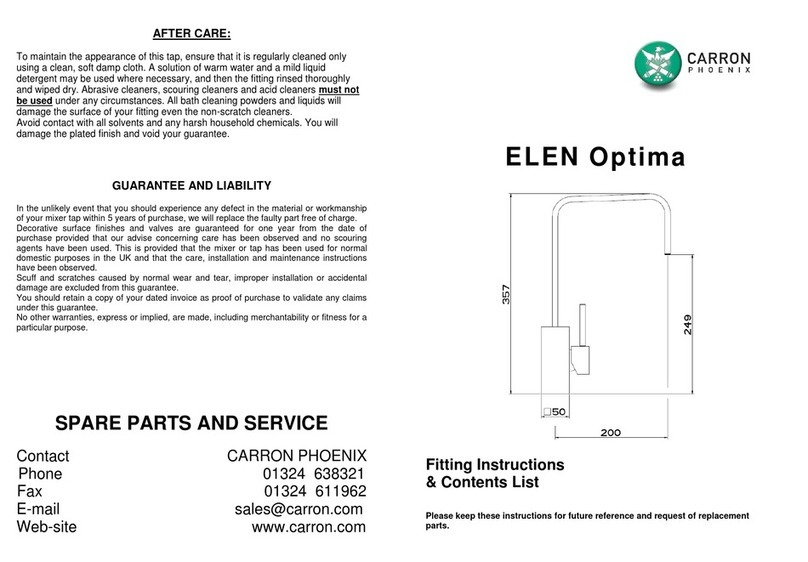
Carron Phoenix ELEN Optima User manual

Carron Phoenix

Carron Phoenix ELEN Optima User manual

Popular Plumbing Product manuals by other brands

Sanela SLUN 04ETB Instructions for use

Sanela

Sanela SLUN 04ETB Instructions for use

Hans Grohe Shower Select 15765000 Instructions for use/assembly instructions

Hans Grohe

Hans Grohe Shower Select 15765000 Instructions for use/assembly instructions

Vola 100 FITTING INSTRUCTION

Vola

Vola 100 FITTING INSTRUCTION

Glacier bay HD67552-1501 Installation and care guide

Glacier bay

Glacier bay HD67552-1501 Installation and care guide

Omnires Y1233BSB Installation and Maintenance

Omnires

Omnires Y1233BSB Installation and Maintenance

MEFE CAT 67913 installation manual

MEFE

MEFE CAT 67913 installation manual

Kinedo Caiman XXL PB441BTNE installation instructions

Kinedo

Kinedo Caiman XXL PB441BTNE installation instructions

Hans Grohe Metris 14820 1 Series Installation and user instructions

Hans Grohe

Hans Grohe Metris 14820 1 Series Installation and user instructions

BELLOSTA ludo 7305/3 Installation instruction

BELLOSTA

BELLOSTA ludo 7305/3 Installation instruction

Gerber D224530 manual

Gerber

Gerber D224530 manual

baliv KBS-24.60 manual

baliv

baliv KBS-24.60 manual

ProFlo PFWSC30175CP installation instructions

ProFlo

ProFlo PFWSC30175CP installation instructions

Kohler K-45346T installation instructions

Kohler

Kohler K-45346T installation instructions

American Standard Washbrook Urinal 6501.010 Specification sheet

American Standard

American Standard Washbrook Urinal 6501.010 Specification sheet

SUMERAIN S6119CP installation guide

SUMERAIN

SUMERAIN S6119CP installation guide

Axor Starck 10030XX1 Installation instructions / warranty

Axor

Axor Starck 10030XX1 Installation instructions / warranty

Signature Hardware Maleko installation manual

Signature Hardware

Signature Hardware Maleko installation manual

BERNSTEIN G30013A Assembly instructions

BERNSTEIN

BERNSTEIN G30013A Assembly instructions

manuals.online logo
manuals.online logoBrands
  • About & Mission
  • Contact us
  • Privacy Policy
  • Terms and Conditions

Copyright 2025 Manuals.Online. All Rights Reserved.