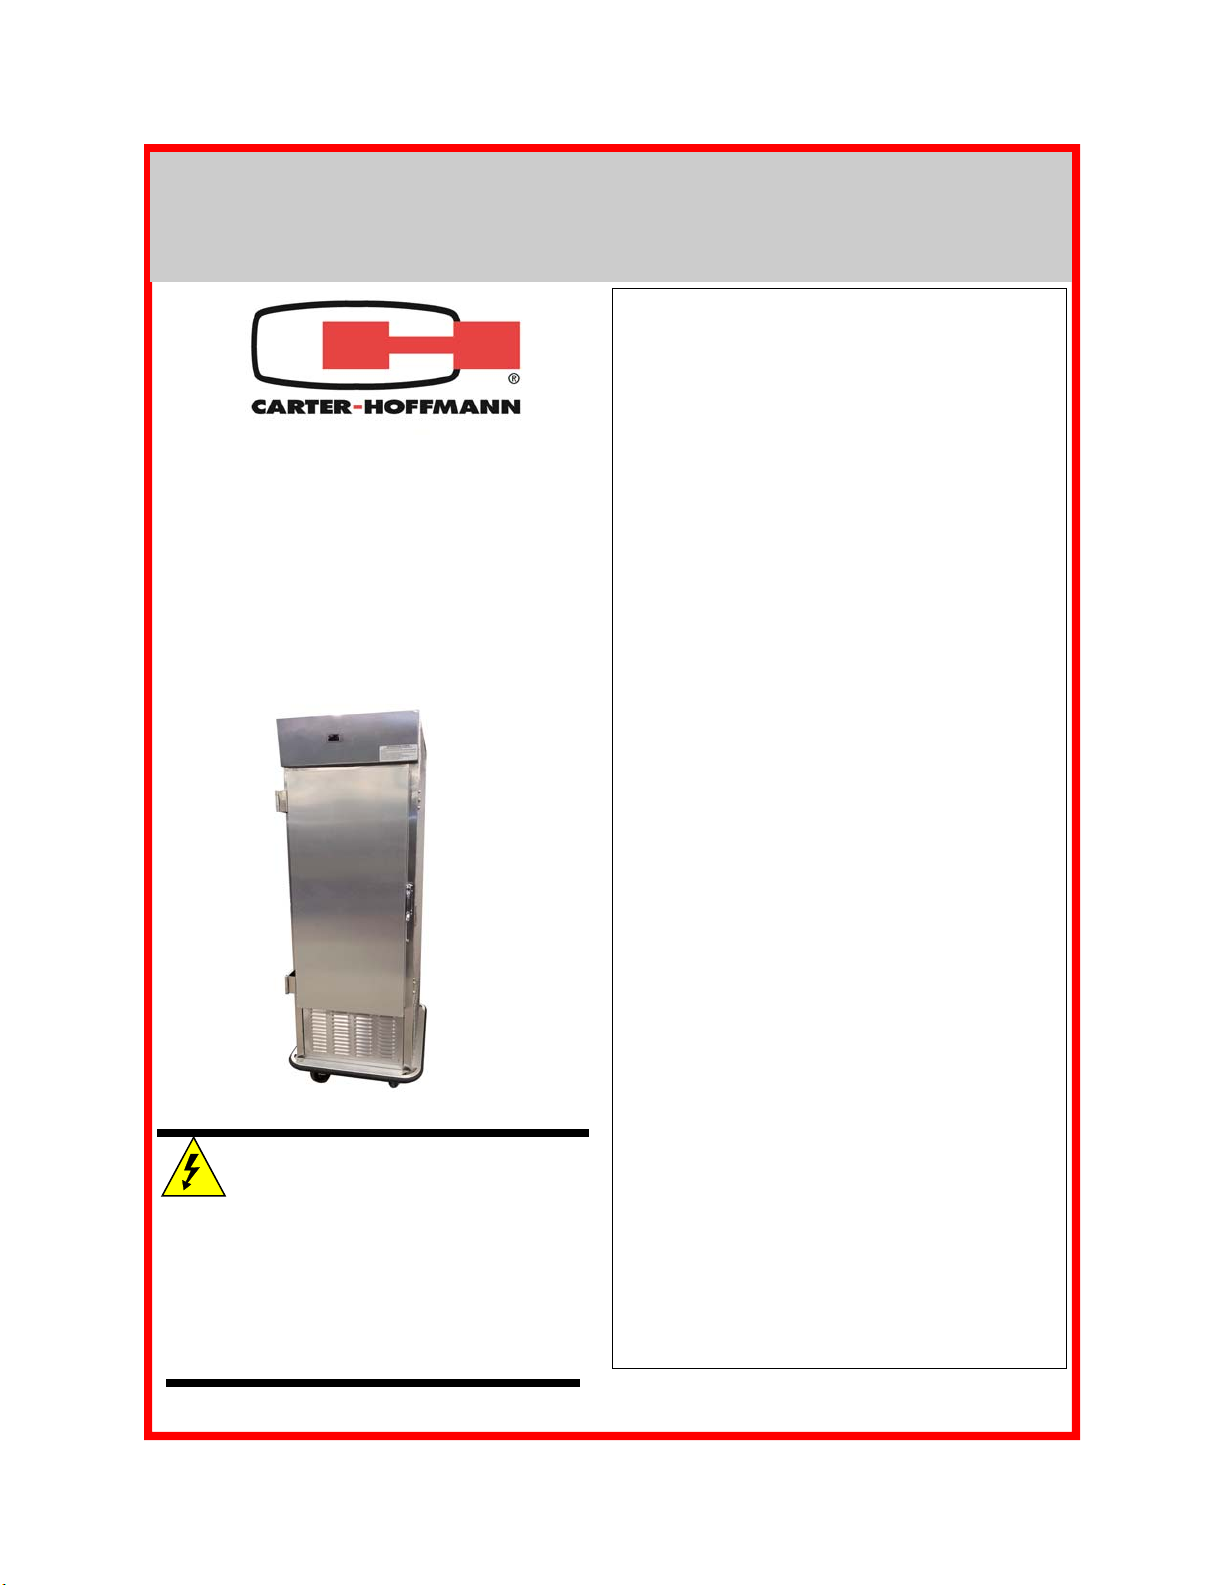
CARTER-HOFFMANN PHB495HE Owner's manual

AIR SCREEN REFRIGERATOR
MODEL PHB495HE
OWNER / OPERATOR’S MANUAL
Part Number: 18400-3028E Printed in the United States of America 080919KBA
MANUFACTURED BY:
CARTER-HOFFMANN
1551 McCormick Avenue
Mundelein, IL 60060 U.S.A.
Phone: 847-362-5500
Fax: 847-367-8981
Toll Free: 800-323-9793
GENERAL INFORMATION
This appliance is intended for use in commercial
establishments, where all operators are familiar with
the appliance use, limitations and associated haz-
ards.
Operating instructions and warnings must be read
and understood by all operators and users.
This appliance is intended for use to holding pre-
cooked foods for human consumption. No other use
is recommended or authorized by the manufacturer
or its agents.
Cleanliness of this appliance is essential to good
sanitation. Read and follow all included cleaning
instructions and schedules to ensure the safety of
the food product.
All included trouble shooting guides, component
views and parts lists are included for general refer-
ence, and are intended for use by qualified service
personnel.
Knowledge of proper installation, operation and
maintenance procedures is essential to ensure the
safe operation of this oven.
SERVICE / SAFETY
Always have dry hands prior to using the piece of
equipment.
Turn OFF the unit (not all units have power switch-
es) anytime the cabinet is not in use.
If an electrical shock is felt when touching the cabi-
net, disconnect the power immediately and call
Carter-Hoffmann Technical Service for assistance.
If the power cord is frayed or the plug damaged, DO
NOT plug into the electrical power receptacle. If it is
already plugged in, turn off the main circuit breaker,
usually located in the building’s breaker box, then
disconnect the plug.
Disconnect the power cord before attempting any
repairs to the cabinet.
Repairs to this unit must be by qualified personnel.
DO NOT SPRAY WITH WATER OR CLEANING
SOLUTIONS, or submerge the appliance. Compo-
nents and wiring present a high shock hazard when
wet.
Disconnect power when cleaning cabinet.
Both the interior and exterior surfaces of this appli-
ance can be hot to the touch and may cause burns.
CAUTION: EQUIPMENT ELECTRICAL
DAMAGE
DO NOT plug in or use this appliance until
all Installation Instructions are read and followed.
Damage to the appliance may occur if these in-
structions are not followed.
This manual is considered to be a permanent part
of this appliance.
This manual must remain with the appliance if it is
sold or moved to another location.
PHB495HE

2
UNPACKING AND INSTALLATION
WARNING:
Risk of personal injury
Installation procedures must
be performed by a qualified technician
with full knowledge of all applicable
electrical codes. Failure can result in
personal injury and property damage.
CAUTION:
Electrical Shock Hazard
The ground prong of the power cord is
part of a system designed to protect
you from electric shock in the event of
internal damage. DO NOT cut off the
large round ground prong or twist a
blade to fit an existing receptacle.
IMPORTANT:
Power cord is 10' long.
If necessary, contact a li-
censed electrician to install
an appropriate 15 amp electrical cir-
cuit with NEMA 5-15R receptacle. DO
NOT use an extension cord.
IMPORTANT:
Damage to unit due to being
connected to the wrong volt-
age or phase is NOT cov-
ered by warranty.
GROUNDING INSTRUCTIONS
This appliance is equipped with a cord having a grounding wire
with a grounding plug which must be plugged into an outlet that is
properly installed and grounded. In the event of an electrical short
circuit, grounding reduces the risk of electric shock by providing an
escape wire for the electrical current.
WARNING-Improper use of the grounding can result in a risk
of electric shock. Consult a qualified electrician or service agent if
the grounding instructions are not completely understood, or if
doubt exists as to whether the appliance is properly grounded.
CAUTION: Electric Shock Hazard
All servicing requiring access to non-insulated components must be performed by qualified service
personnel. Do not open any access panels which require the use of tools. Failure to heed this warn-
ing can result in electrical shock. Disconnect this appliance from electrical power before performing
any maintenance or servicing.
WARNING: Injury Hazard
All installation procedures must be performed by qualified personnel with full knowledge of all applica-
ble electrical codes. Failure could result in property damage and personal injury.
WARNING Electric Shock Hazard
Appliance must be plugged into a properly grounded receptacle to prevent possible shock hazard.
Electrical shock will cause death or serious Injury.
Unpack the cart and any accessories includeed. Ensure that all
packing materials and protective plastic has been removed from the
unit. Inspect all components for completeness and condition.
NOTE: DO NOT discard the carton or other packing materials until
you have inspected the appliance for hidden damage and tested it
for proper operation. Refer to SHIPPING DAMAGE CLAIM PROCE-
DURE on PAGE 7 of this manual.
Appliance should be thoroughly cleaned
before use. See CLEANING INSTRUC-
TIONS, page 3.
Plug the cabinet into a properly grounded
NEMA 5-15R electrical receptacle. DO
NOT MODIFY CORD PLUG.
Before using, familiarize yourself with the
controls. Read entire manual before
operating this cart.
7

3
CLEANING
Turn the main power switch OFF and unplug the cabinet to before clean-
ing. DO NOT spray or splash water on the electrical components, con-
trol panel, timer or wiring.
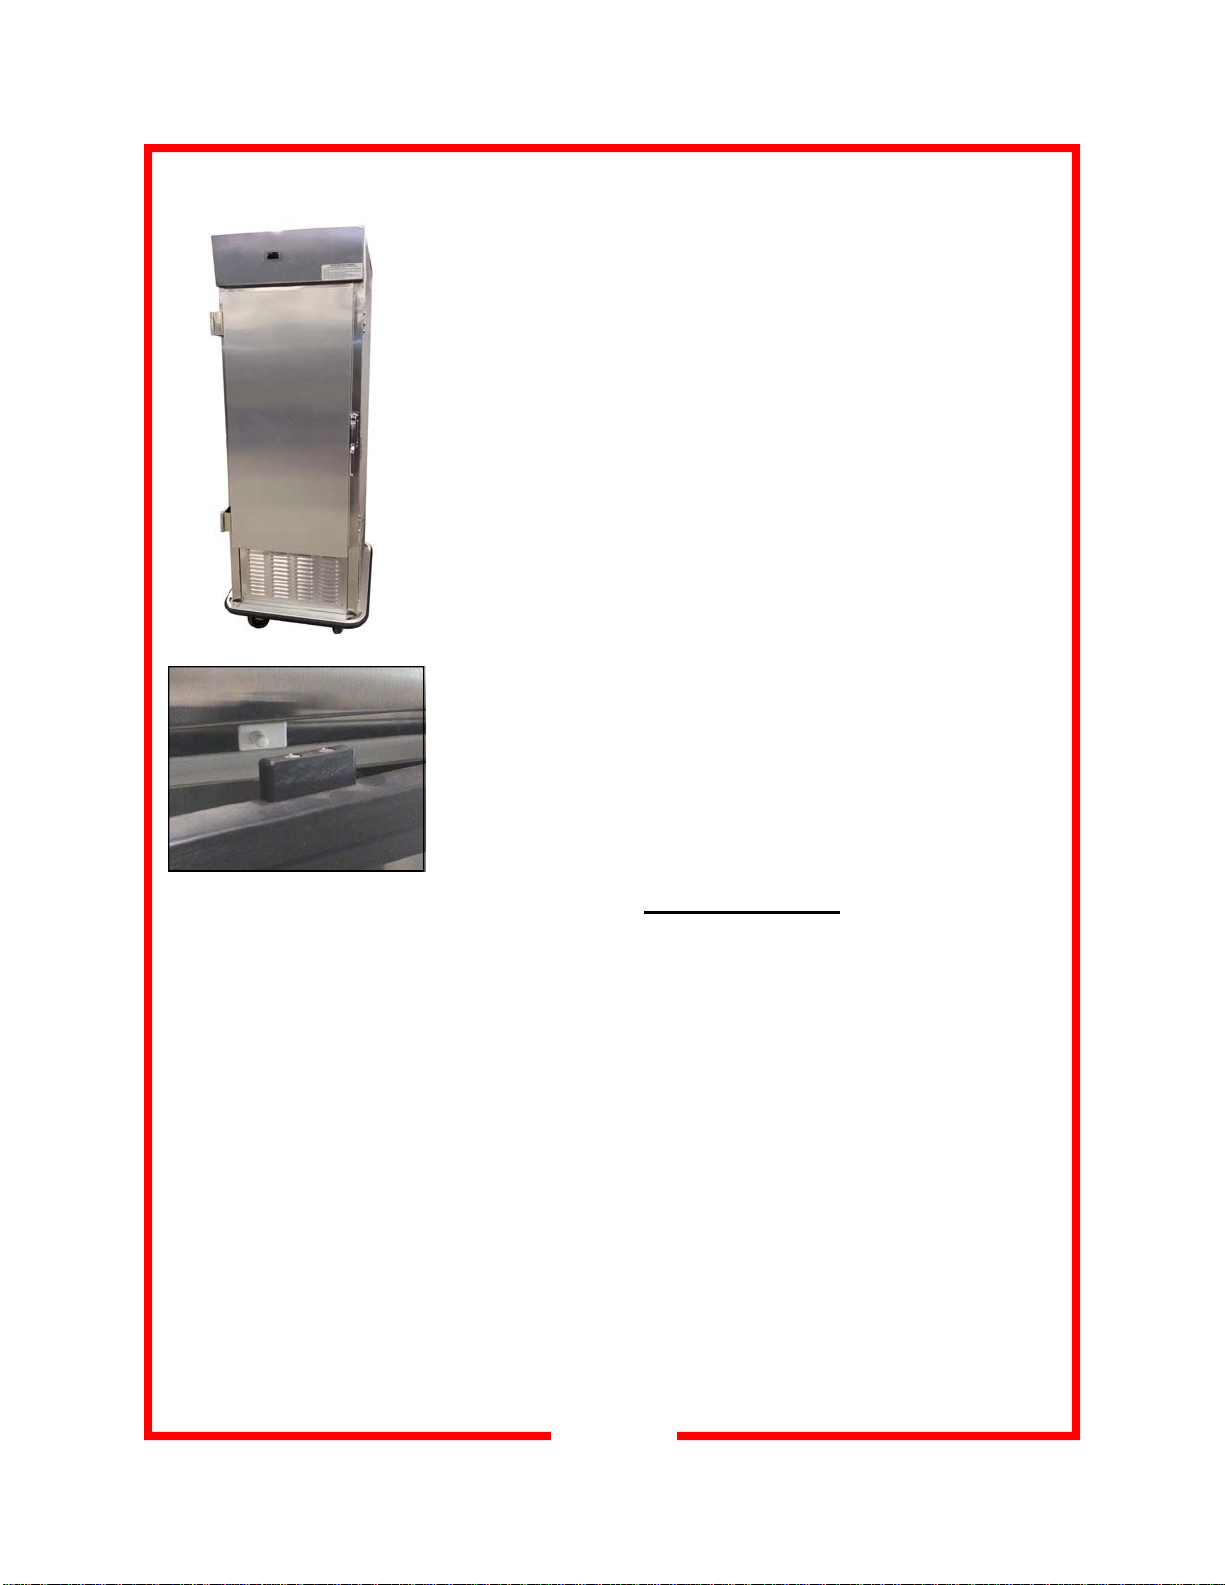
1. Racks or shelves are easily removed without tools for cleaning, Simply
lift up and pull out. The tray racks may be hand washed or run through
an automatic washer.
2. To clean stainless steel surfaces use only cleansers, detergents, de-
greasers, or sanitizers that are certified to be "chloride-free" and
"phosphate-free," and cleansers, degreasers, or sanitizers only in the
recommended concentrations. DO NOT exceed recommended con-
centrations or mixing ratios. After cleaning and sanitizing, rinse all
exposed surfaces thoroughly with large amounts of clean, clear water.
Wipe off any standing liquid or residue from all surfaces, corners and
rear edges.
3. Vinyl trim should be washed with a chlorine-free detergent and water.
Rinse thoroughly with clear water and allow to dry. Never use abra-
sive cleaners, waxes, car polish, or substances containing strong aro-
matic solvents or alcohol. Use of direct steam / hot water cleaning
at temperatures above 190°F may result in “bubbling” or loosening of
vinyl adhesive.
4. After all parts are dry, reinstall them and then plug the cabinet back
into electrical source.
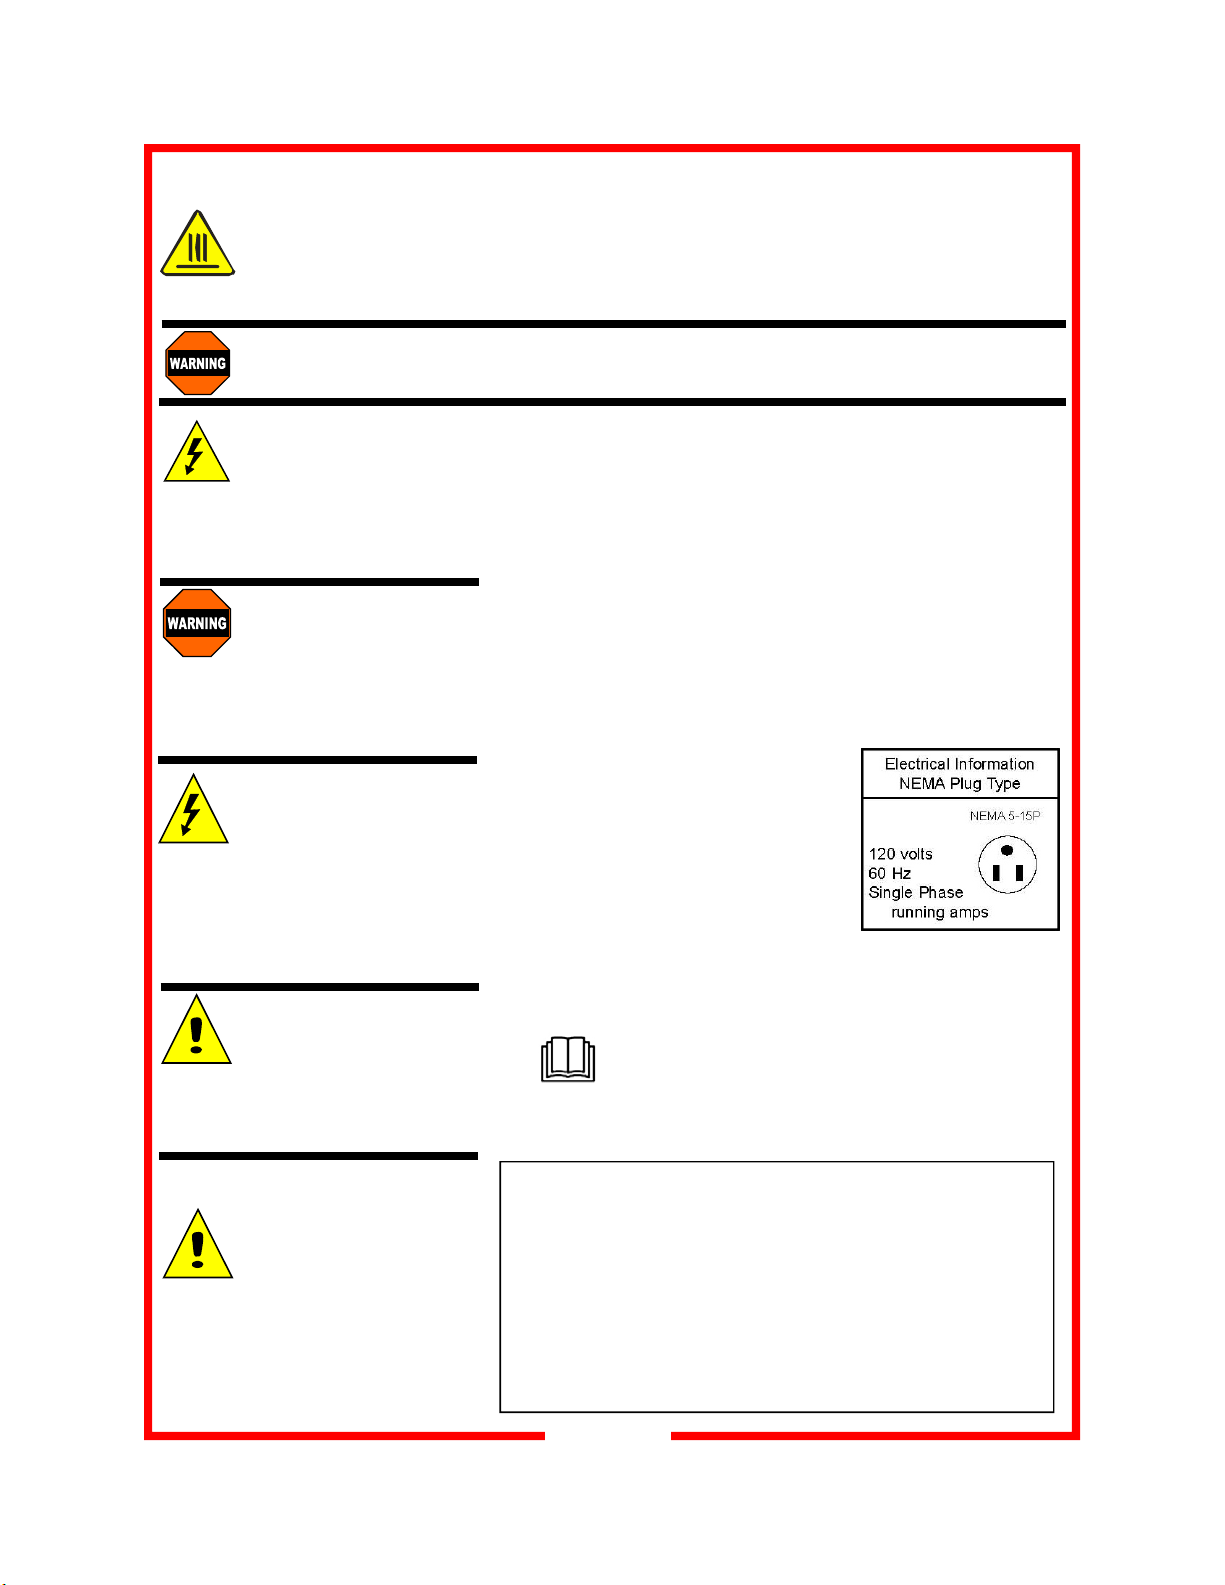
WARNING: ELECTRIC
SHOCK HAZARD
Unplug the unit from
electric power before
performing cleaning or maintenance.
WARNING: ELECTRIC
SHOCK HAZARD
DO NOT spray or splash
water on the control panel
or wiring.
IMPORTANT: Cleansers, detergents, degreasers, sanitizers or bleaching agents that contain chlorides or
phosphates will cause permanent damage to stainless steel products. This damage appears as pits,
eruptions, voids, small holes, cracks, severe discolorations or dulling of the metal finish. Water with a high
chlorine content can also damage stainless steel. If unsure of your water quality, we recommend you have it
tested. THIS DAMAGE IS PERMANENT, COSTLY TO REPAIR, AND IS NOT COVERED BY WARRANTY.
PURPOSE FREQUENCY CLEANING AGENT METHOD OF APPLICATION
Routine
cleaning Daily Soap, ammonia,
detergent and water Swab with cloth.
Rinse with clear water, wipe dry.
Smears
and
fingerprints
As needed Stainless steel cleaner,
similar products Rub with cloth as directed on package.
Rub in direction of grain of stainless steel.
Do not use on vinyl trim or control panel.
Stubborn spots
and
stains
Daily or as needed Any chloride-free or
phosphate-free
cleanser
Apply with damp sponge or cloth.
Rub in direction of grain. Rinse thoroughly.
Do not use on vinyl trim or control panel.
Hard
water spots Daily or as needed Vinegar Swab with cloth.
Rinse with clear water, wipe dry.
RECOMMENDED "TIPS" FOR CLEANING STAINLESS STEEL
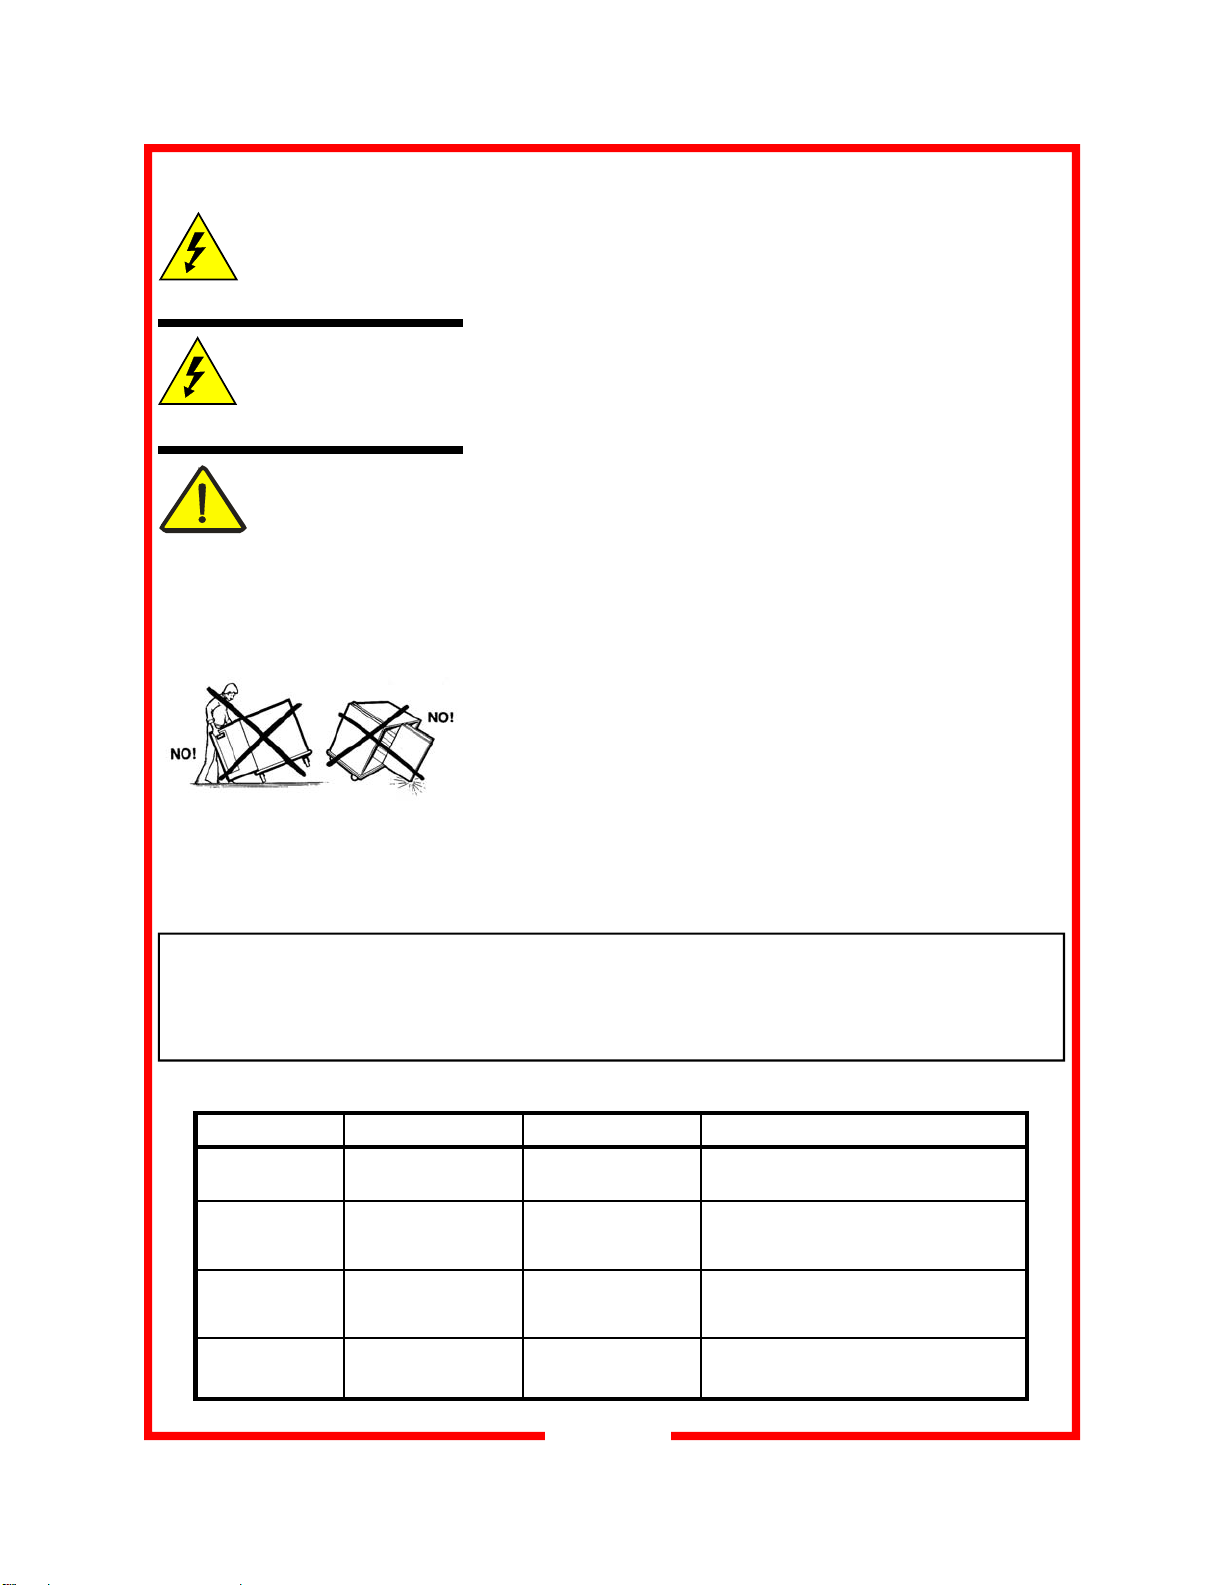
CAUTION: CART
DAMAGE
Do not tip cart onto the
doors to drain excess
water. Permanent damage to the
doors and hinges will result. Use a
clean dry cloth to mop any excess
water inside cabinet after cleaning.

4
CONTROLLER OPERATION
Manual Defrost Start Key
Press and hold for two seconds
to enable defrost. NOTE: Cabi-
net temperature must be at 40°F
or lower for manual defrost to
operate. During the defrost
cycle, melting snowflake will
illuminate on the controller here.
Set Key
Press to display temperature set
point
Up Arrow Key
Press to increase tempera-
ture set point (1°increments)
Down Arrow Key
Press to decrease tempera-
ture set point (1°increments)
To Lock or Unlock the Controller: Press and hold
both Arrow Keys at the same time.
Snowflake symbol will illuminate here when compressor is ON
The cabinet contains (2) Dixell controllers, where only the visible controller is required for user interface. The
set points for each are listed below.
IRAC15 C1 Controller (Face): 34° F
IRAC15 C2 Controller (Inside): 20° F
Note: The Dixell controller settings have been carefully configured to optimize the performance of the
cabinet. See the notes below regarding possible outcomes if any deviation from the factory set points is made.
-Adjusting the set temperature of the cabinet to a lower setting may make the stored food product more sus-
ceptible to freezing when storing the food product for extended periods of time without open door operations.
-Adjusting the set temperature of the cabinet to a higher setting may affect open door performance.
Please contact the service department if there are any questions or if further customization is required.
CONTROLLER SETTINGS

The Air Screen Refrigerator is designed for use with the door open when un-
loading during meal or tray assembly operations lasting up to two hours. Only
product that has been pre-chilled should be placed in the cabinet. Placing
warm product into the cabinet will elevate the cabinet air temperature above
40°F (4°C). This will have a direct effect on optimum product serving temper-
atures.
Due to various conditions such as extremely high kitchen temperatures, high
frequency of tray activity breaking the air curtain and excessively long opera-
tions, the door may need to be closed so the unit can recover to proper oper-
ating temperature.
1. Pre-chill empty cabinet with the door closed for approximately 40 minutes.
Always keep the door closed, except when actually loading or unloading
the cabinet. Do not load the cabinet until the proper operating temperature
has been reached (34°-40°F).
2. Load the cabinet from the bottom to the top. While the side-to-side air
flow of the Air Screen Refrigerator will function well when trays are partially
pulled out, the best position for the trays is to be pushed all the way in dur-
ing unloading. After loading, close the door and allow the inside air temper-
ature to recover.
3. If necessary, unplug and move cabinet to serving area. Plug cabinet back
in immediately upon arrival.
4. Unload the cabinet from the top down.
5. Close the door during slow periods to extend the effective temperature
maintenance time.
Remember: the refrigerator or freezer must be at proper
temperature before the door is opened.
The cabinet will not lower food temperatures with the door open.
The cabinet is equipped with an automatic condensate evaporator. To pre-
vent water spills, leave the unit plugged in, with the door closed for at least 90
minutes after use.
24/7 OPERATION
The cabinet is designed to operate for a minimum of 2 hours with the door
open in normal ambient conditions, but is capable of operating 24 hours a
day, 7 days a week with the door closed. There are a few items to note for
this extended operation:
1. If the cabinet is used for an extended period of time with the door closed,
it may be necessary to raise the set temperature to avoid freezing the
food product.
2. If the cabinet is used for an extended period of time with the door closed,
it may be necessary to manually drain the condensate drain pan. See
section regarding drain pan instructions. For reference, active evapora-
tion in the condensate drain pan only occurs while the condenser is oper-
ating. When the door is closed for extended periods of time, the conden-
ser operates infrequently.
3. Depending on environmental and operating conditions, manually draining
the condensate drain pan may be necessary. See DRAINING CONDEN-
SATE PAN section in the GENERAL MAINTENANCE INSTRUCTIONS
portion of this manual for more details.
DAILY OPERATION
5
Door switch activates air
screen when door is opened

6
WIRING DIAGRAMS & PARTS LISTS
Part Number Description
18614-0051 Accumulator 5/8 Suct.
16002-5190 Push handle assembly
18614-0408 Blade, fan evaporator
18602-0031 Boot, toggle switch
29034-0050 Breaker strip, grey
18301-6217 Caster, no brake
18301-6218 Swivel caster with brake
18614-0276 Evaporator coil, #5598
18612-5066 Condensing unit R134a 1 HP
18605-0010 Cord with plug 14/3 HSJO, 5-15P
16503-2999 Evaporator cover
18614-0062 Filter drier C-032-S
16501-6807 Front grill
18303-0080 SST Flush pull handle
16090-4097 Door hinges
18602-0334 Time Delay Relay
18602-0030 Toggle switch, 30A
18615-0168 Valve, Condensate Pan Drain
18615-0166 Elbow, Condensate Pan Drain
Part Number Description
18302-0050 Magnetic door latch, chrome offset
18302-0048 Magnetic door latch, locking, chrome offset
18614-0407 Evaporator motor, 120v
16504-6906 Side vent panel
18302-0054 Door strike, SST #R25
18602-0013 Push button door switch
16090-4209 IRAC15 C1 Controller (Face)
16090-4210 IRAC15 C2 Controller (Inside)
18616-0013 Digital controller probe
18614-0091 Expansion valve, EFJ-1/2-C 3x4 SAE 30”
16503-5504 Door hold open retainer bracket
18305-0076 Rubber door stop bumper
18141-0030 Mounting rivet for 18505-0076 bumper
16001-1621 Bottom left pan slide duct
16001-1622 Top left pan slide duct
16001-1623 Bottom right pan slide duct
16001-1624 Top right pan slide duct
18614-0028 HGBP Solenoid, 120v
120v, 7 running amps
Standard Electric

7
GENERAL MAINTENANCE INSTRUCTIONS
REVERSING THE DOOR
The door is designed to be field reversible. Carefully read all of the instructions below before starting. Look
closely at the orientation of the door, latch and the strike before disassembling. Take a picture if needed to en-
sure a correct reassembly. It may take two or three people to safely accomplish this task (See remounting in-
structions).
1. Remove the door latch trim plate located on the opposite side of the cabinet from the door latch and set the
plate and (2) screws aside.
2. Remove the door latch and reinstall the latch in the location where the door latch trim plate was just re-
moved.
3. Reinstall
the door latch
trim plate
where the door
latch was previ-
ously located.
4. Remove
the (2) screws
located on the
inside bottom
of the door. Set
the screws
aside.

8
GENERAL MAINTENANCE INSTRUCTIONS
REVERSING THE DOOR (cont.)
5. Remove the button detent bracket located on the inside top of the door and reinstall at the mounting loca-
tions where the (2) screws were previously located at the inside bottom of the door.
6. Reinstall the (2) screws in the mounting locations at the top inside of the door where the button detent
bracket was located previously.
7. Remove the door handle and the handle trim plate from the door.
8. Relocate the (4) door handle screws and the door trip
plate to the opposite side of the door handle. Ensure the
finished side of the trim plate is facing out.

9
GENERAL MAINTENANCE INSTRUCTIONS
REVERSING THE DOOR (cont.)
9. Reinstall the door handle, door trip plate and (4) screws into the same location as they were removed.
The door pull should point up instead of down.
10. Remove the (6) bolts, (3) for the top, (3) for the bottom, located on the side of the cabinet opposite from the
door hinges and set aside.
11. With assistance, remove the (6) bolts that attach the door hinges to the cabinet. There are (3) on the top
and (3) are the bottom.
12. Rotate the door 180 degrees and mount the top and bottom hinges using the (6) bolts previously removed.
The door pull should be pointing down.
13. On the side where the hinges were previously, reinstall the (6) bolts.
14. Adjust the hinges, door handle and door catch as needed to ensure there is a good seal and door closure.

10
GENERAL MAINTENANCE INSTRUCTIONS
CASTERS
Some casters are equipped with Zerk grease fittings so that they may be
easily lubricated with a grease gun. It is recommended that all caster bear-
ings need to be lubricated with a high quality multi-purpose grease that has
good extreme pressure and anti-wear characteristics, as well as withstands
temperature range that fits the application requirements. Wheel and swivel
bearings last longer if lubricated regularly.
It is recommended to lubricate the bearings at least once every six months.
Lubrication will be required more frequently if carts are cleaned with a hot
water or steam cleaning system.
HINGES
Your cart doors and hinges have been factory aligned to assure positive latching and smooth action. If doors
are removed for cleaning, we recommend that they be put back on the same cart to assure the best possible
alignment and operation. Correct hinge alignment is based on the correct gasket compression of 1/32” to 1/16”.
The hinges also need to be aligned with the door strike to accommodate the locking cylinder. To adjust hinge
alignment, it is recommended to use assistance. It is recommended to loosen the bolts on the cabinet side of
the hinge and apply pressure inward on the door to form the seal on the gasket. Align the door as needed and
while maintaining pressure, tighten the bolts.
LATCHES
Check frequently to insure that all door latches are secure. Latches may become “sticky” due to residue build-
up from daily use and cleaning. Lubricate latches regularly with WD-40, silicone spray, graphite or other com-
mercial lubricants for stainless steel products. Do not use oil. If latches require adjustment, it is recommended
to use assistance. First, loosen the screws on the latch. Next, align the latch to compress the seal of the gasket
by applying pressure to the door while the screws are still loose. Lastly, while maintaining pressure to the door,
tighten the screws on the latch.
PERIMETER BUMPERS
Vinyl which has been dislodged from the channel due to severe bumping or scraping can corrected by carefully
utilizing a screwdriver to guide the rubber bumper back into the bumper channel.
DRAINING CONDENSATE PAN
Depending on environmental and operating conditions, manually draining the condensate pan may be neces-
sary. It is recommended that the condensate levels in the pan be checked regularly to gauge the necessary
frequency, if needed, of manually draining the pan. It is also recommended that the condensate level be
checked prior to transport of the unit to prevent possible spillage.
To manually drain the condensate pan, open the valve located on the underside and towards the rear of the
unit. Rotate the valve lever counter-clockwise until it stops (parallel with tubing). Once condensate pan has
been emptied, turn valve lever clockwise until it stops (perpendicular to tubing).
CLOSED OPEN

SERVICE EXPECTATIONS
SERVICE PHILOSOPHY
For almost sixty years, Carter-Hoffmann has enjoyed a reputation for manufacturing rugged, dependable
foodservice equipment that permits foodservice professionals serve more food products to more
people, and thus, to grow their business.
Our goal is not only to provide the best food service equipment for the price, but also to back it up with after-sale
service that is responsive fast, efficient and professional. To ensure a clear understanding of our goals, expecta-
tions, and responsibilities, we have prepared this brief document.
Carter-Hoffmann products are innovative and efficient. They are easy to use, easy to clean and easy
to maintain. Although the products are quite reliable they are also designed for easy repair. We believe that a
malfunction to a Carter-Hoffmann product should cause as little inconvenience to the customer as possible. Our
aim is to provide “same day”/first time fix” repair service on all of our products. We are dedicated to making eve-
ry aspect of our customer service the standard by which others are judged.
END-USER RESPONSIBILITIES
While we all strive to serve our mutual customers as well as possible that does not mean that
the end-user (including their employees) does not share some responsibilities.
1. All shipping damage must be noted on the freight bill when the shipment is received. Any freight
damages must be collected from the Freight Company, NOT Carter-Hoffmann.
2. The end-user should be advised beforehand to carefully unpack and inspect all products when they are
received BEFORE SIGNING THE SHIPPER'S RECEIPT OF DELIVERY.
3. The end-user must provide a safe, dry, level surface for the equipment to be placed upon.
4. The end-user must provide the proper electrical supply. All in-wall electrical modifications are to
be completed by a licensed electrician. All building modifications are the responsibility of the end-user.
5. The end-user must operate, clean and maintain the equipment in accordance with the
procedures described in the Operation Manual.
6. Carter-Hoffmann is NOT responsible for any loss of the customer’s income, loss of food product, extra labor
charges, or any other incidental or consequential costs as a result of the malfunction of our product.
7. The end-user shall allow for on-premises repair of the equipment to be completed at a mutually
convenient place and time.
WARRANTY SERVICE
1. Warranty service is to be initiated by authorized Carter-Hoffmann personnel only.
2. The service provider is NOT authorized to change or extend any of the terms or conditions of our warranty.
3. Initial freight damage is NOT covered by the product warranty.
CONFIDENTIALITY
1. The end user and all his employees and sub-agents shall protect and keep confidential Carter-Hoffmann’s
proprietary designs, information, and knowledge.
2. All literature and informational materials provided by Carter-Hoffmann are to be considered confidential; they
remain Carter-Hoffmann’s property; and are not to be reproduced without our prior written consent.
SHIPPING DAMAGE CLAIM PROCEDURE
NOTE: For your protection, please note that equipment in this shipment was carefully inspected and packaged
by skilled personnel before leaving the factory. Upon acceptance of this shipment, the transportation company
assumes full responsibility for its safe delivery.
IF SHIPMENT ARRIVES DAMAGED:
1. VISIBLE LOSS OR DAMAGE: Be certain that any visible loss or damage is noted on the freight bill or ex-
press receipt, and that the note of loss or damage is signed by the delivery person.
2. FILE CLAIM FOR DAMAGE IMMEDIATELY: Regardless of the extent of the damage.
3. CONCEALED LOSS OR DAMAGE: if damage is unnoticed until the merchandise is unpacked, notify the
transportation company or carrier immediately, and file “CONCEALED DAMAGE” claim with them. This
should be done within ten (10) days from the date the delivery was made to you. Be sure to retain the
container for inspection.
4. Carter-Hoffmann cannot assume liability for damage or loss incurred in transit. We will, however, at your
request, supply you with the necessary documents to support your claim.
11

12
CARTER-HOFFMANN WARRANTY
Carter-Hoffmann warrants to the initial purchaser
of its standard Carter Line Products that Carter-Hoffmann will, at its
option, repair or replace, during the warranty period set forth below, any part of such products made necessary
due to a
defect in material or workmanship which is present
when the product leaves its factory and which
manifests
itself during the warranty period under
normal use and service.
This warranty applies only to original equipment owned and possessed by the initial purchaser and the warranty
period begins on the date of original shipment from the Carter-Hoffmann factory and extends as follows: to com-
ponent parts and labor for one year; to refrigeration compressor unit for one year (limited to replacement of the
unit only-not to include the labor for removal, repair or replacement)
. Repair or replacement under this warranty will
be performed, unless otherwise authorized in writing by Carter-Hoffmann, at its factory. All parts or components to be re-
paired or replaced under this warranty are to be shipped prepaid to Carter-Hoffmann, with reimbursement credit for such part
or component to be given if found by Carter-Hoffmann to be defective.
Carter-Hoffmann neither makes nor assumes and does not authorize any other person to make or assume any
obligation or liability in connection with its products other than that covered in this warranty. This warranty ap-
plies only within the continental United States and Canada. In Alaska and Hawaii, this warranty applies only to
and is limited to the supply of replacement parts.
WARRANTY EXCLUSIONS AND LIMITATIONS
ANY IMPLIED WARRANTY OF MERCHANTABILITY OR FITNESS FOR A PARTICULAR PURPOSE IS HERE-
BY SPECIFICALLY DISCLAIMED BY CARTER-HOFFMANN. There are no warranties, express or implied,
which extend beyond the description on the face thereof.
This warranty does not cover and Carter-Hoffmann shall not under any circumstances be liable for any inci-
dental, consequential or other damages (such as injury to persons or property, loss of time, inconvenience, loss
of use, loss of business or profits, or other matters not specifically covered) arising in connection with the use of,
inability to use, or failure of these products.
Note: Due to our continuous process of product improvement and innovation, all listed specifications subject to
change.
Carter-Hoffmann
1551 McCormick Ave.
Mundelein, Illinois, 60060 USA
Phone: 847-362-5500 Toll free: 800-323-9793 Fax: 847-367-8981
Sales and Marketing E-mail: sales@carter-hoffmann.com
Company Website: www.carter-hoffmann.com
Table of contents
Other CARTER-HOFFMANN Refrigerator manuals
Popular Refrigerator manuals by other brands

Miele
Miele KS 37472 iD Operating and installation instructions

GE
GE Side by Side Refrigerators installation instructions

Electrolux
Electrolux ER8126/1B Instruction book

Philco
Philco PSL 40F CUBE owner's manual

Vestfrost
Vestfrost VR-FB373-2E0BG Operation manual

Dometic
Dometic CRX110 Installation and operating manual