manuals.online logo
Brands
  1. Home
  2. •
  3. Brands
  4. •
  5. Casio
  6. •
  7. Digital Camera
  8. •
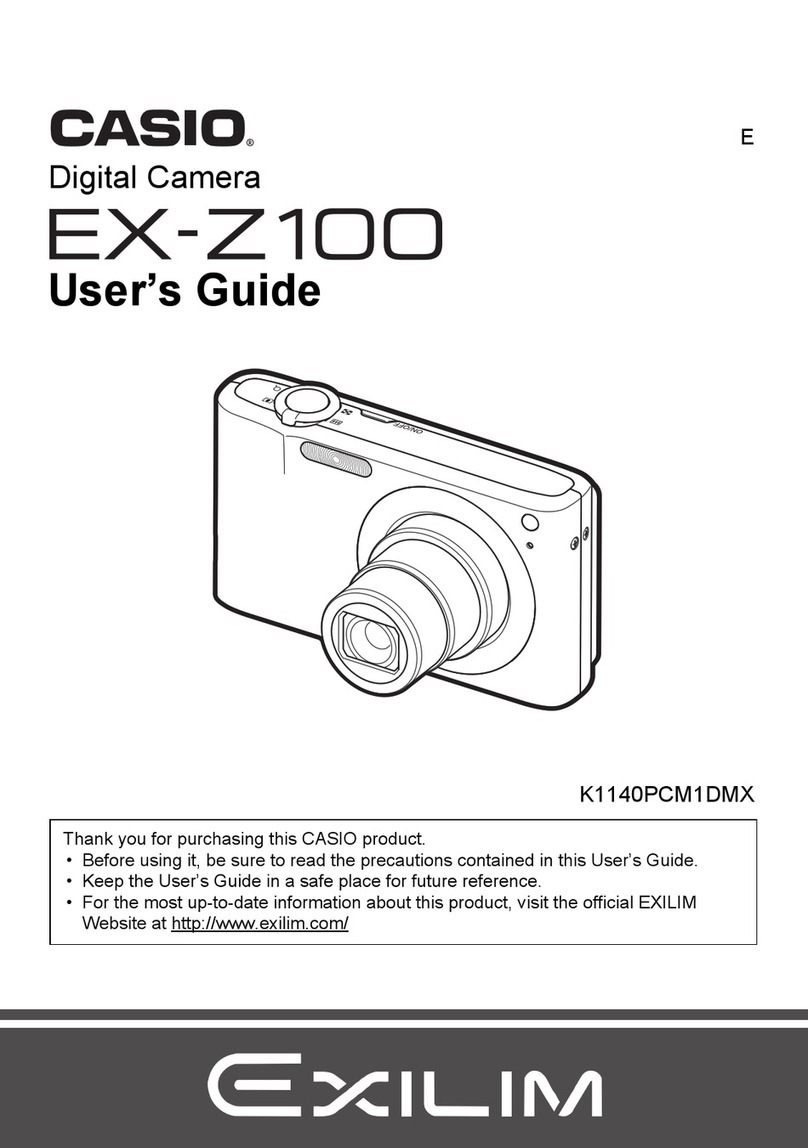
  9. Casio EX-Z1080 - EXILIM Digital Camera User manual

Casio EX-Z1080 - EXILIM Digital Camera User manual

Other manuals for EX-Z1080 - EXILIM Digital Camera

3

Other Casio Digital Camera manuals

Casio EX-Z330 - EXILIM Digital Camera User manual

Casio

Casio EX-Z330 - EXILIM Digital Camera User manual

Casio QV-R62 User manual

Casio

Casio QV-R62 User manual

Casio EXILIM EX-Z350 User manual

Casio

Casio EXILIM EX-Z350 User manual

Casio EX-M20 - 4 User manual

Casio

Casio EX-M20 - 4 User manual

Casio QV-300 (B) Troubleshooting guide

Casio

Casio QV-300 (B) Troubleshooting guide

Casio Exilim EX-TR750 User manual

Casio

Casio Exilim EX-TR750 User manual

Casio QV-8000SX User manual

Casio

Casio QV-8000SX User manual

Casio EX-ZS50 User manual

Casio

Casio EX-ZS50 User manual

Casio Exilim EX-TR15 User manual

Casio

Casio Exilim EX-TR15 User manual

Casio Exilim EX-Z10 User manual

Casio

Casio Exilim EX-Z10 User manual

Casio Exilim EX-H10 User manual

Casio

Casio Exilim EX-H10 User manual

Casio QV-2400UX User manual

Casio

Casio QV-2400UX User manual

Casio EXILIM EX-FC300S User manual

Casio

Casio EXILIM EX-FC300S User manual

Casio Exilim EX-Z30 User manual

Casio

Casio Exilim EX-Z30 User manual

Casio QV-700 User manual

Casio

Casio QV-700 User manual

Casio QV-770 User manual

Casio

Casio QV-770 User manual
Casio QV-3500EX User manual

Casio

Casio QV-3500EX User manual

Casio EX-M1 - EXILIM Digital Camera Instruction Manual

Casio

Casio EX-M1 - EXILIM Digital Camera Instruction Manual

Casio EX-Z450 - EXILIM Digital Camera User manual

Casio

Casio EX-Z450 - EXILIM Digital Camera User manual

Casio EX-TR60 User manual

Casio

Casio EX-TR60 User manual

Casio EX-Z550BE Owner's manual

Casio

Casio EX-Z550BE Owner's manual

Casio EX-S3 - 4 Instruction and safety manual

Casio

Casio EX-S3 - 4 Instruction and safety manual

Casio Exilim EX-H15 User manual

Casio

Casio Exilim EX-H15 User manual

Casio EX-Z70 - EXILIM ZOOM Digital Camera User manual
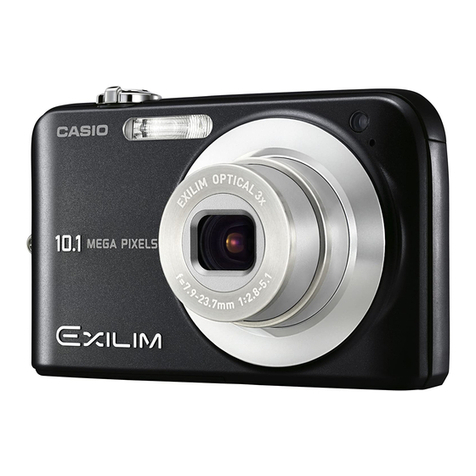
Casio

Casio EX-Z70 - EXILIM ZOOM Digital Camera User manual

Popular Digital Camera manuals by other brands

Canon WP-DC35 user guide

Canon

Canon WP-DC35 user guide

Xiaomi 70mai Dash Cam Lite user manual

Xiaomi

Xiaomi 70mai Dash Cam Lite user manual

Samsung PL70 Quick start manual

Samsung

Samsung PL70 Quick start manual

GE E1680W user manual

GE

GE E1680W user manual

Canon EOS 1200D instruction manual

Canon

Canon EOS 1200D instruction manual

Tevion MD 86497 user guide

Tevion

Tevion MD 86497 user guide

Exakta VX Features

Exakta

Exakta VX Features

Kodak Digital Science DC120 user guide

Kodak

Kodak Digital Science DC120 user guide

Nikon FM3A Specifications

Nikon

Nikon FM3A Specifications

Vectra Fitness H1 Quick reference guide

Vectra Fitness

Vectra Fitness H1 Quick reference guide

Nikon COOLPIX 775 quick start guide

Nikon

Nikon COOLPIX 775 quick start guide

Olympus IR 500 - 4MP Digital Solutions Camera Manuel de Référence

Olympus

Olympus IR 500 - 4MP Digital Solutions Camera Manuel de Référence

Samsung EC-L100ZBBA brochure

Samsung

Samsung EC-L100ZBBA brochure

FujiFilm FINEPIX BL01124-201 owner's manual

FujiFilm

FujiFilm FINEPIX BL01124-201 owner's manual

Panasonic DMC-L10KPP Service manual

Panasonic

Panasonic DMC-L10KPP Service manual

Hyundai Electric HYU-CC-CHBF12001 Quick installation guide

Hyundai Electric

Hyundai Electric HYU-CC-CHBF12001 Quick installation guide

Sony DSC-WX80 specification

Sony

Sony DSC-WX80 specification

Nikon Nuvis S - Point & Shoot instruction manual

Nikon

Nikon Nuvis S - Point & Shoot instruction manual

manuals.online logo
manuals.online logoBrands
  • About & Mission
  • Contact us
  • Privacy Policy
  • Terms and Conditions

Copyright 2025 Manuals.Online. All Rights Reserved.

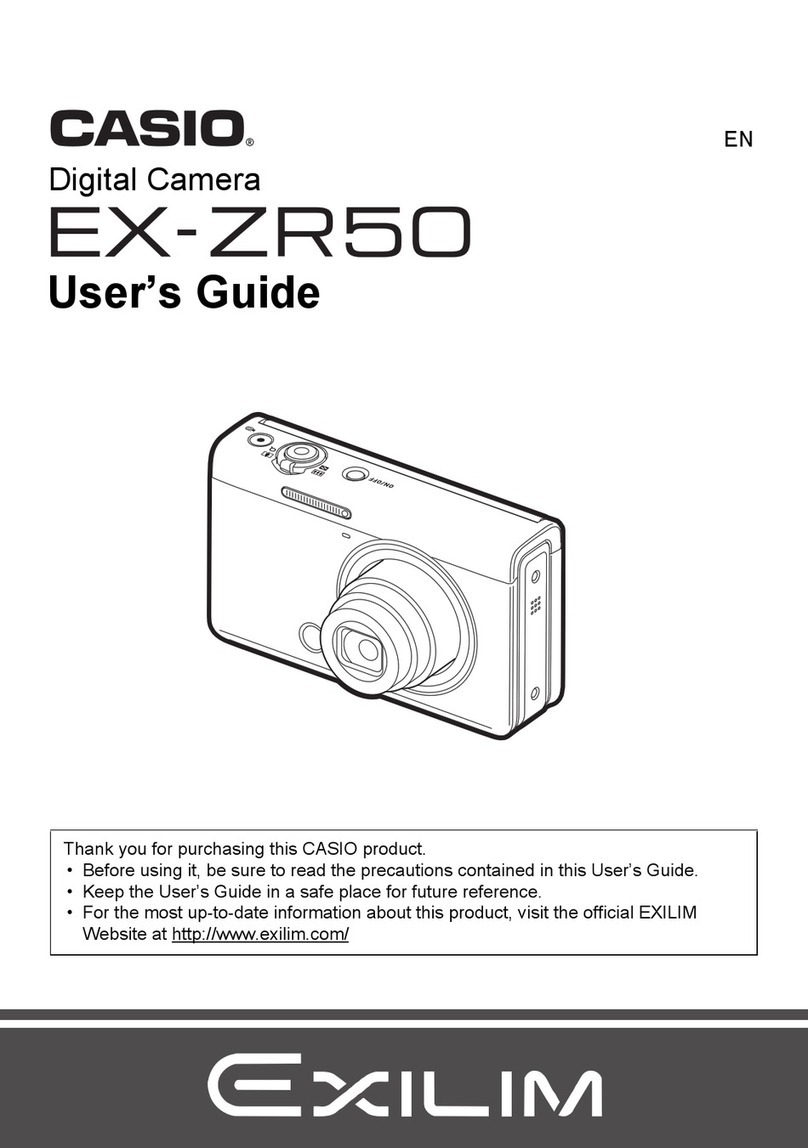
(_ XI L_lIVl
Digital Camera
EX-Z1080
User's Guide
Thank
Before usir
contained in
• Keep the User's Guide
reference.
• For the most L
product, visit the official EXILIM
Website at http://www.exilim.com/
K848PCM1DMX
USING BEST SHOT 97
Reducing the Effects of Hand and Subject
Movement ................................ 102
Taking Bright Images without Flash .......... 104
Shooting Images of Business Cards
and Documents (Business Shot) ............. 105
Shooting ID Photographs ................... 107
Restoring an Old Photograph ................ 109
Recording Snapshots into a Multi-image
Layout (Layout Shots) ...................... 112
Auto Tracking a Moving Subject
(Auto Framing) ............................ 114
CONTENTS
4
ADVANCED SETTINGS 115
Changing the Focus Mode .................. 115
J Using Auto Focus 116
J Using Macro Focus 117
J Using Fixed Focus (Pan Focus) 123
J Using Infinity Focus 123
WUsing Manual Focus 123
Correcting Image Brightness (EV Shift} ....... 125
Controlling White Balance .................. 126
Specifying ISO Sensitivity .................. 129
Specifying the Metering Mode ............... 130
Reducing the Effects of Overexposure and
Underexposure ........................... 131
Enhancing Human Skin Textures ............. 132
Using the Camera's Color Filter Effects ....... 133
Controlling Image Sharpness ................ 133
Controlling Color Saturation ................ 134
Adjusting Image Contrast ................... 134
Date Stamping Snapshots .................. 135
Using the On-screen Histogram to
Check Exposure ........................... 136
Other Useful Recording Functions ........... 138
J Using Key Custornize to Assign Functions
[_1] and [1_-] 138
J Displaying an On-screen Grid 139
J Displaying the Image You Just Recorded
(image Review) 139
J Using Icon Help 140
J Using Mode Memory to Configure
Power On Default Settings 141
J Resetting the Camera to Its Initial
Factory Defaults 143
VIEWING SNAPSHOTS
AND MOVIES 144
Viewing a Snapshot ........................ 144
W Listening to the Audio of an Audio Snapshot 145
Viewing a Movie ........................... 146
J Playing Back a Movie with Anti Shake 148
Playing a Slideshow on the Camera .......... 148
Viewing Camera Images on a TV ............. 153
Zooming the Displayed Image ............... 156
Using the 12-image Screen .................. 157
Using the Calendar Screen .................. 158
CONTENTS
5
EDITING IMAGES 173
Resizing a Snapshot ....................... 173
Cropping a Snapshot ...................... 174
Keystone Correction ....................... 175
Using Color Restoration to Correct
the Color of an Old Photograph .............. 176
Editing the Date and Time of an Image ........ 178
Rotating an Image ......................... 179
Combining Multiple Snapshots into
a Single Image (Layout Print) ................ 180
Adjusting White Balance of
a Recorded Image ......................... 182
Adjusting Image Brightness ................. 183
Reducing the Effects of Underexposure ....... 185
Editing a Movie on the Camera .............. 186
Creating a Snapshot of a Movie Frame
(MOTION PRINT) .......................... 189
USING AUDIO 191
Adding Audio to a Snapshot ................. 191
Recording Audio Only (Voice Recording) ...... 193
CONTENTS
6
Before shooting a movie, you should specify a movie image
quality setting. Movie image quality is a standard that
determines the detail, smoothness, and clarity of a movie during
playback. Shooting with the high-quality (HQ) setting will result
in better image quality, but it also shortens the amount of time
you can shoot.
•Each movie can be up to 10minutes long. Movie recording
stops automatically after 10 minutes of recording.
UHQ 640 x 480
UHQ Wide 848 x 480
HQ 640 x 480
HQ Wide 848 x 480
Normal 640 x 480
5,8 Megabits/
second
7,0 Megabits/
second
2,8 Megabits/
second
3,4 Megabits/
second
1,4 Megabits/
second
25 frames/
second
25 frames/
second
25 frames/
second
25 frames/
second
25 frames/
second
545 Kilobits/ 12.5 frames/
LP second second
1. In the REC mode, press [MENU].
2. On the "Quality" tab, select "_ Quality" and
then press [11_].
3. Use [A] and [V] to select the quality setting
you want and then press [SET].
• The "_" indicator is on the monitor screen while "UHQ
Wide" or "HQ Wide" is selected for the quality setting.
SHOOTING A MOVIE
91
Movie File Formats
Movies are recorded using H,264/AVC MOV format.
Movies you shoot with your camera can be played back on a
computer using QuickTime 7.
Movie Size
The following shows the approximate movie file size for a one-
minute movie. pp
UHQ 43.3 MB
UHQ Wide 52.3 MB
HQ 20.8 MB
HQ Wide 25.3 MB
Normal 10.4 MB
LP 4.1 MB
Audio is also recorded while you shoot a movie. Audio is
monaural.
1. In the REC mode, press [BS].
2. Use [A], [V], [_], and [1_] to select the "_"
(Movie) scene and then press [SET].
This causes"_" to appearon the rnonitorscreen.
3. Press the shutter
button to start
shooting the movie.
•"_" isdisplayedwhile
rnovierecordingis in
progress.
Remaining Recording Time
Recording Time
SHOOTING A MOVIE
92
4. Press the shutter button again to stop
shooting.
Each rnovie can be up to 10 rninutes long. Movie recording
stops automatically after 10 minutes of recording. Movie
recording also will stop automatically if memory becomes
full before you stop movie recording by pressing the shutter
button.
Anti Shake Movie Recording
Turning on Anti Shake for movie recording causes the view
angle to become smaller. Anti Shake reduces the effects of hand
movement only. It does not limit the effects of subject movement
(page 102).
Movie Recording Precautions
• You cannot use flash while shooting a movie.
• The camera also records audio.
Note the following points when
shooting a movie.
- Take care that the microphone
is not blocked by your fingers,
etc.
- Good results are not possible
when the camera is too far
Microphone
away from what you are trying to record.
- Operating camera buttons while shooting can cause button
noise to be picked up in the audio.
Shooting a very bright subject can cause a vertical band to
appear in the monitor screen image. This does not indicate
malfunction. The band will be recorded in the case of a movie.
Certain types of memory cards take longer to record data,
which can cause movie frames to be dropped. "_" and
"_" flash on the monitor screen during recording to let you
know when a frame has been dropped. Use of a memory card
with a maximum transfer speed of at least 10MB per second
is recommended.
SHOOTING A MOVIE
93
• Optical zoom is disabled while shooting a movie. Digital zoom
only is available while shooting a movie. If you want to use a
particular optical zoom setting, make sure you select it before
you press the shutter button to start movie recording (page
69).
• The effects of camera movement in an image become more
pronounced when you shoot close up or a large zoom factor.
Because of this, use of a tripod is recommended under these
conditions.
• When the subject is outside the camera's focus range,
focusing is not possible and the image will be out of focus.
• The angle of view for movies is less than that for snapshots.
Short Movie shoots a movie that starts four seconds before the
shutter button is pressed and ends four seconds after it is
pressed.
• Since four seconds of action before the shutter button is
pressed are recorded, Short Movie is a good way to make
sure you don't miss the action of kids or other active subjects.
• You can also use MOTION PRINT (page 175) to extract still
images of Short Movie scenes.
Shutter button pressed.
A
Recording Start
Fourseconds Four seconds
1. In the REC mode, press [BS].
2. Use [A], [V], [_1],and [1_] to select the "Short
Movie" scene and then press [SET].
This causes "_" to appear on the monitor screen.
Pressing the shutter button at this point will shoot a Short
Movie with a 4-second first part and a 4-second second
part.
SHOOTING A MOVIE
94
3. With the camera pointed at the subject, press
the shutter button.
This will shoot a Short Movie that for about four seconds,
and then stop shooting automatically. The total length of the
Short Movie will be eight seconds (four seconds before the
shutter button was pressed plus four seconds after it was
pressed). To stop movie recording, press the shutter button
again.
• Movie data is continually recorded and stored in a buffer
before you press the shutter button. Keep the camera
pointed at the subject. Then at the right moment, press the
shutter button. When you press the shutter button, the
remaining recording time of part two of the Short Movie
counts down on the monitor screen.
Past Movie is similar to a normal movie, except that it captures
about five seconds of whatever happened in front of the lens
before the shutter button was pressed to start shooting. Past
Movie is a great way to make sure that you never just miss that
special moment because you press the shutter button too late.
Shutter button pressed. Shutter button pressed.
Past Part Approximately 5 seconds
1. In the REC mode, press [BS].
2. Use [A], [V], [_], and [1_] to select the "Past
Movie" scene and then press [SET].
This causes "_" to appear on the monitor screen, which
indicates that Past Movie is enabled.
3. With the camera pointed at the subject, press
the shutter button.
SHOOTING A MOVIE
95
4. Press the shutter button again to stop
shooting.
Movie recording also will stop automatically if memory
becomes full before you press the shutter button.
• When Past Movie is selected, the camera continually
updates an internal buffer that holds about five seconds of
movie images of what has happened in front of the
camera's lens. When you press the shutter button, your
movie will start with the buffer's current contents and
continue from there. Be sure to keep the camera still and
pointed in the direction of the subject for some time before
you press the shutter button to start shooting.
SHOOTING A MOVIE
96