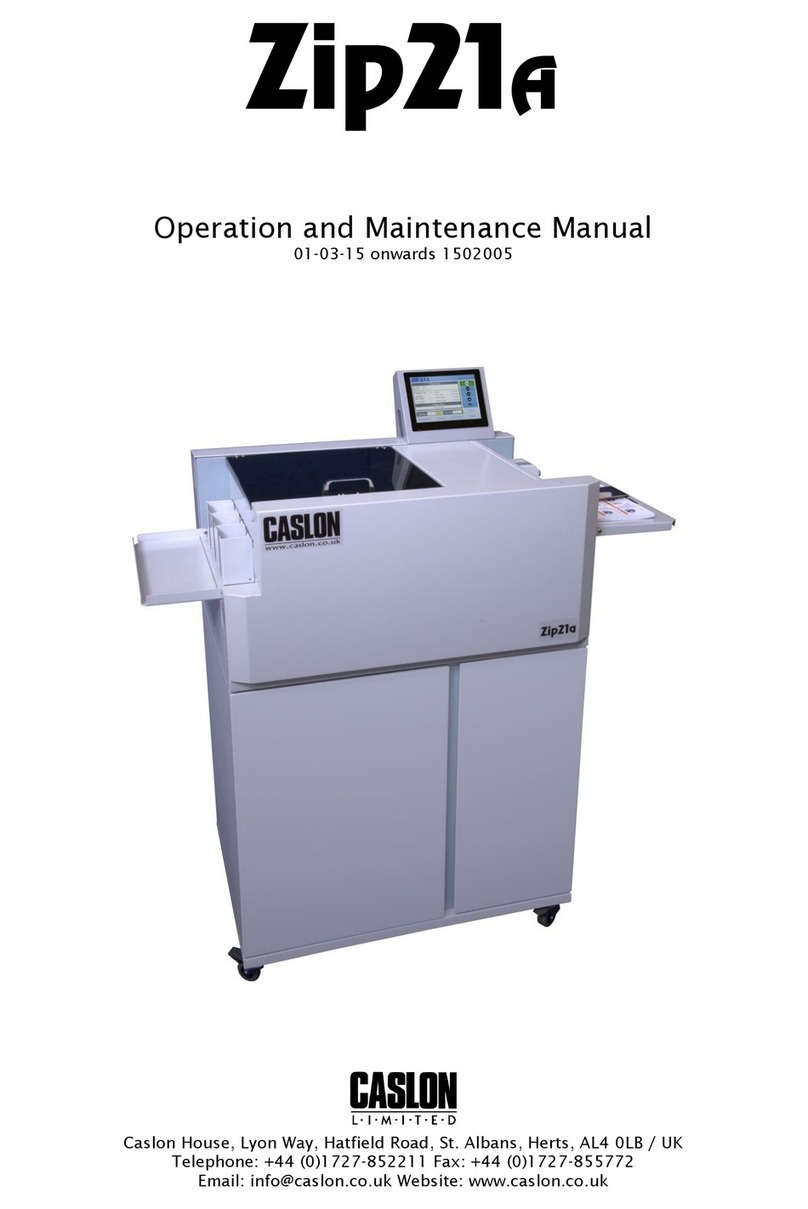
Caslon ProCrease User manual

ProCrease
Manual Creasing & Perforating Machine
Operation and Maintenance Manual
Caslon House, Lyon Way, Hatfield Road, St. Albans, Herts, AL4 0LB / UK
Telephone: +44 (0)1727-852211 Fax: +44 (0)1727-855772
Email: info@caslon.co.uk Website: www.caslon.co.uk

Page 1
Contents
Specifications ..............................................................................................................................................2
Safety Information....................................................................................................................................2
Product Recycling and Disposal.......................................................................................................3
Creasing..................................................................................................................................................... 4-5
Booklet Covers ..................................................................................................................................... 5-7
Perforating .............................................................................................................................................. 7-8

Page 2
Specifications
Maximum Paper Size:
450mm x 570mm
Minimum Paper Size:
10mm x 50mm
Paper thickness:
40gsm –750gsm
0.1mm –1.0mm
Feeding Method:
Hand Feed
Physical Size:
500mm long x
380mm wide x
140mm high
Shipping Size:
550mm long x
440mm wide x
180.mm high
Net Weight:
6.5 kilos
Shipping Weight:
7.5 kilos
Parts supplied with machine:
Instruction Manual
Matrix removal tool
Creasing tools
Perforating tool
Safety Information
Read and understand all instructions in this manual before attempting installation, operation or
general maintenance of the ProCrease.
Observe all warnings and instructions marked on the ProCrease.
Make sure the ProCrease is installed on a secure and stable surface.
Keep long hair and jewellery clear whilst operating the ProCrease.
Never operate the ProCrease with any guarding removed.
If you are in any doubt about the operation of the ProCrease, please call your local service
agent.

Page 3
Product Recycling and Disposal
European Union - Disposal Information for Commercial Users
Application of this symbol on your equipment is confirmation that you must dispose of this
equipment in compliance with agreed national Procedures.
In accordance with European legislation end of life electrical and electronic equipment subject
to disposal must be managed within agreed procedures.
Prior to disposal please contact your local dealer or Xerox representative for end of life take
back information.
European Union - Disposal Information for Domestic Users
Application of this symbol on your equipment is confirmation that you should not dispose of
the equipment in the normal household waste stream.
In accordance with European legislation, end of life electrical and electronic equipment subject
to disposal must be segregated from household waste.
Private households within EU Member States may return used electrical and electronic
equipment to designated collection facilities free of charge. Please contact your local disposal
authority for information.
In some Member States when you purchase new equipment your local retailer may be required
to take back your old equipment free of charge. Please ask your retailer for information.
Countries not within the European Union
Please contact your local waste authorities and request disposal information.

Page 4
Creasing
Place the required creasing bars into the bar holder slots on the
machine. There are two creasing bars supplied to cover a range of
stocks from paper to card. Ensure the bars are located correctly and
with the small removal tool holes located at the exit end. This
allows the bars to be easily removed with the tool provided.
The upper bar can only be fitted by slightly operating the
impression handle down so that the guides appear in the outer
cover.
Set the side guide to the desired distance using the right hand side
of the setting block against the scale.
Insert the stock ensuring that it aligns correctly against the side bar,
adjustable end stop and alignment knob.

Page 5
Operate the handle fully downwards until it reaches the lower stop.
Raise the handle and remove the stock.
Booklet Covers
The ProCrease has been designed with a Book Cover setting tool as standard, which can be
used to accurately set the cover creases for a wide range of different book thicknesses.
Place the required cover bars into the bar holder slots on the
machine. There are two cover bars supplied to cover a range of
stocks from paper to card. Ensure the bars are located correctly and
with the small removal tool holes located at the exit end. This
allows the bars to be easily removed with the tool provided.
The upper bar can only be fitted by slightly operating the
impression handle down so that the guides appear in the outer
cover.

Page 6
Measure the length of the front cover required and set the
adjustable side stop nearest to the creaser unit to this length. This
set so that the left hand side of the block on the scale is used as the
measuring point as shown. This will be the first double crease
position.
Place the book pages in between the two side guide blocks and
tighten the second stop knob. This will set the position for the
second stop to create the second double crease for the cover.
Place the stock in the machine, front cover pacing upwards, against
the first stop.
Operate the handle fully downwards until it reaches the lower stop.
Raise the handle and remove the stock.

Page 7
Remove the stock and rotate it head to foot. Place back into the
machine and engage it against the second stop position.
Operate the handle fully downwards until it reaches the lower stop.
Raise the handle and remove the stock.
Perforating
Place the required perforating bars into the bar holder slots on the
machine. Ensure the bars are located correctly and with the small
removal tool holes located at the exit end. This allows the bars to
be easily removed with the tool provided.
The upper bar can only be fitted by slightly operating the
impression handle down so that the guides appear in the outer
cover.

Page 8
Set the side guide to the desired distance using the right hand side
of the setting block against the scale.
Insert the stock ensuring that it aligns correctly against the side bar,
adjustable end stop and alignment knob.
Operate the handle fully downwards until it reaches the lower stop.
Raise the handle and remove the stock.
Should the perforation be ‘light’ or missing in any areas, adding a small piece of packing will
simply and quickly overcome the problem. Remove the lower perforation anvil and turn it over
so you can see the base. Place a piece of adhesive tape in the area where the impression is
light. Replace the perforation anvil and retest for quality.
Table of contents
Other Caslon Cutter manuals