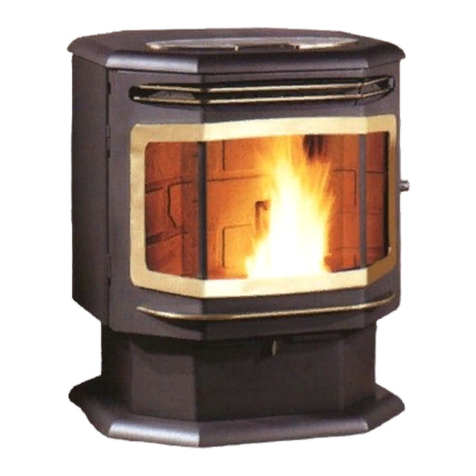
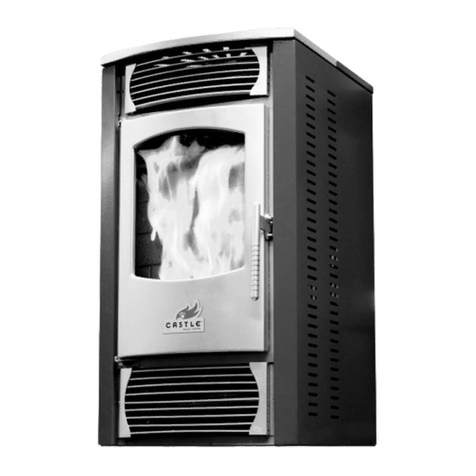
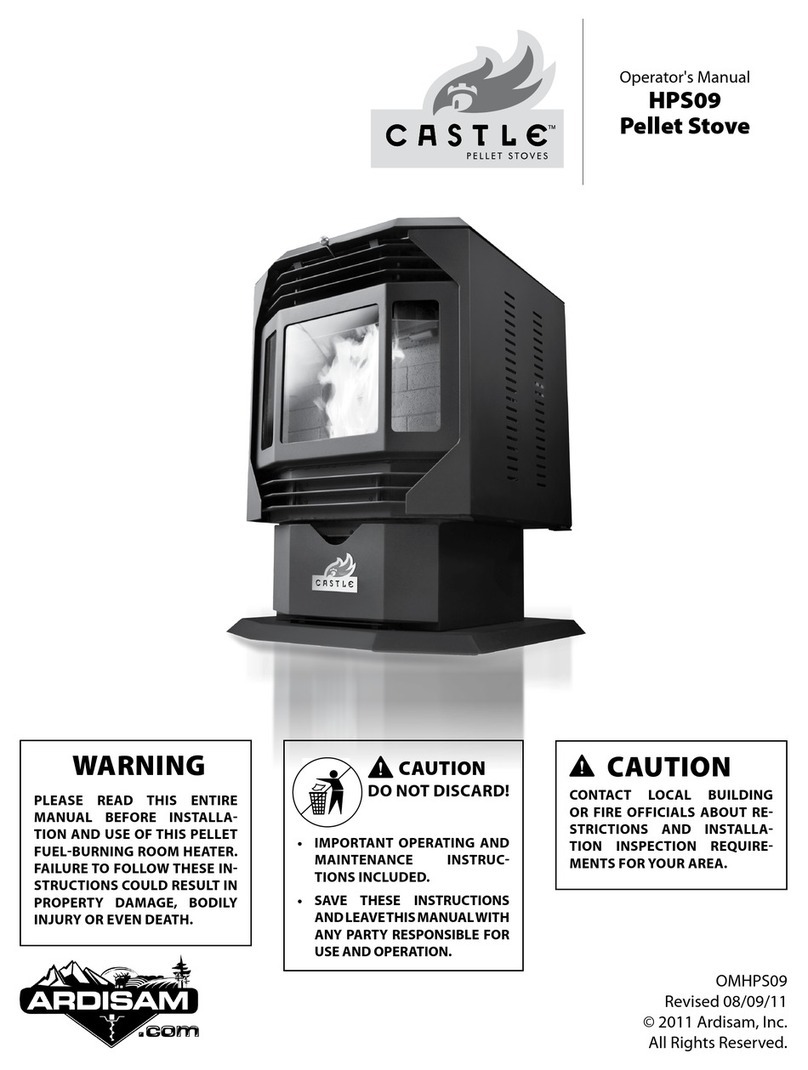
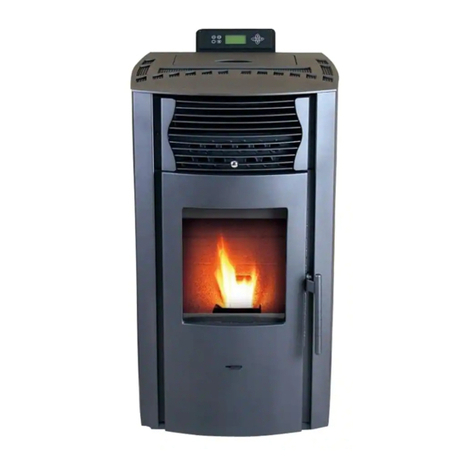
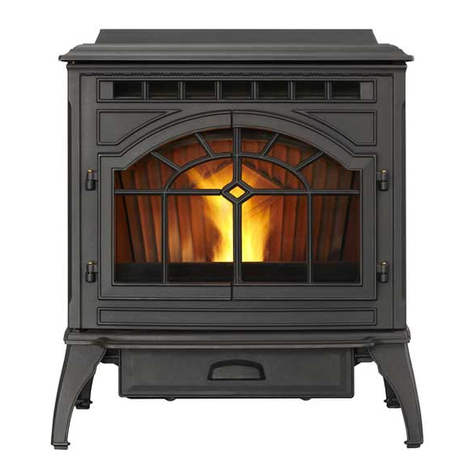
CASTLE HPS10IC User manual

Operator’s Manual
Manuel de l’utilisateur
HPS10IC
Pellet Stove
OMHPS10IC
Revised 04-29-11
© 2011 Ardisam, Inc.
All Rights Reserved.
DO NOT DISCARD!
CAUTION
ATTENTION
WARNING
AVERTISSEMENT
CAUTION
ATTENTION

Check for parts online at www.castlestoves.com or call 800-345-6007 M-F 8-5 CST
Operator’s Manual
HPS10IC Pellet Stove
Check for parts online at www.castlestoves.com or call 800-345-6007 M-F 8-5 CST2
CAUTION
DO NOT DISCARD!
WARNING
CAUTION
CAUTION
LATIONS
WARNING

Operator’s Manual
HPS10IC Pellet Stove
Check for parts online at www.castlestoves.com or call 800-345-6007 M-F 8-5 CST 3
DANGER
Accurate assembly and safe and eective use of the stove is
the owner’s responsibility.
included in this Castle operator’s manual.
controls and safety precautions.
Your manual contains special messages to bring attention
to potential safety concerns, stove damage as well as help-
ful operating and servicing information. Please read all the
information carefully to avoid injury and stove damage.
NOTE: General information is given throughout the
manual that may help the operator in the operation or
service of the stove.
Please read this section carefully. Operate the stove according
to the safety instructions and recommendations outlined here
and inserted throughout the text. Anyone who uses this stove
must read the instructions and be familiar with the controls.
This symbol points out important safety instructions
which if not followed could endanger your personal
WARNING
CAUTION
IMPORTANT
WARNING

Check for parts online at www.castlestoves.com or call 800-345-6007 M-F 8-5 CST
Operator’s Manual
HPS10IC Pellet Stove
Check for parts online at www.castlestoves.com or call 800-345-6007 M-F 8-5 CST4
WARNING
Read this entire manual before you install and use your new pellet
stove. Failure to follow instructions may result in property damage,
bodily injury, or even death.
Children and adults should be alerted to the hazards of high surface
temperatures and should stay away to avoid contact to skin and/or
clothing.
in the same room as the stove.
on or near this unit.
Flammable or explosive liquids such as gasoline, naphtha, alcohol,
or engine oil must be used in or around stove.These liquids
box could ignite the fumes of such liquids.
DO NOT burn garbage in this unit. The burning of other solid
fuels such as cord wood or wood chips in this stove is not
are burned in this stove will void the warranty.
DO NOT route power cord in high trac areas. A power surge
protector plugged into a grounded 110 volt power source is
required.
DO NOT
of this unit.
DO NOT
appliance.
DO NOT install in a sleeping room.
DO NOT connect to any air distribution duct or system.
DO NOT connect directly to a masonry chimney.
DO NOT terminate vent in any enclosed or semi-enclosed
area, such as; carports, garage, attic, crawl space, under a sun
deck or porch, narrow walkway or closed area, or any location
that can build up a concentration of fumes such as a stairwell,
covered breezeway etc.
touch door latches while stove is in operation; they get
extremely hot.
WARNING
IN A AND

Operator’s Manual
HPS10IC Pellet Stove
Check for parts online at www.castlestoves.com or call 800-345-6007 M-F 8-5 CST 5
CAUTION
-
tions and installation inspection requirements in
your area.
building department, fire department, fire preven-
tion bureau, etc.) to determine the need for a permit.
burn pellet fuel only.
installed in the same room as the stove.
applications.
operation.
-
lation.
the absence of local codes you must comply with
S627-2000.
floor, wall, and ceiling/roof must be maintained.
etc.) at least three feet away from the flue outlet on
the outside of the building.
of heat in the house. Power outages and periodic
maintenance will result in a total loss of heat.
CAUTION
T

Check for parts online at www.castlestoves.com or call 800-345-6007 M-F 8-5 CST
Operator’s Manual
HPS10IC Pellet Stove
Check for parts online at www.castlestoves.com or call 800-345-6007 M-F 8-5 CST6
............................................................................................................................................................................................................... 2-5
.............................................................................................................................................................................................. 7
............................................................................................................................................................................................................................................................ 8
Burning Pellet Fuel..................................................................................................................................................................................................................................................... 8
Automatic Safety Features...................................................................................................................................................................................................................................... 8
............................................................................................................................................................................................................................................................ 9
................................................................................................................................................................................................................................................................... 9
.............................................................................................................................................................................................................................................................10
Stove Placement.......................................................................................................................................................................................................................................................10
Floor Protection Requirements...........................................................................................................................................................................................................................10
Clearance to Combustibles ..................................................................................................................................................................................................................................11
.........................................................................................................................................................................................................................................................................12
................................................................................................................................................................................................................................................................12
...........................................................................................................................................................................................................................................12
........................................................................................................................................................................................................................ 13-14
Outside Air Connection.........................................................................................................................................................................................................................................15
Mobile Home.............................................................................................................................................................................................................................................................15
...................................................................................................................................................................................................................... 16-21
................................................................................................................................................................................... 22-23
Controller Buttons....................................................................................................................................................................................................................................................22
...........................................................................................................................................................................................................................................................23
...........................................................................................................................................................................................................................................................24
............................................................................................................................................................................................................................................................. 25-29
Start-up........................................................................................................................................................................................................................................................................25
............................................................................................................................................................................................................25
............................................................................................................................................................................................................................................ 26-28
.................................................................................................................................................................................................................................................................29
...................................................................................................................................................................................................................................................29
Shutdown....................................................................................................................................................................................................................................................................29
..................................................................................................................................................................................................................................................... 30-32
.................................................................................................................................................................................................................... 30-31
........................................................................................................................................................................................................................................32
Weekly, Monthly, and Bi-Monthly Tasks ...........................................................................................................................................................................................................32
......................................................................................................................................................................................................................... 33-35
Ordering Replacement Parts................................................................................................................................................................................................................................33
................................................................................................................................................................................................................................... 34-35
.......................................................................................................................................................................................... 36-37
....................................................................................................................................................................................................................................................................38
Operator’s Manual
HPS10IC Pellet Stove
Check for parts online at www.castlestoves.com or call 800-345-6007 M-F 8-5 CST 7
Record the model number and serial number in the space provided for easy reference. Fill out and mail the registration card located in the parts
packet or register online at www.castlepelletstoves.com. Warranty is valid only if the completed registration is received by Ardisam, Inc., within 30
days of purchase.

Check for parts online at www.castlestoves.com or call 800-345-6007 M-F 8-5 CST
Operator’s Manual
HPS10IC Pellet Stove
Check for parts online at www.castlestoves.com or call 800-345-6007 M-F 8-5 CST8
WARNING
exhaust vent to draft out naturally. When the power is restored,
the stove will not restart. If the exhaust temperature is still 120
degrees Fahrenheit when power is restored, the exhaust and
convection fans will continue to run until the stove cools. See
lighting instructions to restart stove.
burning too hot, the high limit switches will automatically
shut down the stove to avoid damage to components. If the
temperature on the hopper reaches 200 degree Fahrenheit,
the auger will automatically stop and the stove will shut
down. The exhaust fan will continue to run until the proof
re-ignite. See lighting instructions.
INTRODUCTION
Congratulations on your investment in quality. Thank you for
your purchase on a Castle Pellet Stove from Ardisam, Inc. We
have worked to ensure that this pellet stove meets the highest
standards for usability and durability. With proper care, your
stove will provide many years of dependable service. Please
read entire manual before installation and use.
Ashes need to be removed from the stove periodically. See
-
tion periodically. Regular cleaning is an important part of
burning pellet fuel.
pellets, that comply with pellet fuels industry standards.
Minimum of 40 lbs. density per cubic feet, 1/4”to 5/16”in
diameter, with a maximum length of 1-1/2”, and less than 1%
ash.
the type and quality of wood pellets. As the heat output of
various quality wood pellets differ, so will the performance
and heat output of the pellet stove.
Wood pellets are generally produced out of wood waste
such as sawdust and shavings. The raw material is dried,
mechanically fractioned to size and extruded into pellets
under high pressure. Wood pellets need to be protected
from direct exposure to water. Water from sources such as
condensation and humidity causes pellets to expand and
the operation and performance of the unit and will void
standards for wood pellet manufacturers. Only use pellets
that meet or exceed PFI standards for premium fuels.
cleaned and removed from the pellet stove. Clinkers will
form a hard mass and block airflow through the pot liner.
High quality fuels will result in fewer clinkers.
CAUTION
-

Operator’s Manual
HPS10IC Pellet Stove
Check for parts online at www.castlestoves.com or call 800-345-6007 M-F 8-5 CST 9
4.0 lbs/hr
1,500 sq. ft.
Power Consumption 520 Watts ignition
150 Watts operating
Fuel Storage Capacity 40 lb
3 in.
Width 18.25 in.
Height 34 in.
23.75 in.
Weight 186 lbs.
1) Heat output will vary, depending on the brand, type and
quality of fuel and the moisture content. Consult your dealer
for best results.
Hr. per Sq. Ft.
contact licensed electrical contractor for assistance.
contact licensed installers for assistance.
This stove is equipped with 5 mm ceramic glass. Replace glass
only with Castle Pellet Stoves ceramic glass. Call your Servic-
parts.
Your Castle HPS10 will come fully assembled. Remove all pack-
ing material and tape from the inside of the firebox. Remove
any tape on the outside of the glass. Open the hopper, remove
all packing material and power cord.
NOTE: MAKE SURE THE HOPPER IS FREE OF ALL FOREIGN
MATTER BEFORE FILLING WITH FUEL. FOREIGN MATE
RIAL WILL CAUSE AUGER JAMS AND WILL VOID STOVE
WARRANTY.
CAUTION

Check for parts online at www.castlestoves.com or call 800-345-6007 M-F 8-5 CST
Operator’s Manual
HPS10IC Pellet Stove
Check for parts online at www.castlestoves.com or call 800-345-6007 M-F 8-5 CST10
INSTALLATION
It is recommended the stove be installed and serviced by
Proper installation of this stove is necessary for safe and ecient
operation. Installing this product improperly may result in a
your location must be followed. In areas where building codes
require additional steps to the installation of this product not
included in this manual, the building codes will take precedent
and must be followed. Contact your local building inspector to
obtain any necessary permits or inspection guidelines before
installing the product.
Sketch out a plan for installing the stove including dimensions
before permanent placement. When determining the location
for the stove, wall stud location is critical.You may need to adjust
the location of the stove to avoid trying to vent through a wall
stud. Before placing the pellet stove, connect the vent and allow
for minimum clearance to combustible walls.
must extend 2”beyond rear of t-vent. . When stove
is vented straight through the wall and the clean out t-vent is on
the exterior of the home, the minimum clearance is 2”from the
back of the stove to the wall.
Figure 1 Figure 2
6” 6”
2”
6” 6”
2”
Figures 1 and 2: Pellet stove oor pad clearances
WARNING
CAUTION
6” 6”

Operator’s Manual
HPS10IC Pellet Stove
Check for parts online at www.castlestoves.com or call 800-345-6007 M-F 8-5 CST 11
NOTE: These are minimum clearances to combustible walls established by the ASTM testing lab.
NOTE: When interior vent is installed vertically, the clearance to the back wall is determined by the vent size used. Install vent at
clearance specied by the vent manufacturer. Take into consideration any upward turning elbows or tees.
2”
6”
Figure 3: Straight installation through wall Figure 4: Corner installation through the wall vents
Figure 5: Straight installation interior vertical vents Figure 6: Corner installation interior vertical vents
3”
3”
2”
6”
3”
3”
2”

Check for parts online at www.castlestoves.com or call 800-345-6007 M-F 8-5 CST
Operator’s Manual
HPS10IC Pellet Stove
Check for parts online at www.castlestoves.com or call 800-345-6007 M-F 8-5 CST12
The following installation guidelines must be followed to ensure
conformity with both the safety listing of this stove and to local
building codes.
Note: Where passage through a wall, or partition of
combustible construction is desired, the installation shall
conform to CAN/CSA -8365.
two layers with air space between the layers. This air space acts
as an insulator and reduces outside surface temperature of pipe
to allow a clearance to combustibles.
used for installation and attached to the pipe connector provided
exhaust above air inlet elevation.
pellet vent pipe. This vertical pipe will create some natural draft
to prevent the possibility of smoke or odor during appliance
shutdown and will keep exhaust from causing a nuisance or
hazard from exposure to high temperatures.
The installation must include a clean out tee to enable collection
Total length of horizontal vent must not exceed 10 feet. The
maximum recommended vertical venting height is 18 feet.
All joints for pellet vent are required to be
fastened with at least three screws and all pellet
etc.) should be sealed airtight by injecting 500°
The area where the vent pipe goes through to the
exterior of the home must be sealed with silicone
or other means to maintain the vapor barrier
between the exterior and the interior of the home.
WARNING
CAUTION
500º F
RTV
Silicon

Operator’s Manual
HPS10IC Pellet Stove
Check for parts online at www.castlestoves.com or call 800-345-6007 M-F 8-5 CST 13
building up on the side of the house.
-
side air). We recommend the door or window be kept closed
during operation. Minimum 1’clearance below or beside any
window that does not open.
walkways.
NOTE:Ventmaynotterminateincoveredwalkwayorbreeze-
way.
X
H
F
E
F
A
G
D
B
A
H
C
-
bustible materials.
appliance.
Figure 7: Vent Termination

Check for parts online at www.castlestoves.com or call 800-345-6007 M-F 8-5 CST
Operator’s Manual
HPS10IC Pellet Stove
Check for parts online at www.castlestoves.com or call 800-345-6007 M-F 8-5 CST14
o
The vent must have a support bracket every 5’ of pellet vent
when on the exterior of the structure.
The vent height and run must not exceed the distance as il-
lustrated in the diagram below.
-
tion motor voltage adjustments and/or inlet air adjustments
NOTE: Inordertoachieveoptimumperformance,itisrecom-
mendedthatyoukeeptheventasshortaspossible,especially
in regards to the horizontal run.
33 Feet
(max.)
30 Feet
25 Feet
20 Feet
15 Feet
10 Feet
5 Feet
0 Feet
0 Feet
5 Feet
10 Feet
(max.)
Figure 8: Intake and exhaust positions
Figure 9: Venting and combustion motor voltage adjustment chart

Operator’s Manual
HPS10IC Pellet Stove
Check for parts online at www.castlestoves.com or call 800-345-6007 M-F 8-5 CST 15
installation. It is recommended in tightly sealed homes with
exhaust fans such as kitchen or bathroom fans. This will eliminate
poor performance due to negative pressure.
with a vertical 90º
so could result in a burn back during high winds blowing directly
up the air inlet during a simultaneous power failure.
Blockage, excessive length, or extra bends in the air intake pipe
will starve the stove of combustion air. A 90ºbend is equivalent
in restriction to approximately 30” of straight inlet pipe.
Installation in a mobile home should be in accordance with
stating this stove must be vented to the outside. In addition to
the standard installation instructions, the following requirements
2. Stove must have an outside air source.
3. Stove must be electrically grounded to the steel chassis of
the mobile home.
4. All vertical chimney vents must have wall supports.
5. All exhaust systems must have a spark arrestor.
6. Check with local building ocials to see if other codes may
apply.
Your Castle Pellet Stove utilizes a vertical auger fuel feed system
that is operated by a microprocessor controlled digital circuit
board. The digital circuit board allows the vertical auger fuel
system to run in a timer based, non-continuous cycle; this cycling
allows the auger to run for a predetermined amount of time. The
auger pushes pellets up a chute located in the hopper. The pellets
will then turn and fall through another chute into the burn pot.
Your stove is equipped with an automatic ignition system that
should ignite the fuel within 3-5 minutes of pressing the On/O
across the fuel and heated during the combustion process which
is then pulled across the heat exchanger by the exhaust motor or
the draft fan. As the stove reaches operating temperature, room
air is then circulated around the heat exchanger by a room air
blower, distributing warm air into the room.
The amount of heat that is produced by the stove is proportional
to the rate of fuel that is burned.
Because a forced draft pressure is required for the combustion
process inside your stove, it is extremely important that the
exhaust system be properly installed and maintained. Also, the
doors must remain closed while in operations and the seals on
the doors must be properly maintained.
WARNING
CAUTION

Check for parts online at www.castlestoves.com or call 800-345-6007 M-F 8-5 CST
Operator’s Manual
HPS10IC Pellet Stove
Check for parts online at www.castlestoves.com or call 800-345-6007 M-F 8-5 CST16
Figure 11: Straight Installation—inside vertical rise, horizontal
termination
wall
venting pipe
fresh air inlet
heat-resistant material
Figure 10: Straight Installation--outside, through wall installation
termination
wall
fresh air inlet
heat-resistant material
termination

Operator’s Manual
HPS10IC Pellet Stove
Check for parts online at www.castlestoves.com or call 800-345-6007 M-F 8-5 CST 17
3” Min.
Outside air may be drawn from
a vented crawl space.
Floor
Protection
“L”Vent
Ceiling Support/Fire Stop Spacer Vent must
maintain
clearance to
combustibles
Insulation
must maintain
clearance
Vertical Cap
Storm Collar
Roof Flashing
24” Minimum
* Install a vent at clearance specied by the vent manufacturer
Vent
Clearance*
Figure 12: Interior Vertical Installation

Check for parts online at www.castlestoves.com or call 800-345-6007 M-F 8-5 CST
Operator’s Manual
HPS10IC Pellet Stove
Check for parts online at www.castlestoves.com or call 800-345-6007 M-F 8-5 CST18
Vent
Clearance*
3” Min.
Outside air may be drawn from
a vented crawl space.
Floor
Protection
“L”Vent
Class A Chimney Ceiling Support
Class A chimney must
maintain clearances outlined
in the chimney’s installation
instructions (usually 2”)
Storm Collar
Roof Flashing
“L”Vent to Class A Chimney Adapter
Class A Chimney
* Install a vent at clearance specied by the vent manufacturer
Figure 13: Class A Chimney Retrot

Operator’s Manual
HPS10IC Pellet Stove
Check for parts online at www.castlestoves.com or call 800-345-6007 M-F 8-5 CST 19
Silicone
Vertical Cap
Storm Collar
Cover Plate (non-combustible)
“L”Vent
Seal the cover
plate with silicone
“L”Vent Flex
Section
Lintel
Outside air may be drawn
from the ash cleanout.
NOTE: you will probably need a short horizontal section here to
clear the lintel and allow the hopper lid to open
6” Min.
3”
Figure 14: Masonry Fireplace Hearth Stove

Check for parts online at www.castlestoves.com or call 800-345-6007 M-F 8-5 CST
Operator’s Manual
HPS10IC Pellet Stove
Check for parts online at www.castlestoves.com or call 800-345-6007 M-F 8-5 CST20
6” Min.
3”
Vertical Cap
Storm Collar
Cover Plate (non-combustible)
“L”Vent
Seal the cover
plate with silicone
Silicone
“L”Vent Flex
Section
NOTE: you will probably need a short horizontal section
here to clear the lintel and allow the hopper lid to open.
Figure 15: Zero-Clearance (Metal) Fireplace Hearth Stove
Table of contents
Languages:
Other CASTLE Pellet Stove manuals
Popular Pellet Stove manuals by other brands

England’s Stove
England’s Stove 25-PDVC Installation & operation manual

Quadra-Fire
Quadra-Fire MTV-E2-CSB installation manual

Heatilator
Heatilator PT60 owner's manual

Enerzone
Enerzone BIO-45 MF owner's manual

Quadra-Fire
Quadra-Fire SANTAFEI-MBK installation manual

Moretti Design
Moretti Design COMPACT GLASS AQUA DEDICATED MANUAL

Lopi
Lopi Foxfire manual

Bio Bronpi
Bio Bronpi ALEXIA Installation instructions and user guide

Breckwell
Breckwell Golden Eagle 5520 owner's manual

PRITY
PRITY PLW 20 Technical description and operating instructions

Enviro
Enviro EF-III BAY I FS owner's manual

ecoteck
ecoteck ILARIA Operation and maintenance manual