CATEYE Q3/Q3a
QuickStartManual Settingupthewristwatch
Setting the date display
Setting the month
Setting the day
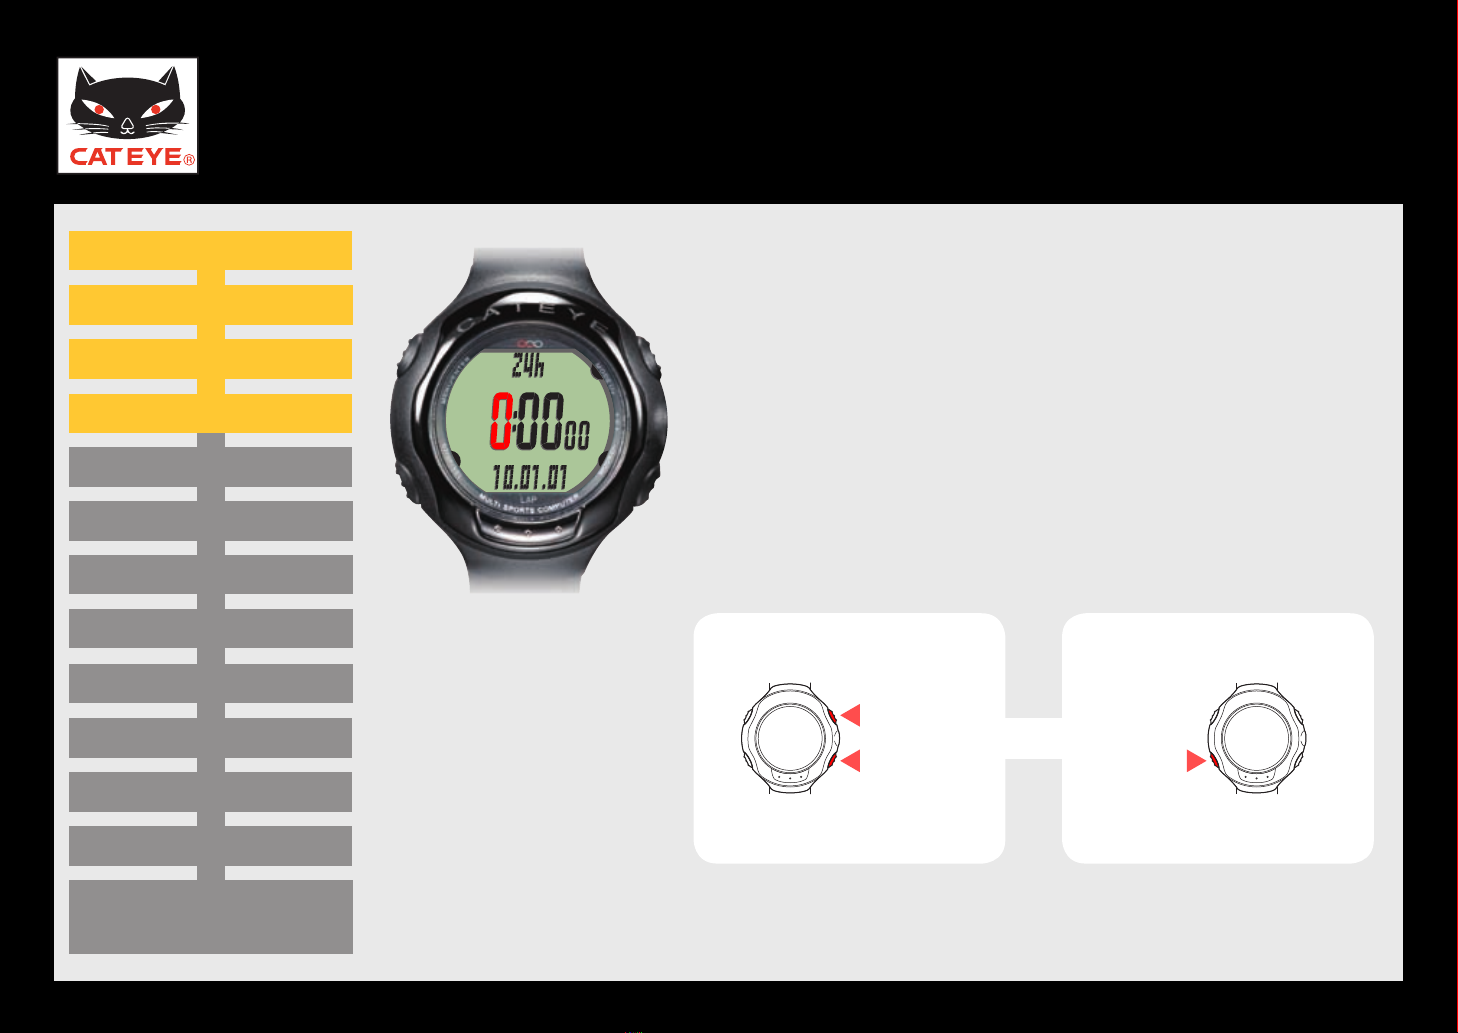
Setting the clock display
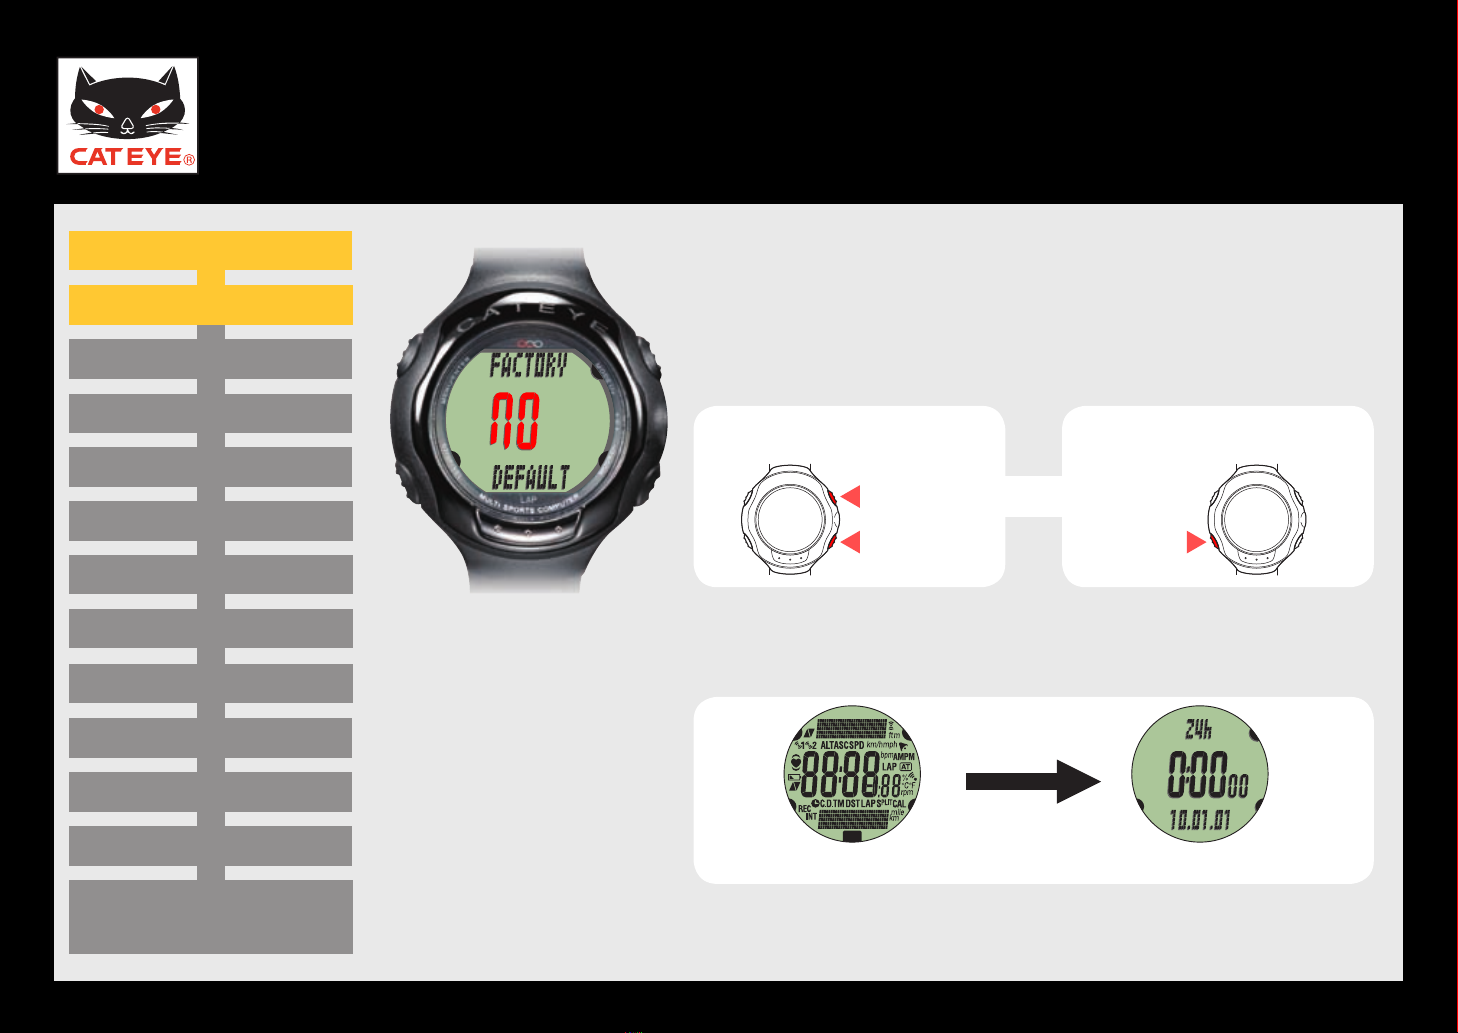
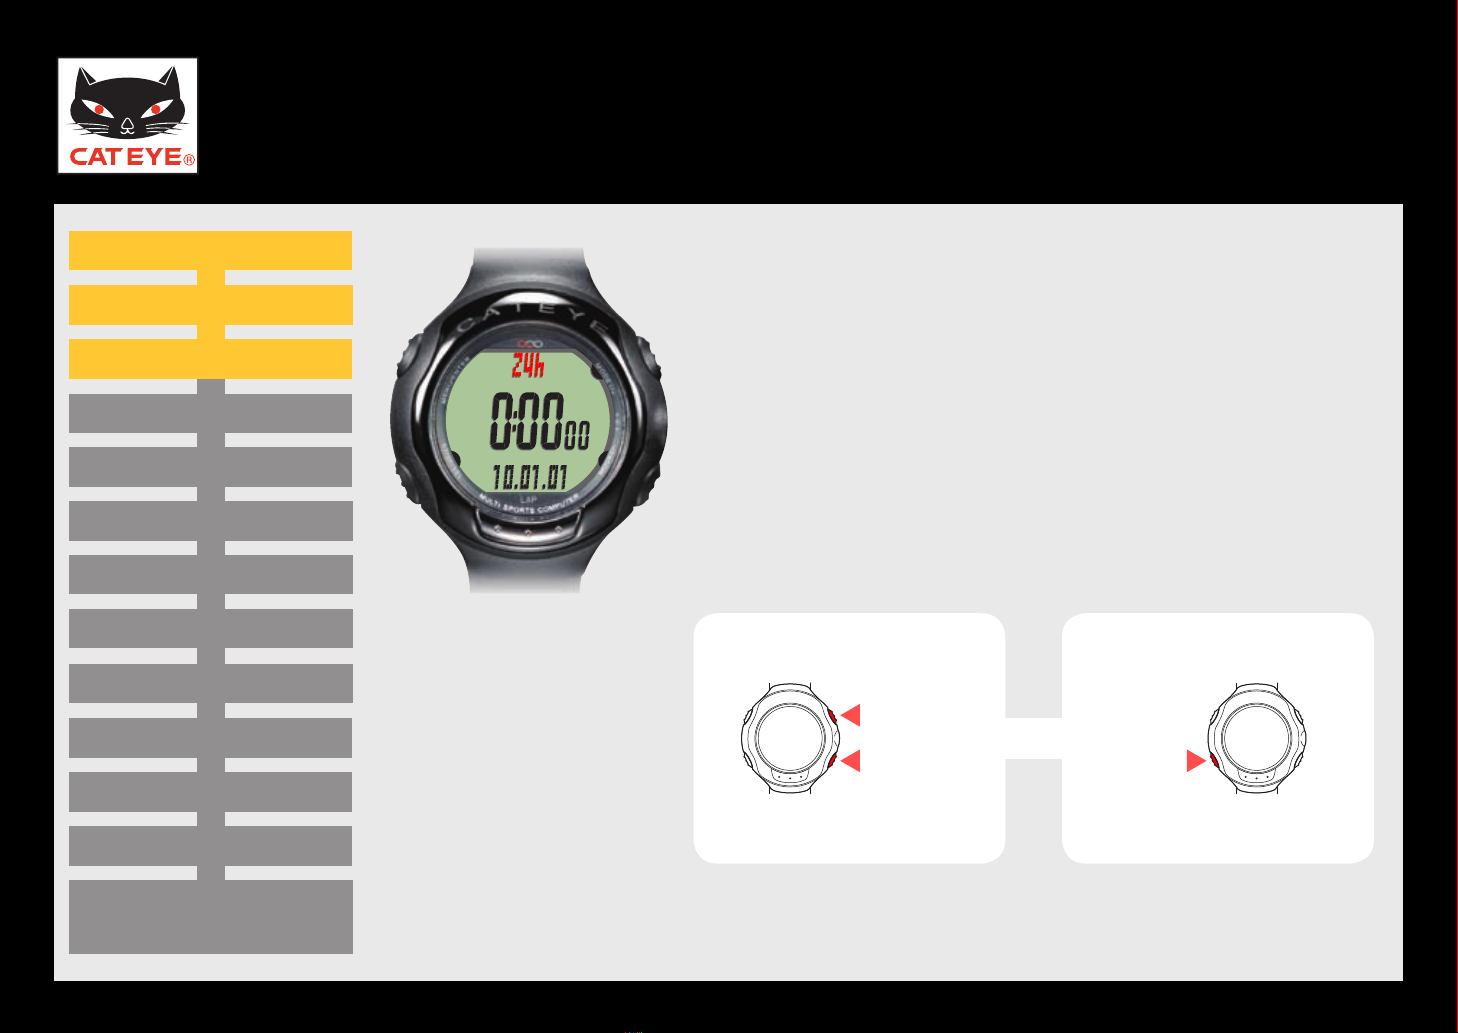
Clock mode screen
(Setup completed)
Setting the year
Setting the hour
Setting the minute
Setting the tire circumference
Setting the speed unit
Setting the temperature unit
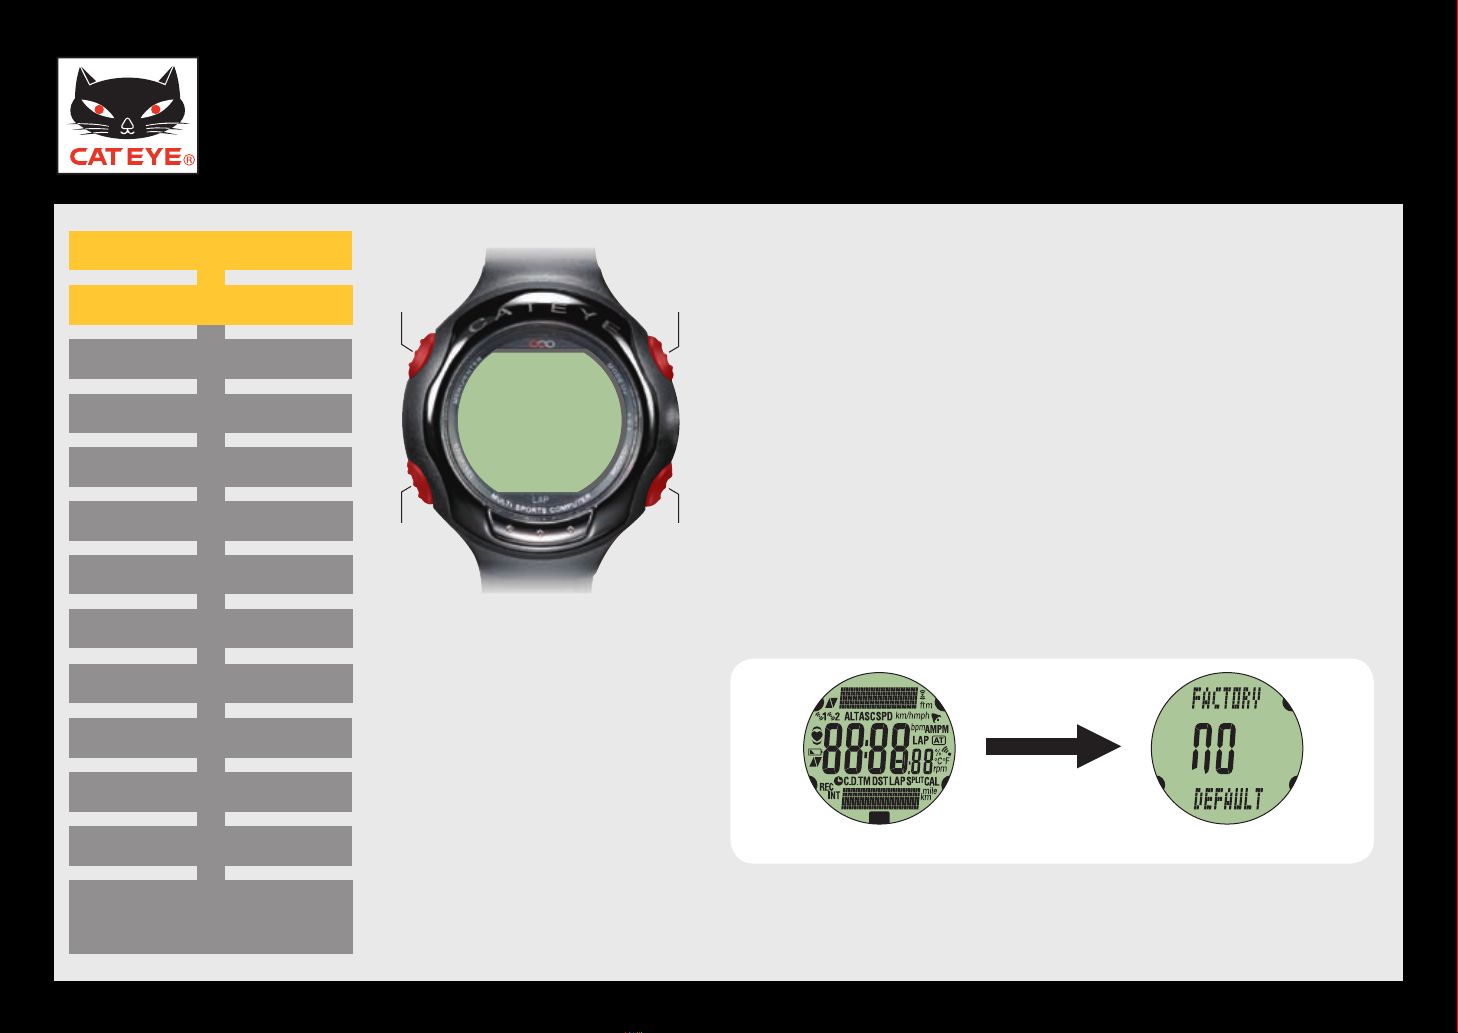
Full lighting Initialization confirmation
Restarting operation (1/2)
Preparation for setting up Restartingoperation
Press and simultaneously hold the MENU button,
SSS button, MODE1 button, and MODE2 button on
the side of the wristwatch. Hold down the four but-
tons until the display on the screen changes.
After full lighting of the screen, the wristwatch
changes to the initialization confirmation screen.
If no operation is made for 3 minutes after “Restarting*
operation” to “Setting the date”, the restarting operation is
cancelled and the wristwatch changes to the Clock screen.
In such a case, simultaneously press the 4 buttons
again, and redo the restarting operation.