CC Series Middle Speed Dome Camera User Manual
8
3. Installation
There are four mounting modes: pendant (6 or 9 inch), surface,
in-ceiling, and pole for CC series middle speed dome cameras. Before
installing them please study figure 2, figure 3, and figure 4 carefully.
1. Install the chassis of the dome camera at a desired position.
*Note: the mount position should be solid enough.
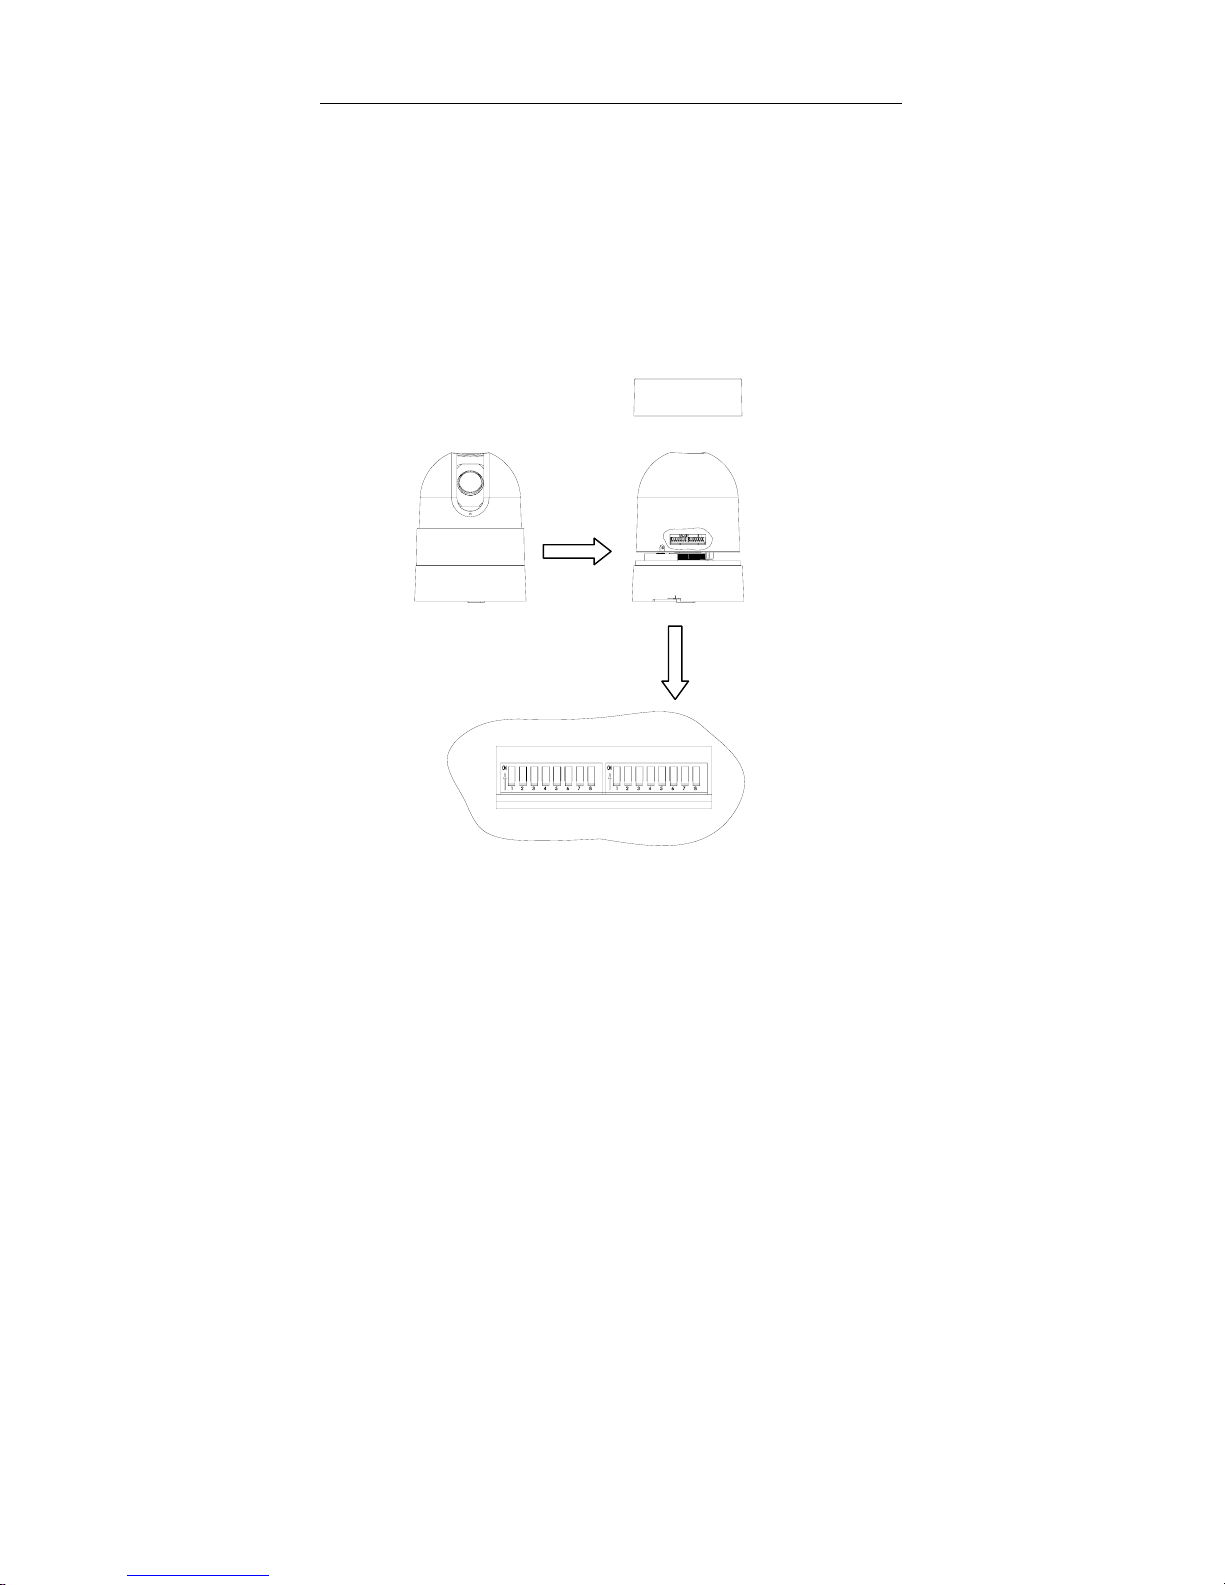
2. Unscrew the top ring in order to set dome camera’s address,
communication protocol, and baud rate. Please refer to Table A
and B for more information about their settings. DIP switches SW1
and SW2 are at the side of the dome camera.
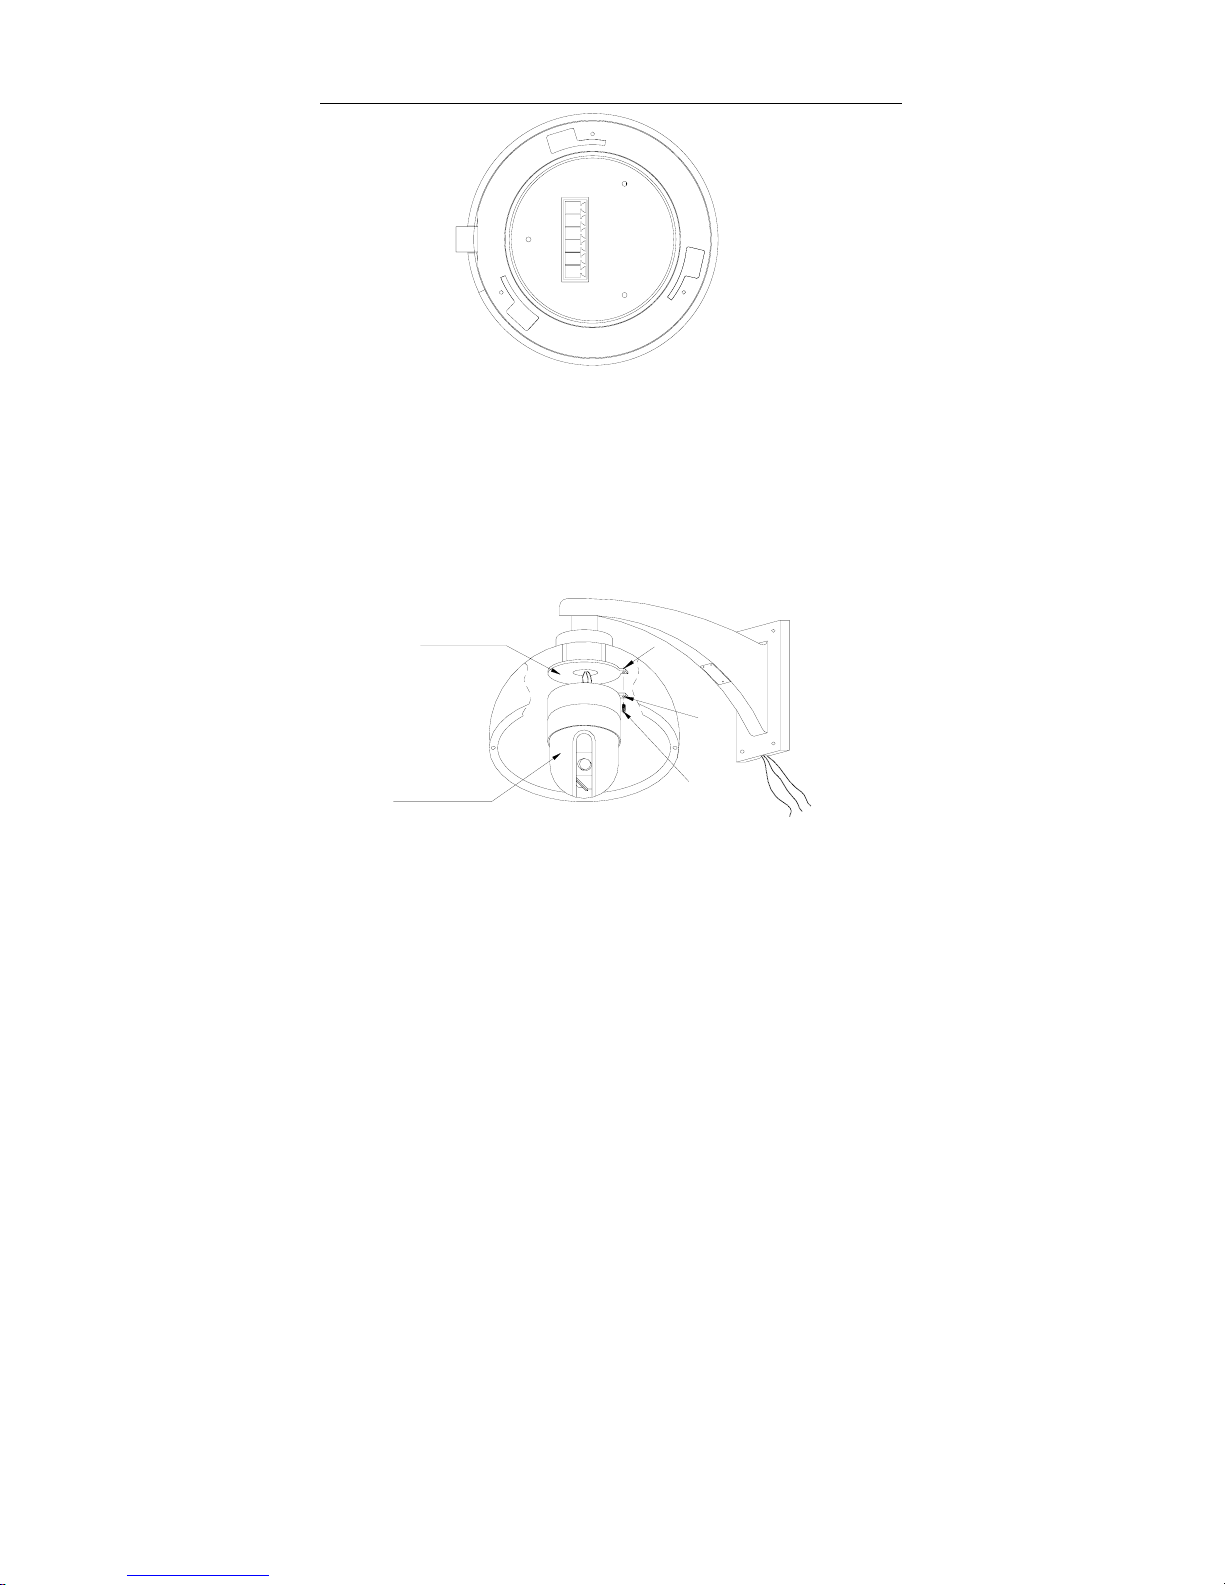
3. Plug the dome female connector inside of dome camera’s mount
into the dome camera’s male connector. Install the dome camera
into the dome mount, right rotate the dome camera until the dome
camera’s rectangle flange is lap over the dome camera mount’s
rectangle flange. Tighten these two flanges using a screw, the
diameter of which is 3mm.
4. Install the lower dome; tighten the screw to secure the lower dome
to the dome camera mount.
5. Connect wires of RS485, video and power.