manuals.online logo
Brands
  1. Home
  2. •
  3. Brands
  4. •
  5. Celestron
  6. •
  7. Telescope
  8. •
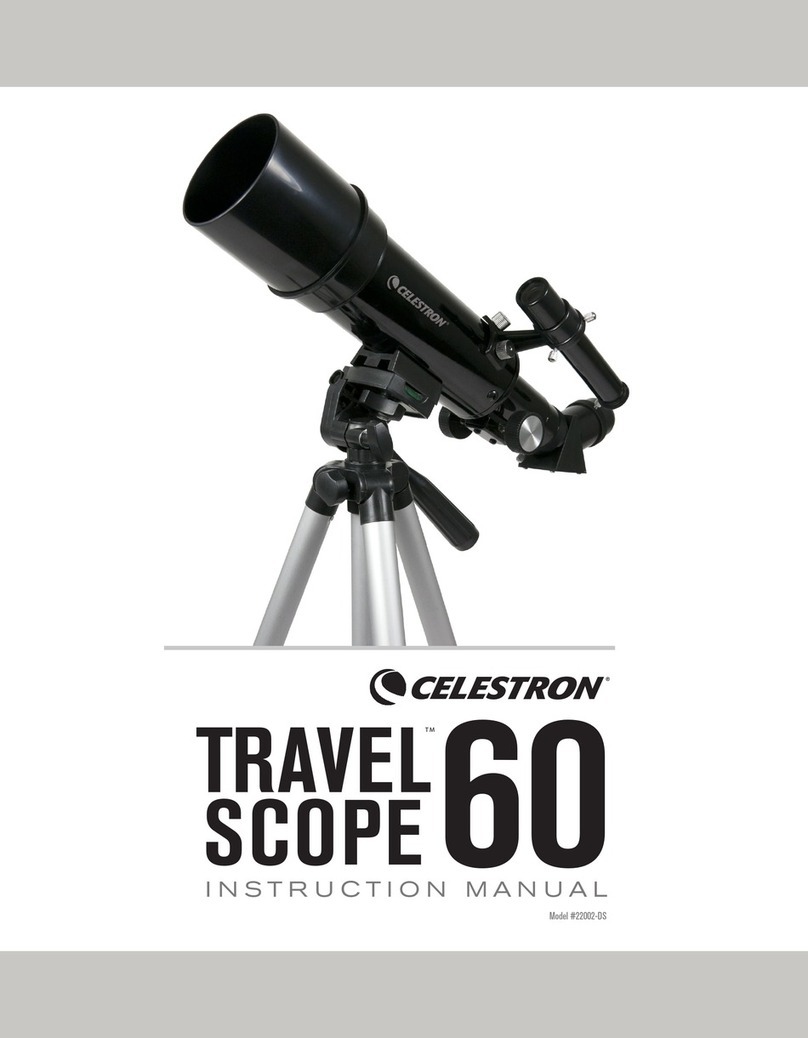
  9. Celestron TRAVEL SCOPE 60 User manual

Celestron TRAVEL SCOPE 60 User manual

1
Unpack your telescope and verify that all parts are present. Your
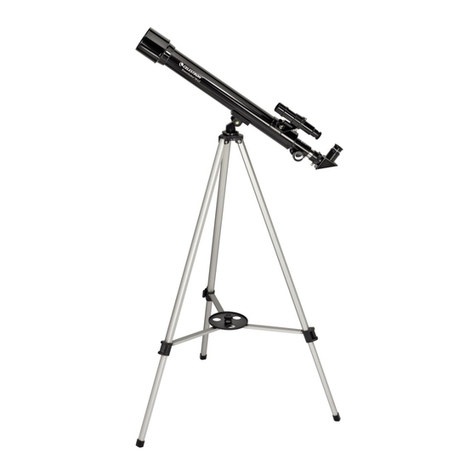
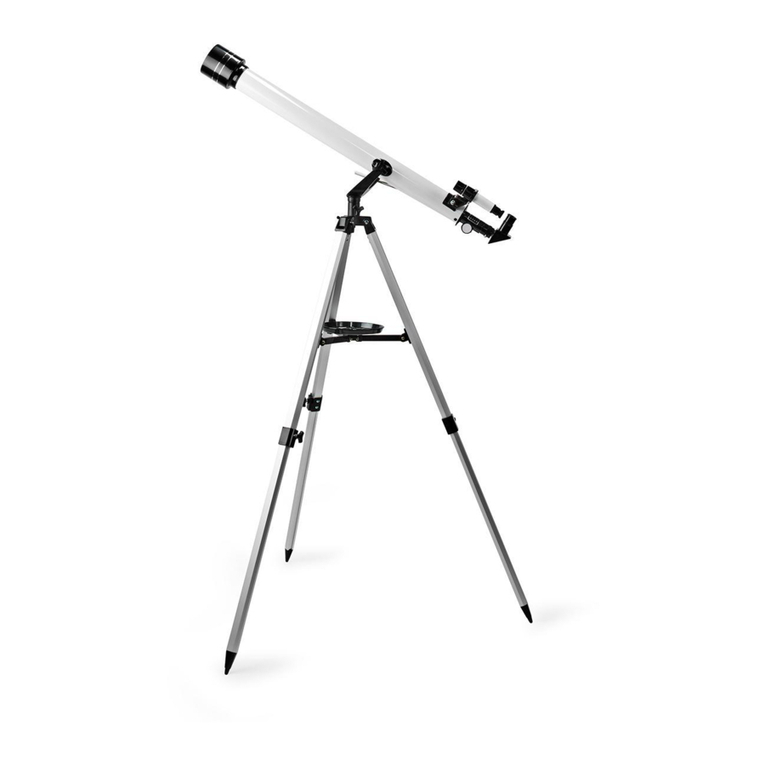
Travel Scope 60 includes: a telescope tube, a tripod and mount
head, two eyepieces, a 3x Barlow lens, a finderscope, an erect image
diagonal, and a Moon filter.
To extend the tripod’s central column, turn the locking knob
counterclockwise, lift up the tripod head until it is at the desired
height and turn the locking knob clockwise to secure.
Rotate the mounting platform so it is horizontal and tighten the knob
to secure it.
To set up the tripod, spread the legs outward until they are fully
extended and push down on the center leg brace.
Loosen the knob on the side of the tripod head mounting platform and
rotate the platform 90 degrees so it is standing vertically.
Remove the cap from the focuser end of the telescope tube and make
sure the two thumbscrews do not protrude into the opening.
Extend the legs of the tripod by unlocking the three tripod lock levers
on each leg. Pull each leg section all the way out and push the lever on
each lock downward to secure it in place.
Match the threaded bolt in the mounting platform to the threaded hole
on the bottom of the telescope tube and thread the two together. Do
not overtighten. This should be snug, but not tight.
Locate the erect image diagonal and remove the plastic covers. Insert
the barrel of the diagonal into the focuser and secure in place by
tightening the setscrews.
1
12
3
8
9
4
6
5
7
QUICK SETUP GUIDE
#22002DS
Insert the barrel of the 20mm eyepiece into the diagonal and tighten
the setscrew.
Remove the knurled nuts on the threaded posts at the focuser end of
the telescope tube.
10 11
TRAVEL 60
SCOPE
2
Remove the lens cap from the front of the telescope. To observe, look
through the eyepiece as shown. Focus the image by turning the knobs
below the focuser.
To move the scope right and left, hold a tripod leg with one hand
while the other hand uses the panning handle to move the scope.
The azimuth locking screw can be loosened or tightened to adjust the
tension to your preference.
For additional magnification, you can use the included 3x Barlow lens.
Place the Barlow lens between the diagonal and the eyepiece.
To move the scope up and down, rotate the entire pan handle
counterclockwise and use the handle to point the scope in the
direction you want to view. Rotate the pan handle clockwise to
lock it in place.
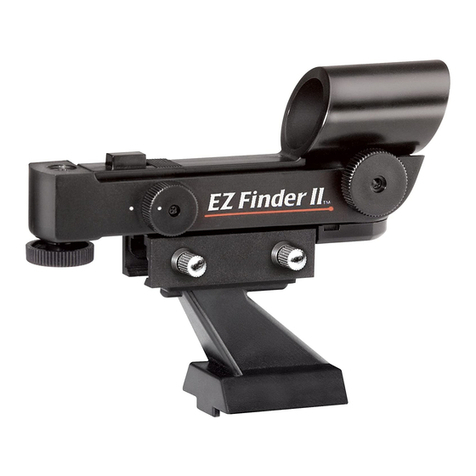
Locate the finderscope and remove the plastic caps on the front and
back lenses. Orient the finderscope so that the larger lens is facing
towards the front of the tube as shown. Place the finderscope over the
posts on the tube and replace the knurled nuts to secure it in place.
To use the Moon filter, remove the eyepiece from the diagonal or
Barlow lens. Thread the filter onto the bottom of the eyepiece and
re-insert the eyepiece into the diagonal or Barlow.
13 1414
15 1716
12
CENTER THE TARGET IN THE EYEPIECE
Look through the telescope using your lower powered eyepiece.
Move the telescope until the object you chose lies in the center of
the view. If the image is blurry, gently turn the focus knobs until it
comes into sharp focus.
LOOK THROUGH FINDERSCOPE
Once the object is centered in your 20mm eyepiece, look through the
finderscope and locate the crosshair reticle.
3
ADJUST THE FINDERSCOPE
Without moving the telescope, use the three finger knobs on the
finderscope bracket to move the finder around in the bracket until
the crosshair appears over the same object you are observing in the
telescope’s 20mm eyepiece.
TIP: Try adjusting one screw at a time. Loosen one screw by half
a turn and tighten another by the same amount to ensure the
finderscope is securely held in place.
YOUR FINDERSCOPE IS
NOW ALIGNED!
It should not require realignment unless it is bumped or dropped.
4
The finder is one of the most important parts of your
telescope. It helps you locate objects and center them
in the eyepiece. The first time you assemble your
telescope, you need to align the finder to the telescope’s
main optics. It’s best to do this during the day*.
* SOLAR WARNING! Never attempt to view the
Sun through any telescope without a proper solar
filter!
CHOOSE A TARGET
Take the telescope outside during the day and find an easily
recognizable object, like a streetlight, license plate or sign. The object
should be as far away as possible, but at least a quarter mile away.
2Low Power Eyepiece
Focus Knobs
1
5
ALIGNING THE
FINDERSCOPE
3
YOUR FIRST NIGHT OUT
THE MOON
With the Moon visible in the sky, set up your telescope with the 20mm
eyepiece installed.
Move the telescope so that it is roughly pointing toward the Moon.
1 2
Look through the finderscope and locate the crosshair reticle.
Continue moving the telescope until the crosshair appears over
the Moon.
3
Look through the telescope’s 20mm eyepiece. Gently turn the
focus knobs to adjust the sharpness of the image.
To get a closer view of the Moon, loosen the setscrews on the
focuser and remove the 20mm eyepiece. Replace it with your 8mm
eyepiece and tighten the setscrews to secure it in place. The 8mm
eyepiece will give you significantly more magnification, making the
Moon appear much larger.
NOTE: You may need to adjust the focus knobs when you change
eyepieces, to make sure you are getting the sharpest
image possible.
CONGRATULATIONS!
YOU HAVE NOW OBSERVED YOUR
FIRST CELESTIAL OBJECT!
To get a closer view of the Moon, loosen the setscrews on the focuser
and remove the 20mm eyepiece. Replace it with your 8mm eyepiece
and tighten the setscrews to secure it in place. The 8mm eyepiece will
give you significantly more magnification, making the Moon appear
much larger.
NOTE: You may need to adjust the focus knobs when you change
eyepieces, to make sure you are getting the sharpest
image possible.
Low Power Eyepiece
Focus Knobs
455
20mm
You can view many other celestial objects, such as planets, star
clusters and nebulae using this same technique if you know where
to find them in the night sky. Celestron’s free SkyPortal app for iOS and Android can
help you locate and identify a wide array of celestial
objects quickly and easily.
7
6
8mm 20mm
For more information on this product or to download the instruction manual, please visit the respective product page on celestron.com
©2022 Celestron, Celestron and Symbol are trademarks of Celestron, LLC • All Rights Reserved
• celestron.com • Torrance CA 90503 USA
SOLAR WARNING: Never attempt to view the sun through any telescope
without a proper solar filter.
NEED ASSISTANCE?
Contact Celestron Technical Support
celestron.com/pages/technical-support
Printed in China
06-22
SAFETY INSTRUCTIONS
• Risk of explosion if battery is replaced by an incorrect type.
• The included battery is not rechargeable.
• Please use the battery in its original purpose to avoid causing the battery to short circuit. When the conductive material is connected directly to the battery positive and negative
will cause a short circuit.
• Do not use a damaged battery.
• Keeping the battery in an extremely cold or very hot location can result in shortened battery life.
• When replacing the battery, please refer to the instruction manual and pay attention to the positive and negative direction of battery.
• Do not put the battery in the fire. Dispose of the battery according to local regulations.
FCC IDENTIFIER: 2A2FG-X9
This device complies with Part 15 of the FCC Rules. Operation is subject to the following two conditions: (1) This device may not cause harmful interference, and (2) this device must accept any interference received, including
interference that may cause undesired operation.
CAUTION: Changes or modifications not expressly approved by the party responsible for compliance could void the user’s authority to operate the equipment.
NOTE: This equipment has been tested and found to comply with the limits for a Class B digital device, pursuant to part 15 of the FCC Rules. These limits are designed to provide reasonable protection
against harmful interference in a residential installation.
This equipment generates, uses and can radiate radio frequency energy and, if not installed and used in accordance with the instructions, may cause harmful interference to radio communications. However, there is no guarantee
that interference will not occur in a particular installation.
If this equipment does cause harmful interference to radio or television reception, which can be determined by turning the equipment off and on, the user is encouraged to try to correct the interference by one or more of the
following measures:
• Reorient or relocate the receiving antenna.
• Increase the separation between the equipment and receiver.
• Connect the equipment into an outlet on a circuit different from that to which the receiver is connected.
• Consult the dealer or an experienced radio/TV technician for help.
Product design and specifications are subject to change without prior notification. This product is designed and intended for use by those 14 years of age and older.
BONUS SOFTWARE INCLUDED FOR FREE
Not needed to operate the telescope but offered as a free bonus to enhance your astronomy experience:
MINIMUM SYSTEM REQUIREMENTS
Windows:
- Windows 7 or higher
- 500 MHz or higher processor
- 128 MB RAM
- 850 MB of hard disk space
- 32 MB OpenGL capable graphics card
- Minimum recommended monitor resolution of 1024 x 768 pixels.
Android: Version 4.0 and higher
Mac:
- Universal Binary (PPC/Intel compatible)
- OS X 10.4 or higher (10.5 or higher for Elementary)
- G3 450 MHz or higher processor
- 128 MB RAM
- 850 MB of hard disk space
- 32 MB OpenGL capable graphics card
- Minimum recommended monitor resolution of 1024 x 768 pixels.
Apple:
- iOS 4.3 and higher
Other Celestron Telescope manuals

Celestron C10-N Installation and operating instructions

Celestron

Celestron C10-N Installation and operating instructions

Celestron PowerSeeker 70AZ User manual
Celestron

Celestron PowerSeeker 70AZ User manual

Celestron 80AZS User manual

Celestron

Celestron 80AZS User manual

Celestron Rowe-Ackermann Schmidt User manual

Celestron

Celestron Rowe-Ackermann Schmidt User manual

Celestron NexStar 102GT User manual

Celestron

Celestron NexStar 102GT User manual

Celestron FirstScope 114 User manual

Celestron

Celestron FirstScope 114 User manual

Celestron 11074-XLT User manual

Celestron

Celestron 11074-XLT User manual

Celestron Hummingbird ED Micro User manual

Celestron

Celestron Hummingbird ED Micro User manual

Celestron NexStar 4 SE User manual

Celestron

Celestron NexStar 4 SE User manual

Celestron StarSense 94008 User manual

Celestron

Celestron StarSense 94008 User manual

Celestron National Park Foundation ExploraScope 60AZ User manual

Celestron

Celestron National Park Foundation ExploraScope 60AZ User manual

Celestron NexStar 60GT User manual

Celestron

Celestron NexStar 60GT User manual

Celestron 60EQ User manual

Celestron

Celestron 60EQ User manual

Celestron origin 12099 User manual

Celestron

Celestron origin 12099 User manual

Celestron Advanced Series C6-RGT User manual

Celestron

Celestron Advanced Series C6-RGT User manual

Celestron NexStar EVOLUTION 8 EDGE HD User manual

Celestron

Celestron NexStar EVOLUTION 8 EDGE HD User manual

Celestron NexStar SE User manual

Celestron

Celestron NexStar SE User manual

Celestron Advanced VX 12031 User manual

Celestron

Celestron Advanced VX 12031 User manual

Celestron CGX User manual

Celestron

Celestron CGX User manual

Celestron 52228 User manual

Celestron

Celestron 52228 User manual

Celestron AstroMaster 114EQ User manual

Celestron

Celestron AstroMaster 114EQ User manual

Celestron XLT series User manual

Celestron

Celestron XLT series User manual

Celestron CGE800 User manual

Celestron

Celestron CGE800 User manual

Celestron FirstScope 80EQ User manual

Celestron

Celestron FirstScope 80EQ User manual

Popular Telescope manuals by other brands

iOptron VERSA 6102 instruction manual

iOptron

iOptron VERSA 6102 instruction manual

Orion CT80 instruction manual

Orion

Orion CT80 instruction manual

Swing-N-Slide NE 4610 manual

Swing-N-Slide

Swing-N-Slide NE 4610 manual

National Geographic STAR APP70 instruction manual

National Geographic

National Geographic STAR APP70 instruction manual

TwinStar Telescopes 80mm Reflector Telescope Assembly guide

TwinStar Telescopes

TwinStar Telescopes 80mm Reflector Telescope Assembly guide

Opticstar AR80S GOLD GUIDE-SCOPE owner's manual

Opticstar

Opticstar AR80S GOLD GUIDE-SCOPE owner's manual

Bushnell 78-9512 user guide

Bushnell

Bushnell 78-9512 user guide

National Geographic SRT70MM instruction manual

National Geographic

National Geographic SRT70MM instruction manual

Orion SkyView 4.5" instruction manual

Orion

Orion SkyView 4.5" instruction manual

Orion SKYQUEST XX14i instruction manual

Orion

Orion SKYQUEST XX14i instruction manual

Orion 23013 instruction manual

Orion

Orion 23013 instruction manual

Bushnell 712060G instructions

Bushnell

Bushnell 712060G instructions

Orion SkyQuest XT Series instruction manual

Orion

Orion SkyQuest XT Series instruction manual

William Optics FLT-132 APO F/7.0 instruction manual

William Optics

William Optics FLT-132 APO F/7.0 instruction manual

Bresser Skylux 70/700 instruction manual

Bresser

Bresser Skylux 70/700 instruction manual

Omegon N114/900 EQ-1 instruction manual

Omegon

Omegon N114/900 EQ-1 instruction manual

SKY-WATCHER Heritage 76 Dobsonian manual

SKY-WATCHER

SKY-WATCHER Heritage 76 Dobsonian manual

Simmons 841100 instruction manual

Simmons

Simmons 841100 instruction manual

manuals.online logo
manuals.online logoBrands
  • About & Mission
  • Contact us
  • Privacy Policy
  • Terms and Conditions

Copyright 2025 Manuals.Online. All Rights Reserved.