Centracool SMART MINIBAR User manual

SMART MINIBAR
QUICKSTART GUIDE

2
Hello!
WELCOME
As a center table, Centracool will surely elevate your home decor to another dimension – it’s all about the smallest details.
A classic shape with eyes on the future is how we describe Centracool and, as you can see, this is the kind of coffee table
that’s bound to be the main focus in any living room. Simplicity never fails.

3
ABOUT US
We at Centracool focus on intelligent home furniture solutions that multiply space. As a luxury
furniture brand and due to its sophisticated technologies and perfect handicraft, Centracool has
become the leader in the eld of intelligent home furniture.

4

5
GETTING STARTED

6
IMPORTANT SAFEGUARDS: PLEASE READ AND SAVE THIS INSTRUCTION MANUAL
When using electrical appliances, basic safety precautions should be followed, including:
• Read all instructions.
• Make sure the appliance is cleaned thoroughly before using.
• Do not use appliance for other than its intended use. For household use only. Do not use outdoors.
• CAUTION: ammable refrigerant used! When handling, moving, and using the refrigerator; make sure to
avoid either damaging the refrigerant tubing which may increase the risk of a leak.
• Remove all bags and packaging from appliance before use.
• Cenrtacool shall not accept liability for damages caused by improper use of the appliance.
• The safety and operating instructions should be retained for future reference.
• Heed all warnings. All warnings on this product and in the operating instruction manual should be adhered
to.
• Refrain from using attachments that are not recommended by the appliance manufacturer, as this may
result in re, electric shock, or personal injury.
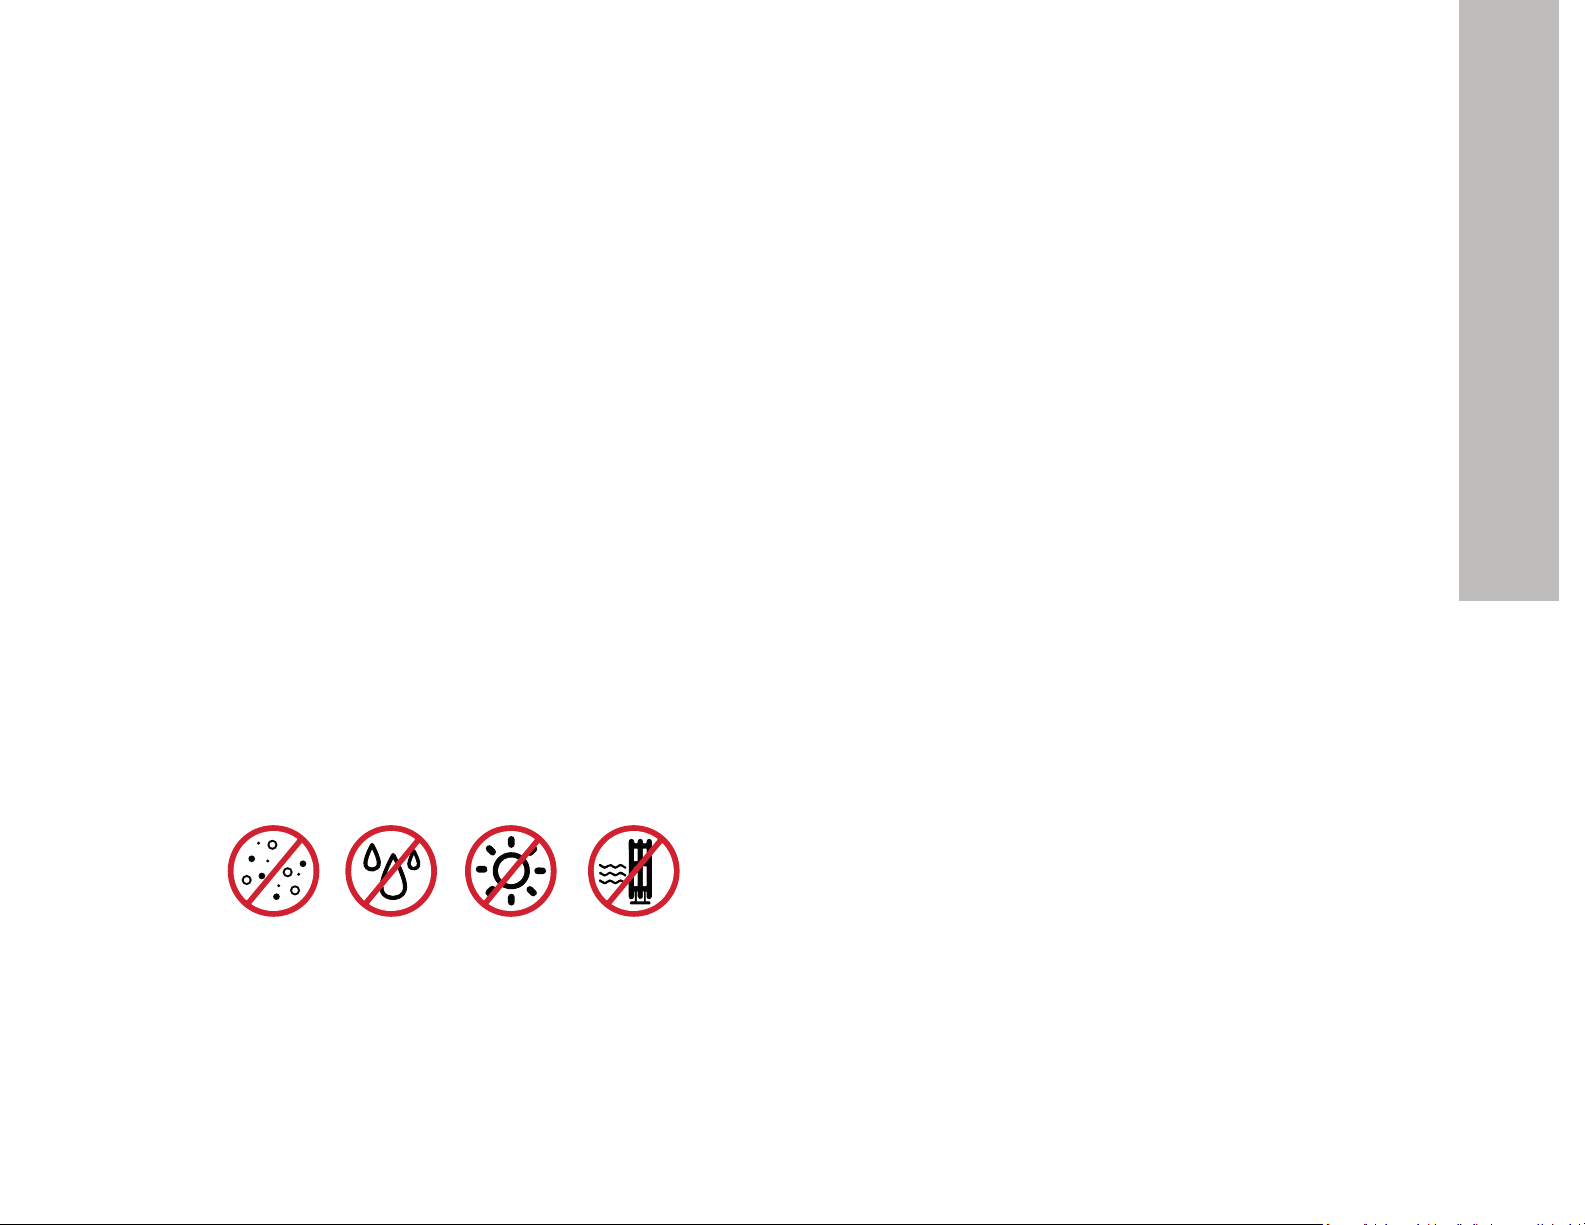
• Do not use the product near water and/or moisture, for example: near a bathtub, sink, in a wet basement; or
near a swimming pool.
• Clean only with a slightly damp, lint-free cloth. Unplug this product from the wall outlet before cleaning. Do
not block any ventilation openings. Install the appliance in accordance with the manufacturer’s instructions.
• Slots and openings in the cabinet are provided for ventilation and to ensure reliable operation of the
product and to protect it from overheating.
• This product should never be placed near or above a radiator or heat source. This product should not be
placed in a built-in installation such as a bookcase or rack unless proper ventilation is provided or the
manufacturer’s instructions have been adhered to.
Precautions

7
• The provided power supply cord should be arranged so that it will not drape over the countertop or
tabletop where it can be pulled on by children or tripped over unintentionally.
• Do not operate this appliance with a damaged cord, damaged plug, after the appliance malfunctions, is
dropped, or damaged in any manner.
• Always unplug the appliance when not in use for an extended period of time.
• The product should be operated only from the type of power source indicated on the marking label.
• Do not overload wall outlets and extension cords as this can result in the risk of re or electric shock.
• Object and liquid entry -Never push objects of any kind into the product as they may touch dangerous
voltage points or short out parts that could result in re or electric shock. Never spill or spray any type of
liquid on the product.
Precautions

8
PLACING AND INSTALLATION
Before connecting the appliance to electrical power supply, leave it stand for about 2 hours, which will
reduce the possibility of malfunction in the cooling system due to transport handling.
Clean the appliance thoroughly, especially in the interior. In case the interior accessories are not correctly
placed, rearrange them as described in the manual.
Choosing the Right Place
Place the appliance in a dry and regularly ventilated room. Do not place the appliance near a heat source
(e.g. cooking appliances, radiators, water heaters or similar devices) and do not expose to direct sunlight.
Avoid locations subject to vibrations and excessive dust, or moisture.
The appliance should be positioned at least 3 cm away from cooking appliances and at least 30 cm away
from oil or coal red stoves. If this is not possible, use an appropriate insulation barrier.
Ventilation Requirements
Behind the appliance there should be a free space of at least 200cm wide and above the appliance kitchen
units (cupboards) should be at least 5 cm away from the appliance in order to assure adequate ventilation.
Installation

9
Installation
• Place the appliance rmly on a solid base. If you want to install caster wheels, secure its screws
tightly.
• This appliance must be grounded. The power cord that is supplied with the appliance contains
the appropriate grounding conductor and grounding plug. The plug must be plugged into an
appropriate wall outlet that has been installed and grounded in accordance with all existing local
codes and ordinances.
• The required nominal voltage and frequency are indicated on the rating label.
• Most people like multipurpose power outlet, it’s quite convenient for home using. But it’s very
dangerous to share the same multipurpose power outlet for table and other home appliances.
Please don’t use the same power outlet for table with any other home appliances.
• Take note of the direction of the power socket under the table, and connect the power cable.
• Insert power cable plug into electrical outlet.
Installation

10
Fridge Setup
+< >
00:03
00:03
Step 1
Press and hold for
3 seconds to unlock the
fridge temperature control
Step 2
Touch any of the drawers buttons.
The current drawer’s temperature
will ash. Each time you touch,
the temperature will cycle from 1
to 12 then OF (where “OF” means
switching off the cooling of the
selected drawer)
Eco Mode
Press and hold this button
for 3 seconds to activate
Economy or “Intelligent
Power Saving“ mode
If you stop pressing for more than 3 seconds, the LED display will stop ashing
and the displayed temperature or mode will be applied
Temperature Guide
Mode

11
8L
8L
Bluetooth USB Flash Disk AUX Cable
Step 1
Press and hold for
3 seconds to turn on
audio control
Step 2
Press and release to
switch bewtwen audio
input modes shown below
Previous NextVolume upVolume down
Audio Setup
00:03
+< >
LIuE
u
Play / Pause
Mode

12
Audio Input
Using Auxiliary Cable
To use AUX cable as your audio source:
1. Select LINE or “External Audio” mode.
2. Insert a 3.5mm audio cable into the
AUX port.
3. Control the music playing by your
device.
Note: In this mode, audio interface does not
support the Previous / Next track switching
Using USB Flash Disk
To play music les from USB Flash Disk:
1. Select “USB Audio” mode.
2. Insert a ash drive into the top USB
port.
3. Music les formats (MP3, WMA, APE,
FLAC,WAV) will be read and played.
4. When USB is pulled out, the voice
broadcast “USB disconnected”.
LIuE
u

13
Charging
Upper USB Port: 5V/2.1A
Lower USB Port: 5V/1A
Using the Charging Function
• Centracool is supplied with two USB ports
• Both ports can be used to charge your devices
• The upper USB port has more power, hence it is suitable for tablets
• The upper USB port can be also used to read music from a ash disk
• Once centracool table is powered on, the USB ports can be used directly

14
Cleaning & Maintenance
• Clean Centracool table regularly to avoid the accumulation of dust. Wipe the surface of the table
with the glass microber cloth.
• Use a small hand-held vacuum or a soft brush to clean any dust. Do not use abrasive or sharp tools
to clean your Centracool.
• If you are powering off the table for an extended period of time, clean and dry the Cooler Drawer
and store the Centracool in a clean, dry location. Do not place any parts outdoors.
• Before cleaning Centracool, please make sure to turn off the table and remove the plug. Do not
submerge or douse any part of the appliance with water or any other liquid. Do not use abrasive or
corrosive cleaning agents to clean the Centracool.
How To Prevent Odor Build-up:
• Foods that may expire easily should not be placed in the Cooler Drawer. Only store non-perishable
items in the Cooler Drawer. Store foods in sealed plastic bags.
• Keep the Cooler Drawer clean and dry. Clean the drawer on a regular basis
How To Remove Odors:
• If your Cooler Drawers begin to develop an odor, clean the Cooler Drawers with a non-corrosive or
non-abrasive cleaning agent. Dry the Cooler Drawers with a soft cloth and shut the drawers for 24
hours to remove the smell.
Maintenance
Table of contents
Popular Refrigerator manuals by other brands

Miele
Miele KFN 14827 SDE ed/cs Operating and installation instructions

Maytag
Maytag MBF2262HEW - 22 cu. Ft. Bottom Freezer... installation instructions

Kuppersberg
Kuppersberg NRV 192 X Technical Passport

Omcan
Omcan Aurora FR-CN-1372E-HC instruction manual

Everchill
Everchill SRD-360WTG-ED instruction manual

Hisense
Hisense RQ563N4AI1 User's operation manual