The following instructions are to assist you in connecting this thermostat to
your home’s electrical, heating and cooling systems.
Location of Thermostat
If replacing an existing thermostat, use the existing thermostat’s
location.
For new installations, follow these suggestions:
∙Locate the thermostat about 5 ft. off the floor away from direct
sunlight, lamps, radios, televisions, fireplaces, hot water pipes, or
other heating or cooling sources.
∙Do not locate the thermostat near doors to the outside or
windows.
∙Do not locate the thermostat in a damp area.
∙Do not locate the thermostat in an area that lacks air circulation.
Removing Existing Unit
1. Switch OFF the electricity to the HVAC unit.
2. Remove the cover to the existing thermostat
3. Make a note of the terminal location for each wire connected to
the thermostat wiring terminals. Wire colors are not standard so it
is important to note the terminal label each wire is connected to
on the existing thermostat.
4. While removing each wire from the existing thermostat wiring
terminal, make sure to secure the wire so that it does not fall
back into the wall.
5. Once all wires are removed from the existing thermostat wiring
terminal, remove the existing thermostat from the wall.
6. Make sure to leave at least 3” of wire for each connection onto
the thermostat wiring terminal.
7. Remove 1/8” insulation from the end of each wire.
Installing the Thermostat
This installation requires connecting wiring between your home and
thermostat. We recommend using the included adhesive labels. As
you identify each wire (i.e. Fan, Common, Cool Control), attach the
appropriate label to ensure you match the right wire with the proper
wire terminal.
For additional assurance, or if you prefer not to perform this task,
consult an electrician or licensed HVAC professional.
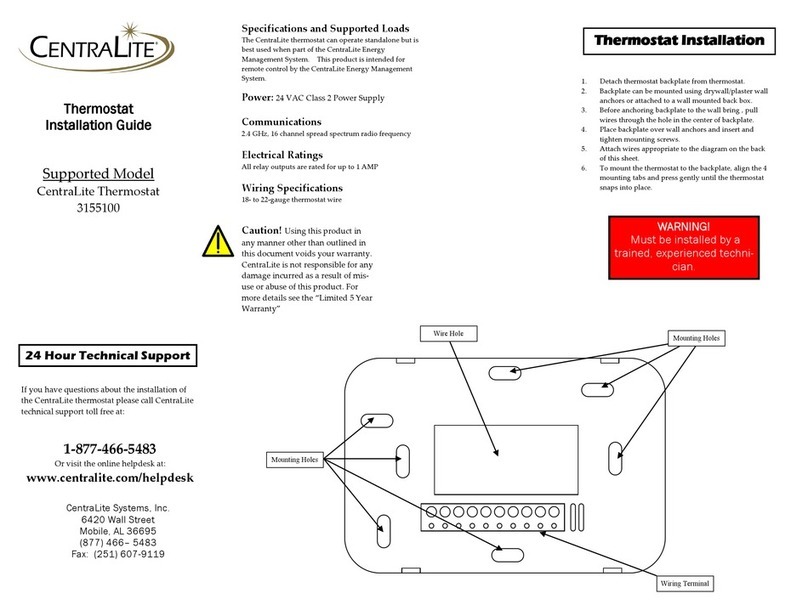
Place each wire in the appropriate wire terminal. The wiring terminal
is labeled as follows:
Heat Pump c/o (+ in heat)
Heat Pump c/o (+ in cool)
2nd Stage Heat / Aux. Heat
2nd Stage Cool Control
Common
Cool Control / Compressor
Fan
Heat Control
Power from Cooling
Power from Heating
Y1
G
W1
RC
RH
B
O
W2
Y2
C
If you have separate power for RH and RC then you will need to
remove the factory installed jumper between RH and RC.
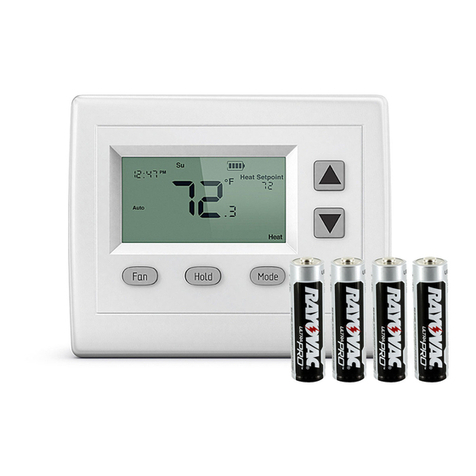
Many systems do not provide a “C” common wire, so 4 AA batteries
must be installed before the unit will operate.
After you have made the necessary connections and have mounted
the new thermostat to the wall, turn on the breakers to your HVAC
system.
NOTE: This thermostat is equipped with an auto-sensing mode
that detects your system type by the wiring connections
made. The thermostat will display “E0” until the unit has been
properly connected and reset (by pulling front panel off and
re-attaching).
Configuring the Thermostat
From the factory the thermostat comes configured to work
with single-stage cool, single-stage gas heat (non-heat pump),
single speed fan systems.
If your HVAC system is different, refer to the programming section to
configure the thermostat for your system.
Entering Programming Mode
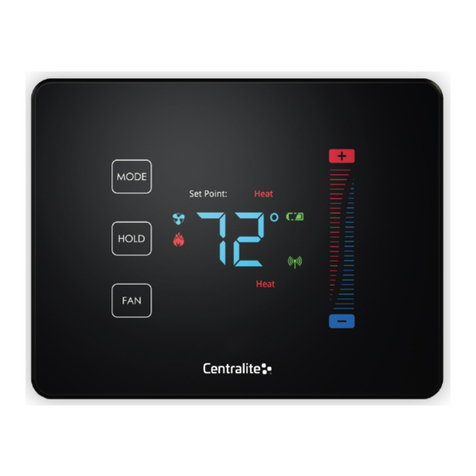
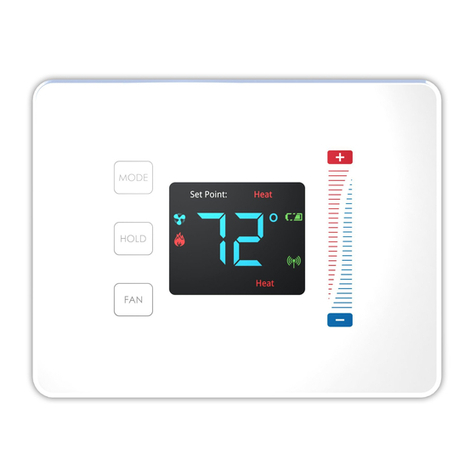
First, press the MODE button until “off” is displayed.Then swipe one
finger down the right slider while holding the empty space between
the HOLD and FAN buttons. The display will change to “01” to
indicate that you are in programming mode.
Navigating Programming Mode
HOLD Enter Menu / Save Settings
MODE Exit Menu Item
(+) and (-) Cycle Menu Options / Settings
Programming Thermostat for a Heat Pump
1. Enter programming mode.
2. Press (+) until the display reads “02”.
3. Press HOLD, then press (+) until the display reads “01”...then
press HOLD again to save changes.
4. Tap the MODE button until the thermostat display returns to its
normal state.
Auto-sensing Mode
Based on the wiring configuration from the “Installing Your
Thermostat” section, the thermostat automatically detects which
type of heat pump system your HVAC system utilizes. If a heat
pump system is not detected, the thermostat will configure itself for
gas/oil heat.
Programming Thermostat for Electric Heat
1. Enter programming mode.
2. Press (+) until the display reads “03”.
3. Press HOLD, then press (+) until the display reads “00”...then
press HOLD again to save changes.
4. Tap the MODE button until the thermostat display returns to its
normal state.
Testing Thermostat Operation
1. After completing any necessary configuration, make sure the
thermostat is in Cool mode by pressing the MODE button until
“Cool” appears on the main display.
2. Make sure the system is not calling for Cooling by setting the
set-point several degrees above the room temperature. Then
check the Fan operation by pressing the FAN button. When the
Fan indicator is illuminated without the Auto indicator then air
should blow from the unit.
3. Make sure the Fan mode is in Auto and run the set-point
temperature at least several degrees below the room
temperature. Give the thermostat at least 3 minutes to respond.
4. Change the system mode to HEAT. Allow the system at least
3 minutes to respond. The Heat mode symbol (flame) should
illuminate and the system should be blowing hot air.


