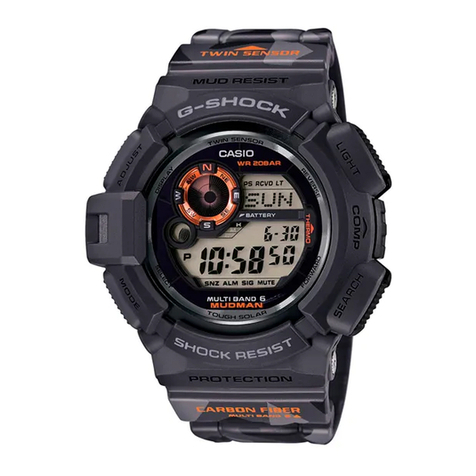
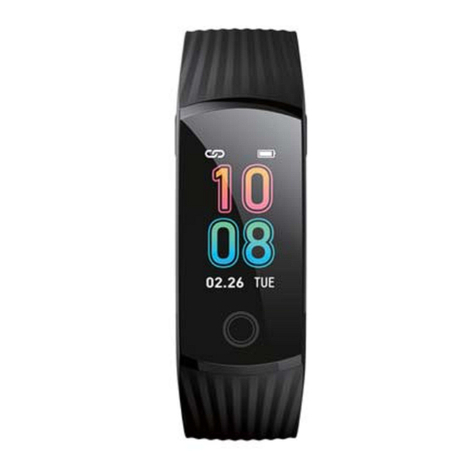
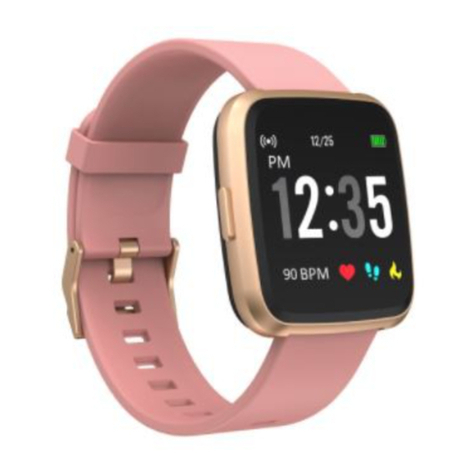
Childtrac Smart GPS Watch User manual

Childtrac Smart GPS Watch
User Manual
3G Waterproof Watches

1. Before using a. Check box content: GPS Watch with silicon wristband, 1 USB Cable clip
and user manual.
b. Your device has the full initial charge, let it go low and charge
c. Charge the battery at the end of each day by connecting the charging cable and wall
plug. Do not charge over 3 hours.
Note: Charging the battery should only be under adult supervision.
2. Watch interface
Product information
2.1 Product function
⚫GPS+LBS+WIFI+AGPS multiple way real-time Positioning
⚫1.4 inch TFT color touch screen
⚫Support 3G network
⚫IP67 Water resistance
⚫Support Taken off alert
⚫0.3MP Camera
⚫GEO fence safety area
⚫SOS Phone call and alert
⚫Two-way phone call and voice chat
⚫History: record history route
⚫Setting no disturbing time when kids are in classes
⚫Remote shutdown
Note: Therefor the watch is waterproof IP67 it can only be submerged a few seconds. It’s
better not to wear the watch swimming.
Power button/
SOS button
Part screen
Return button
SIM card slot
Waterproof speaker
Microphone

3. Watch function interface
3.1 Main interface: small icons on the interface top left to right represents: Volume,
GSM signal, Battery, Time & date and love icon.
3.2 Contact: Click Contact to enter and select the number to dial (The 10 contacts
numbers is set from the app in Phone Book setting)
3.3 WeChat: Enter to WeChat interface, press the button to start recording voice chat
and released to send to app, the maximum voice message length is 15 seconds. (This
function does not use any voice minutes) So chat away!
From APP setting

3.4 Steps counter: Turn on the step switch in the app, when pedometer is working
steps data will be synchronized.
3.5 Camera: 0.3MP Camera support picture & video mode.
3.6 Gallery: To view the pictures and videos that the watch took.

3.7 Watch Settings: (Please advise your child not to go in settings (for adult only)
To check device details and customize personal setting. (This has already been done
for you)
You have 4 Face plate to choose from: go in settings of the watch and click DEVICE,
DISPLAY, Analogue display 1 to 4
3.8 QR Code: Click to choose QR code for App download or Register. You do not
need to do that if already set up.

4. Access the App
4.1 The App only available on IOS and Android,”Se tracker” on App store and or scan
the bar code under the box. Login with the user password provided and click Login
APP HOME SCREEN
4.2 Introduction of APP main interface
Enter the correct account ID and password, click to login and
enter the main interface. The main interface is shown as below:
Description of APP functions:
(1)Voice chat: Click “Long press and speak” to start recording. Release
the button to send the message. The longest voice message can be 15
seconds.

(2)Map: View the last location and information of the watch.
* Note location is the outdoor location as GPS does not go inside a
building.
(3) Settings: you can set all parameters of the watch, settings interface shown as below:
A)SOS number:
In case of emergency, up to three 10-digit numbers can be set up. The watch can make
an SOS call by pressing the on/off button (SOS button) for 3 seconds, it will call the pre-
registered numbers automatically and an alert message will be sent to the APP. The
registered number will be called one after another twice (unless the call is answered).
Please note that if you have voice mail enabled the watch will consider it answered and
will stay for duration of message and won’t call the others. If you do need to have voice
mail, limit message time or remove voice message to avoid wasted minutes from your
plan. (As per CRTC rules, these IOT devices cannot be programmed to dial 911 directly).

b. Working mode of the watch:
Three basic working modes include normal mode, power saving mode and real-time
positioning mode. Upload interval is different on different working modes.
Normal mode: upload interval is 10 minutes; preferred mode
Power saving mode: upload interval is 1 hour;
Real-time positioning: upload interval is 1 minute. (for Emergency needs) Please note
that the more frequent the more the battery usage.
c. Do not disturb:
You can set three periods; all incoming calls will be shielded during these periods. The
watch will be locked only SOS calling work, this function is to avoid disturbing time in
classroom. Do not Disturb mode only works from Monday to Friday, weekends are
excluded.
d. SMS Alerts:
Fees applies (only 15 SMS allowed /month extra $0.10/ sms) This function is to be
used if you need to advise a babysitter or family member that does not have access to
the APP information (or in crucial situation). Low Battery, SOS Prompt, Watch
removal prompt. You can get all these notifications when using Push switch that send
all the notifications to the app. (Free)
$$
Free !

e. Phone book:
There are 10 numbers can be added in the watch and the number and name will display
on watch, these number will be allowed to call the watch and vice
versa.
f. Language and Region:
If the time display on the watch is not correct, you can choose the time zone to fix.
But this function only works when the watch is connecting to the APP. Or you can
go in the watch settings and set time to network time.
g. LBS:
Set the switch and open the base station positioning. When the watch is inside a
building, it will position the device by using Cell Tower Triangulation when the watch
cannot get the Satellite GPS position. LBS is less accurate, approximately 200 meters
radius but provides the area of interest.
h) Contextual model:
The setting of how you want the watch to sound when getting a call
1) By vibration and ring tone 2) Ring down=Ring only 3) Vibrate mode =Vibrate
only 4) Silent mode= no sound

(4)Love rewards:
select the number of red hearts on the app, click the number send to watch, then
watch will display the number of love heart.
(5)GEO fence safety area:
(6) The minimum radius is 200 meters, when users go in and out of the geofence,
there will has alarm information when kids is out of the geofence zone.
To create the geofence, go in geofence tab, click + on the map locate the area
and tap with your finger and select the zone size and save.
Note: (Geofence) fence alarm is triggered only when the watch capture Satellite GPS position.
(7)Watch alarm:
You can set up three alarm clock alert, and alarm clock can be set according to
your requirements.
(8)Find Device:
This function is to search the watch, if lost around the house, click this function
key and the watch will ring for a minute unless your press any key to stop. (The
watch must be powered on to work)

(9)Steps counter:
This function is used to check the history route of kids in different period. The
location data can be saved up to 90 days.
(10) Display activities: you can see the records of step count, amount of exercise,
distance and sleep monitor.
(11) Notification overview: you can see all the list of earlier notifications.
(12) History: Select the date you wish to view the tracks or the replay
(12) "ME" interface : Click “ME” function key at main page and the page shown as
below:

a. On the personal data, you can see your account information and ID name. We
suggest you fill the email address and phone number
b)The device list: If you have more than one device to monitor, you can see them in
the device list. In order to change settings to one of the devices you must switch from
one device and do the setup then you must switch to another watch.
Please notice, you just need register one watch then add the watch ID here. (already
done for you)
c)“Change the password” function.
If you have any questions, please do not hesitate to contact us [email protected]
or call us 1-888-742-8722 during weekdays business hours from 9 am to 5pm Eastern
Standard time.
Table of contents
