4
INDOOR /OUTDOOR WALL MOUNTED INSTALLATION
Step 1 Mark the fixing position of the
multi-directional base with a pencil.
To install on a wooden wall:
Step 2 Use the screws provided to attach
the base onto the wall.
Step 3 Fix the main unit onto the base.
To install onto a brick wall or RC wall:
Step 2 Using 1/4" drill bit, drill to a depth of
1-3/8". Then clean the hole. (NOTE:
When using the electric drill, be sure
to wear proper protection. Be sure the
drill bit is fixed securely, or serious
injury could occur).
Step 3 Use a hammer to insert the provided
anchors into the holes made by step 2.
Step 4 Use a screw driver to insert the provided
screws through the base and into the
anchors.
Step 5 Fix the main unit onto the base.
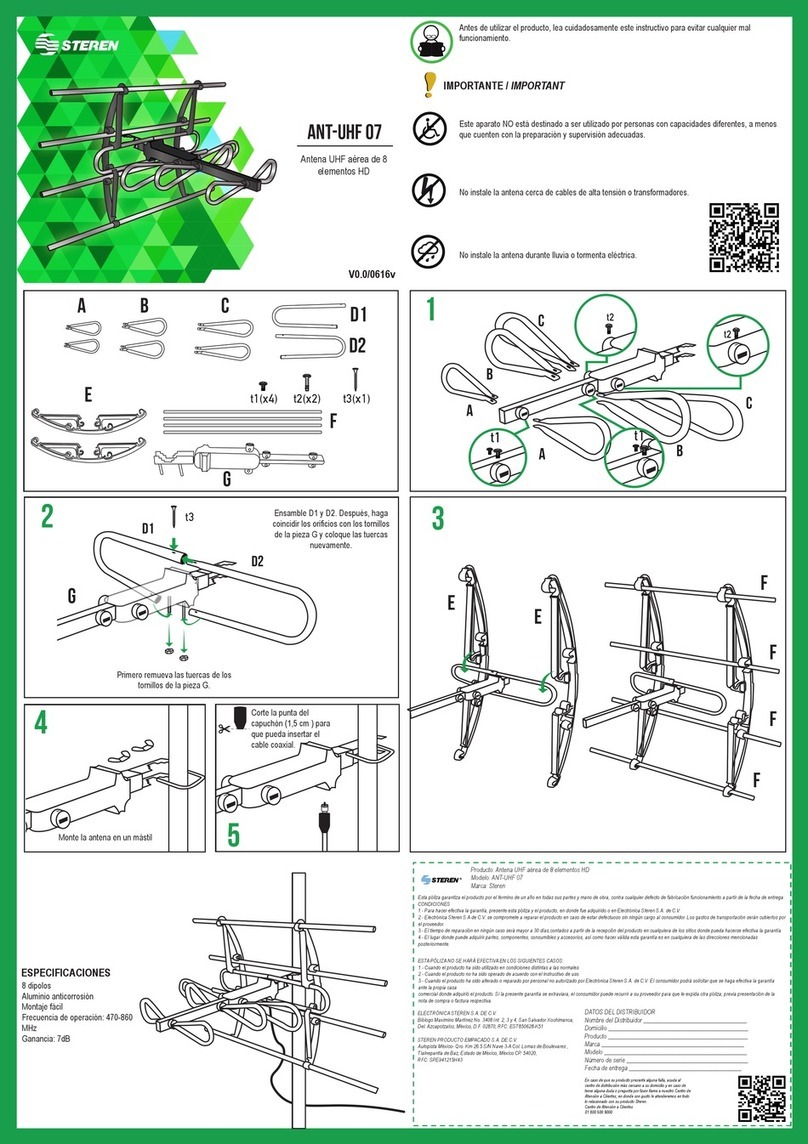
POLE MOUNTED APPLICATION
Step 1 Place the 2 U-bolts around the pole, lining
up the threads of the bolts with the holes in
the multi-directional base.
Step 2 Place the base against the pole as shown
below, so that the bolt threads go through
the mounting holes on the base.
Step 3 Use the 4 provided wing-nuts to fasten the
U-bolts tightly against the pole.
Step 4 Fix the main unit onto the base.
When the installation is complete, use your TV or Set Top Box to check the
signal strength and quality. If the quality is not as expected, move the
antenna to get the best reception position. When you find the best position,
secure the antenna.

