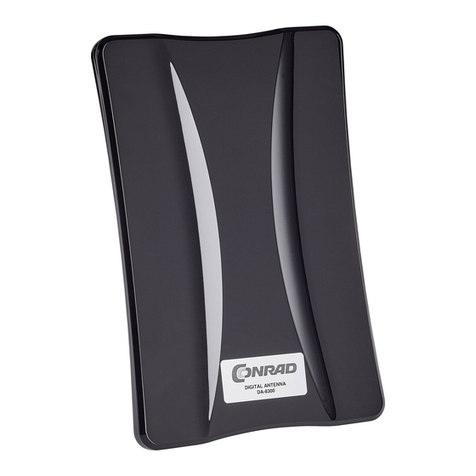
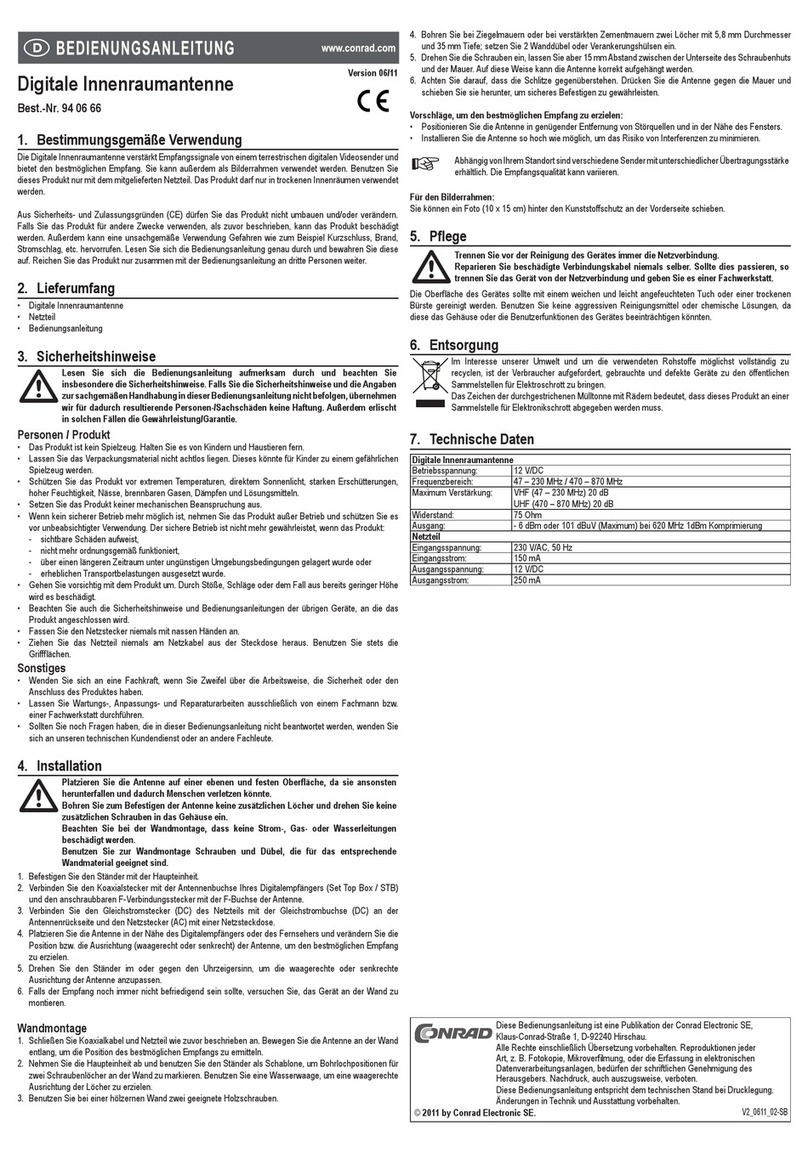
Conrad WB21 User manual

Antenne WB 21
Installationshandbuch
Einführung
Die WB21 Reihe von High-Gain Richtantennen bieten einen einfachen und ostengünstigen Weg
zur Verbesserung der Leistung von einem UMTS-oder GSM-Gerät. Für beste Ergebnisse sollte die
Antenne außen in einer erhöhten Position montiert werden.
Bestimmen Sie einen geeigneten Montageort
Für eine gute Installation sollte die Antenne in Richtung der stär sten Netzsignals gerichtet
werden um dies zu erreichen folgen Sie den Leitfaden unten.
1.Verbinden Sie die Antenne mithilfe des Antennen abels mit dem Antennenanschluss des Routers.
2. Stellen Sie sicher dass Sie Netzverbindung haben und die Feldstär e in der Signalanzeige angezeigt
wird.
3. Nachdem Sie eine Montageposition für Ihre Antenne gewählt haben, drehen Sie die Antenne in
45° Schritten so lange bis Sie das Stär ste Signal gefunden haben. Bitte warten Sie nach jedem Neu-
ausrichten ca. 1 Minute bis der Router die Signalanzeige a tualisiert hat.
beachten: Signalstär eanzeige ann wie folgt angezeigt werden.
a. graphisch mit Bal en, (mehr Bal en heißt besseres Signal), oder
b. Als Signalstär e in dBm (z.B -80) –in diesem Fall, je niedriger die Zahl, desto besser das Signal,
(z.B. -71 ist ein stär eres Signal als -83).
Außenmontage der Antenne
Stellen Sie sicher dass der gewählte Montageort mit dem mitgelieferten Teilen sicher erreicht wer-
den ann, montieren Sie die Antenne wenn möglich mit einem Meter Abstand zu möglichen
Hinder-nissen.
Montage der Antenne
Die Antenne ist mit wetterfestem Befestigungsmaterial für die Wand-oder Mast Montage
geliefert worden, Sie sollten mit der Kabelzuführung nach unten angebracht werden.
Mast Montage: Die Masthalterung erlaubt es die Antenne an Masten von 20-50mm Durchmesser
zu montieren
Wand Montage: Die Wandhalterung wird verwendet um die Antenne auf Wände oder andere
flache Oberflächen zu montieren. Schrauben und Dübel gehören nicht zum Lieferumfang.
Befestigen Sie die Antenne endgültig
Ziehen Sie nochmals alle Schraubverbindungen nach.

Antenne WB21
Installationshandbuch
Innenmontage
Wenn Sie die Antenne Innen verwenden beachten Sie bitte das Sie das Antennen abel so
verlegen das eine Stolperfallen entstehen, die besten Resultate erreichen Sie wenn die Antenne
auf einer Fensterban dire t in Richtung der stär sten Netzversorgung schauen lassen.
Montage und Demontage der Antenne an dem Tischhalter
Wenn Sie den besten Aufstellungspun t für die Antenne gefunden haben so montieren Sie
den Tischständer wie folgt:
Montage der Antenne Demontage der Antenne
Halten Sie das Antennen Kabel auf der
Rüc seite der Antenne nach oben.
Drüc en Sie die Antenne auf den tischständer
so dass die Montagelöcher und die Bolzen dec -
ungsgleich sind.
Halten Sie Antenne und Fuß fest und drüc en
nun die Bolzen durch die Montagelöcher
Halten Sie den Fuß von unten und die
Antenne von oben fest.
Ziehen Sie die Antenne jetzt vom Fuß ab während
Sie den Fuß leicht hin und her bewegen so dass die
Bolzen aus den Montagelöchern rutschen.
Sicherheitsanweisung
HF Sicherheit – Stellen Sie sicher das sich keine Personen innerhalb eines Meters im Abstrahlkegel
der Antenne für längere Zeit aufhält.
lektrische Sicherheit – Teile der Antenne sind elektrisch leitend. Direkter Kontakt mit Stromlei-
tungen kann den Tod oder schwere Verletzungen zu Folge haben. Die Antenne und auch ein
Mon-tagemast dürfen nicht in unmittelbarer Nähe einer Stromleitung angebracht werden.

WB21 Antenna Range
Installation Guide
Introduction
The WB21 range of high gain, directional antennas provide a simple, cost effective way of improving
the performance of a UMTS or GSM device. For best results, the antenna should be fitted externally
in an elevated position.
Determine a suitable Mounting Location
For a good installation the antenna should be directed towards the strongest networ signal
to acheive this follow the guide below.
1. Connect the antenna to your data card or modem with the antenna adapter and coaxial
cable provided.
2. Ensure that your device is connected to the networ and displaying the signal strength indicator.
3. With the antenna at selected location, rotate it in approximately 45 degree steps – in each posi-tion,
you may need to wait for up to one minute to allow the signal strength indicator to update.
Note: Signal strength indication may be displayed either as:
a. Graphically with bars, ( where more bars is a better signal), or
b. As a signal level value in dBm (e.g. -80) - in this case, the lower the number, the better
the signal, (i.e. -71 is stronger signal than -83).
Mounting the Antenna Externally
Ensure that the selected mounting location can be safely accessed with the equipment that you
have available and mount the antenna so that it has at least 1 metre of clearance from all
obstructions if possible.
Mount the antenna
The antenna is supplied with weatherproof mounting hardware for wall or mast mounting
and should be fitted with the cable entry at the bottom.
Mast mounting: The clamp assembly allows fitting to masts of between 20-50mm diameter.
Wall mounting: The wall mount brac et can be used to mount the WM11 antenna to walls or
other secure flat surfaces. Suitable screws and wall plugs (if required) should be sourced locally.
Secure the antenna in place and waterproof the exposed connections
Fully tighten the mounting hardware, ensuring the antenna direction is correct.
If exposed the RF connector joint should be waterproofed with a weatherproof electrical tape
(self amalgamating type is recommended) allowing a significant overlap of each turn and ensuring
that the overlap is in the opposite direction to predicted water fall.

WB21 Antenna Range
Installation Guide
Using the Antenna Internally
When using the antenna internally, ta e care to ensure that the antenna or cables do not cause
a trip hazard.The antenna can be fitted to the supplied des stand for internal use.
Optimum performance will be achieved with the antenna facing a window in the direction of
best networ signal strength.
Mounting and dismounting the antenna to the des stand
Once you have determined the desired mounting location and orientation you can mount and
un-mount the antenna to the supplied des stand following the steps below.
Mounting the antenna Dismounting the antenna
Hold the antenna cable securely upwards
against the bac of the antenna.
Push the mounting foot of the antenna down
into the groove in the base so that the
mount-ing holes sit flush with the pegs in the
base as shown.
Holding the antenna and base securely push the
antenna bac into the base until the pegs locate.
Grip the base securely from below and the an-
tenna at the top edge.
Pull the top of the antenna away from the base
stand whilst lightly squeezing the base in order
to pivot the foot of the antenna out of the
trough in the des stand as shown.
Once the foot of the antenna is unloc ed from
the des stand pull the antenna forwards and
upwards from the base freeing the antenna
from the mounting pegs.
Important Safety Information
RF Safety Note – nsure that the antenna is mounted in such a way that no person is likely to
be within a distance of 1 metre from the front of the antenna during use.
lectical Caution – Parts of this antenna are an electrical conductor. Contact with power lines can
result in death or serious injury. The antenna and supporting mast must not be close to any
power lines during installation, use or removal.
Table of contents
Languages:
Other Conrad Antenna manuals
Popular Antenna manuals by other brands

Antop
Antop AT-122B manual

Com-Power
Com-Power ALFM-80120 instruction manual

A.H. Systems
A.H. Systems AK-571-4 Operation manual

Sirio Antenne
Sirio Antenne SO-918-2 installation manual

Intuicom
Intuicom RTK Bridge -M Hemisphere Outback A220 installation guide

Hirschmann
Hirschmann AUTA 6000 KE 1/11 user manual

COBHAM
COBHAM EXPLORER 3075GX Installation and user manual

Audiovox
Audiovox Terk XM6 owner's manual

Sea Tel
Sea Tel 4012 GX KU-BAND Technical manual

Sennheiser
Sennheiser AD 3700 Instructions for use

axing
axing basic-line SAA 80-0 Series Operation instructions

Sirio Antenne
Sirio Antenne ML 145 installation manual