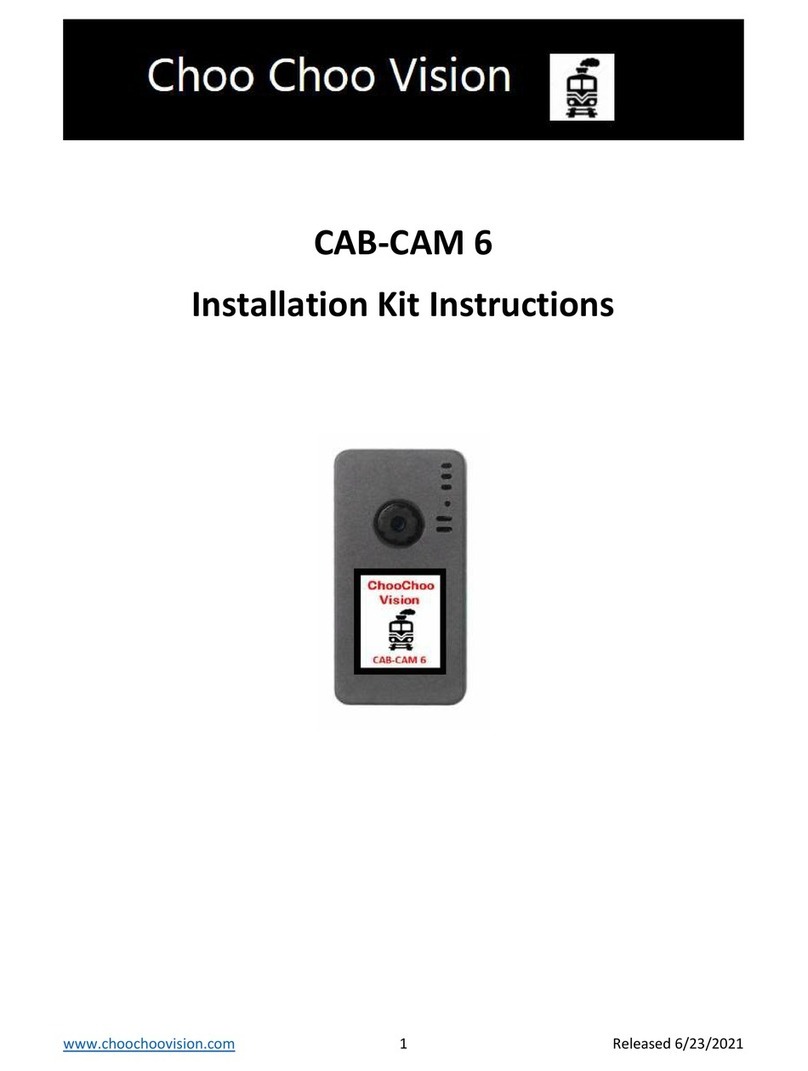
Choo Choo Vision CAB-CAM 6 User manual

www.choochoovision.com 1 Released 8/2/2021
CAB-CAM 6
Lens Installation Guide

www.choochoovision.com 2 Released 8/2/2021
Contents
Introduction .............................................................................................................................................. 2
Camera Controls ....................................................................................................................................... 3
Changing a Lens ........................................................................................................................................ 4
Product Support: ...................................................................................................................................... 6
Introduction
Congratulations! You have purchased a unique technological advancement for Model Railroading that
immerses you into the world of your layout. Take photos of your layout, live-stream video over the
internet, or host Remote Operations sessions.
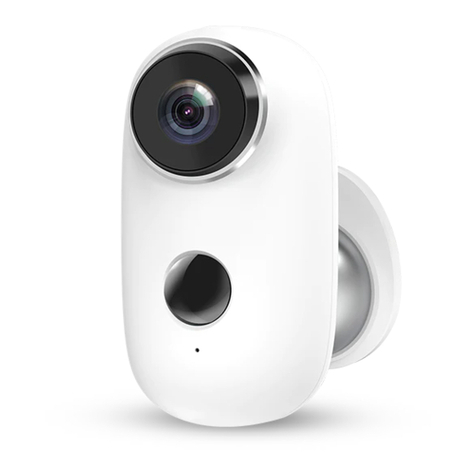
This instruction guide is specific to the changing a lens for the Choo Choo Vision CAB-CAM 6.

www.choochoovision.com 3 Released 8/2/2021
Camera Controls
1. Power ON Button
Press the Power ON button for 2 seconds to turn the camera ON. The camera light will
blink rapidly upon power-up.
2. Power OFF: Magnetic Reed Switch
To turn the camera OFF, swipe a magnet across the area above the camera lens.
3. Status Indicator Light
Fast Blinks for 2 seconds: Camera is starting up
Off after Fast Blinks: Waiting to connect to Wi-Fi
Steady Glow: Camera is running and has connected to WiFi
Off: Camera is OFF
Blink very 3 seconds: Camera is in charging mode.
4. USB Port (external power)
Accepts 5V Power from USB Phone Charger
Accepts Choo Choo Vision DCC Power Converter
5. Aux Port
Accepts secondary auxiliary magnetic switch for powering off the camera
Accepts Pan-Cam interface cable
6. RESET
Resets / Reboots the camera.
1
2
3
4
5
6

www.choochoovision.com 4 Released 8/2/2021
Changing a Lens
The basic steps are:
Steps:
Power OFF: Plug the camera into USB Power – The camera will turn ON. Swipe a magnet across
the area above the lens. The status light will pulse 3 times and then go out, indicating that the
camera has been powered OFF. Unplug the camera from USB power.
Remove Screws: Turn the camera face down. Remove the two hex-head screws located on the
back of the camera.
Remove the Back Cover: The back cover is hinged to the front cover at the top of the camera.
Gently lift the bottom edge of the back cover up. Then separate the back of the camera from
the front cover.
Remove the Circuit Board: Turn the camera over so you are looking at the front cover. To
remove the circuit board, hold the sides of the front cover and gently press on the lens. This
pressure will separate the circuit board from the front cover.
Power OFF the
Camera
Remove the
Screws
Remove the
back Camera
Case
Remove the
Circuit Board
Open the Lens
Retainer Clip
Remove the
existing Lens
Insert the new
Lens thru
Front Case
Insert Lens
into Retainer
Clip
Close Retainer
CLIP
Place Circuit
Board into
Front Cover
Place Back
Cover
Check for
Alignment
Insert Screws

www.choochoovision.com 5 Released 8/2/2021
Remove the Existing Lens: Locate the clasp that holds the end of the lens ribbon cable. The
lens clasp holds the lens ribbon cable. The lens clasp is hinged towards the bottom of the circuit
board. Gently pry the black portion of the lens clasp upwards towards the bottom of the circuit
board.
Remove the Existing Lens: Gently wiggle the existing lens and pull it out from the clasp, pulling
the lens towards the top of the circuit board.
Insert the New Lens: Locate the front cover. Slip the new lens ribbon cable thru the large hole
in the front cover. (Note: only required for long lenses).
Insert the New Lens into the Lens Clasp: Gently wiggle the end of the new lens into the retainer
clip. The “wires” on the ribbon cable should face towards the circuit board. Ensure that the
ribbon is fully inserted into the lens clasp. (Note the markings on the circuit board)
Close the Lens Clasp. Gently close the retainer clip by pressing the clip downwards towards the
circuit board. You should fell a “click” when the clasp.
Place the Circuit Board into the Front Cover: With the front cover facing downwards, gently
place the circuit board into the front cover. Ensure that the tiny reset button is positioned
inside the cover. Give the circuit board a slide push towards the top of the front cover.
Place the Back Cover: The back cover is hinged to the front cover at the top edge. Mate the
two covers together at the hinge, and gently lower the back cover onto the top cover.
Check for Alignment: The two covers should align properly. If they do not, DO NOT FORCE the
covers together. You may need to gently press the circuit board towards the top edge by
pressing on the USB connector. Ensure that the battery wires are not in the way of the case
edges.
Lens Clasp.
Lift upwards
towards bottom of
circuit board.
Outline on Circuit
Board depicts if
lens is fully
inserted into clasp.

www.choochoovision.com 6 Released 8/2/2021
Insert Screws: Insert the two hex-head screws into the camera case. It’s best to first turn the
screws counterclockwise until you feel the threads. Then turn the screw clockwise to tighten
the screw. Do not over-tighten the screws.
Testing the camera installation
Plug the camera into USB power.
The camera status light should blink quickly for 2 seconds and go off.
After a couple of seconds, the camera status light should turn on (dimly).
o If the solid light does not come on, then either the camera cannot access your WiFi, or
the lens was not installed properly. Contact Product Support for assistance.
Open a web browser and enter the camera’s address
Press the Start Video button and confirm that the lens was installed properly.
Product Support:
If you have any question regarding the setup, use, or suggestions, please feel free to contact us.
Email: support@ChooChooVision.com
Website: Send a request via our website www.ChooChooVision.com/contact
Other manuals for CAB-CAM 6
2
Table of contents
Other Choo Choo Vision Digital Camera manuals
