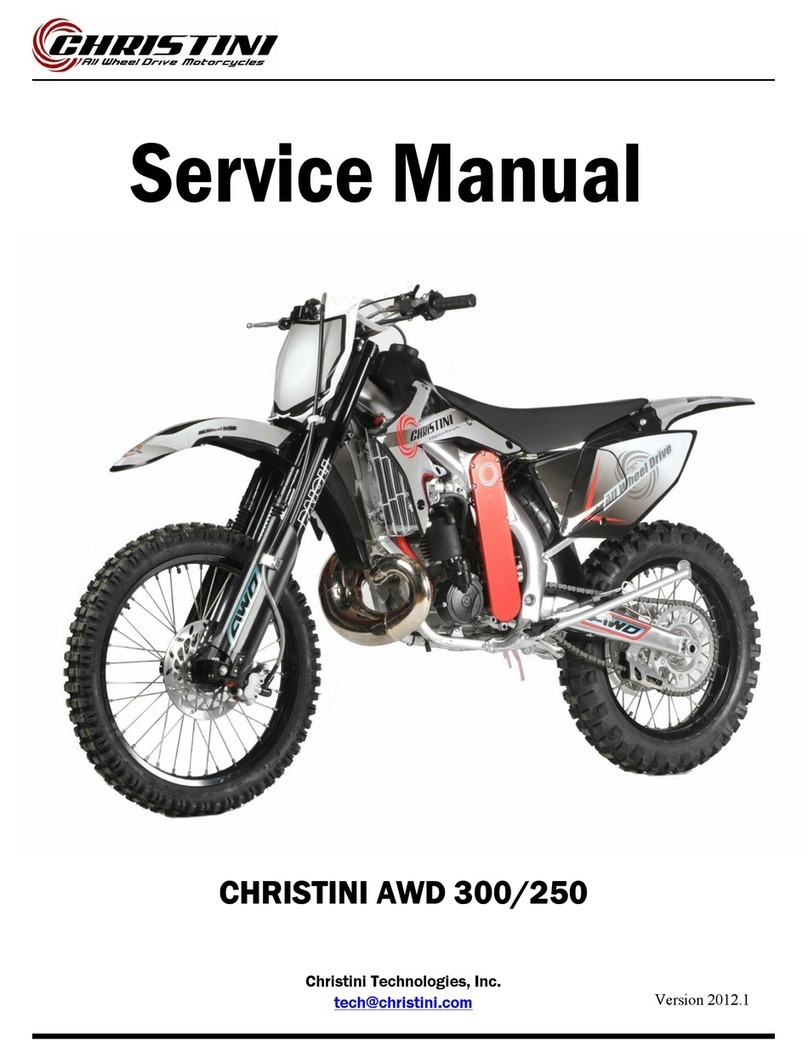
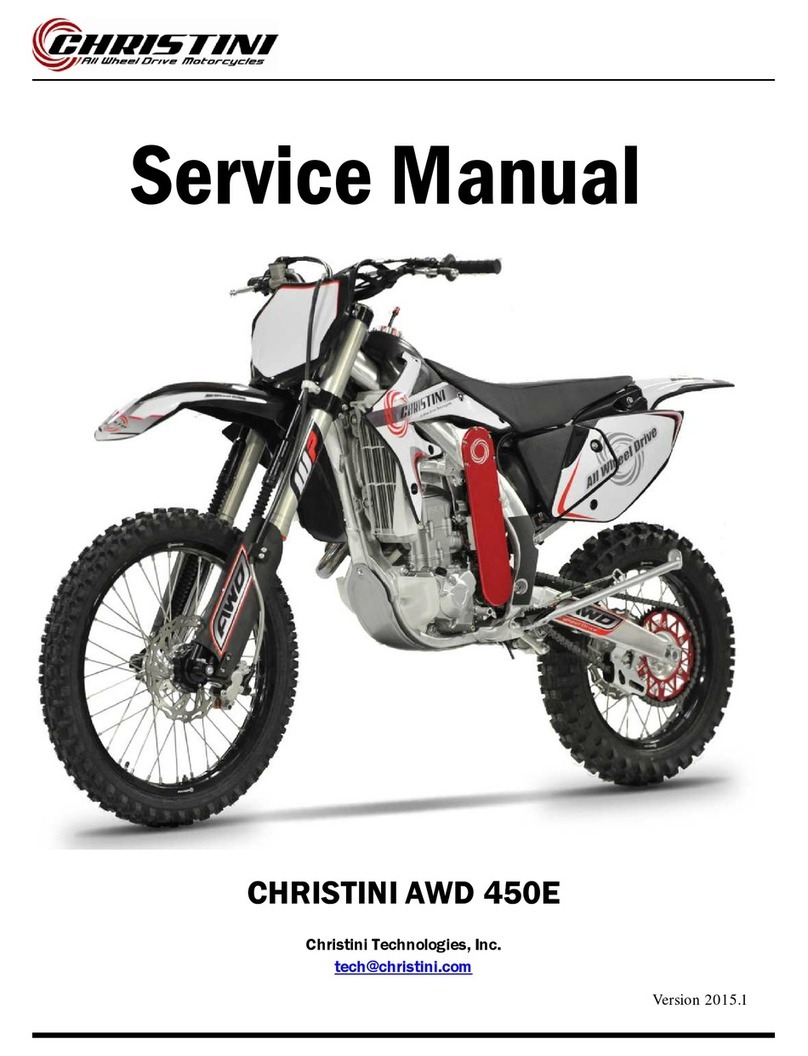
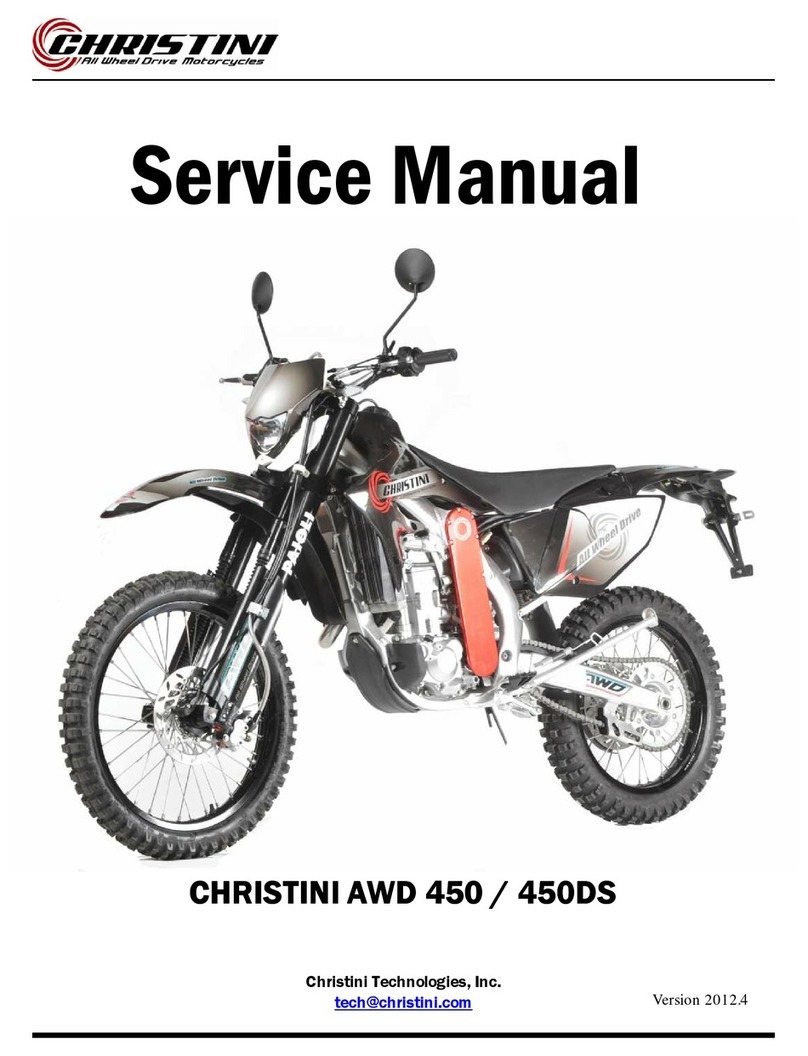
Christini AWD 450DS User manual


Page
Introduction
Congratulations for making the choice to become and AWD rider!
The instructions in this book will provide a simple and understandable guide to your motorcycle’s operation and
maintenance
Whenever you see the symbols shown below, heed their instructions!
Always follow safe operating and maintenance practices
If improperly conducted, the sport has the potential to cause environmental problems as well as conflicts with other
people Responsible use of your motorcycle will ensure that these problems and conflicts do not occur
TO PROTECT THE FUTURE OF YOUR SPORT, MAKE SURE YOU USE YOUR BIKE LEGALLY, SHOW
CONCERN FOR THE ENVIRONMENT, AND RESPECT THE RIGHTS OF OTHER PEOPLE
This manual should be considered a permanent part of the motorcycle and should remain with the motorcycle when
resold or otherwise transferred to a new owner or operator
We reserve the right to amend this motorcycle service manual due to periodic improvements and upgrades
WARNING
This warning symbol identifies special instructions or procedures which, if not correctly followed, could result in personal
injury, or loss of life
CAUTION
This caution symbol identifies special instructions or procedures which, if not strictly observed, could result in
damage to or destruction of equipment
NOTE
This note symbol indicates points of particular interest for more efficient and convenient operation

Page 3
Table of Contents
General Bike Service
General Information 5
Lubricant System Specifications 7
Cooling System Specifications 7
Tire Specifications 8
Battery Specifications 8
Spark Plug Specifications 8
Basic Operating Instructions 9
Precaution 9
Pre-Ride Inspection 10
Starting/Stopping Engine 11
Break-In 12
Maintenance 13
General Service Information 13
Maintenance Schedule 13
Service Information 16
General Specifications 5
Wiring Diagram 33

Page 4
Table of Contents
AWD Service
Required tools 35
AWD detailed illustration 36
Routine maintenance schedule 38
AWD clutch test 39
AWD sprag test 40
AWD chain removal 41
AWD engagement switch 45
Front wheel removal 50
Front wheel service 52
Fork removal and installation 59
Dropout service 61
Fork spline bearing service 70
Boot Replacement 75
Triple clamp removal 77
Triple clamp service 79
Main drive shaft removal 94
Head tube bearing service 95
Triple Clamp Installation 98
Gearbox removal 102
Gearbox service 103
AWD clutch removal 108
AWD clutch Service 109
Troubleshooting 113
Warranty 114
Main drive shaft installation 97

Page 5
I T E M
TECHNI CAL D A T A
O F FR OAD
DUAL SP OR T
M O TA RD
D I MEN S I O N S
OVERALL L E N G T H
2175mm
OVERALL W IDTH
810mm
OVERALL HE I G H T
1240mm
F/R W HELL AXI S DIS-
T A N CE
1505mm
SEAT HEI G H T
60m m
GROUND CLE A R A N CE
320mm
N.W
118kg
130kg
130kg
C HA SSI S
FRAME T YP E
ALU MIN I U M AL L O Y TW IN-SPAR
FRON T TI RE S I Z E
80/100-21
80/100-21
110/70-17
REAR TI R E S I Z E
110/ 0-1 ’ ’
110/100-18
140/70-17
FRON T S US P E N S I ON
INVER TE D C A R T R I DGE FORK W ITH R E-
BOUN D C O M P R E S S I ON-DAMP IN G A D J U S T
REAR S USP E N S I ON
MON OS H O C K W I TH SPRING-PREL OA D , R E -
BOUN D A N D C O M P R E SSION- D A M P I N G A D -
JUS T
FUEL TAN K C A P A C I TY
8.0L W ITH R E SERVE V A L V E
E N G IN E
TYPE
SINGLE CYLINDER, 4-STROKE, LIQUID COOLED
MAX POWER
32KW /7500RPM : 43.5HP/7500R P M
General Specifications
General Information

Page 6
General Information
RATED POWER
3 0 .5KW / 7 0 0 0 RP M
MAX TORQUE
4 2 . 5N M/ 6 5 0 0 R P M
IDLE SPEED
1700±150 RPM
FUEL CONSUMPTION
≤340 g/kW.h
BORE X STROKE
6×62.1 mm
DISPLACEMENT
44 ml
COMPRESSION RATIO
11:1
VALVE TRAIN
CHAIN DRIVE SOHC FOUR VALVE
LUBRICATION TYPE
PRESSURE SPRAY
LUBRICATION OIL TYPE
SAE 10W-40
IGNITION ADVANCE DEGREE
12°BTDC [3000RPM]
VALVE CLEARANCE(COOL)
INTAKE VALVE: 0.16+0.03 mm
EXHAUST VALVE: 0.28+0.03 mm
DECOMPRESS CLEARANCE
EX VALVE CLEARANCE (0.28mm)+0.15mm=0.43mm
SPARK PLUG TYPE
DENSO IK24/IK27
DIMENSION
350mm×2 7mm×423 mm
DRIVE TYPE
CHAIN
DRIVE SPROCKET
13T
CLUTCH TYPE
MANUAL, MULTI-WET
TRANSMISSION TYPE
CONSTANT MESH, 5 SPEED, LEFT FOOT OPERATED
PRIMARY ADJUCTION RATIO
2.73 (63/23)
GEAR RATIO
1ST
2.230(2 /13);
2ND
1.625(26/16)
3RD
1.235(21/17)
4TH
1.000(1 /1 )
5TH
0.826(1 /23)
IGNITION TYPE
DC/AC CDI
STARTER
KICK / ELECTRIC
STARTING CAPACITY
≤15 s
General Specifications — Continued

Page 7
General Information
Lubrication System
I T E M
D A TA
ENGIN E O I L 8 7 0 m l
API SG o r h i g h e r
SAE10W-40
A T DRAI N IN G
670 m l
A T FIL T E R C H A N GE
700ml
A T DISAS S E M B L Y
870m l
TRANS MIS S I O N O I L 5 0 m l
API SG or higher
SAE 10W-40
A T DRAI N IN G
850ml
A T DISAS S E M B L Y
00m l (Appro x i m a t e l y On e Quar t )
I T E M
D A TA
COOLA N T C A P A C I T Y
A T CHA N G E
1.11 liter
D I SA S S E M B L Y
1.20 liter
A N TIF RE EZ E
HIGH QU A L I T Y E THYLENE GL Y COL A N T I F R EEZE
CON TAI NI N G S I L I CATE-FREE C O R R O S I ON IN-
H IBI TO RS
S TANDA RD S C O OLANT CONC E N T R A -
T I ON
1:1 MIXTU R E W ITH DISTILL ED W ATER
Coolant System
WARNING:
Low Oil level in Transmission can cause transmission failure.
Warranty Voi if transmission oil is not kept at man atory level.
Failure to change transmission oil an oil filter on sche ule maintenance an
at recommen e level of 950ml can cause the transmission to lock an cause
serious injury or eath.

Page 8
General Information
I T E M
S T AN DA R D S
REPAIR L I M I T
COLD TI R E P R E S S URE
33/2.3 (psi / b a r )
MAX LOAD
F R O N T
430 / 1 5 (lbs/kgs)
R EA R
548 / 265 (lbs / k g s )
Tire Specifications
I T E M
D A TA
B A T TE R Y
C A P AC I T Y
12V-6Ah
CURRE N T C O N S U MPTION
MAX 0.1mA
V OL TAG E ( 20
0
/68
0
F )
FULL
13.0-13.2V
Battery Specifications
I T E M
D A TA
SPARK P L U G
S T AN DA R D S
D E N SO
IK24
O P TI O N A L
NGK
I F R8H -11
Spark Plug Specifications

Page 9
Basic Operating Instructions
PRECAUTION
For your safety, you must obey the following 9 rules while riding the motorcycle:
- Wear your helmet: Safe ride begins with putting on helmet You must wear helmet while riding
- Wear simple and convenient clothes Pay attention to avoid wearing loose clothing Please wear tight and
closed clothes to ensure that your hands and feet move freely
- Check the pre-ride inspection before riding: Always check before starting the engine
- Get familiar with the assembly and performance of this motorcycle
-Your riding skills and knowledge of this motorcycle are the basis of safe riding You should practice riding
in an open area without vehicles to master riding skills
- Get to know the speed limit of safe riding
-The motorcycle’s safe riding speed depends on the ground condition and your riding skills Knowing the
speed limit based on your riding ability can avoid accidents
- Do not ride after drinking or taking medicine
- This bike is designed for adult operators only Be sure you are allowed to ride this kind of motorcycle
based on your local laws
- Pay special attention to riding in rain
-Riding on wet roads is very dangerous Turn during acceleration and a keep safe distance from vehicles in
front of your motorcycle Remember that the braking distance in rain is twice of that in sunny days, and
please pay special attention to traffic signs Once the condition of the road changes, reduce your speed
-Exhaust gas contains harmful substance such as carbon monoxide Only start the engine in well-ventilated
places

Page 10
Basic Operating Instructions
PRE-RIDE INSPECTION
Check the following before each ride.
For Enduro and Super Moto Models version check below for additional requirements
Inspection Item Inspection Objective
Engine oil
Inspect for proper fill level
Transmission oil
Inspect for proper fill level (900ml)
Coolant
Inspect for proper fill level
Fuel
Be sure there is enough fuel to ride planned distance
Cooling system
Inspect for leaks, cracks, and fluid flow
Throttle
Check for free travel of throttle grip and that the throttle grip has a smooth
operation and in both the forward and back to the closed position
Clutch
Adjust the clutch cable to fully disengaged
Steering
Be sure the bars move freely from lock to lock and steering head is tight
Brake
Inspect for free travel of pedal and lever and that there is full braking power
Tire
Check tire pressure and inspect tires for cracks
Spokes
Inspect and tighten loose spokes if necessary
Other Bolts and Parts
Inspect attachment points and other bolts to ensure they are tight
Exhaust muffler
Inspect for loose bolts and the exhaust is secure
WARNING
You should practice driving in a safe and spacious area if you ride this type of motorcycle for the first time
Riding with one hand is extremely dangerous; you should hold the two handle bars tightly with your both hands In no cir-
cumstances can you release the handle bars
Do not accelerate when turning You must reduce the speed to safety range
If the ground is wet or slippery, you must reduce the speed
At the exit of a tunnel or valley or when meeting large vehicles, you must be careful and reduce the speed
Obey the transportation rules and limit your speed

Page 11
Basic Operating Instructions
Starting the engine — EFI Models
Shift the transmission into neutral
Pull in the clutch lever when starting the engine For Dual Sport and motard ver-
sion, turn the ignition switch to “ON” and push the engine start/stop switch to
right side
(For Off-road 450E version, the right switch should be turned to the left)
Close the throttle grip(11), operate the kick starter starting from the top of the
kick starter stroke, kick through to the bottom with rapid, continuous motion
COLD START:
For Electric Start, push and hold the button for 2-3 seconds Then release Then
Push and hold button again for 5 seconds If the bike does not start, repeat pro-
cedure
If the engine backfires, it may be flooded If this happens, Cycle the key switch
on/off then back on Then hold the throttle 100% open and crank the engine
with the starter This disables the Fuel Injection and cleans out the cylinder
If you still have starting issues, the battery may be low and try kick starting the
bike
Once engine is started, let the EFI go through the high idle warm up for 10-20
seconds
Stop the engine
Shift the transmission into neutral
Push the stop button(4) (or push the engine start/stop switch to left side for enduro and motard version)
In case emergency engine stop, press the stop button directly (or push the engine start/stop switch to left side for enduro and
motard version)
Turn the ignition switch to “OFF” if available on your bike
AWD Engagement
Switch Forward will switch OFF the AWD system You can do this at any speed
Switch Backward will turn ON the AWD system This should only be done at low speeds (first gear)
CAUTION
Do not keep the starter button pressed for more than 5 seconds at a time Release the starter button for approximately 10 seconds
before pressing it again
If the clutch lever(8) is pulled, the engine could be started in any gear

Page 1
Basic Operating Instructions
BREAK-IN
During initial break-in newly machined surfaces will be in contact with each other and these surfaces will wear in quickly Break-in
maintenance at 150km is designed to compensate for this initial minor wear Timely performance of the break-in maintenance will
ensure optimum service life and performance from the engine
The general rules as follows:
Start the engine and let it run at idle until the engine is thoroughly warmed up
Avoid full-throttle starts and rapid acceleration
Maximum continuous engine speed during the first 150km must not exceed 5,000 rpm (or 10 hours Max)
After 150km ride maintenance the machine per the maintenance schedule
After the break-in procedure has been properly carried out, the motorcycle is ready for regular operation However, since
premature high r/min (rpm) will lead to engine trouble, take care to use the necessary skill and technique in operating the
motorcycle
Never run the engine with full throttle at low speed operation This rule is applicable not only during break-in but at all
times
This procedure should be followed each time:
•
Piston is replaced
•
Piston rings are replaced
•
Cylinder is replaced
•
Crankshaft or crank bearing are replaced
CAUTION
The motorcycle is shipped with break in Oil only! Once the engine is run for an initial 30 minutes, drain and
replace the oil with a Synthetic
API SG or higher
SAE 10W-40
Failure to do so may decrease the engine transmission life or cause premature failure

Page 13
Maintenance
The Maintenance Schedule specifies how often you should have your motorcycle served, and what things need attention It is es-
sential that your motorcycle be served as scheduled to retain its high level of safety, dependability, and emission control perform-
ance Remember, proper maintenance is your responsibility
PRECAUTION
Make sure the engine is off before you begin any maintenance or repairs
Exhaust contains poisonous carbon monoxide Be sure there is adequate ventilation whenever you operate the engine
Let the engine and exhaust system cool before touching
Be careful when working around gasoline Keep cigarettes, spark, and flames away from all fuel related parts
MAINTENANCE RULE
Place the motorcycle on the firm level ground using optional work stand or equivalent support
Use genuine or recommend part and lubricants or other equivalents Parts that do not meet design specifications may cause dam-
age to the motorcycle
Use only metric tools when servicing the motorcycle, metric nuts, bolts, screws are not interchangeable with British fasteners
Always replace with new gaskets, O-rings, cotter pins, piston pin clips, snap rings, etc after disassemble engine
When tightening bolts and nuts, begin with larger diameter or inner bolt first Then tighten to specified torque diagonally in incre-
mental steps unless a particular sequence is specified
Clean parts in cleaning solvent upon disassembly ,lubricate and sliding surface before assembly
Always inspect all parts for proper installation and operation after reassemble
Route all electrical wires, cables and harness routing as designed
MAINTENANCE SCHEDULE
Required maintenance schedule is based upon average riding condition Sustained high speed operation, or operation in unusually
wet or dusty conditions, will require more frequent service than specified in the REQUIRED MAINTENANCE SCHEDULE See SPECIAL
MAINTANCE SCHEDULE for competition maintenance need
Perform the Pre-ride inspection at each scheduled maintenance period
Symbol in maintenance schedule means:
I Inspect and Clean , Adjust , Lubricate or Replace if necessary
C Clean
R Replace
A Adjust
L Lubricate
* Unless the rider is mechanically qualified and has proper tools, see authorized dealer for service
* * Special maintenance strongly recommend to look for authorized dealer service
NOTE1 Clean after every ride for dusty conditions
NOTE2 Replace every 2 years Replacement requires mechanical skill
NOTE3 Replace after the first break-in ride
NOTE4 Inspect after the first break-in ride
NOTE5 Replace the transmission oil once change the clutch plate

Page 14
Maintenance
Required Maintenance Schedule
Maintenance Schedule in Kilometers
ITEMS
NOTE
km 150 1500 3500 6000 000 12000 15000
Time 10 Hrs
* ENGINE OIL (NOTE 3) R R R R R R R
* ENGINE OIL FILTER (NOTE 3) R R R
TANSMISSION OIL R R R R R R R
AIR CLEANER (NOTE 1) R R
RADIATOR COOLANT (NOTE 3) R R
* VALVE CLEARANCE (NOTE 4 ) I I
SPARK PLUG R R
* * FUEL FILTER (In Tank)
C C
* THROTTLE CABLE I I I I I I I
* THROTTLE OPERATION I I I I I I I
CRANKCASE BREATHER (NOTE 2) I I I I I I I
COOLING SYSTEM I I I I I I I
SECONDAY AIR SUPPLY (NOTE 2) I I I I I I I
DECOMPRESSOR SYSTEM I I I I I I I
ENGINE IDLE SPEED (NOTE 4) I I I I I I I
DRIVE CHAIN (NOTE1) I, L I, L I, L I, L I, L I, L I, L
DRIVE CHAIN SLIDER (NOTE1) I I
I I I I I
BRAKE FLUID (NOTE3) I I I I I I I
BRAKE PAD WEAR I I I I I I I
BRAKE SYSTEM I I I I I I I
* HEADLIGHT FOCUS I I I I I I I
CLUTCH SYSTEM I I I I I I I
SIDE STAND I I I I I I I
* SUSPENSION I I I I I I I
* MUFFLER I I I I I I I
* NUTS .BOLTS .FASTENERS I I I I I I I
* * WHEEL / TIRES I I I I I I I
* * STEERING HEAD BEARINGS I I I I I I I

Page 15
Maintenance
SPECIAL MAINTENANCE SCHEDULE
FREQUENCY
ITEMS
NOTE
About
2.5hs
About
7.5 hs
About
15hs
About
22.5hs
About
30hs
SWING ARM/SHOCK LINKAGE
L
FORK OIL
FORK TUBE/SLIDER
(NOTE3)
R
DAMPER
R
NUTS . BOLTS. FASTENERS
I
WHEELS / TIRES
I
STEERING HEAD BEARINGS
I

Page 16
Maintenance
ENGINE
CHASSIS
NOTE:
These parts and their possible replacement schedule are based upon average riding conditions
Machines subjected to severe use require more frequent servicing
ITEM
CAUSE
REMARK
Cylinder head gasket
Clutch disc
Cylinder gasket
Right crankcase cover gasket
Compression leak
Wear or discoloration
Leakage
Damage
Replace whenever disassembled
Replace whenever disassembled
Replace whenever disassembled
ITEM
CAUSE
REMARKS
Front / rear tire
Front / rear brake pad
Sub-frame mounting bolts
Chain guide plate
Side cover
Front number plate
Front / rear fender
Clutch lever / holder
Brake lever
Air throttle lever
Handlebar
Throttle housing
Grip rubber
Gearshift pedal
Brake pedal
Chain adjuster / bolt
Air cleaner
wear
wear
Fatigue or damage
Wear or damage
Damage
Damage
Damage
Free play or damage
Free play or damage
Free play or damage
Free play or damage
Bends or cracks
Damage
Damage
Damage
Damage
Damage
Minimum knob height:8mm
Minimum thickness:1mm

Page 17
Maintenance
FUEL LINE
•
Inspect the fuel line for damage or leak, if necessary replace fuel line
FUEL FILTER SURFACE
•
Remove the fuel tank Drain the gasoline into a container and remove the fuel line, nuts ,and the clamps
•
Wash the fuel filter and reinstall the O-ring and reinstall components onto the fuel tank
•
Reinstall the fuel tank on the motorcycle Make sure the tank does not leak
THROTTLE OPERATION
•
Check for smooth throttle grip at full opening and automatic full closing in all steering positions
•
Check the throttle cable and replace them if they are deteriorated, kinked or damaged
•
Lubricate the throttle cable if throttle operation is not smooth
•
Measure the free play at the throttle grip flange
FREE PLAY
:
3-5mm(1/8-3/16in)
•
Throttle grip free play can be adjusted at either end of the throttle cable
•
Minor adjustments are made with the upper adjuster Remove the dust cover from the adjuster Adjust the free play by
•
Loosening the lock nut and turning the adjuster
•
Tighten the lock nut after making the adjustment Reinstall the dust cover and recheck the throttle operation
•
Major adjustments are made with the carburetor end of cable

Page 18
Maintenance
AWD Lever
FREE PLAY: 2-3mm(1/8-3/16in)
•
Check for smooth Lever operation and lubricate the cable if required
•
Inspect the cable for cracks which could allow moisture to enter Replace
the cable if necessary
•
Measure the lever free play at the lever end Lever free play can be ad-
justed Adjust the free play by loosening the lock nut and turning the ad-
juster
•
Tighten the lock nut Reinstall the dust cover Recheck the free play at the
lever
AIR FILTER
•
Loosen the air cleaner retaining bolt Remove the air filter
•
Remove the air filter from the holder
•
Thoroughly wash the air filter in clean non-flammable or high flash-point
cleaning solvent Then wash the element again in a solution of hot water
and dishwashing liquid soap Clean the inside of the air cleaner housing
•
After cleaning, be sure there is no dirt or sand trapped between the inner
and outer layer of the cleaner Wash again if necessary
•
Allow the air cleaner to dry thoroughly After drying, soak the air filter in
clean Foam Filter Oil or an equivalent
•
Apply air filter oil to the entire surface of the air filter and rub it with both
hands to saturate the element with oil
•
Gently squeeze out excess oil It is important not to over oil or under oil
the element Apply a thin coat of grease or an equivalent to the sealing
surface
•
Assemble the air filter and the holder Slip the air cleaner retaining bolt
through the assembly Tighten the retaining bolt securely
NOTICE: If the air filter assembly is not installed correctly ,dirt and dust may
enter the engine resulting in wear of the piston ring and cylinder
CRANKCASE BREATHER
•
Remove the breather hose drain plug, then drain any fluids or dirt from
the hose into a proper container Reinstall the drain plug

Page 19
Maintenance
SPARK PLUG
REMOVAL
•
Remove the fuel tank and disconnect the spark plug cap Remove The
spark plug and inspect it for damage
•
Clean around the spark plug base with compressed air before removing
and be sure that no debris is allowed to enter the combustion chamber
INSPECTION
•
Check the following and replace if necessary:
1 ·insulator for damage
2 ·electrodes for wear
3 ·burnt or discoloration
•
If the electrode is contaminated with accumulated debris or dirt replace
the spark plug
(this motorcycle’s spark plug is equipped with an iridium center electrode Re-
place the spark plug if the electrode is contaminated )
•
Replace the plug if the center electrode is rounded as shown in the pic-
ture
(Always use the specified spark plugs on this motorcycle)
RECOMMENDED SPARK PLUG (OR EQUIVALENT)
Standard: DENSO: IK24
Optional : DENSO: IK27
Check the gap between the center and side electrodes with a wire
Type feeler gauge
(To prevent damaging the iridium center electrode, use a wire type
Feeler gauge to check the spark plug gap Do not adjust the spark
Plug gap if the gap is out of specification , replace with a new one )
Spark plug gap: 0 4mm
Make sure that the 1mm diameter plug gauge does not insert between the
gap
If the gauge can be inserted into the gap , replace the plug with a new one
INSTALL
•
Reinstall the spark plug into the cylinder head and hand tighten , then
torque to specification
Torque: 22N m(2 2kgf m,16lbf ft)
Other manuals for AWD 450DS
1
Table of contents
Other Christini Motorcycle manuals


