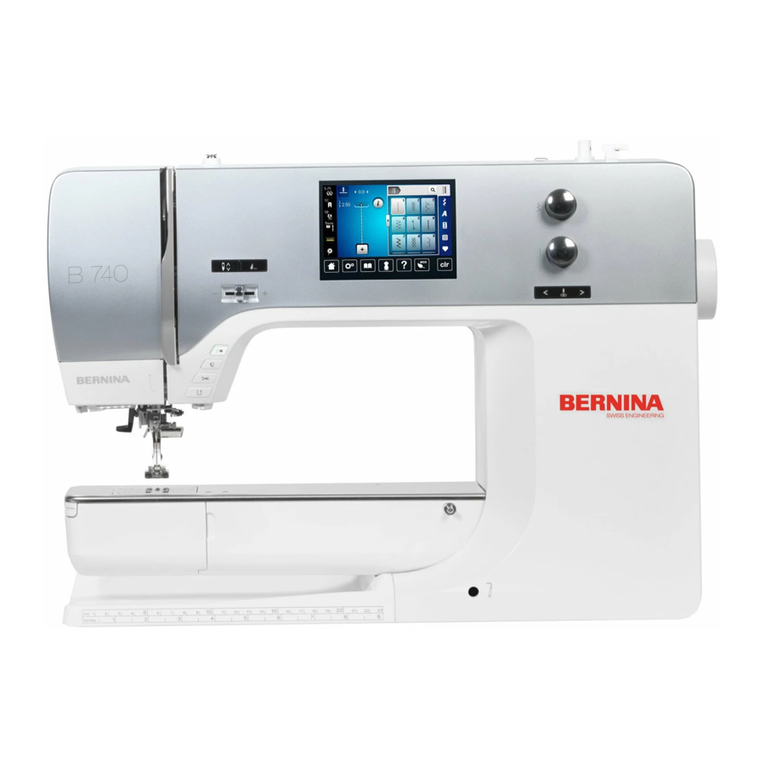
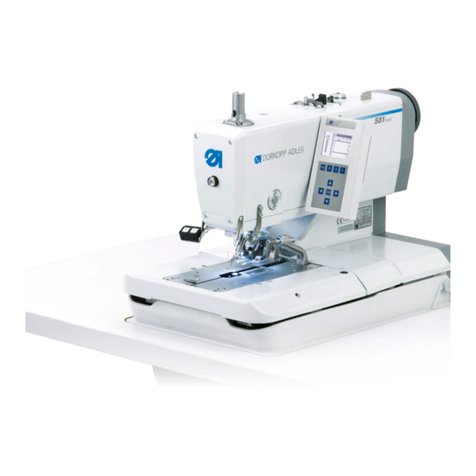
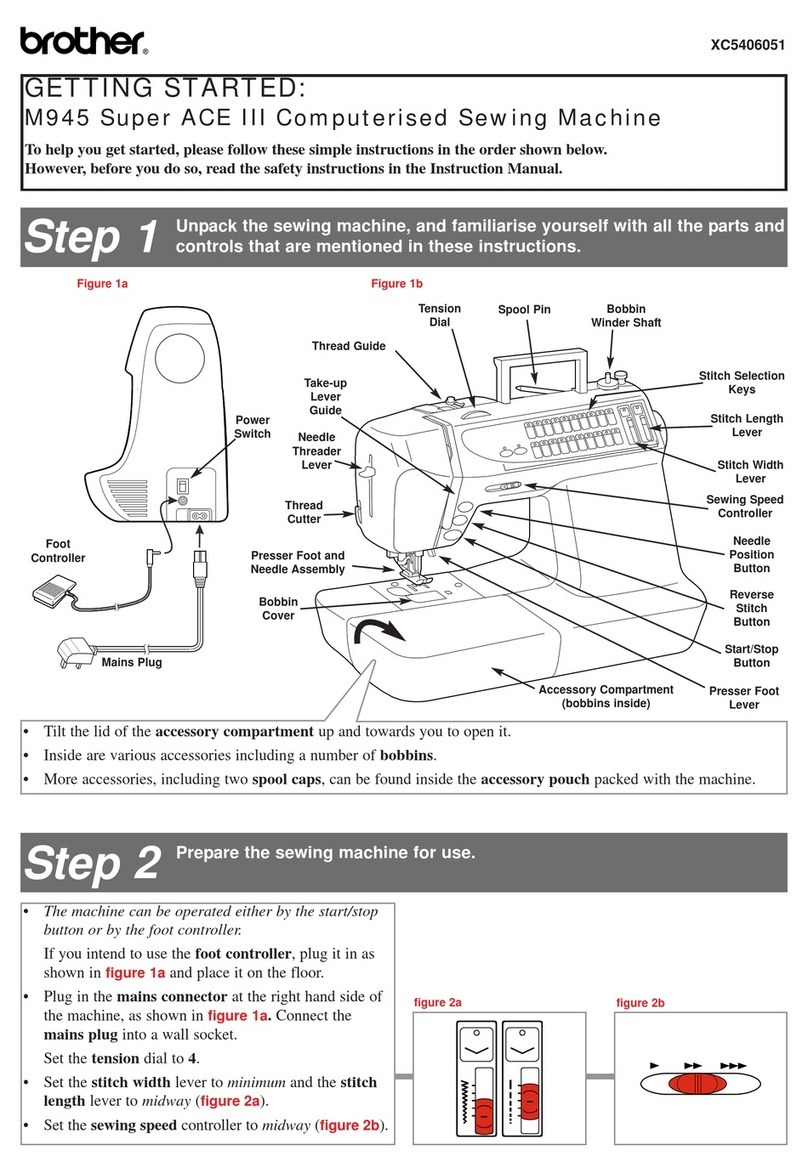
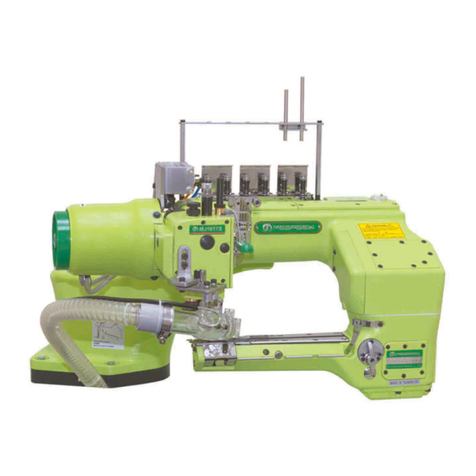
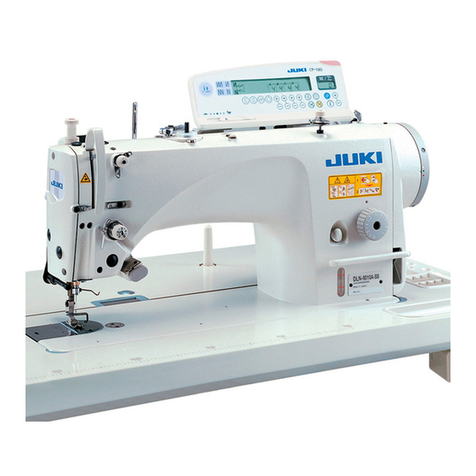
Chuang Wang CW-7205-N User manual

CHUANG
庄
WANG
使用说明书
Read safety instructions carefully and understand them before using.
Retain this Instruction Manual for future reference.
为了安全地使用,请您在使用之前一定阅读本使用说明书。
另外,请您注意保管本使用说明书,以便随时查阅。
NOTE:
R
-7205-N
INSTRUCTION MANUAL
注意:

④
⑤
③
①②
3
、㈠左图为安装参考示意图。㈡在一切安装
以完成时,请在次检查一次,是否有摇晃;
螺丝松动之情形,以免日后影音操作人员人
身安全与缝纫机的性能。
1.
缝纫机的安装
/INSTALLATION
2.
规格
/SPECIFICATIONS
最高缝速
MAX.SPEED
(S.P.M)
最大摆针
MAX.BIGHT
最长针距
MAX.STITCH
LENGTH
圆管直经
CYLINDER DIA
圆管长度
CYLINDER
LENGTH
缝纫图示
STITCH
PATTERN
直线缝最大缝目
MAX.STITCH LENGTH FOR
STRAIGHT STITCHING
2000 S.P.M 50 mm
1.3 mm
(20 spi)
12.0 mm
(15/32")
230 mm
5
2
、缝纫机机附件箱配有
3
棵螺丝(
M8x1.25
)与
螺母,用来固定缝纫机放车板上;在螺丝尚未完
全固定时,必须特别注意缝纫机的重心与平稳
度,避免缝纫机因为倾倒所造成人员的伤害与缝
纫机的损坏。
1
、①
~
③缝纫机固定位;
④
V
型皮带槽;
⑤线架安装孔。
In accessories pack,have 3pairs of M8x1.25
screws to fix the machine onto sewing table;
Watch out the steadiness of the machine during
the fixing,so to avoid any personal injury or
damage of machine caused by the unsteadiness.
Fixing the machine onto position
①
~
③
;
④
is slot for belt;
⑤
is thread rack hole.
㈠
see left sketch for installation instruction;
㈡
check again the machine sleadiness
when complete installation.Also check al
screws to make sure they are well fixed,so the
machine can be used safely with all
capabilities.
X3
X3

3.
加油
/LUBRICATION
6
请每日检查油量,避免缝机因油量不足,没法自动加油润滑而造成各部
位零组件损;坏故障与缝纫机运作的性能。
注意
Caution
checking oil amount everyday,make sure to have sufficient oil to avoid parts
damage and malfunctin of the machine caused by lack lubrication.
②
2、图②为油槽加油孔。
③
Ⅰ③ is oil check window;
Ⅱ pour oil from the oil slot hole
Ⅲ oil amount replenished cannot over
half of the window.
② is oil slot hole.
3、Ⅰ图③为油槽油量观查点;
Ⅱ每次加油时,请油图②所示加入;
Ⅲ每次加入的油量,请匆超出视窗的1/
2。
1、Ⅰ图①为打油器送油观查点;
Ⅱ在整机开始连作后,经由目视;油料有进
入此观查点;即可透过内部油管线路达到整机内
部零件自动润滑的效果。
Ⅰ① is oil sheck window;
ⅡOil streaming for lubrication
purpose can be seen through the clear oil
check window.
①

5.
机针和旋梭的关系
/NEEDLE-TO-HOOK RELATIONSHIP
1
、调整螺丝①、②、③,从图上所示的位置向逆
时针方向转动,油量最小。
2
、从图上所示的位置向顺时针方向转动,长轴运
转④时,油量最大。
3
、请先用手转动皮带轮,确认图④长轴不会因为
调节压力过大,而造成长轴连转卡死。
4
、用油量调节后,请进行
30
秒左右的运转,按照
箭头方向确认油量。
1
、针杆上升时,趟针杆金属部件①对准针杆的上
碰面到位⑤(用
DPx17
)
2
、把旋梭尖③和机针②的中心调整得基本一致,
把机针②和旋梭尖③的间隙调整为
0.02~0.07mm
,
然后拧紧旋梭固定螺丝④。
3
、调整旋梭时,请卸下针板拧松旋梭固定螺丝④
然后进行调整。
1
、
Counterclockwise turn from position
①、②
&
③
for the minimum oil amount.
2
、
Clokwise turn for the maximum oil amount.
3
、
Rotating the belt by hand to make sure
④
bar
doesn't get stuck due to overadjustment.
4
、
After adjust of oil regulate,to do a 30 seconds
operation test to make sure a proper oil regulate.
1
、
When lifting the needle bar from its lowest
position to position
⑤
(use DPx17)
2
、③
,the hook point of the bobbin,should align with
the center line of the needle
②
.the clearance
(distance)between the bottom of the needle notch
and the hook point should be 0.02-0.07mm.
And then tighten the screws to fix.
3
、
When adjust the hook,should take off the needle
plate by loosening
④
screw.
③
②
①
④
②
③
⑤
大
小
②
③
④
①
4.
油量的调整
/Adjust of oil regulate
7

④
Long groove.
A in needle faces esactly to the front.
标准机针是
schmetz DPx17
,
size 100/16
。
①移动针柱至最高点;
②松开螺丝;
③插入机针,锁紧螺丝;
④机针的长槽。
A
转到横向前面。
The standard needle is schmetz DPx17 size100/
16.
A
①
②
③
④
注意
为了防止突然启动造成人身事故,请关掉电源,确认马达确实停止转动后再进行。
WARNING:
To avoid possible personal injury due to abrupt start of the machine,turn off the power to machine and check to be sure that the motor has
totally stopped rotating in prior.
①
Move needle bar to highest point;
②
Loosen screw;
③
Insert needle up as far as possible and tighten screw;
6.
机针的安装
/ATTACHING THE NEEDLE
7.
梭线的绕线方法
/WINDING A BOBBIN
1
、按照
A
、
B
、
C
、
D
的顺序穿线,然后在梭芯上
绕数圈线。
2
、绕线器轴心旋轴之方向以④所示方向。
3
、放倒梭芯箭头方向轻推把手①,让转紧线轴
调整梭心内之线量时,首先松开把手①上之止
付螺丝然后移动把手,调整完成后再锁紧止付
螺丝②,使用螺帽③去调整梭心绕线之张力。
1
、
Route the thread in the order of A
、
B
、
C and
D ,and then wind it round the bobbin several
times.
2
、
Bobbin winder spindle rotates in the dirction
of arrow
④
.
3
、
Push lever
①
in the direction of arrow to wind
the bobbin.To adjust amount of thread on
bobbin,loosen set screw
②
in lever
①
and move
lever
①
,as required.Securely tighten set screw
②
.A djust the thumb nut
③
to regulate the
tension for bobbin winding.
When making the sewing machine run idle,remove the bobbin case and the bobbin since there is the
possibility that thread is entangled in the hook.
让缝纫机空转时,有可能机线空绕而卷不到旋锁上,因此请卸下梭壳和梭芯。
8
D
①
②
③④
C
A
B

1
、梭壳的装卸
扳起梭壳的卡头,进行安装和拆卸。
2
、底线的穿过方法
把线穿过梭壳的穿线口①,然后从线张力弹
簧②的下面穿过。
1
、
Removing the bobbin case
Raise the bobbin case latch to remove the
bobbin case.
2
、
Threading the bobbin case
Pass the thread through threading slit
①
in the
bobbin case,and route it under tension spring
②
.
8.
底线的穿线方法
/THREADING THE BOBBIN CASE
往梭壳安装梭芯时,请注意线的
卷绕方向。
(如果把线朝箭头
A
的方向拉之
后,梭芯向箭头
B
方向转动的话,
则插入方法正确。)
9.
上线的穿线方法
/THREAD THE MACHINE HEAD
Place the bobbin in the bobbin case taking
care of the winding direction of the thread.
(The bobbin should turn in the direc-tion of
arrow B when the thread is pulled in the
direction of arrow A.)
①
B
②
A
D
E
BA
C
AB
DE
C
1
、请如图所示那样穿上线,将缝线顺序穿入
A
,
B
,
C
,
D
,
E
。
1
、
Threading the thread according the sequence of A,B,C,D,E.
为了防止突然启动造成人身事故,请关掉电源,确认马达确实停止转动后再进行。
WARNING:
To avoid possible personal injury due to abrupt start of the machine,turn off the power to machine and check to be sure that the motor has
totally stopped rotating in prior.
注意
9

1
、请把距离送布牙②的针板①的突出量调整到
1.2mm
。
1
、
Feed dog
②
isfactory-adjusted to jut out 1.2
mm from the surface of throat plate
①
.
1
、使用螺母①来调整张力弹簧。
1
、
Rregulate needle thread tension with tension
regulating thumb nut
①
as shown in diagram.
11.
压脚压力的调整
/PRESSER FOOT PRESSURE
12.
送布牙的高度
/HEIGHT OF THE FEED DOG
1
、底线的张力调整,图表示螺丝①左右转动来决
定张力轻重。
1
、
Tension on threads should be as light as
possible,while still sufficient to set stitch correctly
in material.
10.
线张力
/THREAD TENSION
②
①
1.2mm
10
张力
重
张力轻
①
+
-
+
-
张力重
张力轻
①
A
B
+
-
①
②
1
、请先松开①固定螺帽。
2
、只要向
A
或向
B
旋转螺栓②即可调整压脚之压
力。
3
、在缝纫物上之压力尽可能保持轻一点,以足够
让传送正确即可。
1
、
Loosen fixed screw nut
①
.
2
、
To regulate the presser foot pressure,turn knurled
thumb screw
②
,toward A or B sarequired.
3
、
The pressure on the material should be as possible,
while sitll sufficient to ensure correct feeding.

1
、
Applied to regular stitching/seam stitching.
2
、
Turn off the power,raise the hand lifter to
change
②
plate.
3
、
Take off
②
plate for regular stitching
4
、
insert
②
plate for seam stitching.
1
、此针板具有两种车缝规格一般平缝与并缝,
可依实际须要进行拆换。
2
、每次拆换图②时,请先关闭电源,在将押脚
抬高,即可换装。
3
、在用放一般平缝时,请将图②取出
4
、在用放并缝时,请将图②插入图①位置即
可。
②
①
11
①
C
A
②③
1.
图示
A
来进行调整,请先用螺丝刀松开固定螺丝①;
2.
由转盘指针②,依所要的针距来进行刻度调整;
3.
数字越大,针距越大;数字越小,针距越小;
4.
调整完毕之后,在用螺丝刀拧紧固定螺丝①;
5.
请先用手转动皮带轮③,确认针距不会因针距过大,而造成组件的损坏。
1.
由图示
B
进行调整;
2.
数字盘往逆时钟方向转动,则针幅越大,即所谓的粗针;
3.
数字盘往顺时针方向转动,则针幅越小,即所谓的细针;
1.
当需要改变后送时快速压下倒退把手
C
点;
2.
至最底点,并压住此把手;
3.
直到后送完毕,当放开把手后,缝机将回复前送的运作。
1.Loosen
①
screws;
2.Adjust dial A for stitchlength
regulating;
3.Big numbers for bigger stitchlength,
smaller stitchlength;
4.Tighten
①
screws after regulating.
5.Turn
③
wheel belt by hand to make
sure a proper stitchlength.
1.Adjust dial "B" for needle range selecting.
2.Counterclockwise(left)turm bigger needle range.
3.Clockwise(right)turm for smaller needle range
(Reverse & Forth Feed)
1.Depress the reverse Handle "C" to the bottom and
hold on for reverse feeding .
2.Release the reverse handle then become forth
feeding.
13.
两用针板
/DUAL PURPOSE NEEDLE PLATE
14.
针距调整
/REGULATING THE STITCHLENGTH
15.
针幅调整
/SELECTING THE NEEDLE POSITION
16.
前进与倒退缝目
/Reverse & Forth Feed
B

①上线线路不正常。
②旋梭上有伤痕。
③机针和旋梭的同步时间过早
或过晚。
④机针和旋梭尖的间隙过大。
⑤压脚压力弱。
⑥针号选择不正确。
1
、跳针
1.
请参照(
7.
上线的穿线方法)
。
2.
请用细砂纸或锉刀研磨梭尖
的伤痕。
3.
请参照(
5.
机针和旋梭的关
系)。
4.
请参照(
5.
机针和旋梭的关
系)。
5.
请拧紧压脚调节螺丝。
6.
请更换成粗
1
号的机针。
现 象 原 因 对 策
2
、断线(绽线或磨
断)
①旋梭上有伤痕。
②挑线弹簧的回复力过强。
③机针和旋梭的同步时间过早
或过晚。
④上线张力过强。
⑤旋梭尖兴机针相碰。
⑥机针和旋梭尖的间隙过大。
1.
请用细砂纸或锉刀研磨梭尖
的伤痕。
2.
调弱挑线弹簧的张力,调大
动作行程。
3.
请参照
(5.
机针和旋梭的关系
)
。
4.
请调节上线张力。
5.
请参照
(5.
机针和旋梭的关系
)
。
6.
请参照
(5.
机针和旋梭的关系
)
。
3
、紧线不良(缠线) ①底线不能进入到梭壳的线张
力弹簧下面。
②线道加工不良。
③梭芯的滑动性不良。
④底线张力过强。
⑤底线张力过弱。
⑥使用了不是多股绞合的化纤
线。
⑦针号选择不当。
1.
重新正确地穿梭壳的线。
2.
请用细砂纸或锉刀研磨,或
者用抛光器磨光。
3.
请更换梭芯或更换梭壳。
4.
请调弱底线张力。
5.
请调强底线张力。
6.
请降低转速。(
1800 s.p.m
)
7.
更换成大
1
号的机针。
12
17.
缝制中发生的现象和原因、对策
/TROUBLEB IN
SEWING AND CORRECTIVE MEASURES

Corrective measureCauseTrouble
1.Remove the scratches on the hook
point using a fine emery paper.
2.Decrease the tension and increase
the stroke of the thread take-up
spring.
3.Refer to (5.Needle-to-hook
relationship).
4.Adjust the needle thread tension
properly.
5.Refer to (5.Needle-to-hook
relationship)
6.Refer to (5.Needle-to-hook
relationship)
1.Refer to (7.Threading the machine
heads).
2.Remove the scratches on the hook
point using a fine emery paper.
3.Refer to (5.Needie-to-hook
relationship).
4.Refer to (5.Needie-to-hook
relationship).
5.Tighten the pressure regulator.
6.Replace the needie with one which
is one count thicker.
1.Properly thread the bobbin case.
2.Grind it using a fine emery paper
or buff it up.
3.Replace the bobbin or the bobbin
case.
4.Decrease the bobbin thread
tension.
5.Increase the bobbin thread
tension.
6.Slightly lower the sewing speed.
(1800 s.p.m)
7.Replace with a needle which is
thicker by one.
3.Loose stitches(lsolated
idling loops)
1.Stitch skipping
2.Thread breakage
①
The machine head has not been
properly threaded.
②
The hook has scratches.
③
The timing between the needie and
hook is too early or too late.
④
the clearance between the needil
and the hook point is too large.
⑤
The presure of the presser foot is
too low.
⑥
The needle number selected is
improper.
①
The hook has scratches.
②
The returning force of the thread
take-up spring is insufficient.
③
The timing between the needle and
hook is too early or too late.
④
The needle thread tension is
excessive.
⑤
The needle comes in contact with
the hook point.
⑥
The clearance between the needle
and the hook point is too large.
①
The thread has not been passed
through the notch of the bobbin case
tension spring.
②
The thread path is poorly finished.
③
The the bobbin does not rotaate is
too high.
④
The bobbin thread tension is too
high.
⑤
The bobbin thread tension is too
low.
⑥
An untwisted synthtic thread is
used.
⑦
Selection of needle size.
13
