Citizen CD-102 User manual

CD-102
OPERATING INSTRUCTIONS
Portable AM/FM radio cassette recorder
with CD player
Please follow the instructions outlined in this manual when operating the unit.

A note regarding leaking fluids: The product should not be exposed to dripping- or
splash water. In addition, you should not place objects containing water, such as vases, on
the unit.
A note regarding ventilation: The unit's normal ventilation must not be impeded so as to
guarantee trouble-free operation.
30
1
131 27
28
14
29
13
11
9
7
3
5
2
17
16
15
26 25 24 23 22 21 20 19 18
612
108
4

LOCATION OF THE CONTROLS
1. LOUDSPEAKER
2. PROGRAM BUTTON
3. SKIP / SEARCH BUTTON
4. POWER INDICATOR
5. FM STEREO INDICATOR
6. VOLUME CONTROL
7. LED DISPLAY
8. REPEAT INDICATOR
9. PROGRAM INDICATOR
10. PLAY / PAUSE INDICATOR
11. PLAY / PAUSE BUTTON
12. STOP BUTTON
13. REPEAT BUTTON
14. CASSETTE DOOR
15. FUNCTION SWITCH
16. CD DOOR
17. BAND SWITCH
18. DIAL SCALE
19. RECORD BUTTON
20. PLAY BUTTON
21. REWIND BUTTON
22. FAST FORWARD BUTTON
23. STOP / EJECT BUTTON
24. PAUSE BUTTON
25. HEADPHONE JACK
26. MICROPHONE
27. AC-INPUT SOCKET
28. BATTERY COMPARTMENT COVER
29. TUNING CONTROL
30. FM TELESCOPIC ANTENNA
31. HANDLE

Table of contents
N
S
WO
N
S
WO
4Versionsnr. 03-03D
Table of contents
LOCATION OF THE CONTROLS
1 POWER SUPPLY .................................................................................................... 6
1.1 BATTERY OPERATION ...................................................................................... 6
1.2 AC MAINS OPERATION ..................................................................................... 6
2 USING THE RADIO ................................................................................................. 7
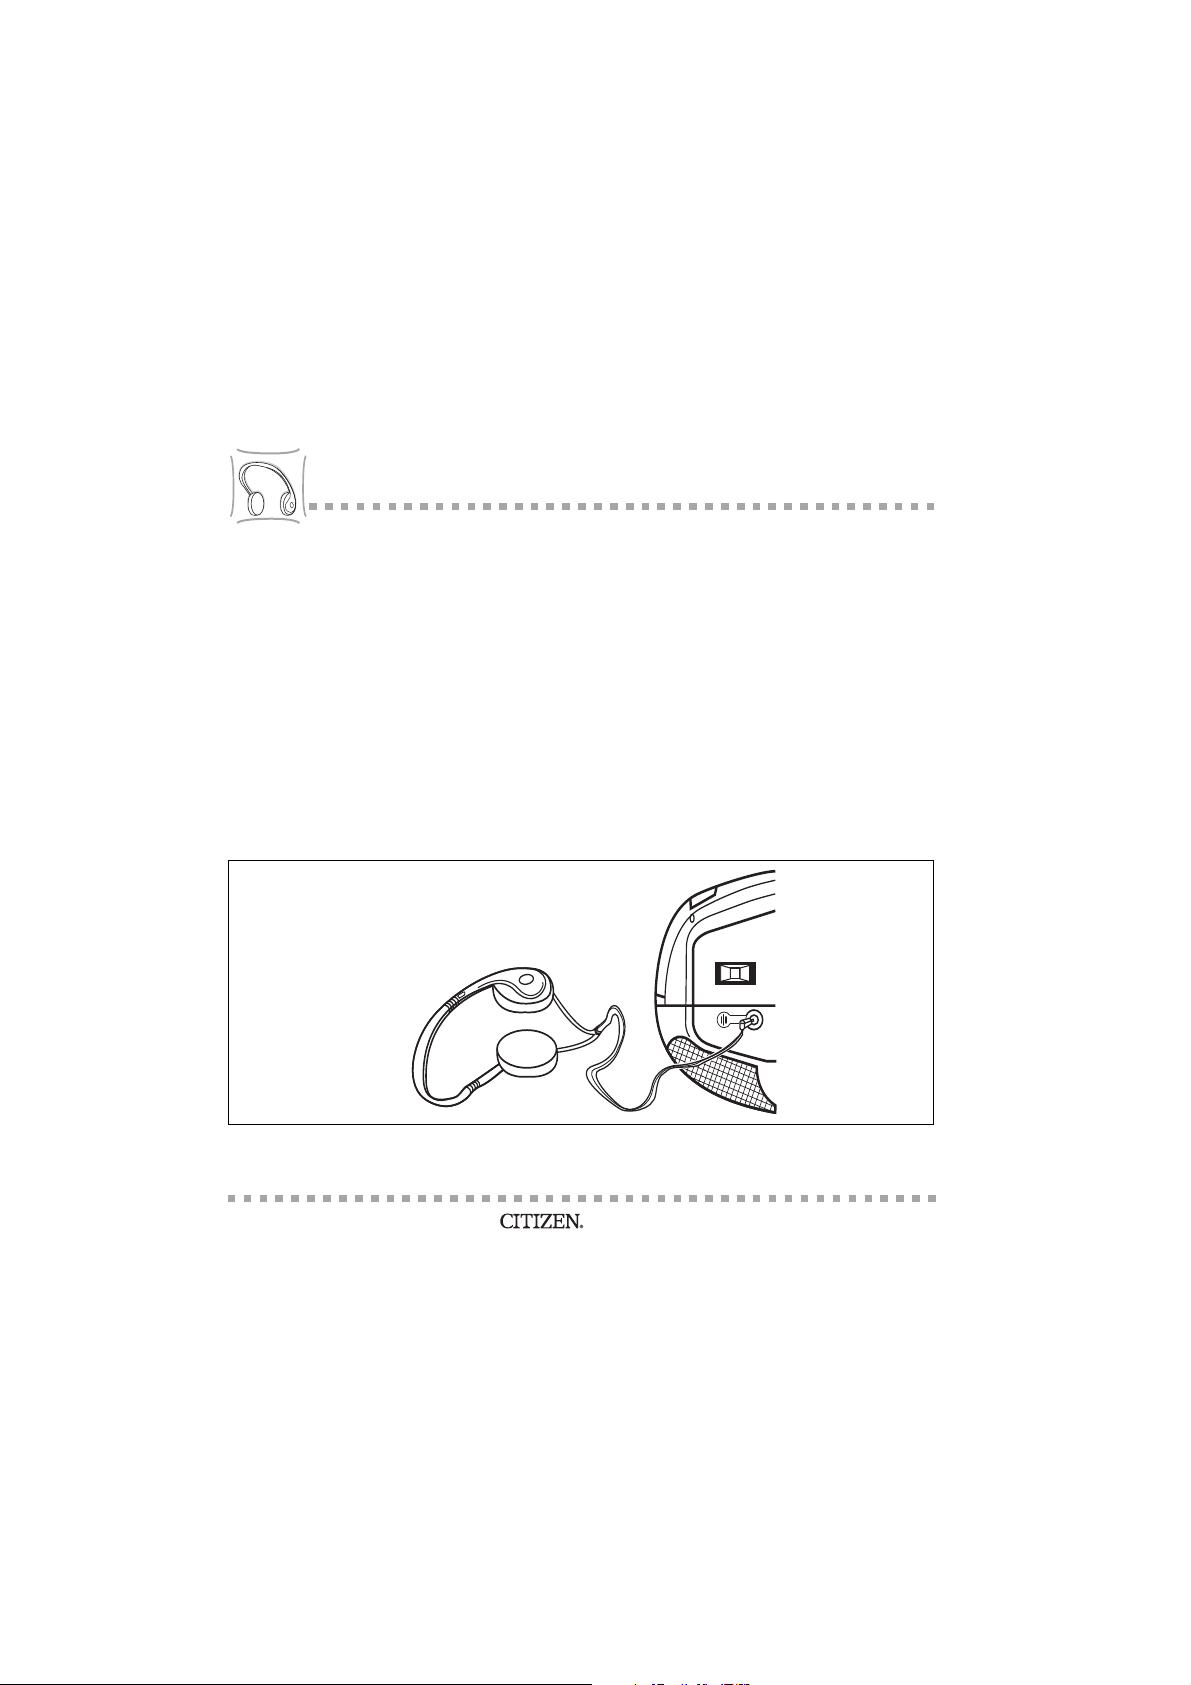
3 STEREO HEADPHONE JACK ................................................................................ 8
4 CASSETTE OPERATION ........................................................................................ 9
4.1 EXPLANATION OF BUTTONS ............................................................................ 9
4.1.1 PLAY BUTTON ........................................................................................... 9
4.1.2 STOP/EJECT BUTTON .............................................................................. 9
4.1.3 RECORD BUTTON..................................................................................... 9
4.1.4 PAUSE ...................................................................................................... 10
4.1.5 REWIND BUTTON.................................................................................... 10
4.1.6 FAST FORWARD BUTTON...................................................................... 10
4.1.7 AUTOMATIC STOP .................................................................................. 10
4.2 PLAYBACK OF A CASSETTE........................................................................... 11
4.3 CASSETTE CARE............................................................................................. 12
4.3.1 AVOIDING TANGLES .............................................................................. 12
4.4 PROTECTING RECORDINGS AGAINST ERASURE ........................................ 14
4.5 MAINTENANCE ................................................................................................ 16
4.6 AUTOMATIC LEVEL CONTROL (ALC) .............................................................17
4.7 RECORDING FROM THE BUILT-IN RADIO...................................................... 18
4.8 RECORDING FROM A CD ............................................................................... 19
4.9 RECORDING FROM THE BUILT-IN MICROPHONE.........................................20
4.10 ERASING THE TAPE ........................................................................................ 20

Table of contents
N
S
WO
N
S
WO
Versionsnr. 03-03D 5
5 CD OPERATION AND HANDLING OF COMPACT DISCS ..................................21
5.1 EXPLANATION OF BUTTONS ......................................................................... 21
5.1.1 PLAY / PAUSE BUTTON .........................................................................21
5.1.2 STOP BUTTON ........................................................................................21
5.1.3 REPEAT BUTTON ...................................................................................21
5.1.4 SKIP SEARCH BUTTON .........................................................................21
5.1.5 PROGRAM BUTTON ...............................................................................22
5.2 REMOVING THE TRANSPORT SAFETY DEVICE ........................................... 22
5.3 CARE AND HANDLING OF COMPACT DISCS ................................................ 22
5.4 LOADING A CD ................................................................................................ 23
5.5 REMOVING A CD ............................................................................................. 24
5.6 PLAYING A COMPACT DISC ........................................................................... 24
5.6.1 NORMAL OPERATION ............................................................................24
5.7 SKIPPING TRACKS (SKIP) .............................................................................. 26
5.8 REPEATING AN INDIVIDUAL TRACK .............................................................. 27
5.9 REPEATING ALL TRACKS ............................................................................... 27
5.10 PROGRAMMED MEMORY PLAYBACK............................................................ 27
5.11 PROGRAMMED (MEMORY-) PLAYBACK ........................................................ 28
5.12 CLEARING THE CD MEMORY ......................................................................... 30
Accompanying document

POWER SUPPLY
6Version no. 03-03D
1 POWER SUPPLY
1.1 BATTERY OPERATION
1. Remove the battery compartment cover at the rear of the unit by gently pushing the
clips down and outward.
2. Insert 6 size "C" batteries (UM-2 or other corresponding batteries) and be sure to
observe the correct polarity. You will find a drawing outlining the correct polarity at the
top left hand side of the battery compartment.
3. Fasten the battery compartment cover again.
Note:
• You need to remove the power supply cable for battery operation.
• To avoid possible damage resulting from leaking batteries, remove the batteries when
discharged or when the unit is not used for longer periods of time.
1.2 AC MAINS OPERATION
1. Prior to connecting the unit to the mains, you need to check whether the voltage
marked on the rating plate corresponds to that of your household.
2. The power supply cable is delivered in the unit's battery compartment. Remove the
battery compartment cover by gently pushing the clips down and outward. Remove the
power supply cable from the battery compartment and fasten the battery compartment
cover again afterwards.
3. Insert the power supply cable's plug into the AC INPUT SOCKET at the unit's rear side
and plug the other end into a standard household supply outlet.

USING THE RADIO
Version no. 03-03D 7
2 USING THE RADIO
1. Slide the FUNCTION SWITCH to RADIO position and the POWER INDICATOR will
light up.
2. Select the required wave band with the BAND SWITCH.
3. Tune into the desired radio station with the TUNING CONTROL. (Move the control up
and down until you receive the strongest and clearest sound).
4. The built-in AM antenna and the external FM TELESCOPIC ANTENNA are directional
antennae.
• When receiving an FM broadcast, extend the TELESCOPIC ANTENNA fully and
position it for clearest reception.
• For AM broadcasts, you should turn around the entire unit until you reached the
best quality of reception.
5. Adjust the volume to your personal listening taste.
6. To turn the radio off, slide the FUNCTION switch to the TAPE position.
Note:
• If radio reception of a particular FM STEREO station is weak, or if you hear excessive
backgound noise, slide the BAND SWITCH to FM position (MONO). This can
oftentimes result in much clearer reception.
• When the BAND SWITCH is set to FM STEREO and a stereo broadcast is received,
the FM STEREO INDICATOR at the top of the unit will be lit.

STEREO HEADPHONE JACK
8Version no. 03-03D
3 STEREO HEADPHONE JACK
The headphones were provided for you to use the unit without disturbing others.
The HEADPHONE JACK is located at the top of the unit.
Please connect low impedance head-/earphones (not included in the delivery) to this jack.
Adjust the VOLUME CONTROL to a listening level comfortable to you.
Note:
When the external head-/earphones are connected, the sound of the unit's main speakers
is muted.
Fig. 3-1 Optional stereo headphones

CASSETTE OPERATION
Version no. 03-03D 9
4 CASSETTE OPERATION
4.1 EXPLANATION OF BUTTONS
The buttons for cassette player operation are located at the top of the unit.
4.1.1 PLAY BUTTON ( )
Press the PLAY BUTTON to start playback of a cassette.
4.1.2 STOP/EJECT BUTTON ( )
Press the STOP/EJECT BUTTON to cancel your previous selection, i.e. press this button
during cassette playback or during fast-forwarding / rewinding of the cassette in order to
stop the tape.
In stop mode, this button is operated to eject the cassette.
4.1.3 RECORD BUTTON ( )
Press the record button to make a recording from either CD or radio, or via the microphone
which is built into the unit.
Note:
If a cassette suitable for recording is in the player, the PLAY BUTTON will move down
alongside the RECORD BUTTON automatically. The record BUTTON does not move
down when the cassette is protected; also see: "Protecting recordings against erasure".

CASSETTE OPERATION
10 Version no. 03-03D
4.1.4 PAUSE ( )
The PAUSE BUTTON can be used to temporarily interrupt a recording or playback of a
cassette and is uselful for editing the the contents of recorded tracks. Operate the button
once to interrupt recording and a second time to resume it.
4.1.5 REWIND BUTTON ( )
Operate the REWIND BUTTON to quickly rewind a cassette. After rewinding the tape to
the start of the cassette, press the STOP/EJECT BUTTON to release the REWIND
BUTTON again.
4.1.6 FAST FORWARD BUTTON ( )
Operate the FAST FORWARD BUTTON to fast-forward a cassette. After forwarding the
tape to the end of the cassette, press the STOP/EJECT BUTTON to release the FAST-
FORWARD BUTTON again.
Note:
The cassette motor is still energised in pause mode, which is why you should not use this
mode for longer periods of time.
4.1.7 AUTOMATIC STOP
The cassette mechanism has a built-in automatic stop. The unit stops automatically when
detecting the tape end during playback or recording.

CASSETTE OPERATION
Version no. 03-03D 11
4.2 PLAYBACK OF A CASSETTE
1. Open the cassette door by operating the STOP/EJECT BUTTON.
2. Insert a cassette into the guides on the inside of the cassette compartment door. The
exposed tape must face upwards with the full reel on the right hand side (the unit plays
from right to left).
3. Close the cassette door.
4. Slide the FUNCTION SWITCH to the TAPE position.
5. Press the PLAY BUTTON to start playback of the cassette.
6. Adjust the VOLUME CONTROL to a comfortable listening level.
7. To stop tape playback, operate the STOP/EJECT BUTTON. Operate the button again
to open the cassette door and eject the tape.
Fig. 4-1 Sides of the cassette
SIDE A SIDE B

CASSETTE OPERATION
12 Version no. 03-03D
Note:
If the tape end is reached during playback, the PLAY BUTTON pops up and playback is
interrupted. To play the other side of the cassette, remove the tape from the cassette
compartment. Turn it over, so the full reel is on the right hand side again. Insert the cassette
again and press the PLAY BUTTON.
4.3 CASSETTE CARE
4.3.1 AVOIDING TANGLES
Loose tape may jam in the cassette recorder or lead to tangles. Take a hexagonal pencil
or a similar tool to gently tighten the tape in the cassette by turning the pencil, as shown in
the figure below.
Fig. 4-2 Tensioning the tape

CASSETTE OPERATION
Version no. 03-03D 13
Should the tape-spool jam every now and then when taking up slack tape, this may be due
to the ridges on the tape-spool. Jammed spools can lead to uneven playback speed or
tangles. In most cases these ridges can be removed by quickly forwarding and rewinding
the tape (from one end to the other).
Please do not use C120 tapes with this unit.

CASSETTE OPERATION
14 Version no. 03-03D
4.4 PROTECTING RECORDINGS AGAINST ERASURE
To avoid recordings being erased unintentionally, break out the tab(s) with a screwdriver.
Hold the cassette with the tabs to the front (exposed tape side to the rear) and the A-side
up (see fig. 4-3).
To protect the recordnings on side A, break out the right tab (tab A).
To protect the recordnings on side B, break out the left tab (tab B).
Fig. 4-3 Protection against erasure
side A up
tab B
tab A

CASSETTE OPERATION
Version no. 03-03D 15
To record on a protected cassette, seal the open slots (created when breaking out the tabs)
with adhesive tape.
Fig. 4-4 Undoing the erasure protection
Adhesive tape

CASSETTE OPERATION
16 Version no. 03-03D
4.5 MAINTENANCE
You should generally clean pinch roller, capstan, erase head and record/play head after
15 hours of operation, or when the sound becomes muffled. Open the cassette door and
use a Q-Tip moistened with tape head cleaning fluid.
Fig. 4-5 Cleaning the tape head
CAUTION
Never touch any of the parts described above with a metal object. Do not insert a cassette
until the parts cleaned are completely dry.
Pinch roller
Capstan
Erase head
Record/play head
Q-Tip

CASSETTE OPERATION
Version no. 03-03D 17
4.6 AUTOMATIC LEVEL CONTROL (ALC)
The unit features the latest Automatic Level Control circuitry. It is therefore not necessary
to adjust the volume control while recording. This circuitry automatically records at the
correct level and prevents overload.
Note:
While recording, you may adjust the volume control as you desire, without affecting the
recording.

CASSETTE OPERATION
18 Version no. 03-03D
4.7 RECORDING FROM THE BUILT-IN RADIO
1. Slide the FUNCTION SWTCH to RADIO position and tune the radio to the desired
station with the TUNING CONTROL.
2. Insert a cassette into the cassette compartment with the full tape reel to the right.
3. Press the RECORD BUTTON, until it arrests in the down position (the PLAY BUTTON
is pressed down at the same time) and the recording starts.
4. To end recording, press the cassette player's STOP/EJECT BUTTON. If this button is
not operated, the recording is terminated automatically once the end of the tape is
reached.
5. To listen to your recording, operate the cassette player's REWIND BUTTON, until you
reached the beginning of your recording and then press the PLAY BUTTON. Use the
VOLUME CONTROL to adjust the blayback volume to your personal taste.
Note:
On each end of the tape is a tape leader on which it is impossible to record. If you wish
recording to start immediately upon operating the RECORD BUTTON, please ensure that
the tape leader is already wound past the record head.

CASSETTE OPERATION
Version no. 03-03D 19
4.8 RECORDING FROM A CD
1. Please make sure the transport safety device was removed from the CD player. Pull it
out otherwise, prior to inserting and playing a CD; also see: "Removing the transport
safety device".
2. Slide the FUNCTION SWITCH to the CD position.
3. Insert a cassette into the cassette compartment with the full tape reel to the right.
4. Insert the CD from which you wish to copy and close the CD compartment.
5. Press the PAUSE BUTTON at the tape deck.
6. Press the RECORD BUTTON, so it arrests in the down position (the PLAY BUTTON is
pressed down at the same time). The unit is now in recording standby mode.
7. Start the CD by operating the CD PLAY/PAUSE BUTTON ( ).
8. Press the cassette player's PAUSE BUTTON again and the recording starts.
9. To end recording, press the STOP/EJECT BUTTON.
10. Press the CD STOP BUTTON ( ) and slide the FUNCTION SWITCH to TAPE
position afterwards.
11. To listen to your recording, operate the REWIND BUTTON in order to rewind to the
point from which the recording was started and then press the PLAY BUTTON.

CASSETTE OPERATION
20 Version no. 03-03D
4.9 RECORDING FROM THE BUILT-IN MICROPHONE
1. Slide the FUNCTION SWITCH to the TAPE position.
2. Insert the cassette onto which you wish to record into the cassette door's guides.
(Full reel on the right hand side).
3. Operate the cassette player's RECORD BUTTON and speak into the built-in
microphone at the top left of the unit.
4. To end the recording, press the STOP/EJECT BUTTON.
5. Rewind the tape and operate the PLAY BUTTON to listen to your recording.
4.10 ERASING THE TAPE
1. Slide the FUNCTION SWITCH to the TAPE position.
2. Press the cassette player's RECORD BUTTON. Any recording on the tape is hereby
erased. (Take care that no ambient sound is recorded via the built-in microphone
during the process).
Table of contents