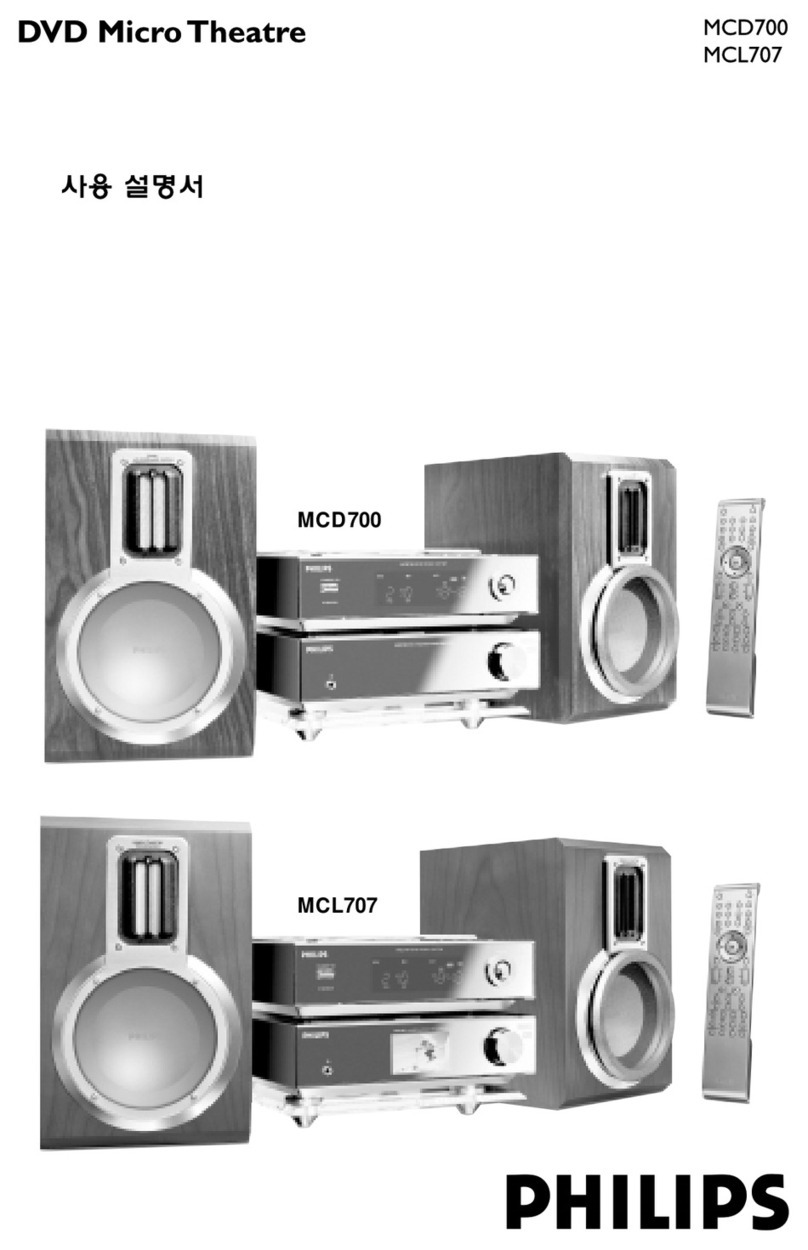
Citronic DVD-05 User manual

PROFESSIONAL
5-DISC DVD PLAYER
DVD-05
Operation Manual

Important Safety Information
Warnings:
To prevent fire or shock hazard, do not expose this appliance to rain or moisture.
To reduce the risk of electric shock, do not remove the cover (or back). There are no serviceable parts inside. Always refer servicing to qualified service
personnel.
Cautionary Notes:
• Handle the power supply cord carefully. Do not damage or deform the power supply cord. If it is damaged or deformed, it may cause electric shock
or malfunction when used. When removing from wall outlet, be sure to remove by holding the plug attachment and not by pulling the cord.
• In order to prevent electric shock, do not open the top cover. If a problem occurs, contact your dealer.
• Do not place metal objects or spill liquid inside the cd player. Electric shock or malfunction may result.
• Any use of the controls, or any adjustment, or the performance of any procedure other than those specified herein may result in hazardous radiation
exposure.
• The compact disc player should not be opened or repaired by anyone except properly qualified service personnel.
• Double insulated - when servicing, use only identical replacement parts.
Important Information:
• The lightning flash with arrowhead symbol, within an equilateral triangle, is intended to alert the user to the presence of un-insulated "dangerous
voltage" within the product's enclosure that may be of sufficient magnitude to constitute a risk of electric shock to persons.
• The exclamation point within an equilateral triangle is intended to alert the user to the presence of important operating and maintenance (servicing)
instructions in the literature accompanying the appliance.
• This DVD player uses a semiconductor-based laser. To allow you to enjoy music in a stable manner, it is recommended to operate the appliance
between 41°f-95°f (5°c-35°c).
• This unit may cause interference to radio and television reception.
Caution
To prevent electric shock do not use this (polarized) plug with an extension cord, receptacle or other outlet unless the blades can be fully inserted to
prevent blade exposure.
Safety Instructions
All the safety and operating instructions should be read before the appliance is operated.
1. Retain Instructions - The safety and operating instructions should be retained for future reference.
2. Heed Warnings - All warnings on the appliance and in the operating instructions should be adhered to.
3. Follow Instructions - All operating and use instructions should be followed.
4. Water and Moisture - The appliance should not be used near water - for example, near a bathtub, washbowl, kitchen sink, laundry tub, in a wet
basement, or near a swimming pool, and the like.
5. Carts and Stands - The appliance should be used only with a cart or stand that is recommended by the manufacturer. An appliance and cart
combination should be moved with care. Quick stops, excessive force, and uneven surfaces may cause the appliance and cart combination to
overturn.
6. Wall or Ceiling Mounting - The appliance should be mounted to a wall or ceiling only as recommended by the manufacturer.
7. Ventilation - The appliance should be situated so that its location or position does not interfere with its proper ventilation. For example, the appliance
should not be situated on a bed, sofa, rug, or similar surface that may block the ventilation openings; or, placed in a built - in installation, such as a
bookcase or cabinet that may impede the flow of air through the ventilation openings.
8. Heat - The appliance should be situated away from heat sources such as radiators, heat registers, stoves, or other appliances (including amplifiers)
that produce heat.
9. Power Sources - T
appliance.
10. Grounding or Polarization - Precautions should be taken so that the grounding or polarization means of an appliance is not defeated.
11. Power - Cord Protection - Power - supply cords should be routed so that they are not likely to be walked on or pinched by items placed upon or
against them, paying particular attention to the cord in correspondence of plugs, convenience receptacles, and the point where they exit from the
appliance.
12. Cleaning - The appliance should be cleaned only as recommended by the manufacturer. Clean by wiping with a cloth slightly damp with water.
Avoid getting water inside the appliance.
13. Disconnect power cord before servicing.
14. Replace critical components only with factory parts or recommended equivalents.
15. Non - use Periods - The power cord of the appliance should be unplugged from the outlet when left unused for a long period of time.
16. Object and Liquid Entry - Care should be taken so that objects do not fall and liquids are not spilled into the enclosure through openings.
17. Damage Requiring Service - The appliance should be serviced by qualified service personnel when;
• The power supply cord or the plug has been damaged; or
• Objects have fallen, or liquid has been spilled into the appliance; or
• The appliance has been exposed to rain; or
• The appliance does not appear to operate Normally or exhibits a marked change in performance; or
• The appliance has been dropped, or the enclosure damaged.
18. Servicing - The user
be referred to qualified service personnel.
19. Ventilation - The appliance should be situated so that the location or position does not interfere with its proper ventilation. For example, the
appliance should not be situated on a bed, sofa, rug, or similar surface that may block the ventilation openings; or, placed in a built - in installation,
such as a bookcase or cabinet that may impede the flow of air through the ventilation openings.
20. Cleaning - The appliance should be cleaned only as recommended by the manufacturer.

3
FUNCTIONS
1. STANDBY: Switches between power ON and STANDBY.
2. NUMBER KEYS - Press the desired number for playing,
changing, or programming. To operate numbers above 9,
press two number keys. For example, song No.18, press 1
and 8.
NOTE: When PBC (Play Back Control) on, It won't play until
you press desired number and PLAY button. After finishing
song playing, it will stop and wait for your operation of
repeating or selecting another song.
3. KEY CONTROL DOWN - Transposes the music key. Use to
lower key by a half tone.
4. KEY RECOVERY.
5. KEY CONTROL UP- Transposes the music key. Use to raise
key by a half tone.
6. MIC 1 & 2 INPUT JACKS - Connects a MICROPHONE with
6.3mm plug.
7. MIC 1 VOL CONTROL - Use to control the volume output
from MIC 1 and MIC 4.
8. MIC 2 VOL CONTROL - Use to control the volume output
from MIC 2 and MIC 3.
9. ECHO CONTROL - Use to control the amount of ECHO
applied to MIC 1, MIC 2, MIC 3 and MIC 4.
10. MIC BASS CONTROL - Use to make LOW FREQUENCY
adjustments to MIC output.
11. MIC TREBLE CONTROL - Use to make HIGH FREQUENCY
adjustments to MIC output.
12. INPUT BUTTON - DVD/AUX function SWITCH. Operate
player when LED goes out.
13. SKIP FORWARD- Press to go to the beginning of the next
track.
14. STOP - Press to STOP a playback.
15. SKIP BACKWARD - Press to go to the beginning of the
current or previous track.
16. PAUSE- Pause button, when the disc is playing, press the
button to pause playing.
17. FAST FORWARD BUTTON - Press the button to browse at
a fast pace.
18. PLAY - Play button, press the button to close disc tray for
playing automatically.
19. FAST BACKWARD BUTTON - Press the button to review at
a fast pace.
20. DISC BUTTON - When the tray door closes and the chosen
button is pressed, it will play from the counterpart Disc
automatically and continuously. You can also play desired
disc by pressing corresponding disc number button.
™

4
FUNCTIONS
NOTE: The light will blink quickly while changing discs. At this
time, Disc button is not available. Please wait a moment until
drive finishes operating, then press disc button. While the
drive searches for discs, the indicator will light, if no disc is in
the tray, the indicator will turn off. Some discs will play in PBC
mode, and will not continue to play these automatically.These
discs can only be played after pressing the desired Buttons.
21. ALL DISC OPEN OR CLOSE DOOR- For open and close
tray door. When it is open, all 5 discs will come out and
indicator is on, press again, indicator is off.
22. PLAYING OPEN OR CLOSE TRAY DOOR - You can change
4 discs while one is playing. Press it, 4 trays will open
except for the disc that is playing. Press again to close tray
door.
23. DISC TRAYS - Press ALL BUTTON to open all 5 trays. The
player can play different formats such DVD, CD+G, VCD2.0,
VCD3.0, MP-3, CD, CD-R, CD-RW, JPEG etc. Press ALL
BUTTON or PART BUTTON or PLAY BUTTON to close the
tray door, it will play from Disc 1 to 5 automatically.
24. DISPLAY WINDOW - Displays player status such as time
and song number. If no disc is in the disc trays, the display
window will display NO DISC. Detailed information will also
be shown on TV screen.
25. MENU - Press the MENU key once to return to the root
menu.
26. SELECT AUDIO MODE- Select different audio modes.
27. TIME BUTTON - Switch between three display options:
playing time, remaining time and no display.
28. SELECT CHANNEL- MPX switch, press it to select L
channel, R channel or ST. Information will be shown on TV
screen.
29. REPEAT BUTTON - If you press it in stop mode, press
PLAY to start playback. Each time you press it, the repeat
mode cycles among REP-ALL. REP-ONE and OFF. A
window which indicates the current repeat mode will be
displayed on the TV screen.
™

5
REAR PANEL
1. 5.1 CHANNEL AUDIO OUTPUT - Please change in SETUP
menu before using it.
2 . VIDEO OUTPUT - For connecting to TV's R, G and B
inputs.
3. VIDEO OUTPUT - For connecting to TV's VIDEO input.
4. EURO SCART JACK - Jack for connecting to TV in Europe.
TV display(4:3) built-in Video, RGB out and Audio.
5. VOLUME CONTROL - Volume control for Mixer output.
6. MIXER OUTPUT - Output for mixing vocal and music.
7. VOCAL OUTPUT - Only vocal output. It can be used as
professional Karaoke output.
8. AUXILLARY AUDIO INPUT - Auxillary audio input for
external audio source (in AUX function only).
9. ELECTRIC PLUG - AC power connection (100-240V,50-
60Hz).
10. OPTICAL OUTPUT - Please change in SETUP menu before
using it.
SETUP/AUDIO SETUP/SPDIF OUTPUT: SPDIF/RAM OR
SPDIF/PCM
11. S-VIDEO OUTPUT - For connection with TV's S-VIDEO
input.
12. COAXIAL OUTPUT - Coaxial digital audio output. For
connection to Audio Digital Amplifier. Please change in
SETUP menu before using it. SETUP/AUDIO SETUP/
SPDIF OUTPUT: SPDIF/RAM OR SPDIF/PCM
13. MUSIC LEFT & RIGHT CHANNEL OUTPUT - Please
connect to TV or Amplifier. These music outputs do not
utilize the mixer functions.
14. VGA JACK - Progressive scan output. Connect then press
VGA button on remote control. To change the default
setting, make the change in the SETUP menu before using
it. SETUP/PREFERENCE/VIDEO OUTPUT/RGB
15. MIC 3 & 4 INPUT JACKS - Connects a MICROPHONE with
6.3mm plug.
16. HEADPHONE JACKS - Connects a headphone with 3.5mm
plug.
Table of contents

