5
Parts & Service: 020 8988 7400 / E-mail: Parts@clarkeinternational.com or Service@clarkeinternational.com
ASSEMBLY
TOOLS REQUIRED
• Rubber mallet or hammer
• Protective cloth/wood block
ASSEMBLY PROCEDURE
1. Assemble on a firm, level surface. Avoid assembly on a domestic carpet.
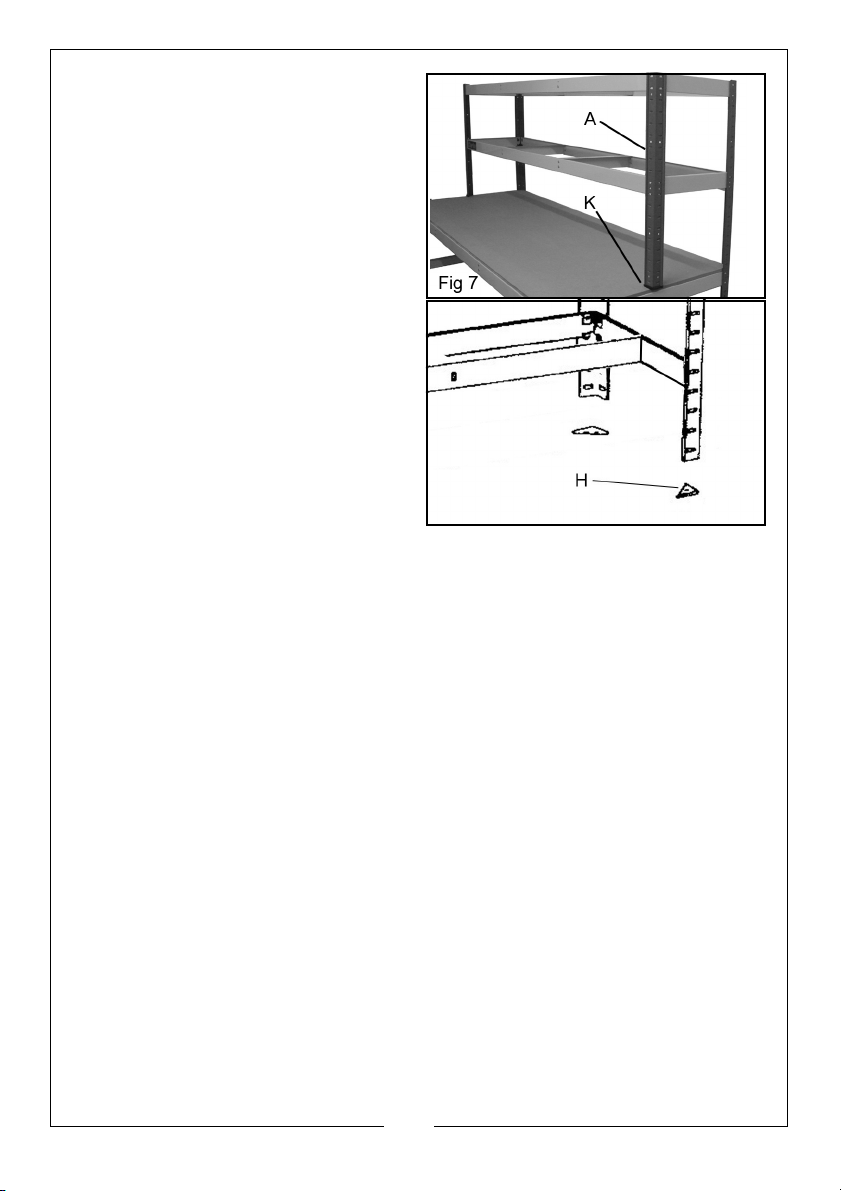
2. Always ensure that the tabs sit at the bottom of the keyhole slots.
3. It is recommended that the assembly should be done by two persons.
4. Use a cloth or softwood block to
protect the surface finish of the
product when using a mallet.
5. The tabs of the beams will often
enter the slots fully using just firm
hand pressure but if they are too
tight, you may require a rubber
mallet to assist. If so, always use a
cloth to protect the product paint
finish.
6. Tap gently with the mallet to drive the tabs of the beams fully into the slots
in the corner post. Always strike the edge close to the post.
7. Decide how high you want the lower shelf to be, relative to the floor, noting
that the lower shelf should never be more than half height from the bottom
of the corner posts.
8. Use a mid-end beam (G) and a
lower end beam (E) to connect
the lower front corner post (C) to
the rear corner post (B) as in Fig 1
and create an end assembly.
NOTE: The beam edge with the
wider flange should be
installed uppermost to
support the shelf or worktop.
9. Repeat this again for the other
end assembly, making sure that the corresponding beams are at the same
height.