3
English
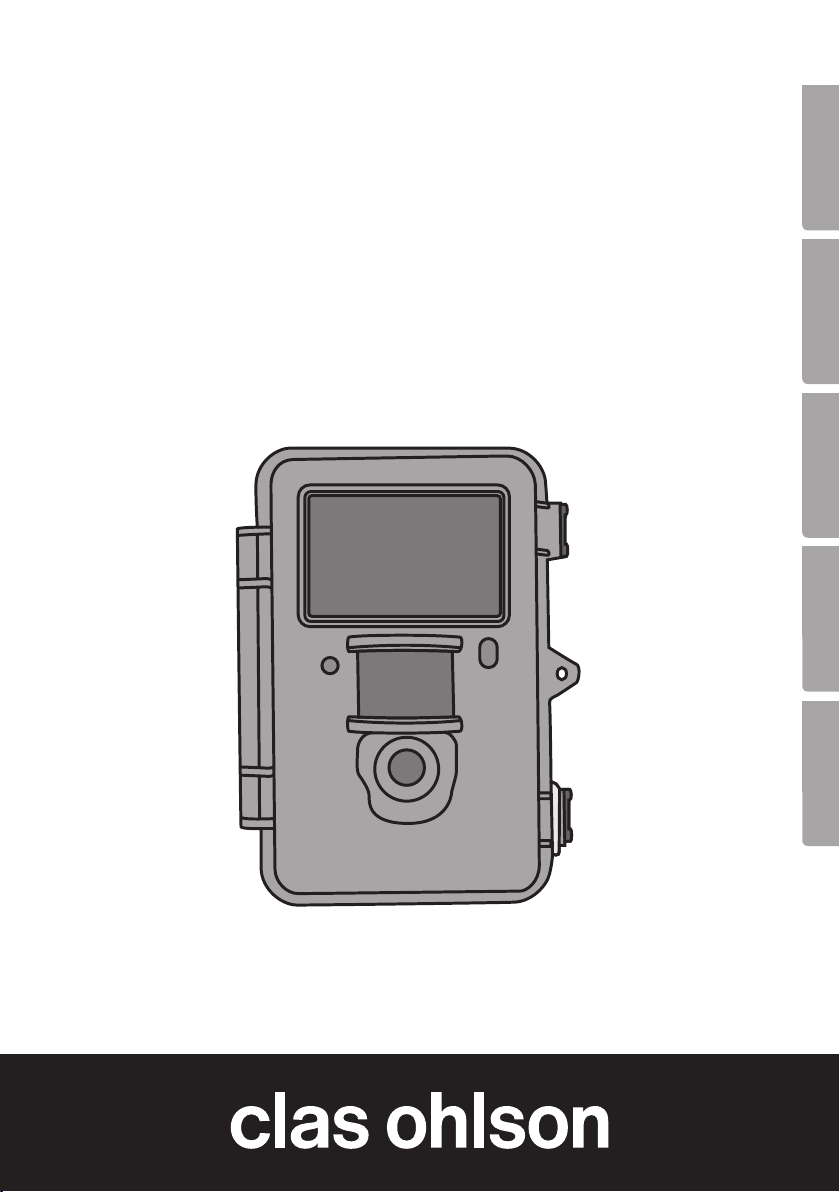
Surveillance & Game Hunting Camera
Art.no 36-5761 Model SG560K-12mHD
Please read theentire instruction manual before using theproduct and then save
it for future reference. We reserve theright for any errors in text or images and any
necessary changes made to technical data. If you have any questions concerning
technical problems please contact our Customer Services.
Contents
1. Description of function............................................................................4
1.1 General information........................................................................................................4
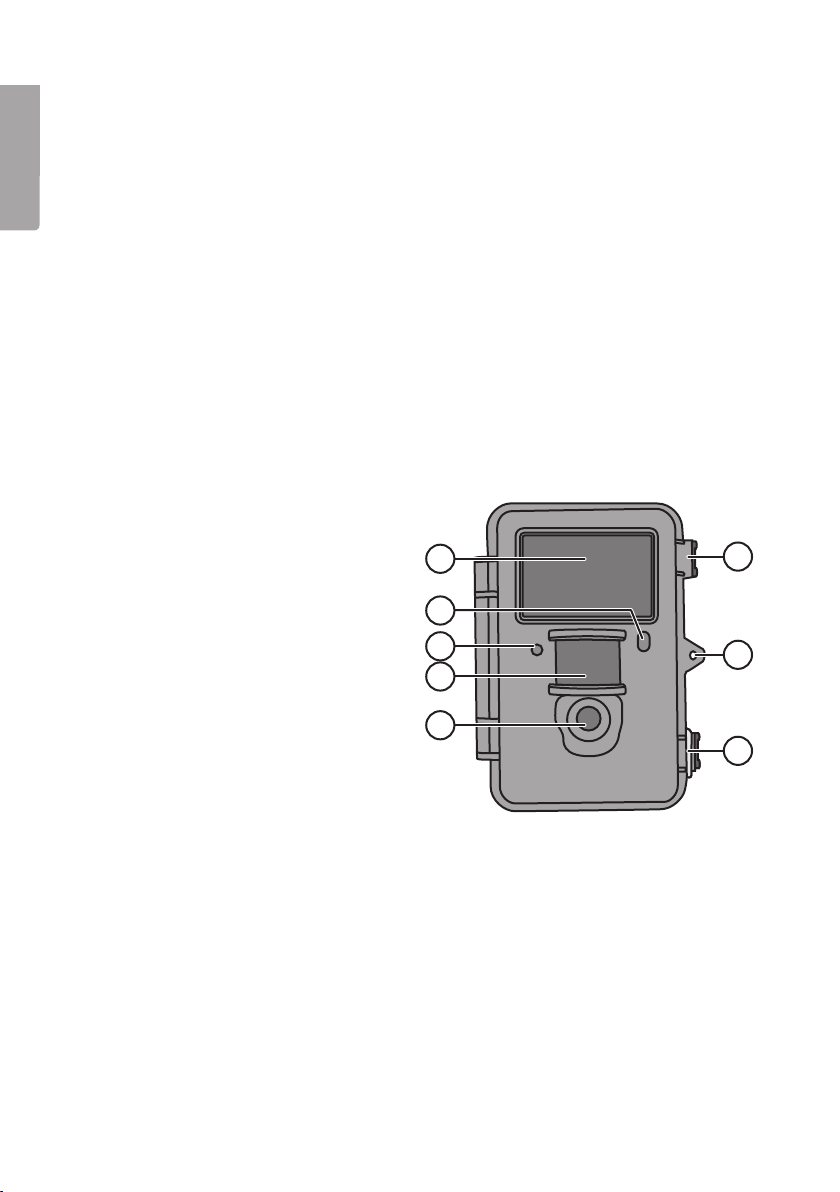
2. Description ..............................................................................................4
3. Getting started.........................................................................................6
3.1 Inserting batteries ..........................................................................................................6
3.2 Inserting amemory card ................................................................................................6
3.3 Formatting thememory card .........................................................................................6
4. Setup........................................................................................................7
4.1 Camera Mode (function) ................................................................................................7
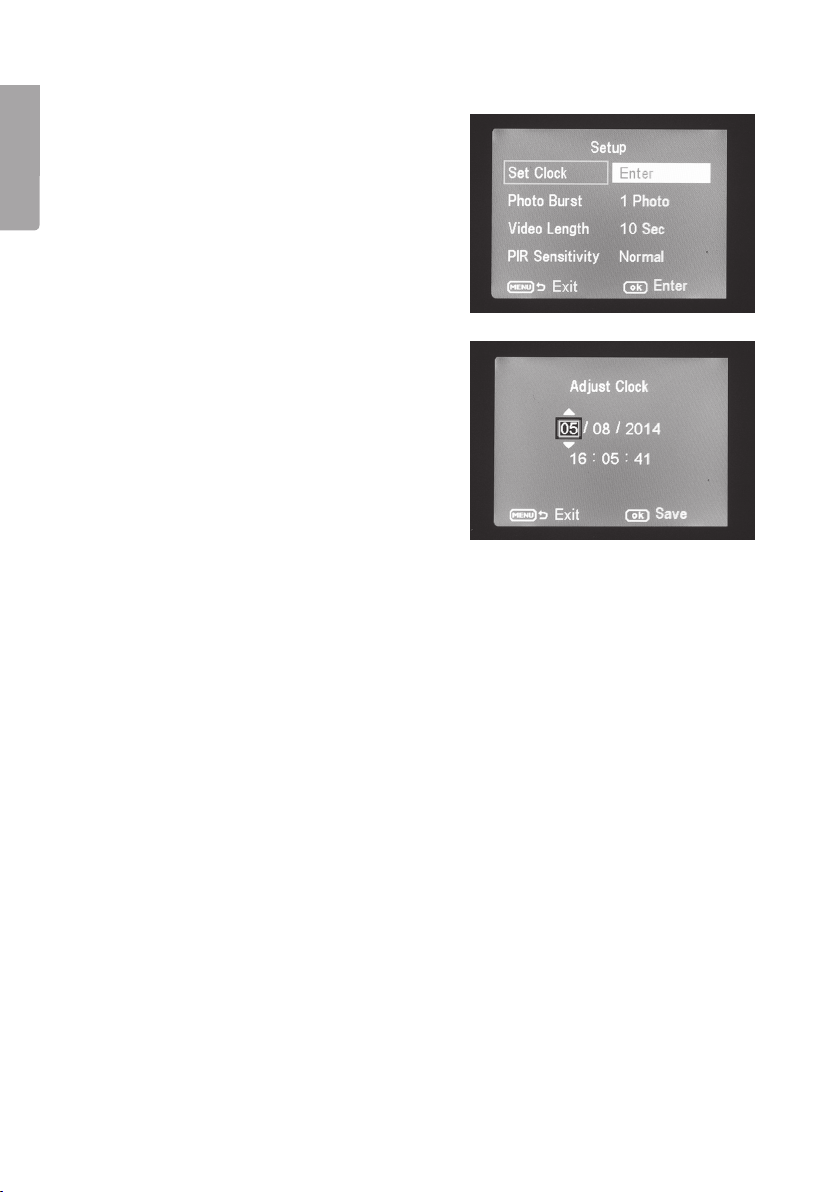
4.2 Set Clock (time setting)..................................................................................................8
4.3 Photo Size (image size)..................................................................................................8
4.4 Photo Burst (number of images in burst sequence) .....................................................8
4.5 Video Size (video resolution)..........................................................................................8
4.6 Video Length (length of video recording) ......................................................................8
4.7 Time lapse (time-delayed photography)........................................................................9
4.8 PIR trigger (motion sensor sensitivity) ..........................................................................9
4.9 PIR Interval (interval until re-activation after detection) ...............................................9
4.10 Camera posit (name the camera) ................................................................................9
4.11 Language (language)....................................................................................................9
4.12 Recycle storage (delete images/video when the SD card is full)................................ 10
4.13 Format SD (formatting thememory card) .................................................................10
4.14 Version (info about the version) .................................................................................10
4.15 Default Set (restores manufacturer’s settings)..........................................................10
5. Operating instructions...........................................................................10
5.1 Picture preview (before taking thephoto) ...................................................................10
5.2 Taking aphoto/video sequence manually...................................................................10
5.3 Displaying astill image/video sequence.....................................................................11
5.4 Delete (erasing aphoto/video sequence) ...................................................................12
5.5 Default Set (restores manufacturer’s settings)............................................................12
6. Positioning/attaching thecamera ........................................................12
7. Care and maintenance ..........................................................................13
8. Troubleshooting guide...........................................................................13
9. Responsible disposal............................................................................14
10. Specifications ......................................................................................14