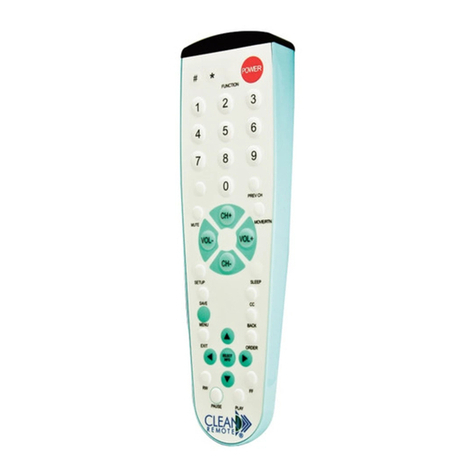
Clean Remote CR3BCB Firmware update

INSTRUCTIONS FOR CR3BCB®
F o r T V o r T V a n d s e p a r a t e C a b l e b o x o n l y ( w i l l n o t w o r k T V / D V D , T V / V C R o r T V / D V D / V C R c o m b i n a t i o n u n i t s )
W o r k s o v e r 2 5 0 b r a n d s o f c o m m e r c i a l a n d r e t a i l T V ’ s
S i m p l e O n e t o u c h s e t - u p ( n o c o d e s n e e d e d )
N o M e n u B u t t o n - S o P a t i e n t s a n d G u e s t s c a n n o t c h a n g e s e t t i n g s
H i d d e n B a t t e r y c o m p a r t m e n t a n d a t t a c h e d d o o r t o h e l p p r e v e n t b a t t e r i e s fr o m b e i n g t a k e n
U s e s 2 A A A b a t t e r i e s
W i l l n o t o p e r a t e w i t h L o d g e N e t
®
o r O n C o m m a n d
®
m o v i e s y s t e m s
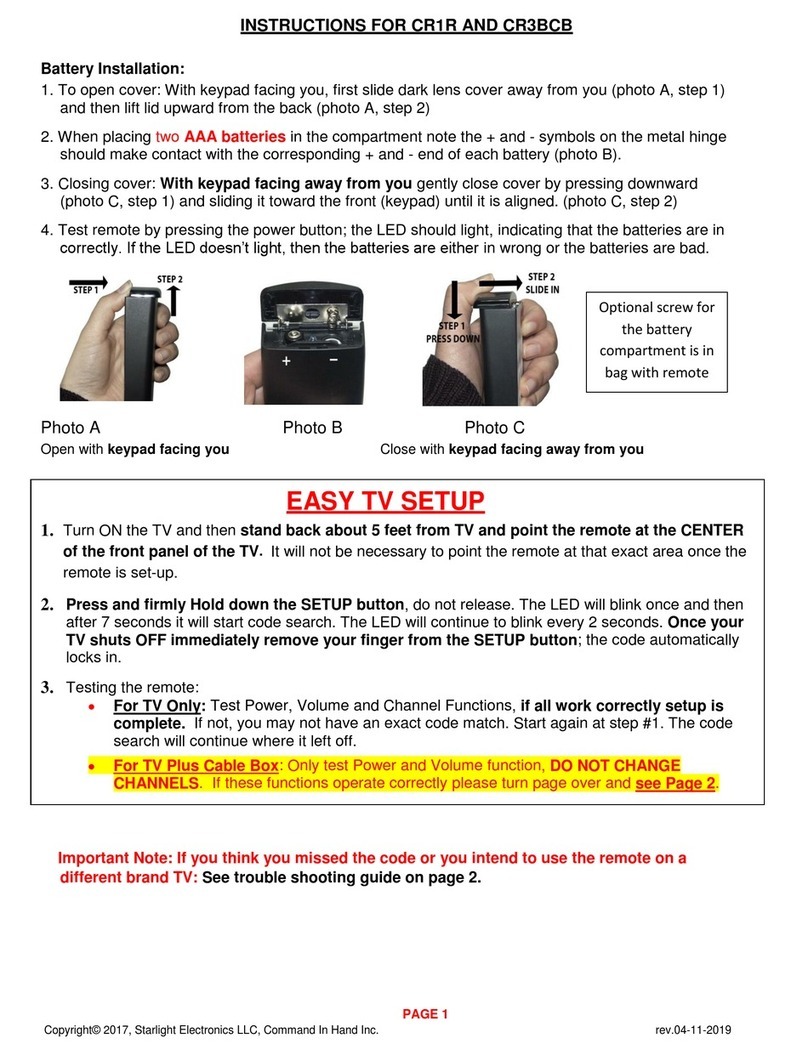
Battery Installation:
1. Open cover: With keypad facing you, first slide dark lens cover away from you (photo A, step 1)
and then lift lid upward from the ack (photo A, step 2)
2. When placing AAA atteries in the compartment note the + and - sym ols on the metal hinge
should make contact with the corresponding + and - end of each attery (photo B).
3. Closing cover: With keypad facing away from you gently close cover y pressing downward
(photo C, step 1) and sliding it toward the front (keypad) until it is aligned. (photo C, step 2)
4. Test remote y pressing the power utton; the LED should light indicating that the atteries are in
correctly. If the LED doesn’t light, then the atteries are either in wrong or the atteries are ad.
Photo A Photo B Photo C
Open with keypad facing you Close with keypad facing away from you
NO CODE ENTRY/ONE STEP PROGRAMMING
If you have an Individual cable box In each room turn over page
1. Turn on the TV and then stand back about 5 feet from TV and Point the remote at the CENTER of
the front panel of the TV. It will not e necessary to point the remote at that exact area once the remote is
set-up.
2. Press and firmly Hold down the Setup utton, do not release. The LED will link once and then
after 7 seconds it will initiate code search. The LED will continue to link every 2 seconds. Once your
TV shuts off immediately remove your finger from the Setup utton; the code automatically locks in.
3. Test the remote. If everything works, you are done. If the main functions are not working properly,
you may not have an exact code match. Start again at step #1. The code search will continue where
it left off.
Important Note: If you think you missed the code or are testing remote on different
brand TV's: Reset the remote ack to the eginning of the code search; first press and hold the
Setup utton for 3 seconds and then while still pressing the Setup utton down, press and hold the
CC utton down at the same time until the red LED light links quickly 3 times, then release oth
uttons. You have now reset the code list ack to the eginning. Go ack to step 1.
Copyright© 2012, Starlight Electronics LLC, Command In Hand Inc. rev. 02-1 -2014

INSTRUCTIONS FOR NEW CLEAN REMOTE CR3BCB THAT HAS BUTTON AT THE BOTTOM OF THE REMOTE
If you do not have an individual cable box in each guest room, then turn sheet over to page 1
IF YOU HAVE A TV AND AN INDIVIDUAL CABLE BOX IN EACH UEST ROOM, START HERE :
1.First step is to program the TV. The second step will then be to program the cable box.
2.It is important that after you set up the TV you don’t change the channels until after you complete
the next step of setting up cable box.
3.Turn on the TV and the Cable Box should also be on. Then stand back about 5 feet from the TV. Point the remote
at the CENTER of the front panel of the TV. It will not be necessary to point the remote at that exact area once
the remote is set-up.
4.Press and firmly Hold down the Setup button, do not release. The LED will blink once and then after 7 seconds it
will initiate code search. The LED will continue to blink every 2 seconds. Once your TV shuts off, immediately
remove your finger from the Setup button; the code automatically locks in.
5. Now test the remote by pressing the TV Power button testing On/Off and then the VOLUME + /- ,
DO NOT PRESS CHANNEL +/- buttons as you may change input on TV.
If power and volume buttons work correctly on the remote then proceed to step #6.
If you accidentally changed the input on the TV, manually change it back from the TV’s control panel
and then try power and volume buttons ONLY.
If the power and volume keys are not working properly, you may not have an exact code match. Start
again at step #3, the code search will continue where it left off. Once you have the correct code, go to
step #6 to program the cable box.
6.To Program the Cable Box make sure the cable box and TV are on. Next, Hold Down the button and CC button
at the same time and wait until the LED light blinks quickly 3 times. Then immediately release both buttons. Now
point the remote toward the cable box and TV and try the channel up and down buttons as well as the the channel
numbers. If the channels change correctly, make sure volume and TV power on and off work and if they do ,you
are done.
7.If the channels are not changing properly make sure the TV is on and this time turn the cable box OFF. (If setting up
a box that does not have a separate power button and is always on, see notes at the bottom of this page.)
NOTE: this time DO NOT HOLD THE CC button down, just press and firmly hold down the button while pointing
the remote at the cable box ( not the TV). The LED will blink once and then after 10 seconds it will initiate code
search. The LED will continue to blink every 2 seconds. When the cable box turns ON, immediately remove your
finger from the button and the code automatically locks in.
Now turn the CABLE box off and then back on by pressing the CBL button once (Not the TV power button or
button). Next test channel up and down and the channel numbers. If the channels change correctly, make sure
volume and TV power on and off operate, if so, you are done. If it is not working properly start again at step #6.
IMPORTANT TROUBLESHOOTIN INFORMATION
A. If you think you missed the TV code or are testing remote on different brand TV’s, or are having difficulty
operating TV; first, reset the remote by pressing and holding the Setup button for 2 seconds and then while still
pressing the Setup button down press and hold down the CC button at the same time until the LED light blinks
quickly 3 times, immediately release both buttons. You have now reset the code list back to the beginning. Go
back to step #1 and repeat all steps #1 through #7 again.
B. Reset remote to work TV only without a cable box.
If you’ve already set up the remote to work both a TV and a Cable Box and now wish to operate TV only without a
cable box. Hold down the button and SETUP button together until the remote blinks 3 times quickly and
immediately release both buttons. Then turn over the page and start at step 1 for TV only.
Notes:
A) If setting up a cable box that does not have a separate power button and is always on. Follow the
instructions on step 7, but release immediately if you see any change on the TV’s picture or the lights on
the box.
B) If your cable box does have a separate power button, once you have set-up the cable box to work with
the Clean Remote it can be powered on or off by pressing the CBL button.

page 2
Copyright© 2012, Starlight Electronics LLC, Command In Hand Inc. rev. 02-1 -2014
Table of contents
Other Clean Remote Remote Control manuals
Popular Remote Control manuals by other brands
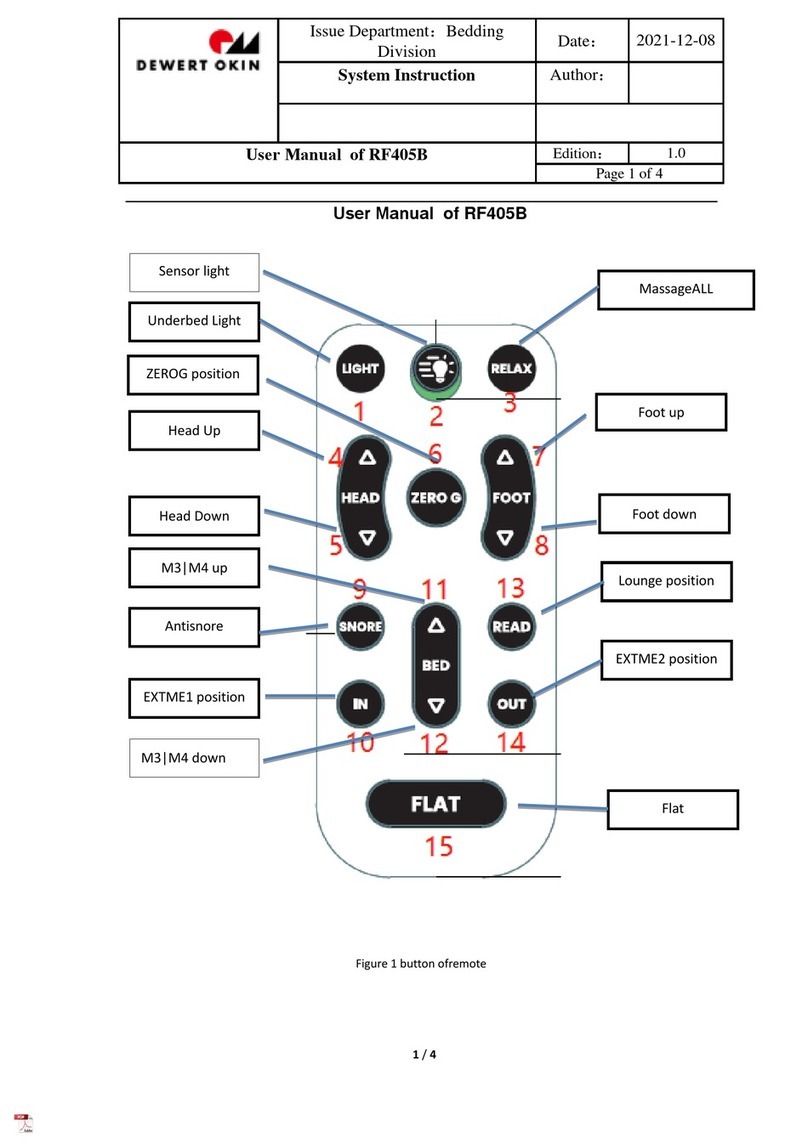
dewert okin
dewert okin RF405B user manual
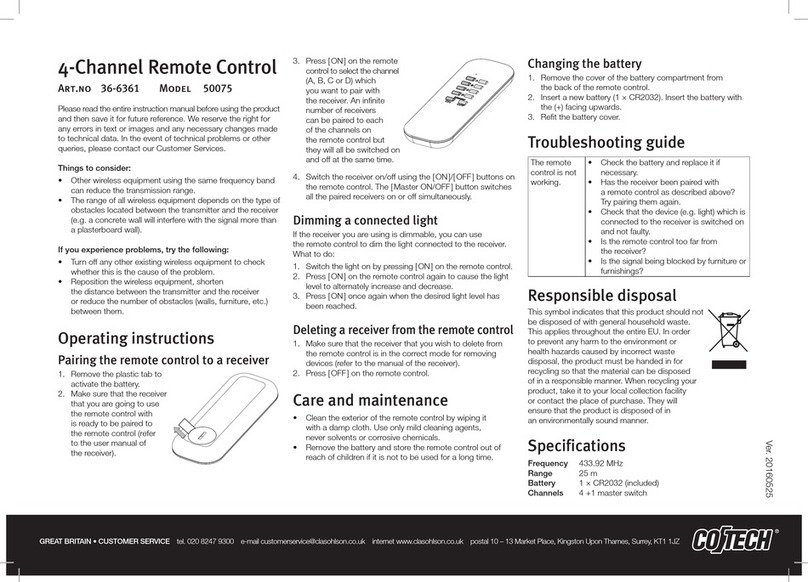
CO/Tech
CO/Tech 50075 operating instructions
CSPIRE
CSPIRE TV Remote Control & DVR user guide
Timeguard
Timeguard LEDPROFOB Installation & operating instructions
One Forall
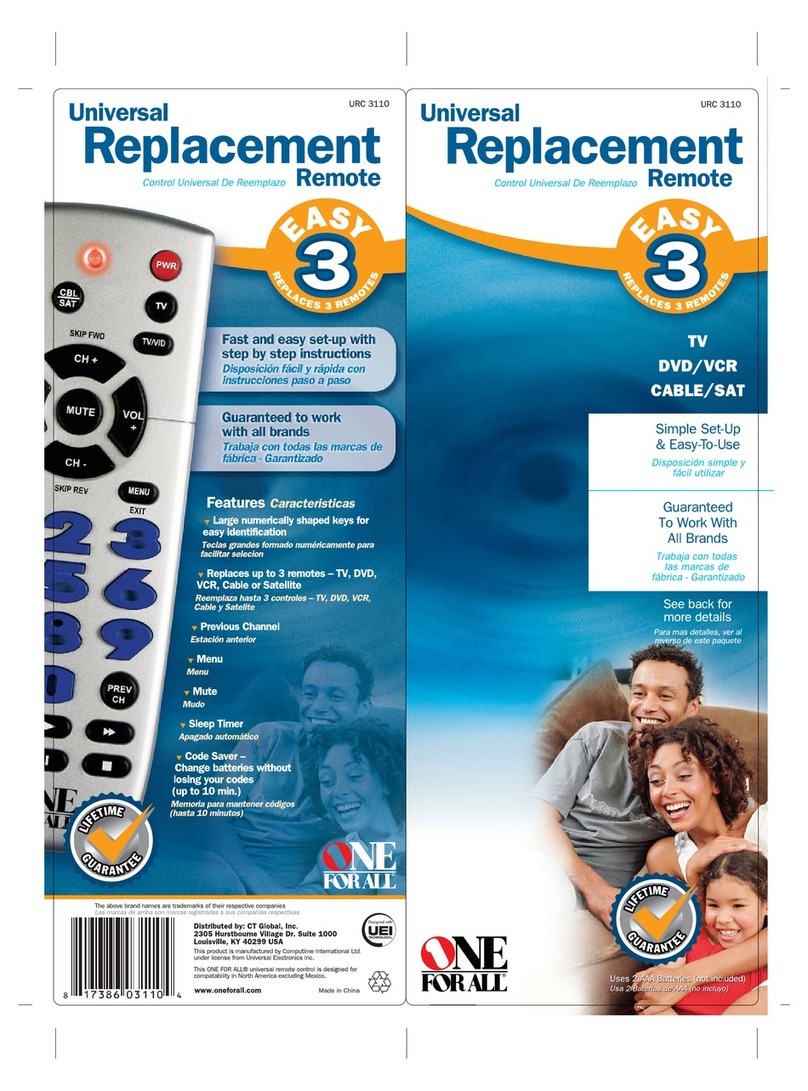
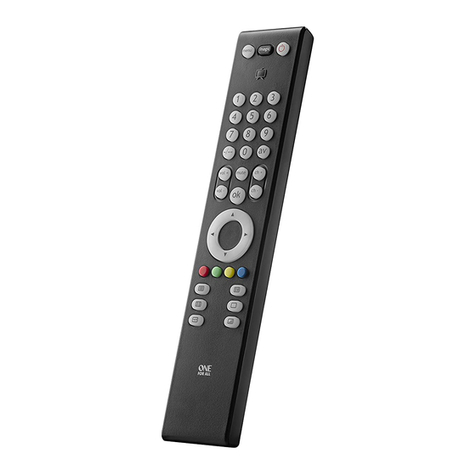
One Forall URC-7557 quick start guide
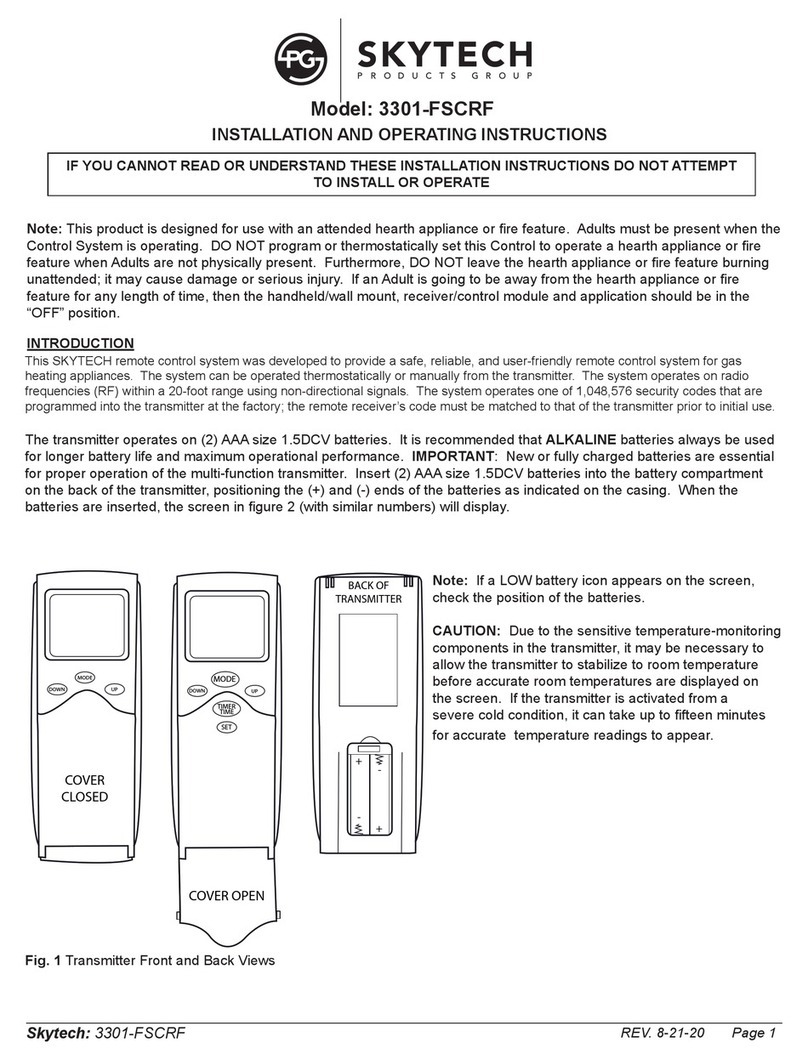
Skytech
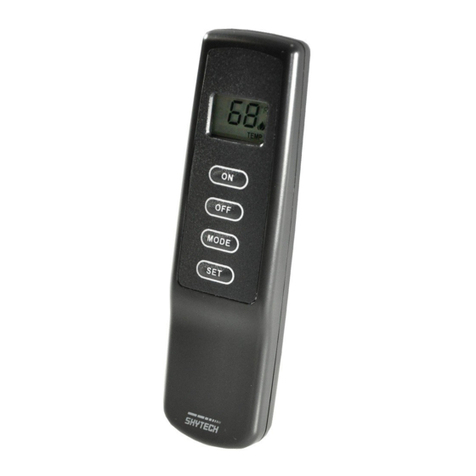
Skytech 3301-FSCRF Installation and operating instructions
