CnMemory DVD/RW Drive User manual

Bedienungsanleitung
User manual
Service
Tel.: 0180 - 50 00 251* - werktags von 9.00 - 12.00 Uhr und von 14.00 - 17.00 Uhr
Fax: +49 (0) 76 64 - 50 57 - 259
Diese Garantie ist gültig in der Europäischen Union. Für technische Unterstützung
kontaktieren Sie bitte:
Bitte verpacken Sie das Produkt sorgfältig und vergessen Sie die Rücksendeadresse
nicht. Bitte geben Sie uns außerdem eine kurze Beschreibung des auftretenden Fehlers.
Internet: www.cnmemory.de
* € 0,14/Min. Bei Anrufen aus dem Mobilfunknetz kann der Preis abweichen.
Chips and More GmbH
-Support-
Gewerbestr. 5a
79112 Freiburg
Service
This guarantee is valid in the European Union. For technical support, please contact:
Chips and More GmbH
-Support-
Gewerbestr. 5a
D-79112 Freiburg
Tel.: 0180 - 50 00 251* - on weekdays from 9 a.m. to 12 p.m. and from 2 p.m. to 5 p.m.
Fax: +49 (0) 7664 - 50 57 -259
Mail: support@cnmemory.de
Internet: www.cnmemory.de
Please package the product carefully and remember to state the address to which it should
be returned. In addition, please provide us with a brief description of the defect.
* € 0.14/min. Price from mobile phone networks may vary.
• Int. DVD/ RW Drive
• Int. DVD/ RW/
Blu-ray-Combo Drive

Einstellung des BIOS
1. Schalten Sie Ihren Computer ein. Aktivieren Sie in der Startphase das CMOS
(BIOS) Setup-Programm. Neuere Systeme zeigen in der Regel eine Nachricht wie
„drücken Sie ENTF, um SETUP zu starten“, die Ihnen sagt, wie Sie auf das CMOS
(BIOS) Programm zugreifen können.
2. Wählen Sie den zugehörigen Eintrag gemäß Ihrer Installation im BIOS aus.
3. Lassen Sie den Computer das Laufwerk erkennen. Wählen Sie die Option
„Autodetect“ (automatische Erkennung), speichern Sie dann und beenden Sie das
BIOS Setup. Falls Ihr Computer die ODD / HDD Selbsterkennung unterstützt, wird
das Laufwerk automatisch erkannt.
Für Microsoft Windows 2000:
Wenn die Hardware Wizard Sie nach der Suche eines neuen Treibers fragt, dann
wählen Sie bitte „Treiber automatisch nden“ aus.
Bitte wählen Sie keinen anderen Bereich zum Suchen aus. Der Systemtreiber für die
DVD / RW wird aufgespielt. Das Gerät ist jetzt betriebsbereit.
Für Apple OS X,
ist kein Treiber notwendig. OS X installiert den Treiber automatisch.
DEUTSCH
Installationsanleitung
Warnhinweis
Dieses Produkt ist ein Präzisionsgerät und sehr empndlich gegenüber Erschütte-
rungen und elektrostatischer Entladung. Vermeiden Sie bitte hohe Temperaturen
und Feuchtigkeit. Im Garantiefall verwenden Sie bitte die Originalverpackung, in der
das Produkt verkauft worden ist. Gehen Sie bitte sorgfältig mit dem Produkt um. Ein
beschädigter oder entfernter Aufkleber an einer der Komponenten kann direkt zu
Funktionsstörungen und zu Garantieverlust führen.
- Belassen Sie das Laufwerk bis zur Verwendung in der Verpackung.
- Setzen Sie das Laufwerk keinen Stößen aus und lassen Sie es nicht fallen.
Lieferumfang
- DVD / RW Brenner bzw. DVD / RW / Blu-ray Brenner
- Handbuch
Installation des Laufwerks in einem typischen Notebook
HINWEIS!
Gelegentlich kann es vorkommen, dass SATA 1,5 GBit / s. Hosts aufgrund von Proble-
men beim Schnittstellenprotokoll keine SATA 3,0 GBit / s Schnittstellenverbindung her-
stellen können. In diesem Fall wenden Sie sich bitte an die Homepage des Herstellers.
1. Dieses Produkt enthält keine Teile, die vom Anwender gewartet werden können;
die Wartung darf ausschließlich von autorisierten Mitarbeitern durchgeführt werden.
2. Packen Sie das Laufwerk erst unmittelbar vor der Installation aus.
3. Schalten Sie die Stromversorgung Ihres Computers aus.
4. Ziehen Sie das Netzkabel heraus und entfernen Sie den Akku.
5. Auf der Unterseite Ihres Notebooks nden Sie in der Regel eine Schraube, die Ihr
Laufwerk im Gerät xiert. Bitte lösen Sie diese.
6. Berühren Sie einen geerdeten, metallischen Gegenstand, um eine elektrostatische
Auadung zu vermeiden.
7. Nun entnehmen Sie bitte Ihr bisher installiertes Laufwerk aus dem Notebook und
tauschen Sie es gegen das neue Laufwerk aus.
8. Fassen Sie die Laufwerke immer an beiden Seiten an. Vermeiden Sie die Berüh-
rung mit den Komponeneten der Platine auf der unteren Seite des Laufwerks.
9. Das Laufwerk bitte nicht fallenlassen, schütteln oder hart aufsetzen.
10. Fixieren Sie nun das neue Laufwerk mittels der vorher gelösten Schraube im
Notebook.

ENGLISH
Installation manual
Handling percautions
This product is a highly precisioned electro-mechanical device and is very sensitive to
shock and electrostatic discharge (ESD). Please avoid exposure to high temperatures
and humidity. Use the original ESD protection package in which the product was origi-
nally shipped. Please handle the product with care. Damaged or detached label on any
of the components may directly cause product malfunction and will void the warranty.
- Leave the hard disk drive in the static shield package until ready for use.
- Do not bump or drop the hard disk drive.
Kit components
- DVD / RW Burner respectively DVD / RW / Blu-ray Burner
- Manual
Installing the hard disk drive of typical computer systems
NOTE!
In some rare cases SATA 1.5 GBit / s hosts can not establish SATA interface connection
with SATA 3.0 GBit / s devices due to interface protocol issues. In this case please
contact the homepage of your manufacturer.
1. This product contains no user-serviceable parts; refer servicing to authorized
personnel only.
2. Do not unpack your hard drive until you are ready to install it.
3. Turn off the power of your computer.
4. Unplug the external power cables to the computer.
5. Underneath your notebook, you will generally nd a screw that secures your drive
in the device. Please remove this screw.
6. In order to avoid an electrostatic charge, touch an earthed, metallic object.
7. Please now remove the currently installed drive from your notebook and replace it
with the new drive.
8. Handle the hard drive by its sides only. Avoid touching the circuit board components
on the bottom of the hard drive.
9. Do not drop, shake, or knock down the hard drive.
10. Next, secure the new drive in your notebook using the screw that you removed
earlier.
Setting the system BIOS
1. Turn on your computer system. During the startup sequence, run the CMOS (BIOS)
setup program. Newer systems will typically display a message similar to „press
DEL to enter SETUP“, showing how to access the CMOS(BIOS) program.
2. Choose a device position within the BIOS where the hard disk drive will be installed.
3. To make the computer detect the hard disk drive, select the „auto-detect“ option then
save and exit the BIOS set up. If your computer supports HDD auto detection, the
hard disk drive will automatically be detected. If you select the type from the Adapter
Primary Master Slave section, „Autotype Fixed Disk: (Press Enter)“ will appear on
the screen. If you press Enter, the hard disk drive will automatically be detected.
For Microsoft Windows 2000:
If the Hardware Wizard asks you to search for a new driver, please select
„Automatically nd driver“.
Please do not select any other area for the search. The system driver for the DVD/ RW
is installed. The device is now ready for use.
For Apple OS X
No driver is required. OS X installs the driver automatically.

See more:
www.cnmemory.de
Chips and More GmbH - Gewerbestr. 7 - D-79112 Freiburg
Copyright © 2012, Chips and More GmbH. Alle Rechte vorbehalten.
Alle in diesem Druckwerk mitgeteilten Daten, Merkmale und Beschreibungen können sich jederzeit und ohne An-
kündigung ändern. Alle enthaltenen Firmennamen und Produktbezeichnungen sind Warenzeichen der jeweiligen
Inhaber. Alle Rechte vorbehalten.
Copyright © 2012, Chips and More GmbH. All rights reserved.
All data, features and descriptions contained in this leaet are subject to change at any time, without notice. All
company names and product descriptions contained within the leaet are trademarks of their respective owners.
All rights reserved. 3
SSD_PhantomII_III_Handbuch_Innen.indd 6 29.03.2012 14:18:41
This manual suits for next models
1
Table of contents
Languages:
Popular DC Drive manuals by other brands
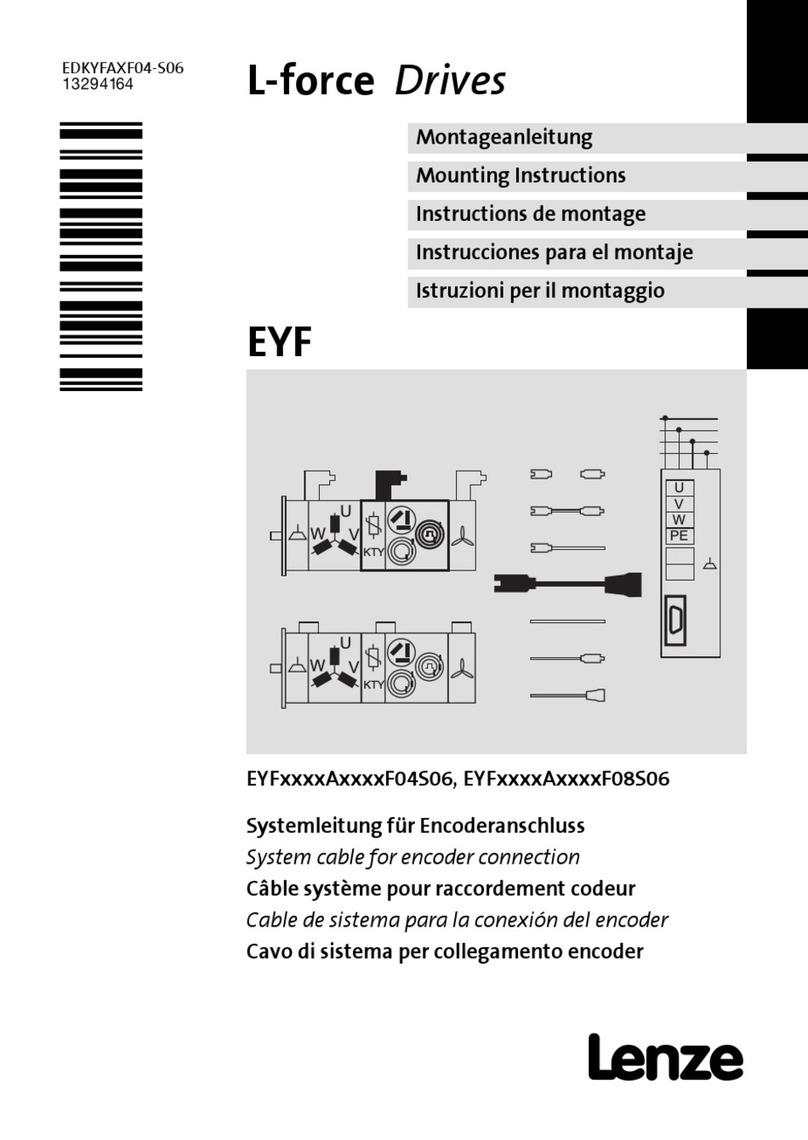
Lenze
Lenze L-force EYF A F04S06 Series Mounting instructions

REED
REED 5301PD Operator's manual
Nidec
Nidec LEROY-SOMER ORTHOBLOC 3000 installation guide
Stanley
Stanley SCH20 Original instructions
Danfoss
Danfoss VLT HVAC Drive FC 102 operating instructions
Danfoss
Danfoss VLT AQUA Drive FC 202 operating guide
