Colzer TR160D User manual

Colzer Dehumidifier
User Manual
Model No.: TR160D
Please read this User Manual before operating and keep safe for future reference.

Need Help?
Before you request for customer support, here are a few things you can do to
help us serve you better.
Read this user manual:
It contains instructions to help you use and maintain your dehumidifier properly.
If you receive a damaged dehumidifier:
Immediately contact the seller that sold you the dehumidifier.
Save time and money:
Check the troubleshooting section at the end of this manual before writing to us.
This section will help you solve common problems that may occur.
Welcome
Thanks for your purchase and welcome to the Colzer family.
We suggest that you read this user manual before plugging in your new dehumidifier
as it contains important safety information, operation instructions, troubleshooting,
maintenance tips, and warranty information to ensure the reliability and longevity of
your dehumidifier.
We also kindly ask you to take a few minutes to register your product at
colzersmart.com/vip for more efficient support as well as updates, promos, and
other cool stuff. Although greatly appreciated, product registration is not required to
activate any warranty.
To access customer support, please email to service@colzer.com with your purchase
order ID to help us address the problem faster.

CONTENTS
Safety Information.................................................................................1
Product Specifications...........................................................................2
Features.................................................................................................2
Parts Identification................................................................................3
Operation Instructions..........................................................................4
Install the Handle.........................................................................4
Position Your Dehumidifier...........................................................4
Set up Drainage............................................................................5
Plug the Dehumidifier in...............................................................5
Understand the Control Panel......................................................6
Smart Functions....................................................................................8
Maintenance.........................................................................................8
Clean the Dehumidifier.................................................................8
Clean the Air Filter........................................................................9
Store the Dehumidifier.................................................................9
Trouble Shooting.................................................................................10
Warranty Information.........................................................................11
Contact Colzer Customer Service........................................................11

1
SAFETY INFORMATION
•Install the dehumidifier on flat surface to minimize vibration and or noise.
•Inspect the power cord before use. Never operate the dehumidifier when the
power cord or plug is damaged.
•Insert the three-prong plug on the power cord into a matching electrically
grounded outlet (115V/ 60 Hz, 15 A at least). Do not use an adapter. Never cut off the
third prong. Do not use an extension cord.
•Do not operate the dehumidifier in standing water. Keep motor and wiring dry.
•Never immerse the dehumidifier into water or other liquids.
•Do not put the dehumidifier close to heat-generating devices, including flammable
or dangerous materials.
•Unplug the power supply before cleaning or storing the dehumidifier. Always grasp
the plug (not the cord) to unplug.
•Do not put fingers or other items into air inlet or air outlet.
•Never insert any other objects into the dehumidifier body.
•Do not sit, stand or put heavy objects on the dehumidifier.
•This dehumidifier should only be used by adults who have read the manual and
understand the operating procedure of the dehumidifier.
•The dehumidifier is not to be used by persons (including children) with reduced
physical, sensory or mental capabilities, or lack of experience and knowledge, unless
they have been given supervision or instruction by an adult.
Never repair or remove plug and or power cord. Any repairs should be
completed by qualified electrician or distributor.

2
PRODUCT SPECIFICATIONS
Colzer Dehumidifier
Model No.
TR160D
Power Source
AC 110-120V, 60 Hz
(80°F, RH 60%)
Input Power
735 W
Input Current
7.0 A
Moisture Removal
93 Pints/Day
(86°F, RH 80%)
Input Power
835 W
Input Current
8.0 A
Moisture Removal
160 Pints/Day
BCSC
15 A
Motor Compressor
RLA:7.3A; LRA:36.4A
Refrigerant
R410a (18 oz.)
High Pressure
522 PSIG (3.6 MPa)
Low Pressure
240 PSIG (1.65 MPa)
MADE IN CHINA
FEATURES
* High Dehumidifying Capacity for commercial & industrial use
* Straightforward Control Panel for easy operation
* Built-in Pump for convenient drainage
* Tough Semi-pneumatic Wheels for easy transport
* Rotational Molded Housing for tough job
* Fold-able Handle for space-saving storage
* Hot Gas Valve System for fast defrost
CONFORMS TO UL STD.
60335-1&60335-2-40
CERTIFIED TO CSA STD.
C22.2 NO.60335-1&60335-2-40

3
PARTS IDENTIFICATION
NOTE: DO NOT OBSTRUCT THE AIR INLET OR OUTLET.
Power Cord
Air-inlet Grille
Air Outlet
Wheel
Colzer Info
Control Panel
Drain Hose
Winder
Remove to
Access Pump
Wire Nail
Integrated Handle
(Foldable)
Handle Latch
Label Area

4
OPERATION INSTRUACTIONS
1. Install the Handle
1) Remove the handle from the buckle and flip the handle up 180°to align the hole
position of the handle and the handle holder;
2) Insert the corded bolts into the holes of the handle holder and the handle by
pressing and holding the metal button on the top of the bolt.
3) Release your finger when you have inserted the bolt to the latch.
To Fold the Handle for Storage
1) Pull out the bolt from the latch by pressing and holding the metal button on the
top of the bolt;
2) After removing both bolts from the latches, fold the handle down by 180°and fix it
to the buckle.
NOTE: Press and hold the top knob of the bolt when you are trying to insert or pull
out the bolts. Otherwise, you may not be able to insert or pull out the bolts.
2. Position Your Dehumidifier
IMPORTANT
Transporting or storing the dehumidifier in a horizontal position is not
recommended. When the dehumidifier is placed in a horizontal position, the oil
from the compressor can flow into the refrigerant coils and reduce the ability of
the dehumidifier to function and possibly damage the dehumidifier. If the
dehumidifier has been placed in a horizontal position, set it
upright and let it stand for at least 24 hours before plugging it in.
For best results, operate your dehumidifiers in an enclosed area. Close all doors and

5
windows that open to efficiency. Place your dehumidifier away from obstructions,
and keep it away from anything that could block airflow into and out of the
dehumidifier.
3. Set Up the Drainage
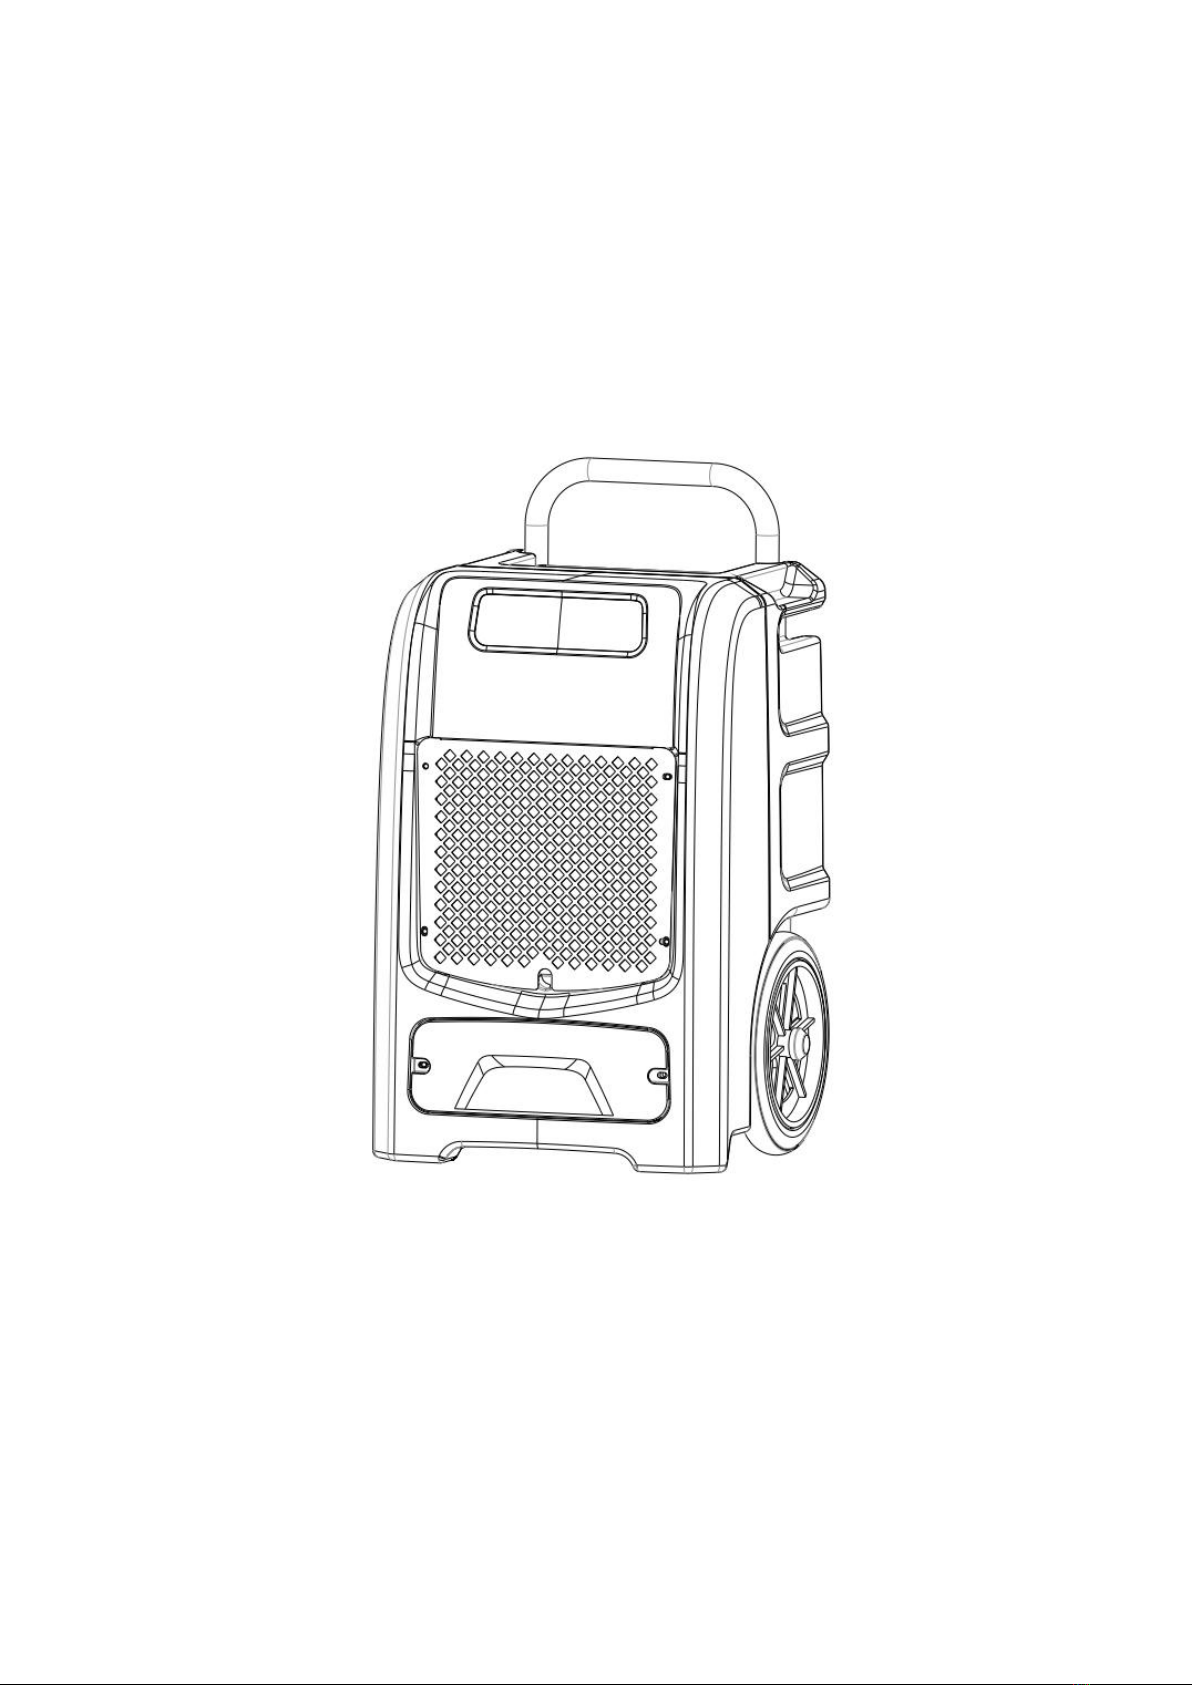
The dehumidifier pump connects to a plastic drainage hose. The hose, stored on the
back of the dehumidifier, is equipped with a quick-connect fitting for easy
attachment to the drain outlet.
1) Uncoil the entire hose;
2) Attach the end of the hose with the connect fitting to the drain outlet directly,
until you hear a “click”sound;
3) Place the unattached end in a sink, drain, bucket or outdoors –anywhere that
water can drain out safely. ( Ensure there are no kinks or other obstructions that will
stop the water to flow.)
NOTE:
•Ensure that water which runs to outdoors does NOT create a slip hazard.
•If you use a bucket or other container for water collection, check it regularly to
prevent overflows.
•The drain hose for the water pump can drain up to 15ft vertically. More than 15ft
may cause water back up to the pump resulting in leakage.
•When turning off the dehumidifier, please take the hose out from the water
collection container to avoid the water back-flow causes water leakage.
•To remove the drain hose from the outlet, press and hold the buckle on the
connect fitting and pull the hose out.
4. Plug in Electrical Cord
The dehumidifier needs to be plugged into a GFCI-protected 115 volt outlet rated for
at least 15 amps. Uncoil the power cord from the winder and plug it firmly into a
suitable outlet.
After plugged in, the dehumidifier will automatically enter into standby mode where
the readout on the display screen is in dim light.

6
5. Understand the Control Panel
Display Screen
- The first line of the display shows the total number of hours the dehumidifier has
been in operation. It will also countdown the timer on the right if the timer function
has been activated.
- The second line of the display shows current temperature and humidity of inlet and
outlet.
Power Button: Press to turn the dehumidifier ON or OFF.
- To Turn the Dehumidifier ON: In standby mode, press the POWER button to turn
the dehumidifier on. The readout on the display screen will light up and the
dehumidifier will run in continuous dehumidify mode.
- To Turn the Dehumidifier OFF: Press the POWER button again to turn the
dehumidifier off. The compressor will turn off right after you pressed the POWER
button, but the fan will not stop until 1-2 minutes later.
- To Toggle the Temperature Scale: Press and hold the POWER button for 5-8 seconds
to toggle the temperature scale between Fahrenheit and Celsius. (Default
temperature scale is Fahrenheit.)
Defrosting Indicator: The dehumidifier begins to defrost when the defrost indicator
illuminates; the dehumidifier has stopped defrosting when the light is no longer
illuminated. When defrosting is complete, the dehumidifier begins to dehumidify
again automatically.

7
Water Full Indicator: When the water pump is full of water, the indicator light turns
on to remind the user to drain.
Purge Button: Press to empty water from the condensate pump reservoir. Use
"PURGE" before moving the dehumidifier to avoid water spillage. During normal
operation, the pump purges automatically when the reservoir is full. The FULL
indicator will light up after you pressed the PURGE button, which means the pump is
working. 30 seconds later, the pump will stop working automatically and the FULL
light will go off.
Timer Button: The TIMER function enables you to either Delay Start or Delay Stop
the dehumidifier in the choice from 1 hour to 24 hours.
If the dehumidifier is running, then selecting Timer will turn the dehumidifier off in
the hours that will be set (Delay Stop). If the dehumidifier is off, then selecting Timer
will turn the dehumidifier on in the hours that will be set (Delay Start).
To Set Timer:
1) Press and hold the TIMER button for 3-5 seconds;
2) Adjust the timer setting by pressing the TIMER button to change the delay timer
at 1-hour increments, up to 24 hours. The control will count down the time
remaining (8,7.5,7, etc.) until the dehumidifier either starts or stops.
3) After TIMER setting finishes, pressing the TIMER button again at any time will stop
the TIMER function.
Note:
- The Delay Start/Stop Feature will work until the dehumidifier either starts or stops.
Once that happens the above steps have to be repeated.
- The TIMER feature is one-shot. So the timer will not cycle the dehumidifier on or off
indefinitely.
- Before entering the TIMER setting, make sure you’ve plugged it in.

8
Smart Functions
Auto Drainage
Thanks to the built-in pump, the dehumidifier will drain the condensation water
automatically.
Wait 3 Minutes before Resuming Operation
To avoid any damage to the dehumidifier, the dehumidifier will not start operation
following a complete cycle until after 3 minutes. Operation will automatically start
after 3 minutes.
Auto Defrost
When the frost builds up on the evaporator coils, the compressor will cycle off and
the fan will continue to run until the frost disappears.
Auto-Restart
If the dehumidifier shuts off unexpectedly due to power being cut, the dehumidifier
will restart with the previous function setting automatically when the power
resumes.
MAINTENANCE
Ensure the dehumidifier is turned OFF and the plug is removed from the
power socket before cleaning or maintenance is carried out.
Cleaning the Dehumidifier
Clean the dehumidifier body with a soft damp cloth. Do not submerge or place water
on the dehumidifier or control panel. Water may damage the electronic components
of the dehumidifier. Do not use chemical solvents such as benzene, alcohol, gasoline
or other heavy-duty cleaners. The surface may become damaged or deformed.

9
Cleaning the Air Filter
The working performance of the dehumidifier will be greatly reduced if the filters
become blocked.
To Clean the Filter
1) Pull out the air filter from the top side gently.
2) Vacuum any debris from the filter using the vacuum hose and nozzle attachment.
3) Immerse the filter into lukewarm water (about 40°C) with a mild detergent, and
then wash it and allow it to dry.
4) Once dry, re-install the filter into the dehumidifier.
Dehumidifier Storage
1) Push the purge button to empty the water before transportation or storage.
2) Transport and store the dehumidifier upright.
3) You can fold the handle and stack this dehumidifier to save space.

10
TROUBLE SHOOTING GUIDE
Problem
Possible Cause
Solution
Dehumidifier does not
operate
No power to dehumidifier
Connect plug to power socket
Switch not turned on
Switch on
E4 error is displayed
Check drainage flow
Dehumidifier collects
little water
Insufficient working time
Allow more working time
Filter is blocked
Clean filter
Low ambient temperature
Heat up the room
Condensate hose is blocked
Check hose for restrictions
dehumidifier
operating,
but room not dry
Doors and windows are open
Seal room from external areas
Error Code
Possible Cause
Solution
E1
Copper head sensor failure
Replace it
E2
Air inlet temperature and humidity sensor failure
Replace it
E3
Air outlet temperature and humidity sensor
failure
Replace it
E4
Water pump failure or Water tank of water
pump is full
Replace it or check the
water pump
E5
4-way valve failure
Replace it
If the problem you are experiencing is not listed here, contact our Service Team at
service@colzer.com for further assistance.

11
Warranty Information
Colzer offers a limited 1-year warranty on all of our products, with original proof of
purchase and where a defect has arisen, wholly or substantially, as a result of faulty
manufacture, parts or workmanship during the warranty period.
The warranty does not apply where damage is caused by other factors, including
without limitation:
(a) normal wear and tear;
(b) abuse, mishandling, accident, or failure to follow operating instructions;
(c) exposure to liquid or infiltration of foreign particles;
(d) servicing or modifications of the product other than by Colzer.
The Colzer warranty covers all costs related to restoring the proven defective product
through repair or replacement of any defective part and necessary labor so that it
conforms to its original specifications. A replacement product may be provided
instead of repairing a defective product. Colzer's exclusive obligation under this
warranty is limited to such repair or replacement.
We recommend that you register your product on our website colzersmart.com/vip.
Although greatly appreciated, the product registration is not required to activate any
warranty and product registration does not eliminate the need for the original proof
of purchase.
These are our general terms for warranty service, but we always urge our customers
to reach out to us with any issue, regardless of warranty terms. If you have an issue
with a Colzer product, please contact us at service@colzer.com, and we will do our
best to resolve it for you.
Contact Us
Email: service@colzer.com
Live-Chat on Website: colzersmart.com
Table of contents
Other Colzer Dehumidifier manuals