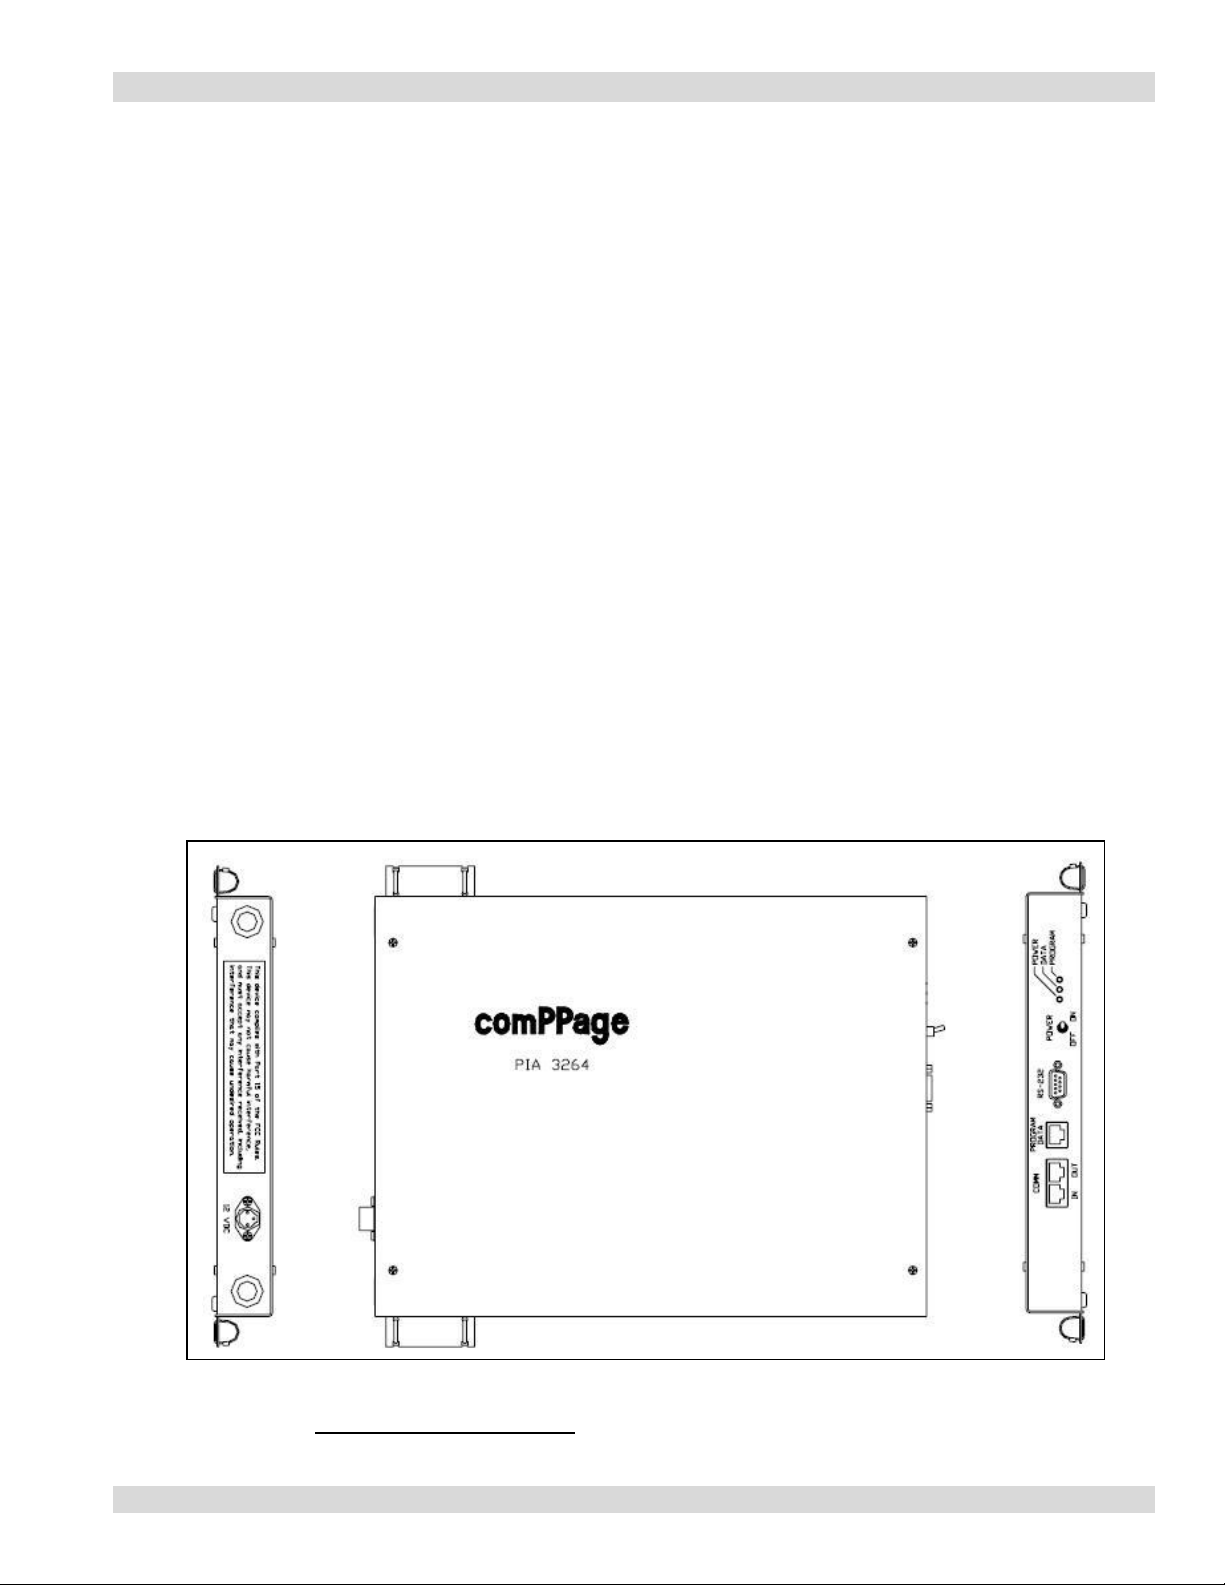
Paging Interface Adapter
2
Information in this document is subject to change without notice. Companies, names, and data used in examples
herein are fictitious unless otherwise noted. No part of this document may be reproduced or transmitted in any form
or by any means, electronic or mechanical, for any purpose, without the express written permission of comPPage®,
Inc. All rights reserved. Printed in the United States. Microsoft, MS, Microsoft Windows XP are all trademarks of
Microsoft Corporation.
NOTIFICATION OF COPYRIGHT
This software package associated with the Paging Interface Adapter (“software”) is a proprietary product of
comPPage®, Inc. and is protected by copyright laws and international treaty. You must treat the software like any
other copyrighted material, except that you may place the software on a single hard disk, provided that you keep the
original software solely for backup or archival purposes. Copyright laws prohibit making additional copies of the
software for any other reason.
SOFTWARE LICENSE AGREEMENT
Read this license Agreement before using the software. This agreement is a legal contract between you, the end user,
and comPPage®, Inc. governing your use of the Software. This agreement shall also be binding on any subsequent,
authorized licensee. If you do not wish to agree to the terms of this Agreement, promptly return the complete
package to the distributor from whom you obtained this product. You will receive a full refund provided you return
the equipment in its original packaging. If you have any questions concerning this Agreement, contact:
comPPage®, Inc.
Attn: Customer Service (561) 969-7124)
3900 Woodlake Blvd.
Suite 208
Greenacres, Florida 33463
LICENSE
1. comPPage®, Inc. grants you the right to use the Paging Interface Adapter and software .
2. You may not sub license, rent, or lease the software, but you may permanently transfer your license to use the
software and accompanying materials by delivering to another party the original materials comprising the software
package, including the title page of the reference manual. You must also simultaneously destroy all copies of the
accompanying materials in your possession. Such transfer terminates your license to use the software. The new
recipient of the software and accompanying materials accepts this agreement and is licensed under the terms of this
agreement upon initially using the Software.
3. You may not de-compile, disassemble, reverse engineer, copy, transfer, or otherwise use the software except as
stated in this Agreement.