manuals.online logo
Brands
  1. Home
  2. •
  3. Brands
  4. •
  5. comptree
  6. •
  7. Indoor Furnishing
  8. •
  9. comptree WF198158 User manual

comptree WF198158 User manual

ASSEMBLY INSTRUCTIONS
1
PLEASE DO NOT RETURN PRODUCT TO THE STORE.
If you have any problem or concerns, please feel free to contact our customer
service department. We will reply you as soon as possible.
E-Mail: [email protected]
Tel: 626-912-8886 Ext.100
ITEM # : WF198158/198159
A
A
A1
A
V1
V
C1
C
C
C
F
M
J
P
H
G
O
S
R
N
D
B
B
D
E
I
K
T
Q
15
15
15
L
L
L
Detail View
2
Q
T
3
Hardware List: WF198159
1 2 3
4 5 6
Wood dowel (65pcs) Bolts (12pcs)
1/4"*15 (9.5mm)
Ø10 x 30mm (Ø15)1/4" x 100mm Ø1/4" x 100mm
Bolts (8pcs)
7
Hex-Head bolts (18pcs)
8
Ø1/4" x 50mm
(Ø15)1/4" x 80mm
4*58mm
Hex-Head bolts (25pcs)
Horizontal-Hole bolts(21pcs) Allen key (2pcs)
Wood screws (60pcs)
Part List: WF198159
Bolts (1pcs)
9
(Ø15)1/4" x 65mm
B
Upper legs - 2pcs
D
Upper legs - 2pcs
Side rail - 1pc
G
Side rail -1pc
H
Upper leg - 1pc
J
Ladder Left side rail - 1pc
L
Ladder step - 3pcs
K
Upper leg - 1pc
M
Upper leg -1pc
E
Upper leg -1pc
F
N
Side rail - 1pc
O
Side rail- 1pc
P
Q
Upper leg - 1pc
Upper long Guard rail - 2pcs Upper short Guard rail - 2pcs
T
Side rail -1pc
R
Side rail -1pc
S
ASSEMBLY TOOLS REQUIRED ( NOT INCLUDED )
4
A
Cap for horizontal bar - 3pcs Upper legs - 2pcs
C
Bottom horizontal bar - 3pcs
Slats - 30pcs
15
Bottom horizontal bar - 1pc
I
A1
Cap for horizontal bar - 1pcs
C1
Bottom horizontal bar - 1pcsCenter horizontal bar - 1pcs
V1
Center horizontal bar - 1pcs
V
Part List: WF198158
A
CD
B
3
3
8PCS
13
8PCS
4PCS
13
2PCS
5
1
3
1
A
D
C
1
3
1
B
DB
E
FI
I
I
F
E
STEP 1: Following below illustration Assembly FRAME #1. Using hardware #1 & #3 connect A and C
horizontal bars with B and D legs to complete FRAME #1.
NOTE: In this step, DO NOT tighten any bolt
until you connect all part together
STEP 2: Following below illustration Assembly FRAME #2. Using hardware #1 & #3 connect I bottom
horizontal bar with E and F legs to complete FRAME #2.
NOTE: In this step, DO NOT tighten any bolt
until you connect all part together
5
1
6PCS
45
2PCS
3PCS
35
3PCS
2PCS
2
4PCS
1
1
12PCS
6
F
E
H
G
B
D
J
L
K
3
5
1
1
FH
7
4
1
2
4
G
H
B
D
E
G
L
L
1
KJ
4PCS
7
STEP 3: Following below illustration Assembly FRAME #3. Using hardware #1, #2, #4, #5 & #7 connect G
and H side rails with FRAME #1 and FRAME #2 to complete FRAME #3.
NOTE: In this step, DO NOT tighten any bolt
until you connect all part together
(FRAME #1)
(FRAME #2)
STEP 4: Following below illustration Assembly FRAME #4.
Using hardware #1, #3 & #5 connect L ladder step with K ladder left side rail and J upper leg
to complete FRAME #4.
NOTE: In this step, DO NOT tighten any bolt
until you connect all part together
3
6PCS
A
C
V
6PCS
1
1PC
5
7
5
A
V
C
1
3
F
M
F
M
H
G
H
M
7
4PCS7PCS
4
2PCS
2
5PCS
1
9
1
4
1
4
H
G
2
N
O
O
N
E
D
B
D
B
9
1PC
STEP 5: Following below illustration Assembly FRAME #5.
Using hardware #1, #3 & #5 connect A, V and C horizontal bars with FRAME #3 (F-Upper leg)
and M upper leg to complete FRAME #5.
NOTE: In this step, DO NOT tighten any bolt
until you connect all part together
STEP 6: Following below illustration Assembly FRAME #6.
Using hardware #1, #2, #4, #7 & #9 connect N and O side rails with FRAME #1
and FRAME #5 to complete FRAME #6.
NOTE: In this step, DO NOT tighten any bolt
until you connect all part together
(FRAME #3)
(FRAME #5)
3
6PCS6PCS
1
8
A
C
P
J
VA
V
C
1
3
P
G
5
1
2
4PCS
45
4PCS4PCS
2
10PCS
1
1
4
Q
S
Q
R
P
P
J
K
K
Q
Q
R
STEP 7: Following below illustration Assembly FRAME #7.
Using hardware #1 & #3 connect A, V and C horizontal bars with FRAME #4
and P upper leg to complete FRAME #7.
NOTE: In this step, DO NOT tighten any bolt
until you connect all part together
STEP 8: Following below illustration Assembly FRAME #8.
Using hardware #1, #2, #4 & #5 connect Q upper long guard rail, R and S
side rails with FRAME #6 and FRAME #7 to complete FRAME #8.
NOTE: In this step, DO NOT tighten any bolt
until you connect all part together
(FRAME #4)
(FRAME #6)
(FRAME #7)
9
2
2PCS
45
2PCS
2PCS
2
2PCS
1
4
Q
S
Q
R
4
Q
S
Q
R
5
5
4PCS
J
M
M
5
5
P
N
J
O
P
K
N
O
J
K
M
S
STEP 9: Following below illustration Assembly FRAME #8.
Using hardware #1, #2, #4 & #5 connect Q upper long guard rail, R and S
side rails with FRAME #6 and FRAME #7 to complete FRAME #8.
(FRAME #7)
(FRAME #6)
NOTE: In this step, DO NOT tighten any bolt
until you connect all part together
STEP 10: Following below illustration Assembly FRAME #9.
Using hardware #5 connect S and K side rails with J upper leg and
K ladder left side rail to complete FRAME #9.
NOTE: In this step, DO NOT tighten any bolt
until you connect all part together
5
2PCS
45
2PCS
2PCS
2
8PCS
1
10
21
4
1
T
T
M
MK
K
T
T
T
T
STEP 11: Following below illustration Assembly FRAME #10.
Using hardware #1, #2, #4 & #5 connect T upper short guard rail with
FRAME #9 (M - Upper leg, K - ladder left side rail) to complete FRAME #10.
(FRAME #9)
NOTE: In this step, DO NOT tighten any bolt
until you connect all part together
11
8
60PCS
8
15
15
15
W
STEP 12: Following below illustration assembly Completed Bunk Bed.
Using hardware screw #8 connect to screw all slats #15 on all the Bunk Bed.
WARNING !:
Please completed screw all the slats in to side rails before using.
COMPLETED BUNK BED

This manual suits for next models

1

Other comptree Indoor Furnishing manuals
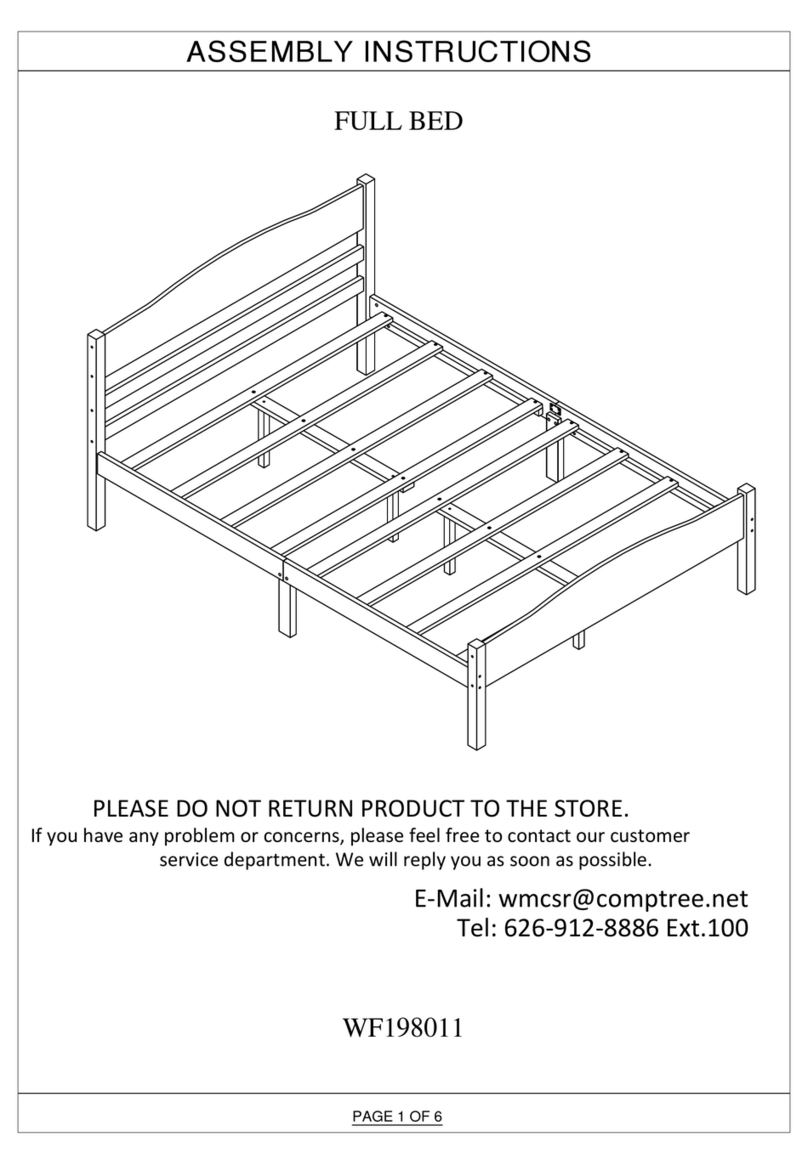
comptree WF198011 User manual

comptree

comptree WF198011 User manual

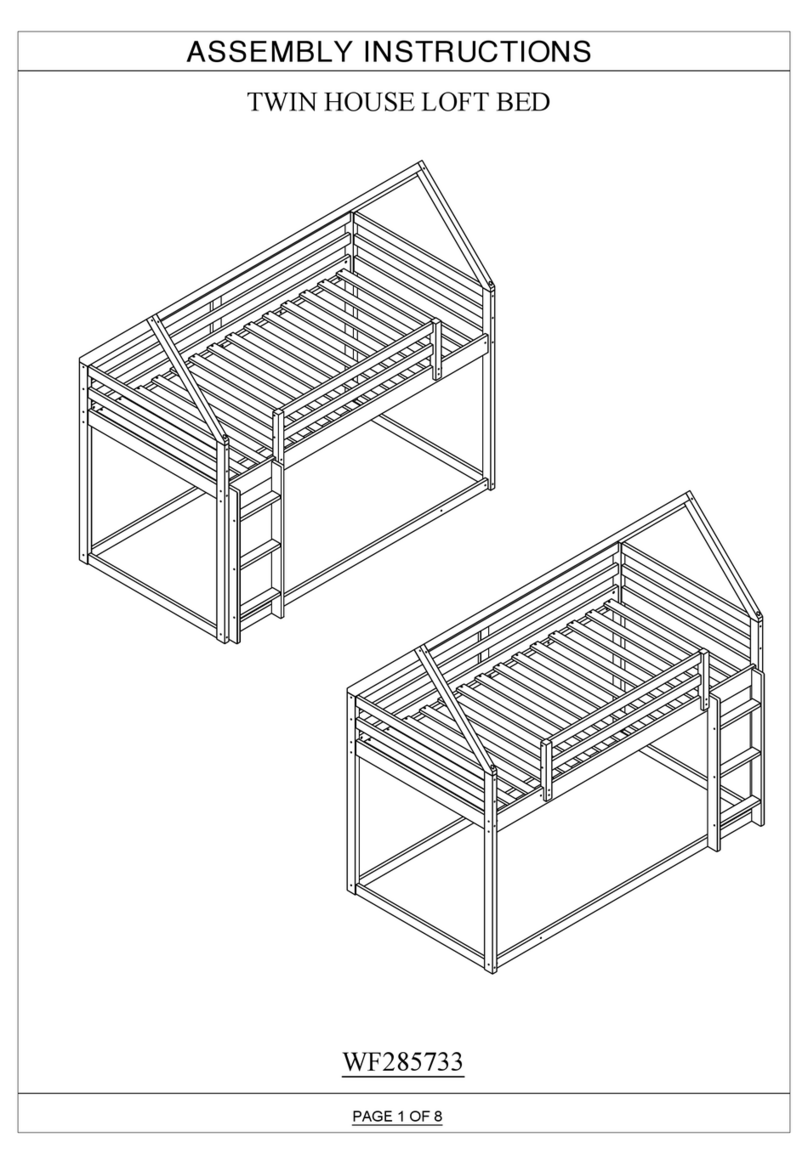
comptree TWIN HOUSE LOFT BED WF285733 User manual

comptree

comptree TWIN HOUSE LOFT BED WF285733 User manual

comptree WF198011 User manual

comptree

comptree WF198011 User manual

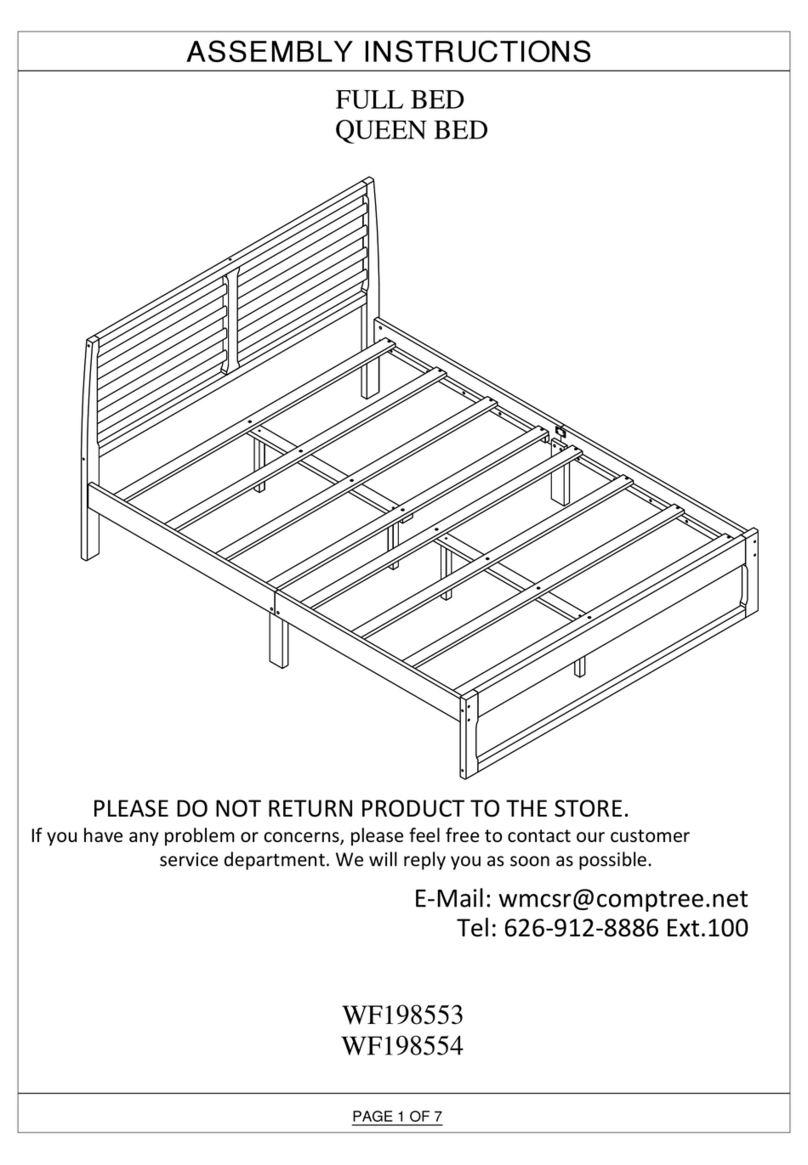
comptree WF198553 User manual

comptree

comptree WF198553 User manual

comptree WF198175 User manual

comptree

comptree WF198175 User manual

comptree WF281325 User manual

comptree

comptree WF281325 User manual

comptree 229T User manual

comptree

comptree 229T User manual
comptree 230Q User manual

comptree

comptree 230Q User manual

comptree MF197037AAD User manual

comptree

comptree MF197037AAD User manual
Popular Indoor Furnishing manuals by other brands

Ballard Designs Del Mar Ottoman JC307 quick start guide

Ballard Designs

Ballard Designs Del Mar Ottoman JC307 quick start guide

Alice's Home BJORN 1 Assembly instruction

Alice's Home

Alice's Home BJORN 1 Assembly instruction

Dwell 141488 Assembly instructions

Dwell

Dwell 141488 Assembly instructions

Ligno E-CORNER Flex TQD Operation manual

Ligno

Ligno E-CORNER Flex TQD Operation manual

Canvas Office Landscape Private Office Hutch Installation and Disassembly for Recycling Instructions

Canvas

Canvas Office Landscape Private Office Hutch Installation and Disassembly for Recycling Instructions

STAND STEADY TRFSEL63BLBL instruction manual

STAND STEADY

STAND STEADY TRFSEL63BLBL instruction manual

E-MORE 2M2S Operation manual

E-MORE

E-MORE 2M2S Operation manual

DELTA-SPORT 273839 Instructions for use

DELTA-SPORT

DELTA-SPORT 273839 Instructions for use

BLACK RED WHITE KADA S404-REG1D Assembly

BLACK RED WHITE

BLACK RED WHITE KADA S404-REG1D Assembly

Teknik Hudson 5427871 Assembly instructions

Teknik

Teknik Hudson 5427871 Assembly instructions

Coaster 110653 Assembly instructions

Coaster

Coaster 110653 Assembly instructions

Furniture of America CM7389CK Assembly instructions

Furniture of America

Furniture of America CM7389CK Assembly instructions

Lightolier Lytespan 6422 specification

Lightolier

Lightolier Lytespan 6422 specification

VIPACK AMORI BED AMBE9014 Assembly instructions

VIPACK

VIPACK AMORI BED AMBE9014 Assembly instructions

VECELO KHD-XJM-TC06 Assembly instructions

VECELO

VECELO KHD-XJM-TC06 Assembly instructions

Rauch M2549 Assembly instructions

Rauch

Rauch M2549 Assembly instructions

HULALA HOME TVSBSD0505 manual

HULALA HOME

HULALA HOME TVSBSD0505 manual

JWA BRADSHAW 2DRAWER BEDSIDE 73037 Assembly instruction

JWA

JWA BRADSHAW 2DRAWER BEDSIDE 73037 Assembly instruction

manuals.online logo
manuals.online logoBrands
  • About & Mission
  • Contact us
  • Privacy Policy
  • Terms and Conditions

Copyright 2025 Manuals.Online. All Rights Reserved.