Index
ZX690
Features
.................................
1
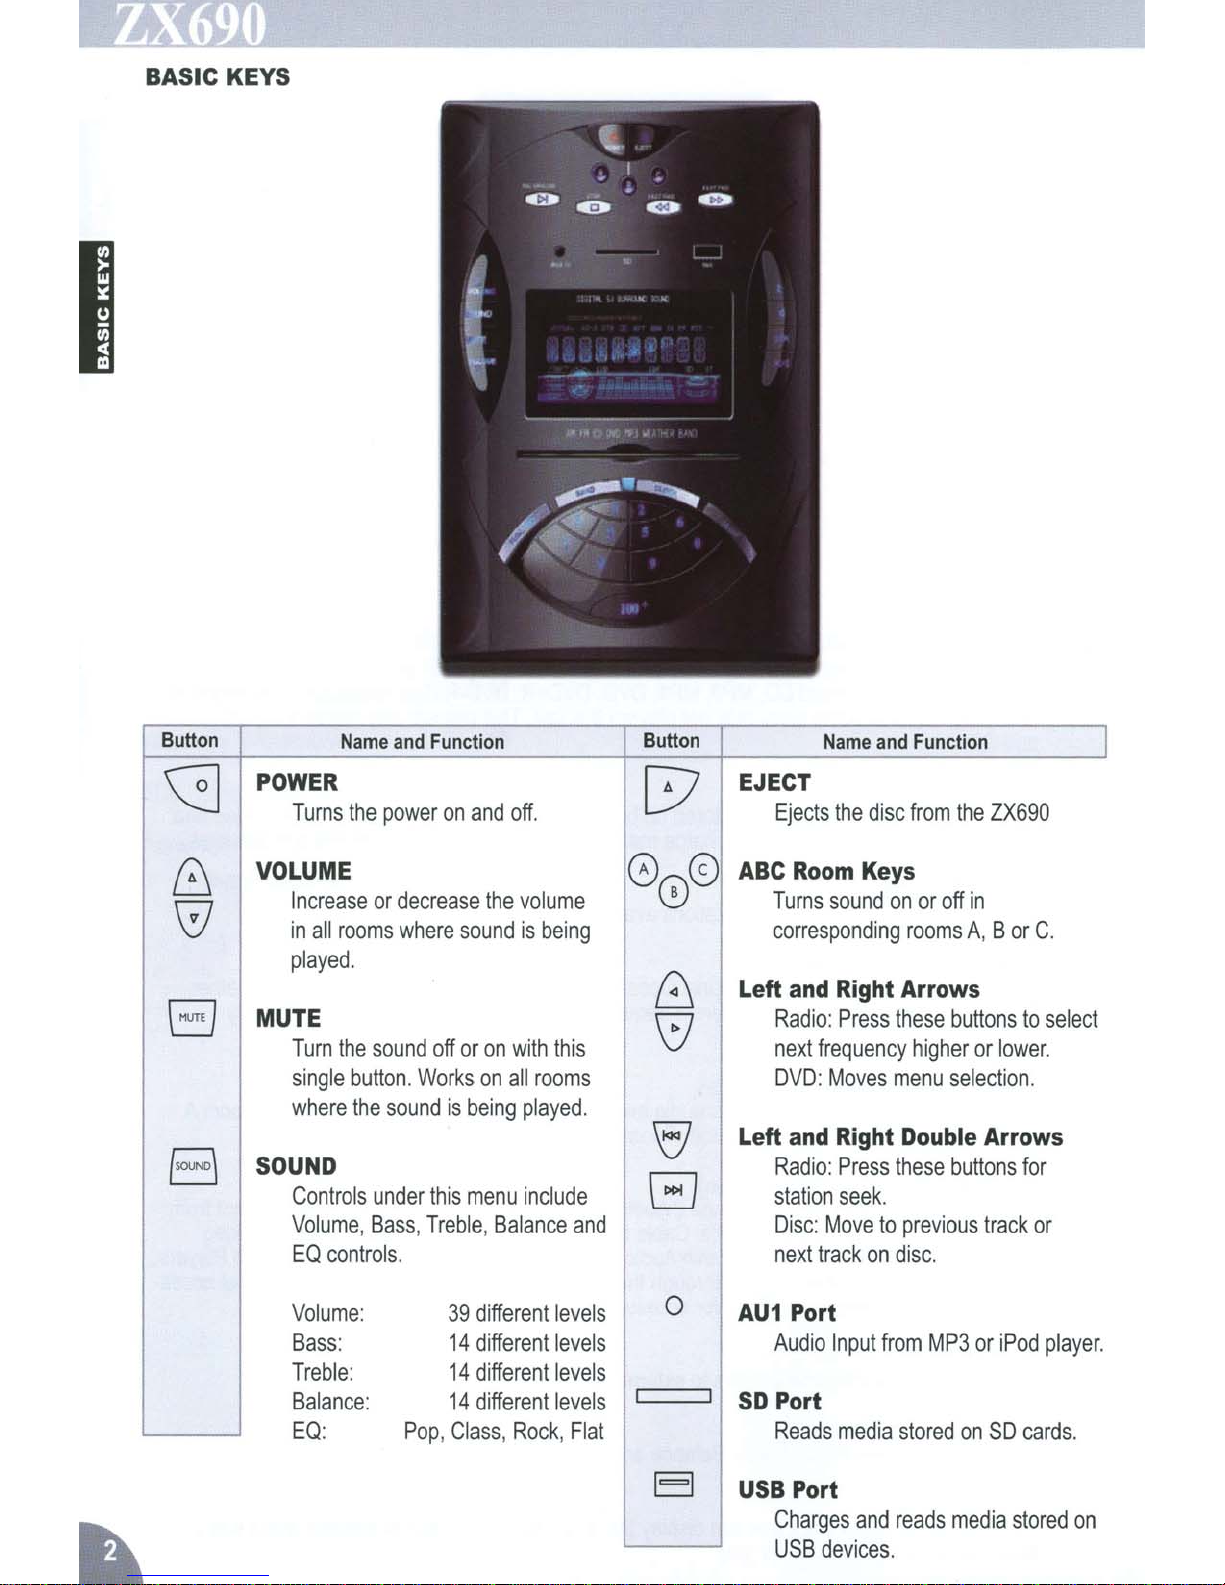
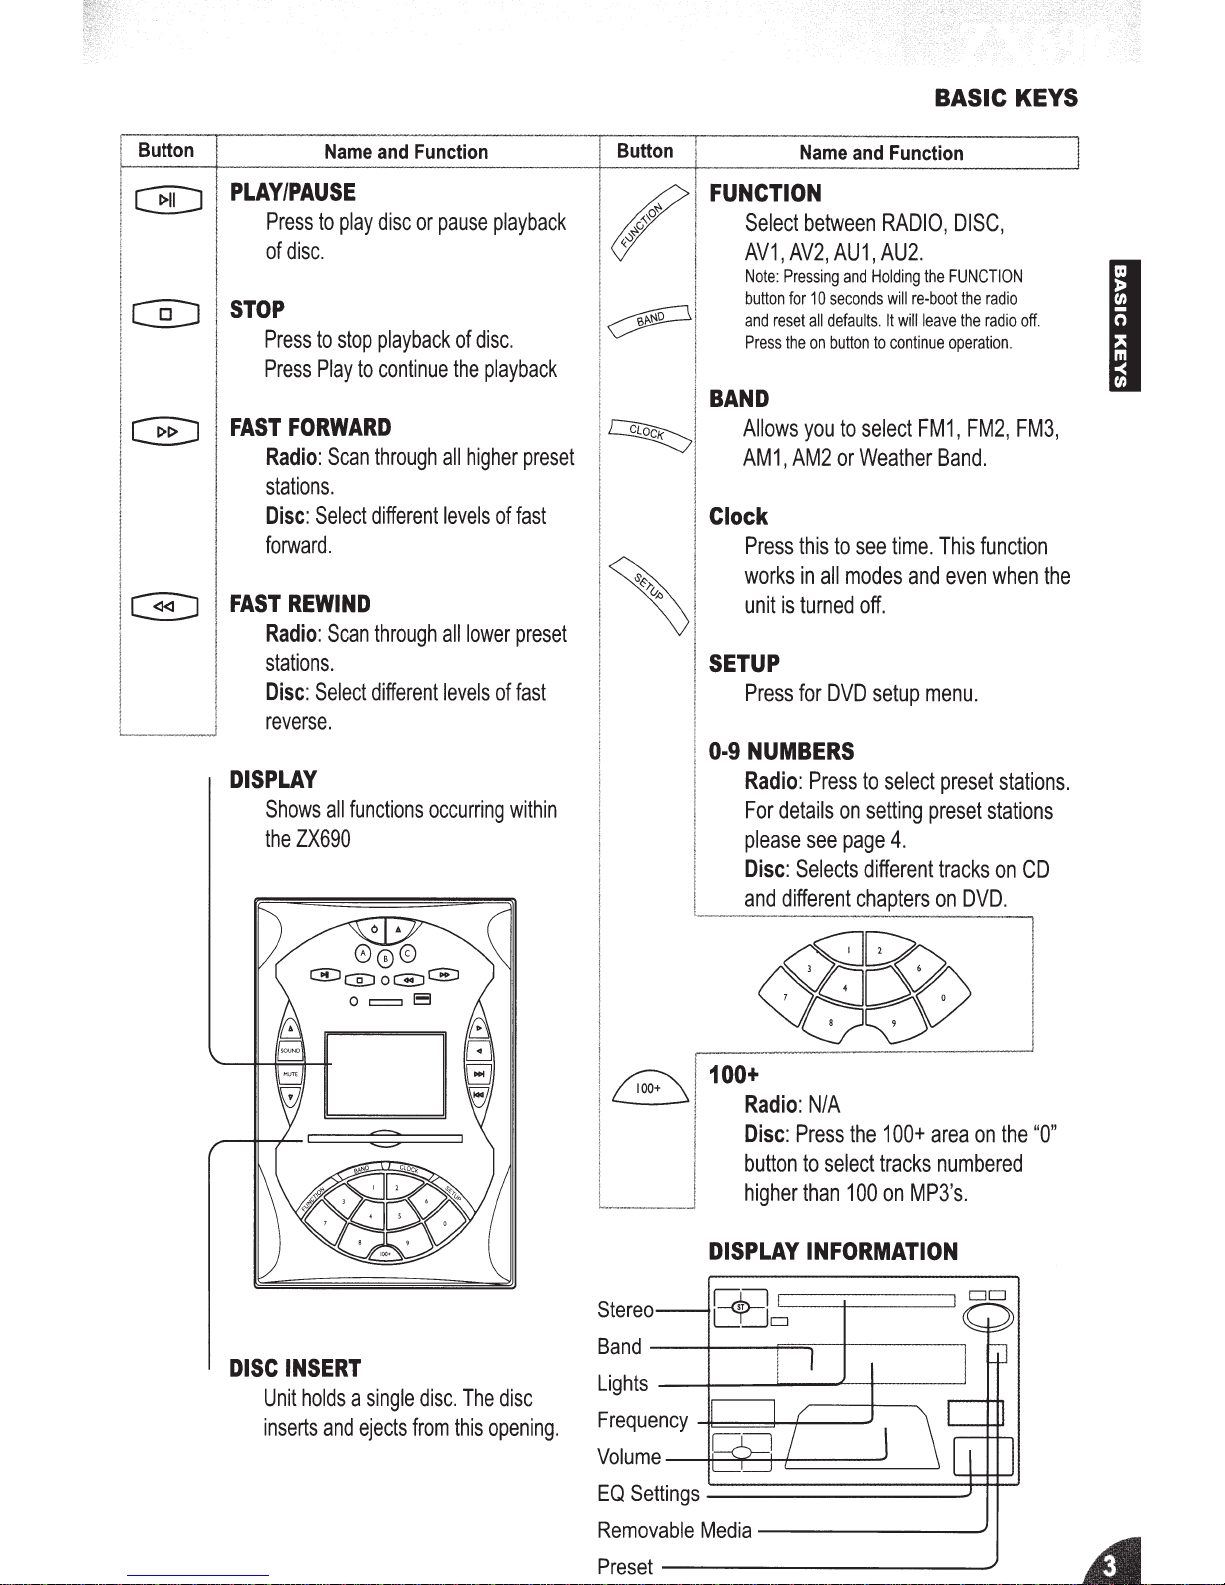
Basic
Keys
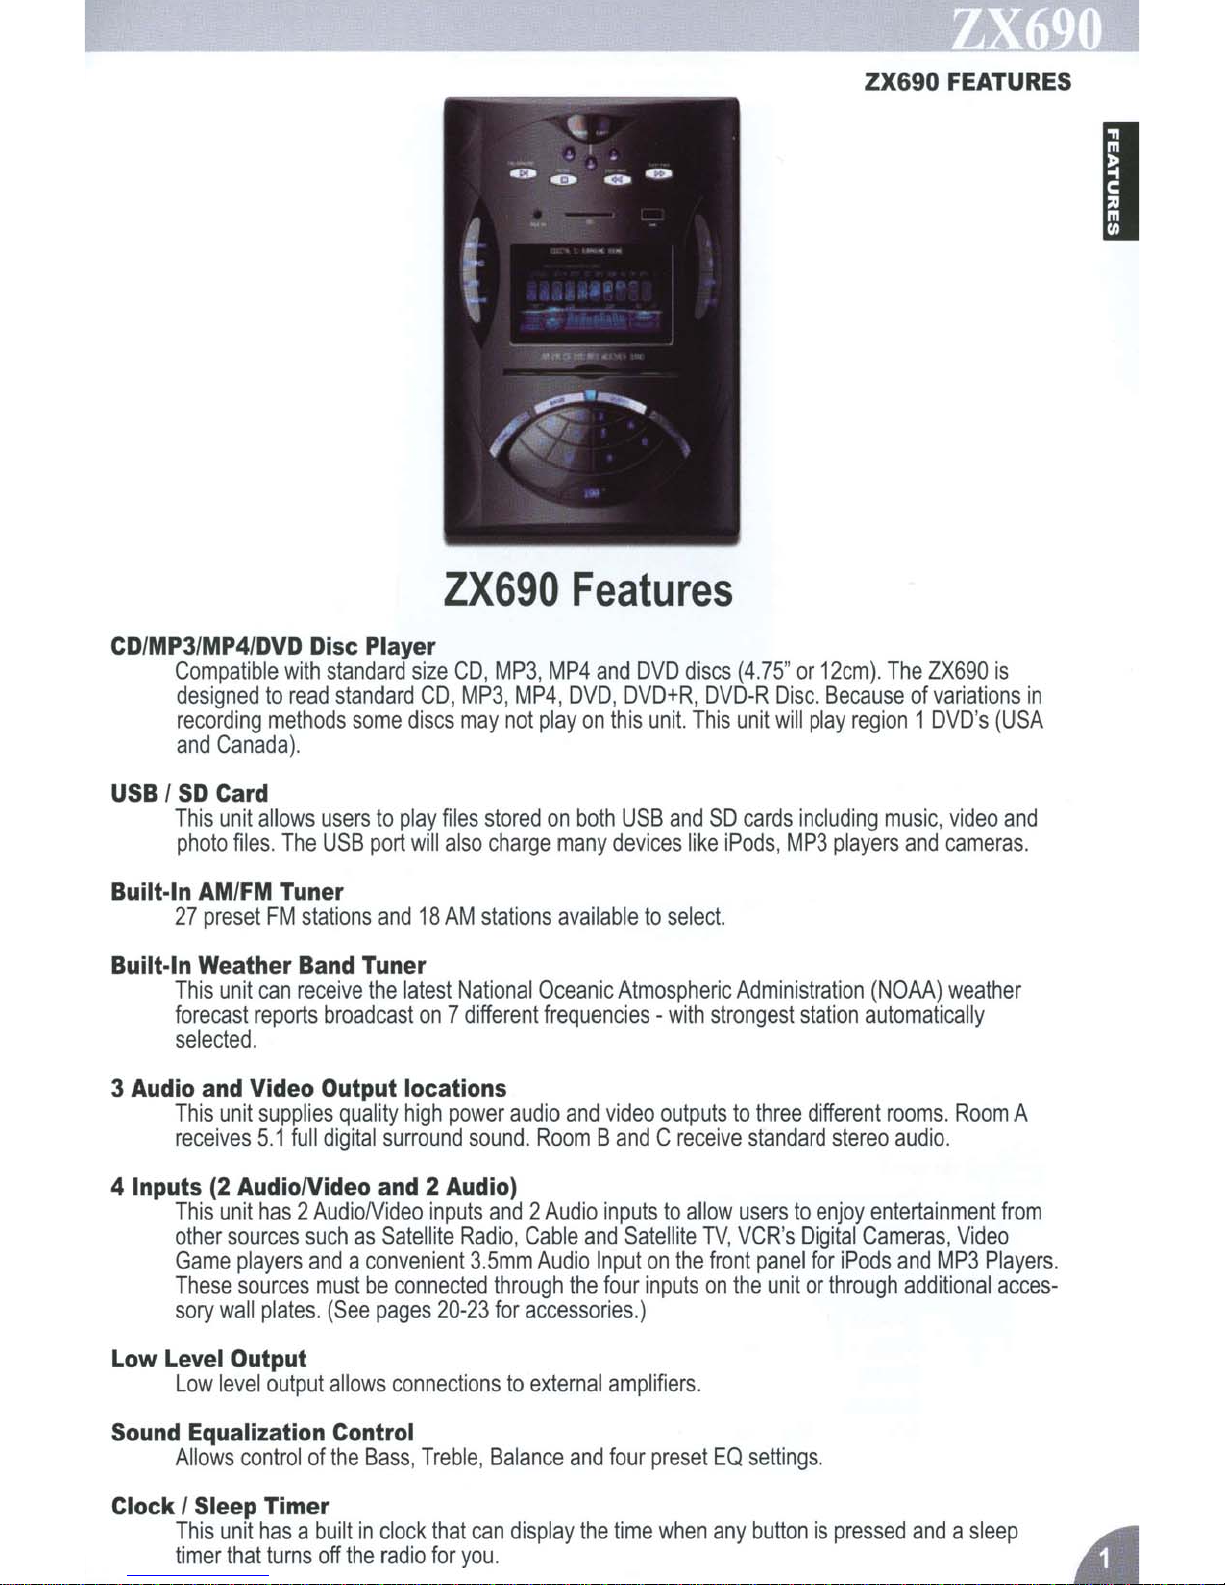
ZX690
Unit.
....................
2-3
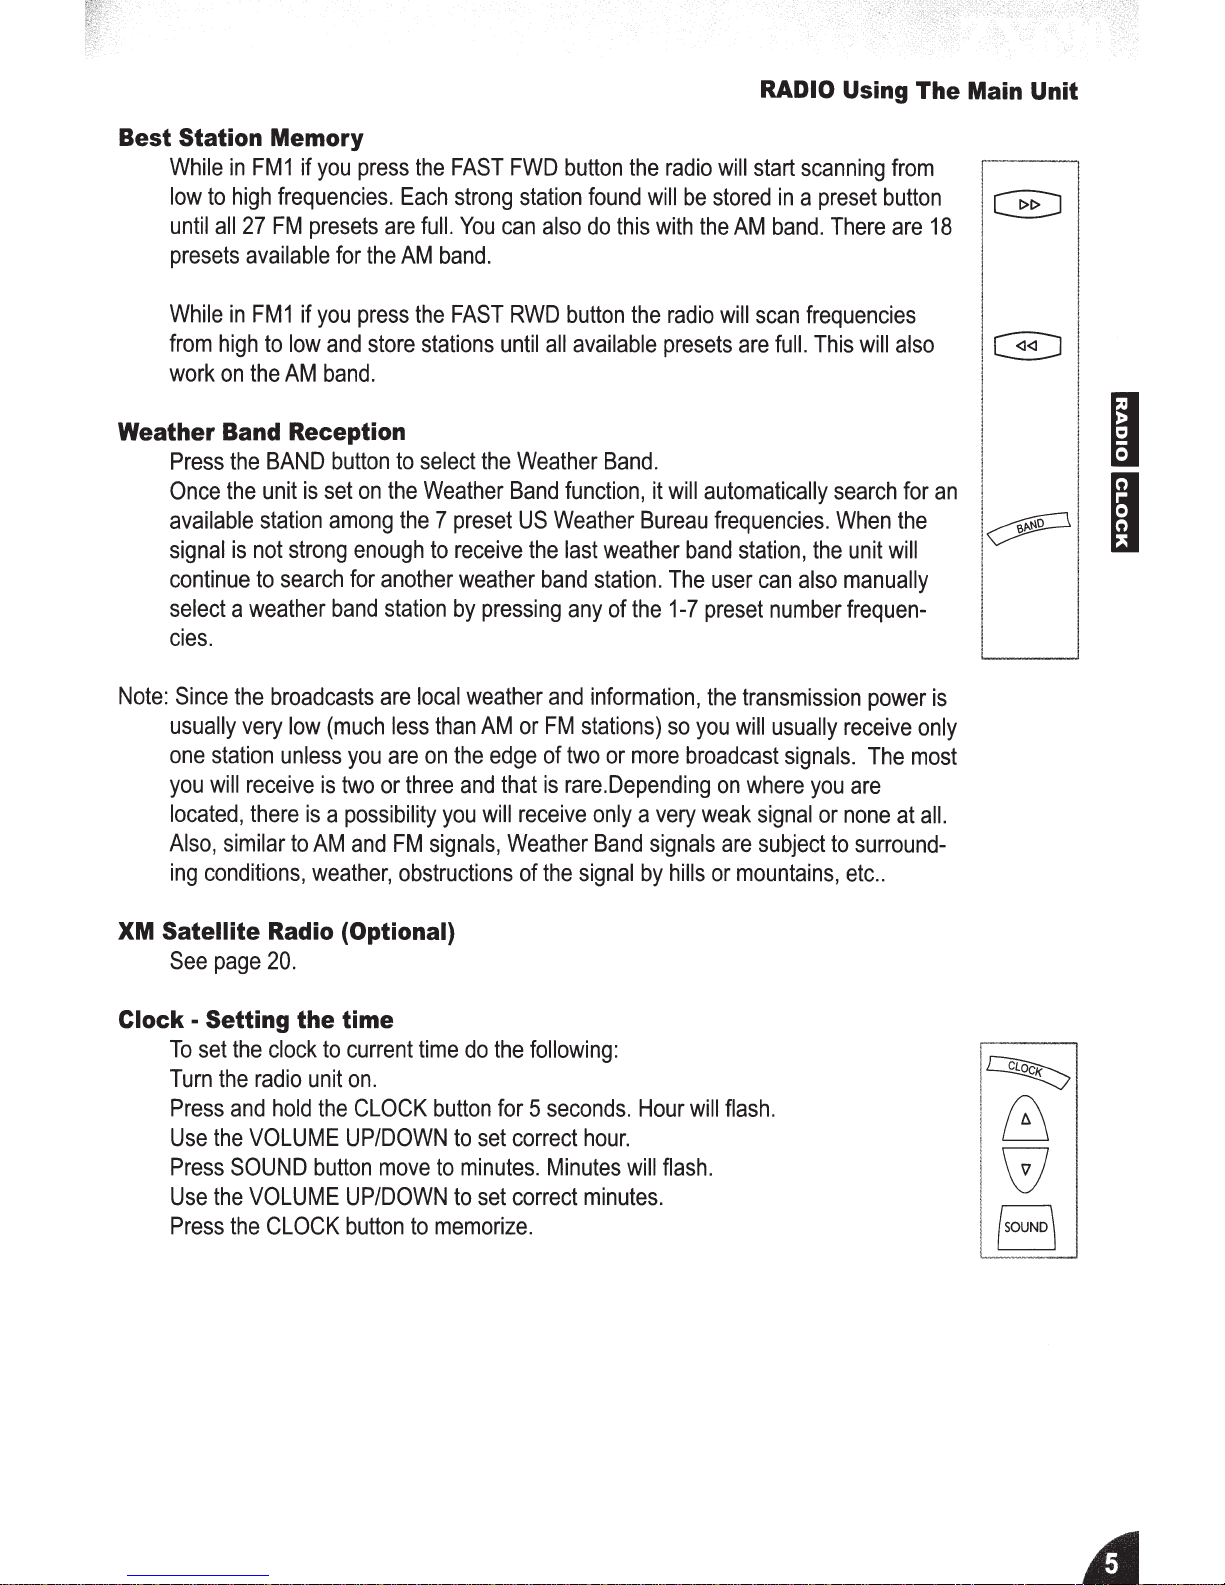
Radio/Clock
Main
Unit
................................
4-5
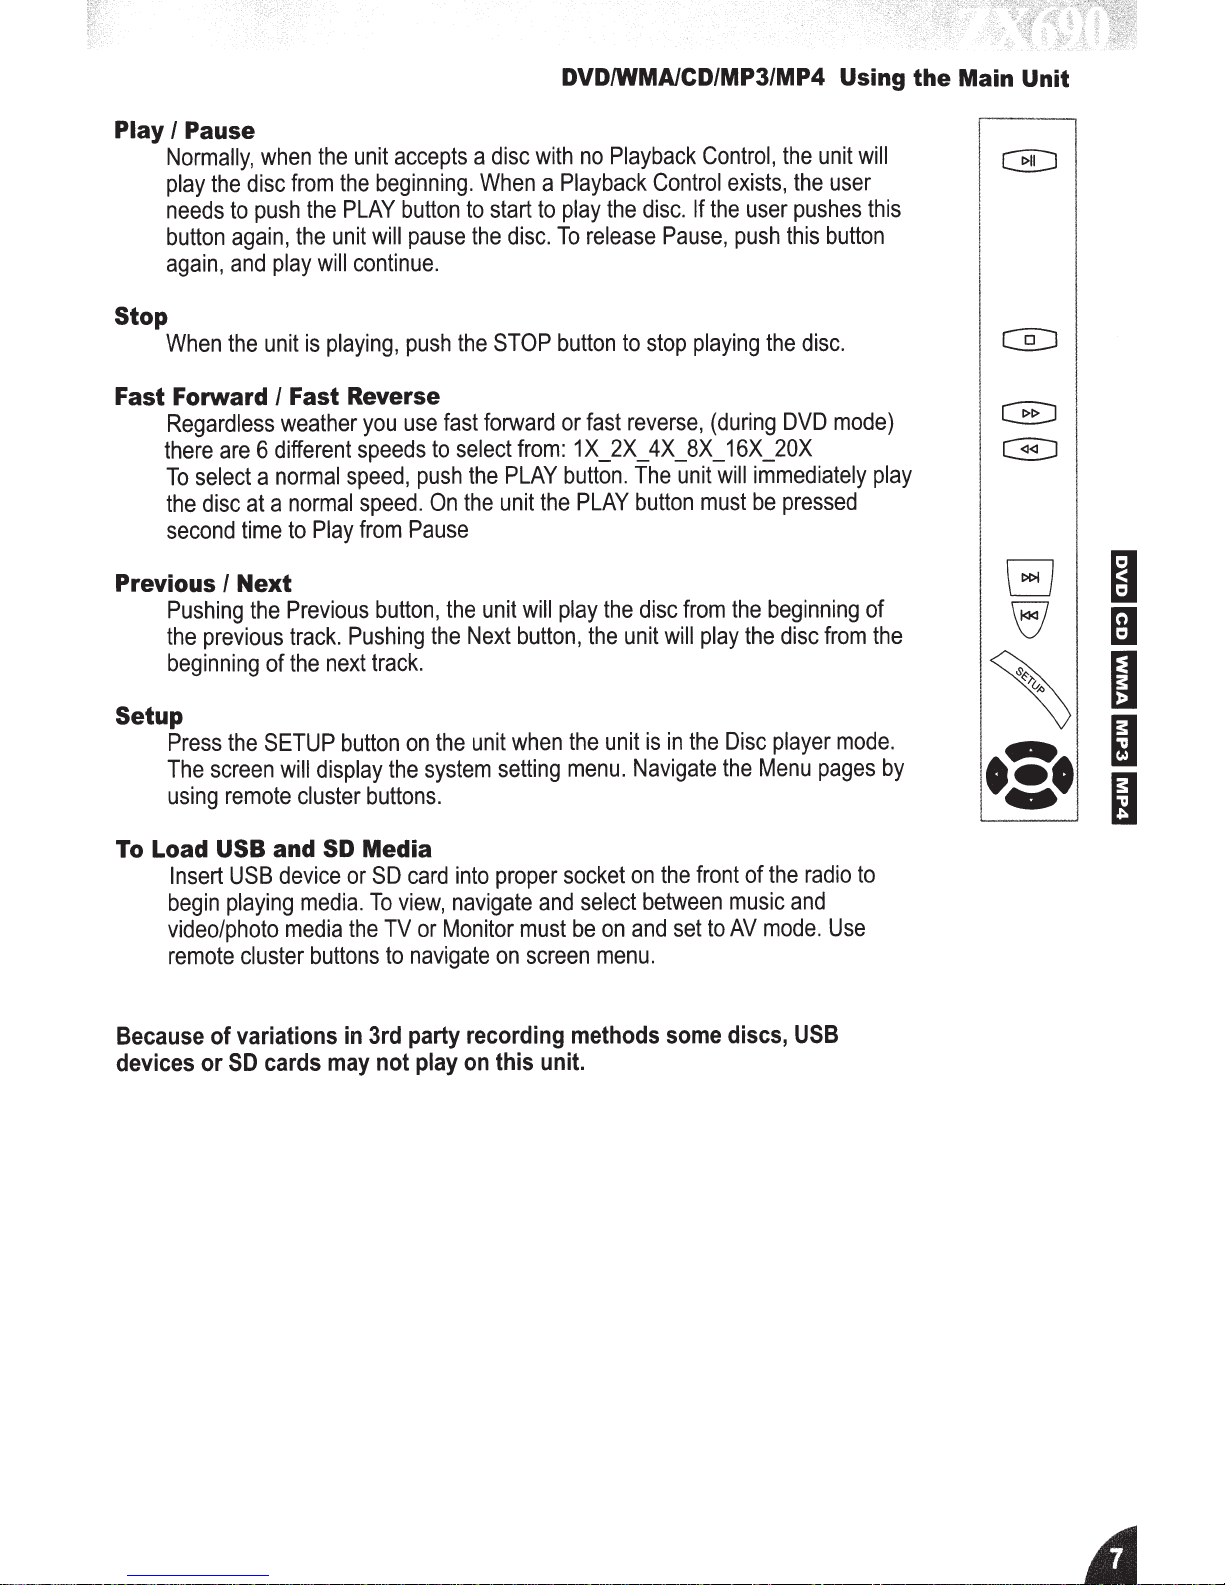
DVD/CDIWMAI
Function
Main
Unit
................................
6-7
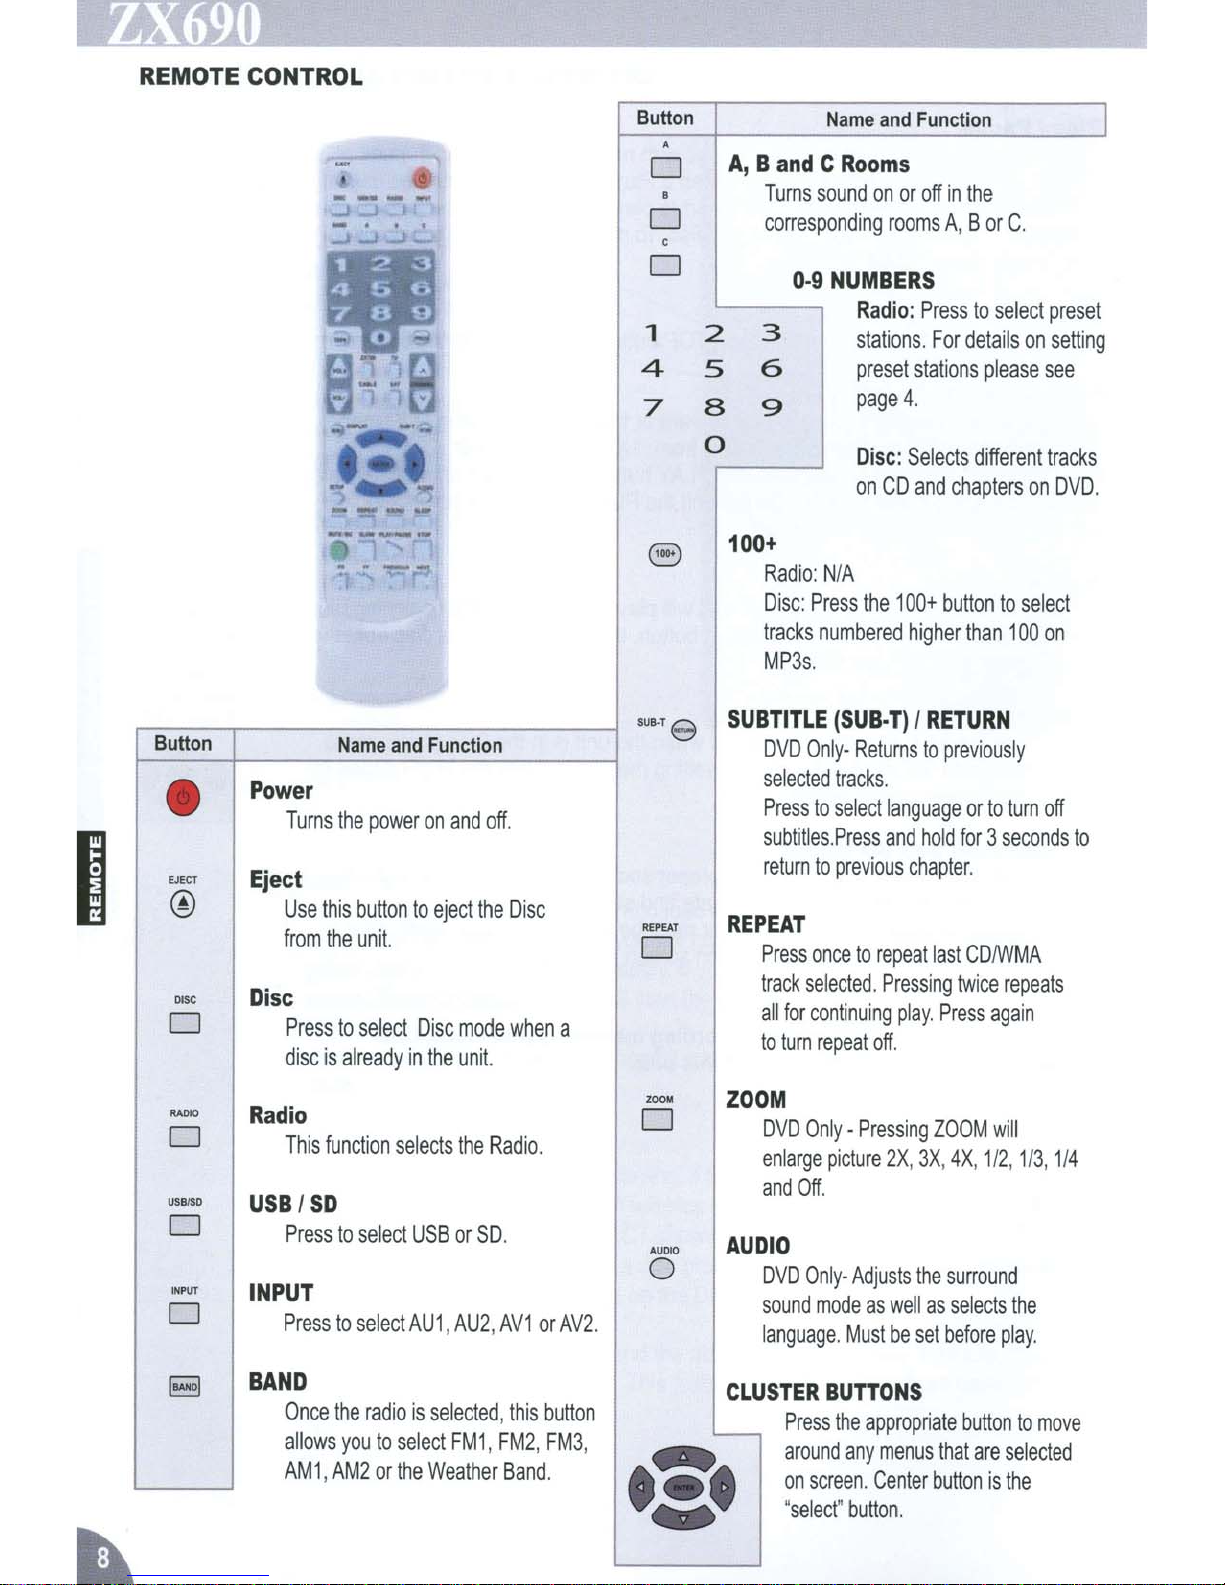
Remote
Control..
..............................
8-15
ZX690
Specifications
.......................
16
Simple
Troubleshooting
Guide
.......
17
Warnings
...........................................
18
Warranty
Information
......................
19
FCC
Compliance
..............................
19
Accessories
Input
Options
.........................
20-23