3
Problem Cause / Solution
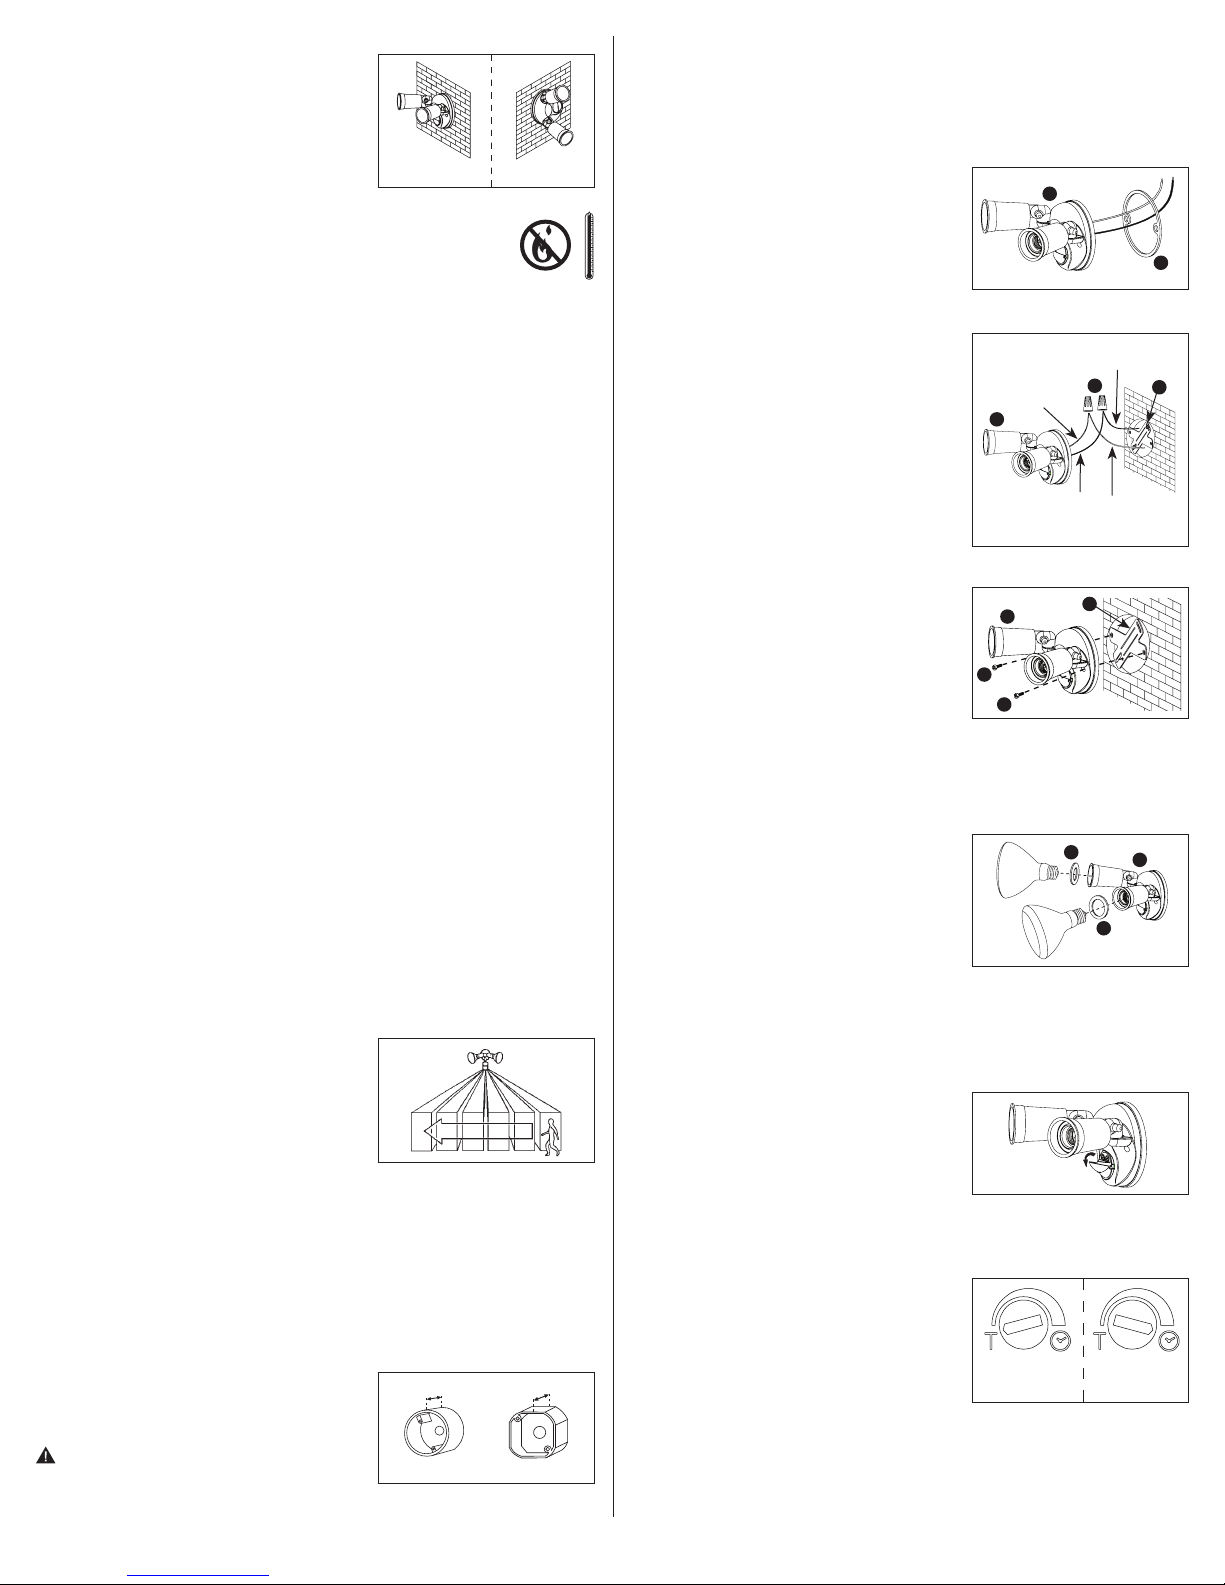
Light comes on
for no apparent
reason at night.
There is motion in the detection zone.
• Make sure the sensor is not picking up moving objects such as
trees, traffic, etc.
TEST FOR YOURSELF:
• Cover the sensor lens with cardboard to prevent sensor
from detecting motion. If the light stays off, something in the
detection zone is triggering the sensor.
* If the light stays on with the sensor lens covered, contact
customer service.
• Relocate or reposition the unit.
Light stays on at
night and does
not turn off.
There is motion in the detection zone.
• Make sure the sensor is not picking up moving objects such as
trees, traffic, etc.
• Relocate or reposition the unit.
Unit is in override mode (if there is no motion).
• Turn the light switch off for at least 10 seconds and then turn
back on. This will send the unit back into the “Auto” mode.
Light continuously
blinks on and
off at night.
The light given from the unit’s own lamp is affecting the
motion sensor.
• Re-aim the lamp.
• Relocate or reposition the unit.
Light is on during
the day.
The time adjustment knob on the motion sensor is in the test
(“T”) mode.
• Make sure the time adjustment knob in not set to “T”.
Unit is in override mode.
• Turn the light switch off for at least 10 seconds and then turn
back on. This will send the unit back into the “Auto” mode.
The motion detector is shadowed.
• Relocate or reposition the unit.
To obtain warranty service, please contact Cooper Lighting, LLC, at 1-800-334-6871, press
include the following information:
• Name, address and telephone number
• Date and place of purchase
• Catalog and quantity purchase
• Detailed description of problem
All returned products must be accompanied by a Return Goods Authorization Number issued
by the Company and must be returned freight prepaid. Any product received without a Return
Goods Authorization Number from the Company will be refused.
Cooper Lighting, LLC is not responsible for merchandise damaged in transit. Repaired or
replaced products shall be subject to the terms of this warranty and are inspected when
packed. Evident or concealed damage that is made in transit should be reported at once to
the carrier making the delivery and a claim filed with them.
Reproductions of this document without prior written approval of Cooper Lighting, LLC are strictly prohibited.
Printed in China
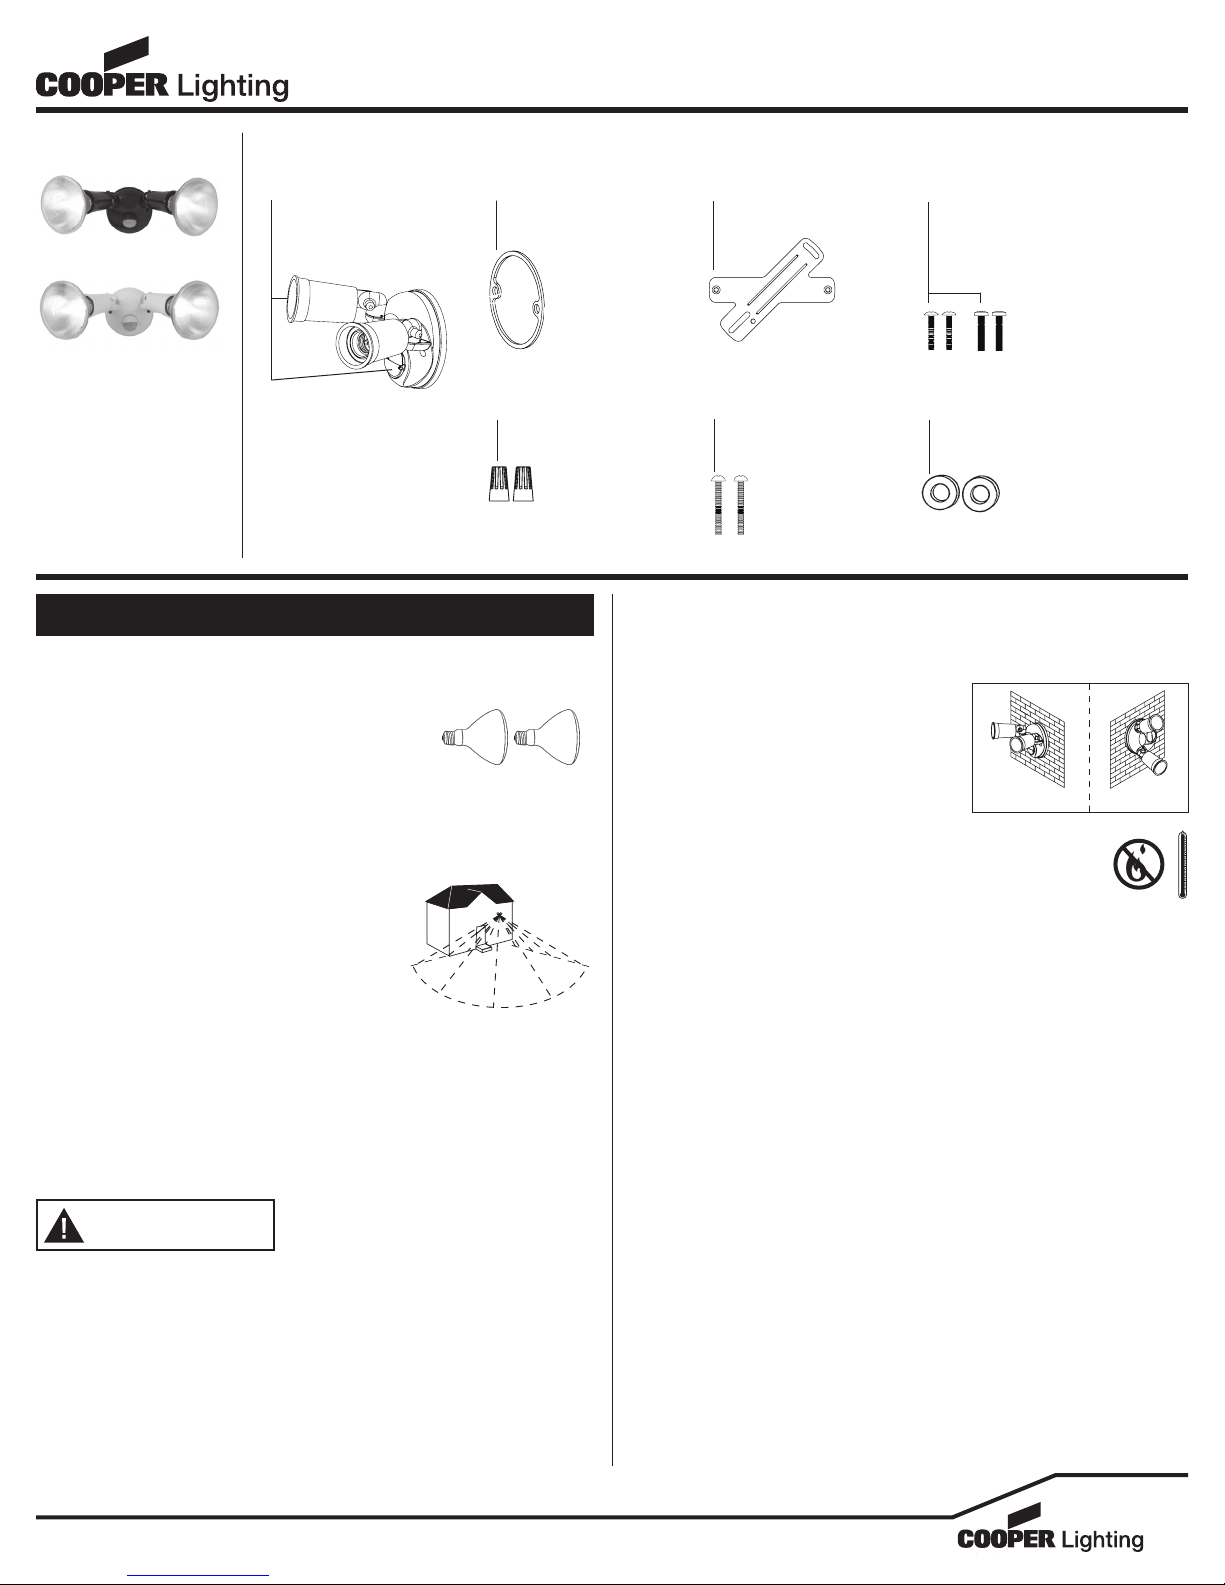
ARTÍCULOS NECESARIOS
(se compran por separado)
• Destornillador en cruz (Phillips)
• Destornillador de cabeza plana
• Calafateo de silicona resistente a la intemperie
• (2) lámparas para proyector tipo PAR 38 de 150 W (máximo)
NOTA: Este accesorio fue diseñado para trabajar con bombillas reflectoras de Halógeno PAR de
150 vatios como máximo. Para mayor eficiencia de energía, use bombillas reflectoras
Halógeno PAR de menor vataje. No se recomienda el uso de bombillas fluorescentes
compactas (CFL) porque tienen partes electrónicas que pueden interferir con las funciones
de detección de movimiento de su accesorio.
CÓMO FUNCIONA
La lámpara de alta intensidad activada por movimiento
detecta imágenes térmicas de objetos tales como
personas, animales grandes y motores de automóviles.
Cuando se detecte movimiento, la luz se encenderá
automáticamente. Una vez que el movimiento haya
cesado, la luz se apagará después de un tiempo de
retardo preseleccionado. Esta lámpara de alta intensidad
activada por movimiento también puede ser utilizada
como una lámpara de alta intensidad estándar.
INSTRUCCIONES IMPORTANTES DE SEGURIDAD
Al utilizar el producto, siempre se deben seguir las precauciones básicas,
incluído lo siguiente:
• Tenga en cuenta todas las advertencias, incluyendo las advertencias a continuación
Y aquellas incluidas en el producto.
• Sólo para uso en exteriores.
• cULus para ubicaciones mojadas.
• Desensamblar la lámpara anulará la garantía.
• La lámpara es percableada y ensamblado para facilitar la instalación.
• Lea y siga estas instrucciones.
• Para reducir el riesgo de sufrir quemaduras al cambiar la bombilla, desconecte la
fuente de alimentación de la unidad antes de cambiar la bombilla.
• ¡La bombilla se CALIENTA rápidamente!
• La lámpara y el artefacto se calientan extremadamente durante el uso. Antes de
intentar reposicionar el artefacto, deje que se enfríe totalmente.
• El portalámparas debe ser instalado por personas con experiencia en cableado
doméstico o por un electricista calificado. El sistema eléctricoy el método de conexión
eléctrica del portalámparas debe cumplir con el Código eléctrico nacional y los
códigos locales sobre edificios.
• Reemplace siempre la bombilla con una del mismo vatiaje o más bajo que el
marcado. Si instala lámparas de mayor potencia, puede crear riesgo de incendio.
Si usa lámparas de mayor potencia, se anula la garantía. (Utilice una bombilla de
halógeno de un máximo de 150 W.)
PRECAUCION
• Conecte el portalámparas a una fuente de
energía de 120 Voltios, 60 Hz. Cualquier otro
tipo de conexión anula la garantía.
• Debe montar el accesorio sobre una caja de
conexiones empotradas con toma de tierra
marcada para usar en lugares húmedos.
2-YEAR LIMITED WARRANTY
THE FOLLOWING WARRANTY IS EXCLUSIVE AND IN LIEU OF ALL OTHER WARRANTIES,
WHETHER EXPRESS, IMPLIED OR STATUTORY INCLUDING, BUT NOT LIMITED TO, ANY
WARRANTY OF MERCHANTABILITY OR FITNESS FOR ANY PARTICULAR PURPOSE.
Cooper Lighting, LLC (“Cooper Lighting”) warrants to customers that, for a period of two years
from the date of purchase, Cooper Lighting’s products will be free from defects in materials
and workmanship. The obligation of Cooper Lighting under this warranty is expressly limited
to the provision of replacement products. This warranty is extended only to the original
purchaser of the product. A purchaser’s receipt or other proof of date of original purchase
acceptable to Cooper Lighting. This is required before warranty performance shall be rendered.
This warranty does not apply to Cooper Lighting products that have been altered or repaired
or that have been subjected to neglect, abuse, misuse or accident (including shipping damages).
This warranty does not apply to products not manufactured by Cooper Lighting which have been
supplied, installed, and/or used in conjunction with Cooper Lighting products. Damage to the
product caused by replacement bulbs or corrosion or discoloration of brass components are
not covered by this warranty.
LIMITATION OF LIABILITY:
IN NO EVENT SHALL COOPER LIGHTING BE LIABLE FOR SPECIAL, INDIRECT, INCIDENTAL, OR
CONSEQUENTIAL DAMAGES (REGARDLESS OF THE FORM OF ACTION, WHETHER IN CONTRACT,
STRICT LIABILITY, OR IN TORT INCLUDING NEGLIGENCE), NOR FOR LOST PROFITS; NOR SHALL
THE LIABILITY OF COOPER LIGHTING FOR ANY CLAIMS OR DAMAGE ARISING OUT OF OR
CONNECTED WITH THESE TERMS OR THE MANUFACTURE, SALE, DELIVERY, USE, MAINTENANCE,
REPAIR OR MODIFICATION OF COOPER LIGHTING PRODUCTS, OR SUPPLY OF ANY REPLACEMENT
PARTS THEREFORE, EXCEED THE PURCHASE PRICE OF COOPER LIGHTING PRODUCTS GIVING RISE
TO A CLAIM. NO LABOR CHARGES WILL BE ACCEPTED TO REMOVE OR INSTALL FIXTURES.
ESPAÑOL
110 grados
Hasta
70 pies
ADVERTENCIA
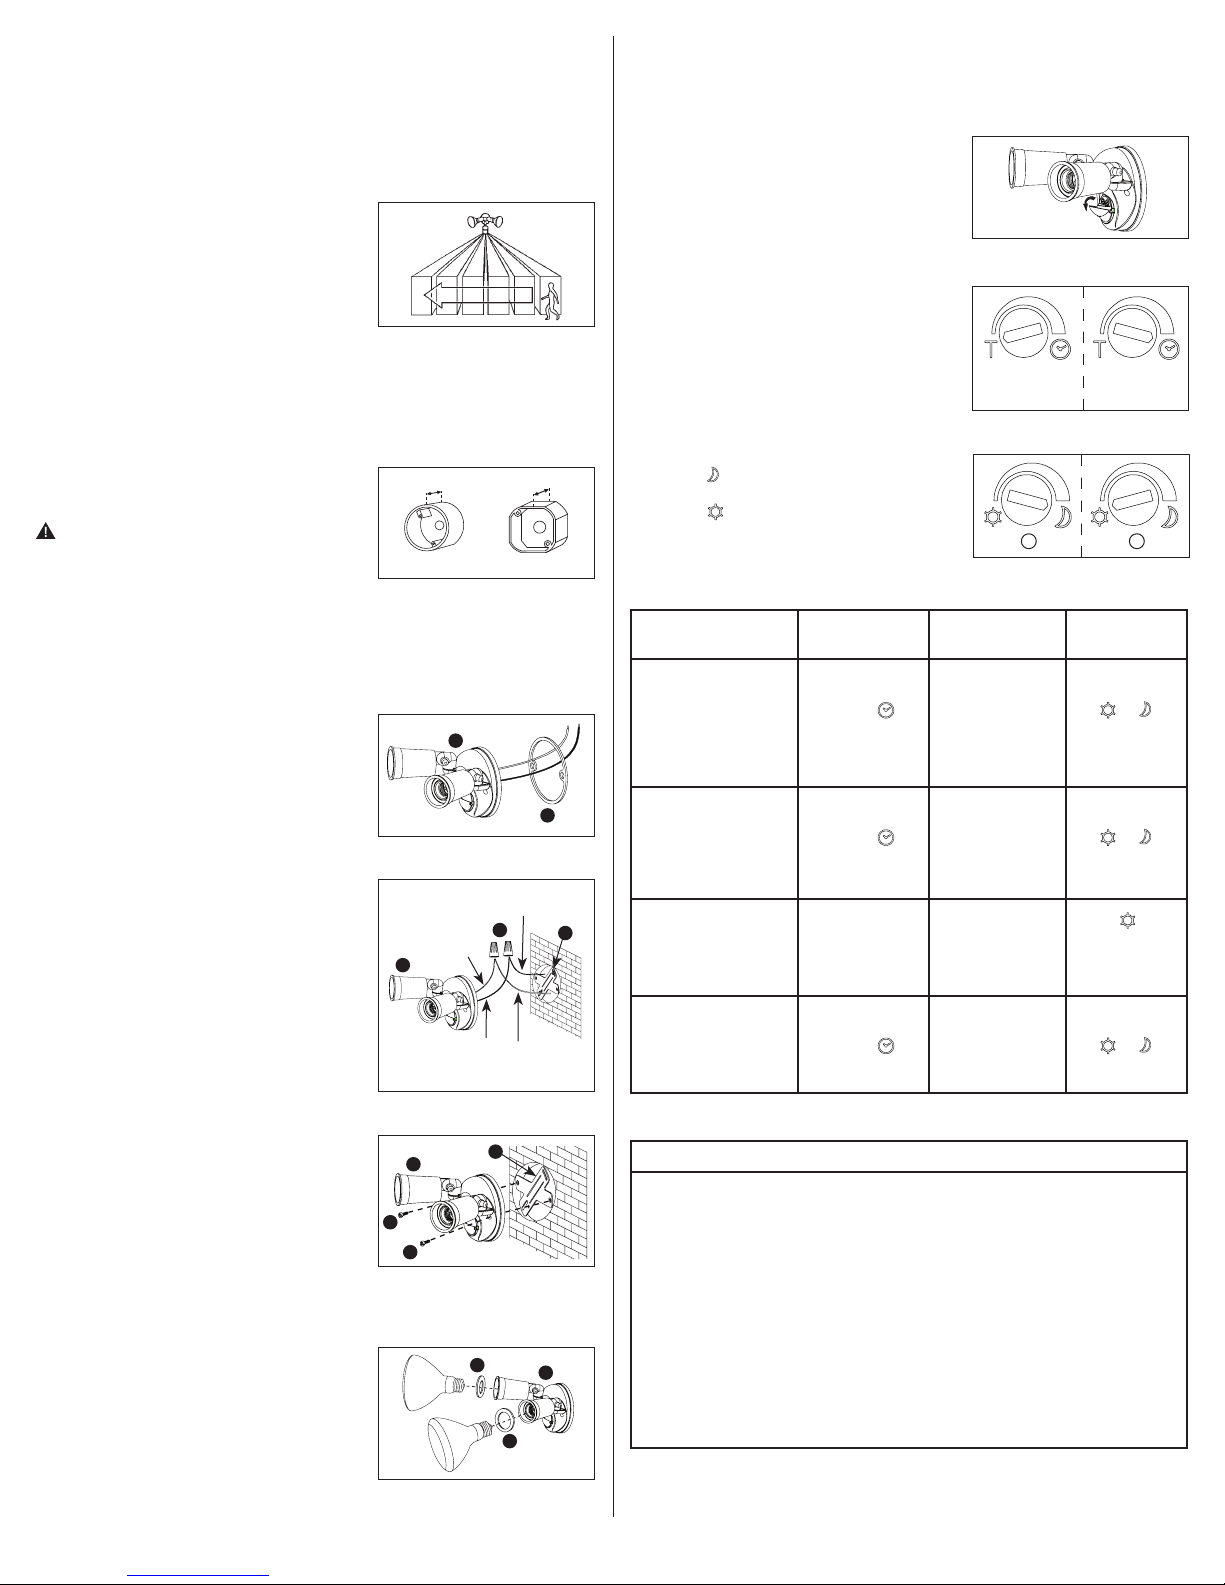
Cannot activate
standard
floodlight setting
(manual override).
No power to the fixture.
• Check if circuit breaker tripped.
• Confirm wall switch is ON.
Bulb is faulty.
• Replace bulb.
Surrounding external ambient light is too bright. (If so, the unit may
think it is daytime.)
• Re-aim the head.
• Relocate or reposition the unit away from the light.
TURN OFF POWER BEFORE CONTINUING
Wiring to the unit is loose.
• Check wiring, and reconnect if necessary using wire
connectors (E) provided.
There is more than one fixture on an indoor wall switch.
• If so, put them on separate switches.