2
1. Introduction
This manual contains information for the proper
installation, and operation of w.Cooper Inc.
sand filters. Your w.Cooper Inc. sand filter is
designed and manufactured to provide many years of
trouble free operation, when installed, operated
and maintained as outlined in this owner's manual.
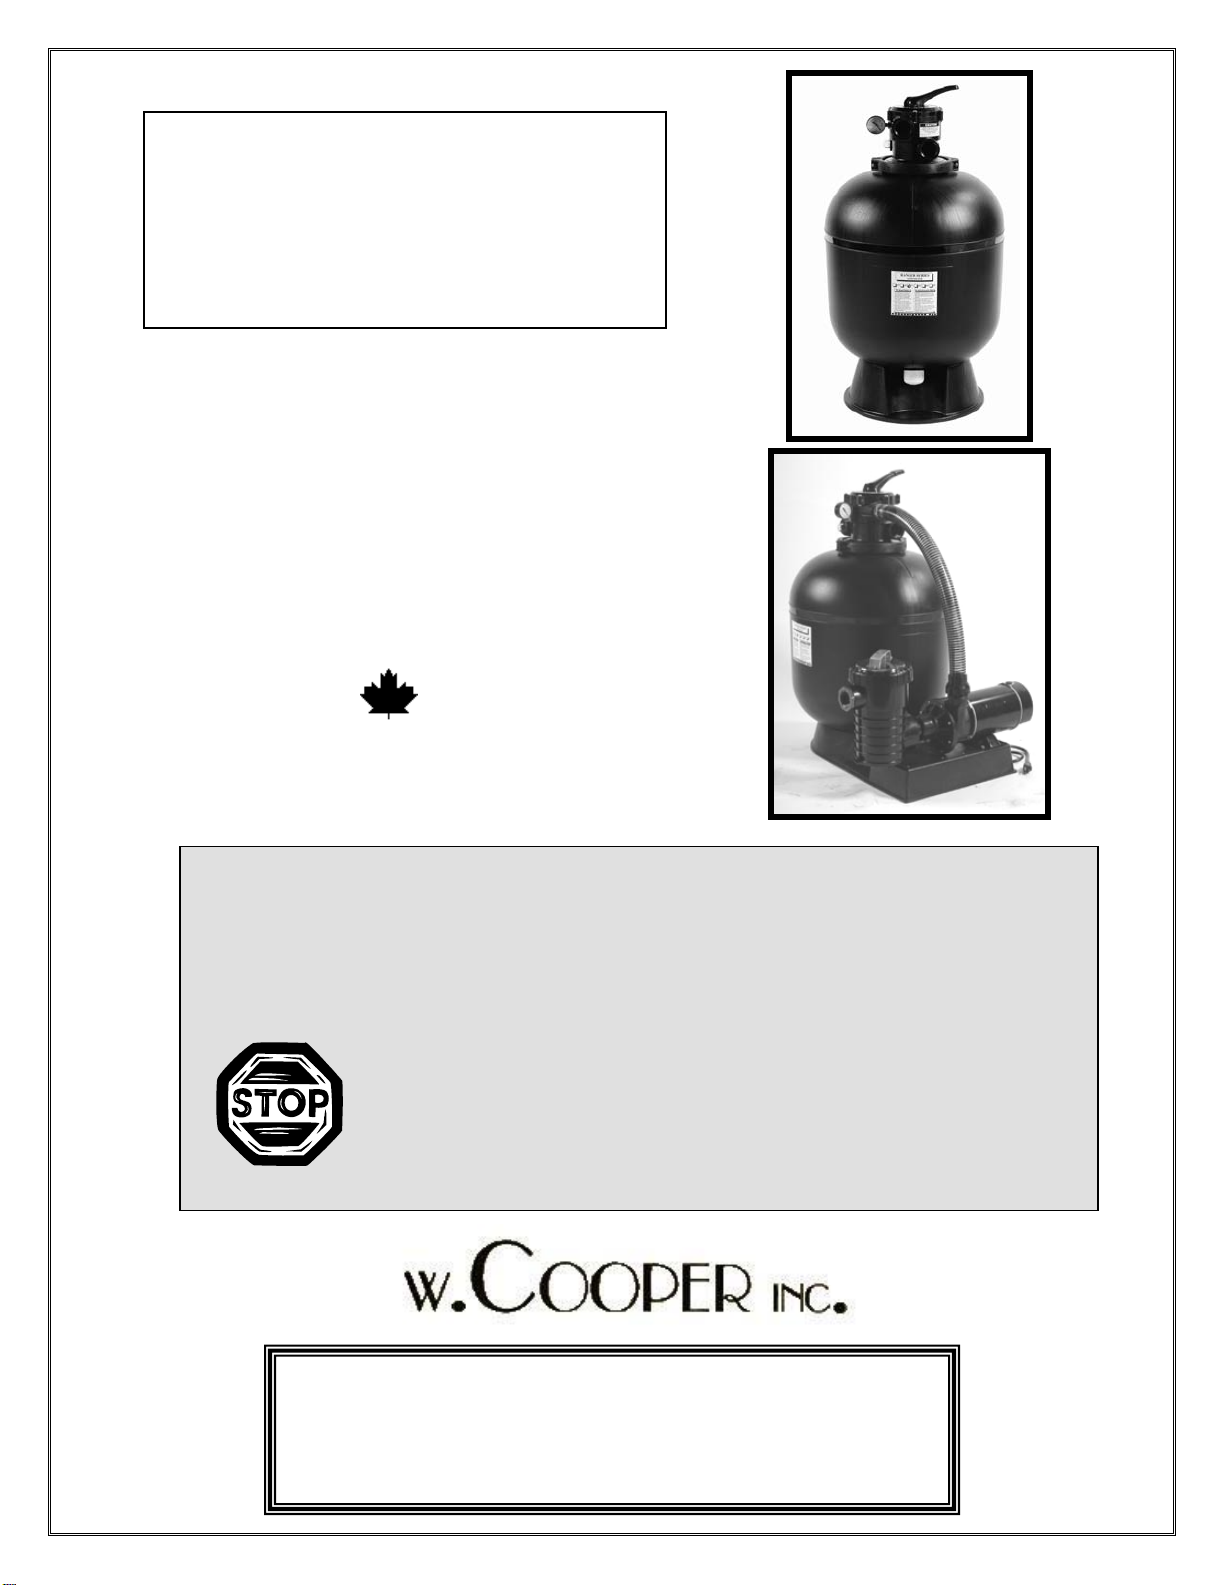
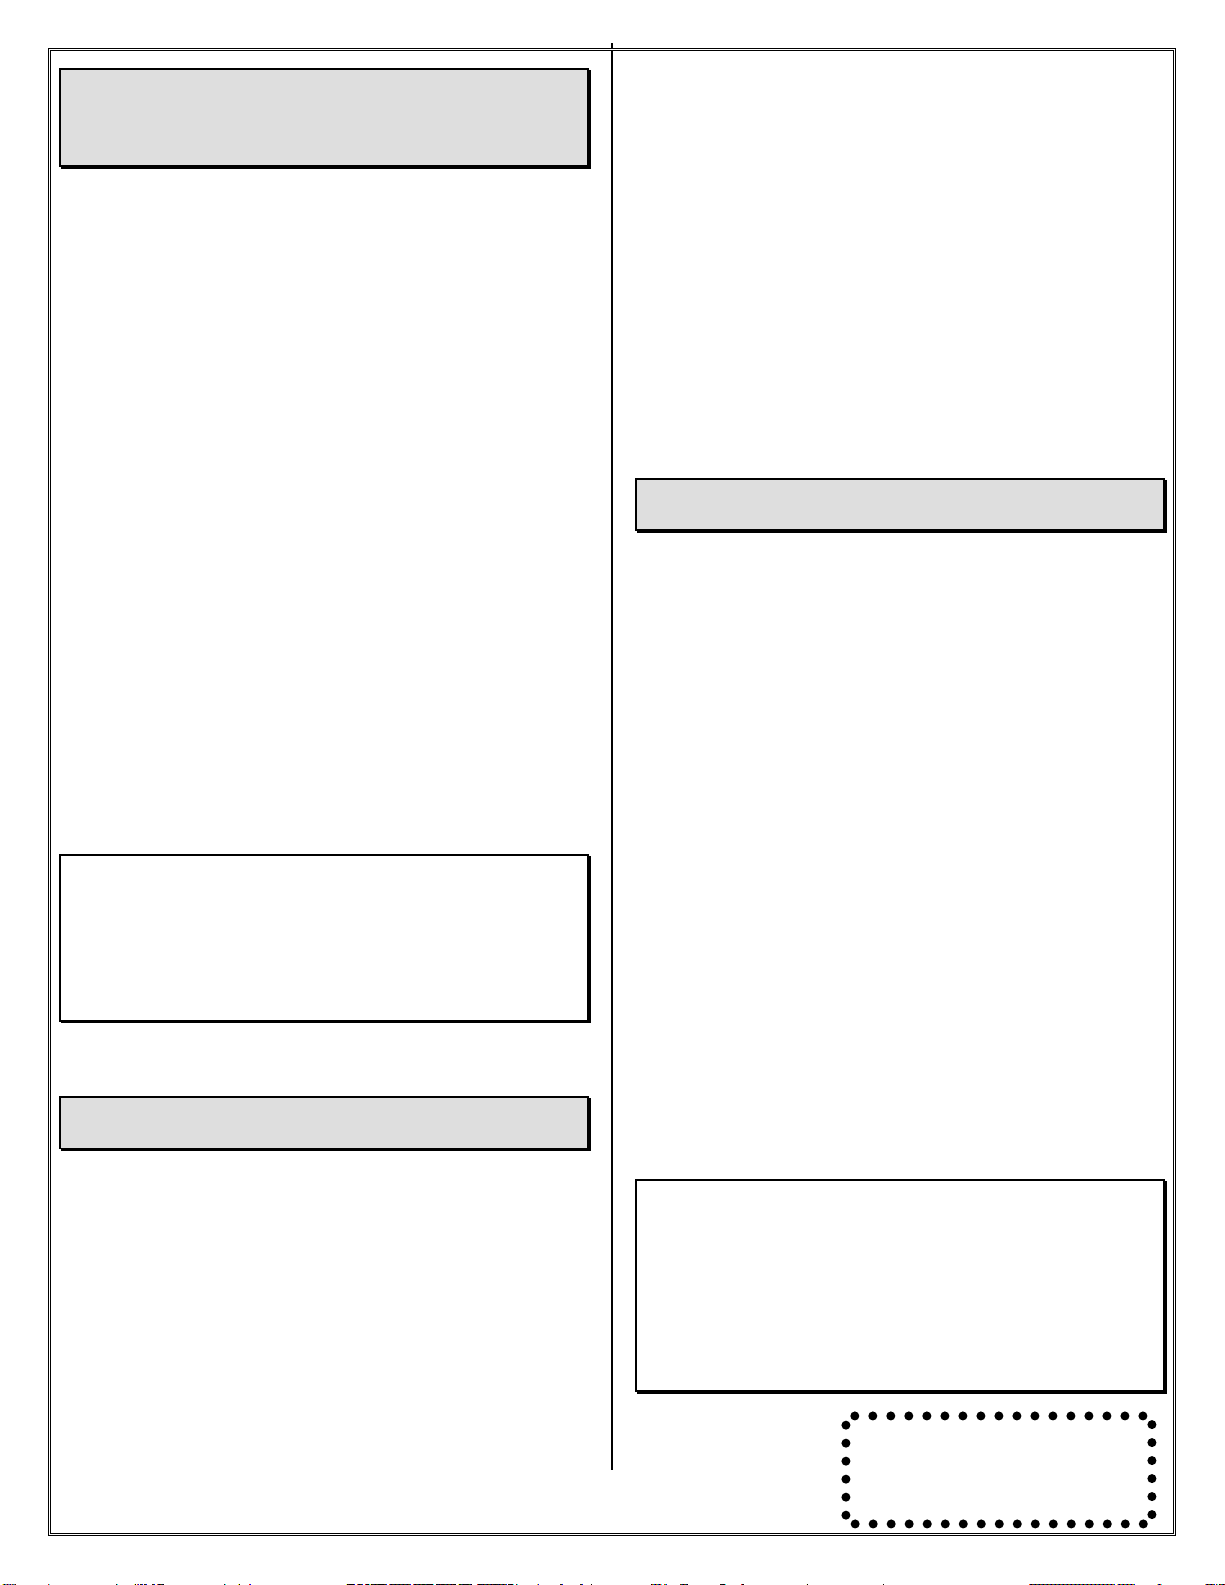
2. How Your Sand Filter Works
Special filter sand removes dirt and debris particles
from your pool water. Following instructions (as
outlined in this manual) filter sand is loaded into the
filter tank, the pool water is pumped through the piping
system, then directed by the 6 position dial valve into the
filter. As the water is pumped through the sand bed, the
particles of dirt and debris are removed leaving clean
water. The clean water is returned to the pool through
the bottom of the filter, the 6 position valve, and through
the return piping to your swimming pool.
After the filter has been in use for a period of time, the
accumulation of dirt and debris particles in the sand bed
will cause the pressure in the filter to rise. This indicates
it is time to backwash (clean) the filter. With the 6
position valve in the backwash position, the flow will
reverse direction in the filter. The water will enter the
sand through the bottom of the filter, flow up through
the sand bed removing the accumulated dirt and debris,
through the 6 position valve, and out the waste line.
Once the filter has been cleaned, the 6 position valve
should be set to rinse and then back to filter. The system
now resumes normal filtering.
3. Installation
Hand tools are all that is required to install your new
filter. Screwdrivers, wrenches and Teflon tape
(to seal threads).
3. A: Place the filter so that the piping, 6 position dial
valve, and winterizing drain plug are readily accessible
for service, operation and winterizing.
4. Loading the Filter Sand
Filter sand is loaded through the top of filter tank.
4. A: Cover the stand pipe in the filter with the clear
plastic sand disc provided with the filter. Check the
winter drain is tight.
4. B: Fill the filter tank 1/2 full with water. This helps
prevent damage to the laterals when the sand is added.
4. C: Very slowly pour in the filter sand. Only add the
recommended amount of sand as outlined in the
specifications in this manual. Ensure standpipe does not
move when adding sand. Remove the clear plastic sand
disc, and level the sand bed after all the sand has been
added.
5. Install 6 Position Dial Valve
5. A: Unpack dial valve, you should have 2 nuts,
2 bolts, one clamp ( 2 half sections ), one pressure
gauge, one large o-ring, and the valve itself.
5. B: Place valve on top of filter tank with large o-ring
in the groove on the underside of the valve flange. Push
valve down on the stand pipe gently. Be sure the large
o-ring is seated between tank flange and valve.
5. C: Once the dial valve is on top of filter tank,
carefully rotate valve until the desired location for
installing the plumbing is reached.
5. D: Place both halves of valve clamp around filter
valve flange, press both halves as close together as you
can. Place the nut in the recessed side of the clamp, and
the screw in the other, and snug down. DO NOT
COMPLETELY TIGHTEN.
5. E: Wrap pressure gauge with Teflon tape. One or
two wraps is all you need. Carefully screw pressure
gauge into 1/4" NPT opening (located at the front of the
valve down from the filter label).
!!!! DO NOT OVER-TIGHTEN PRESSURE
GAUGE INTO VALVE BODY
5. F: Make your pump connection to the port labeled
"pump" on the dial valve. When making
connections to valve ports, only wrap the threaded fitting
once or twice with Teflon tape, hand tighten and then a
quarter turn with a wrench. Hand tighten then a quarter
turn with wrench
!!!! DO NOT OVER-TIGHTEN ANY
CONNECTION IN TO THE 6 POSITION DIAL
VALVE
5. G: After the dial valve has been plumbed in, tighten
the valve clamp with your screwdriver until both sides
are close together.
6. Finish all other connections, return to pool from
return port on dial valve, suction line to the pump, and
waste line from waste port on valve.
7. Run electrical connections to pump and
install as outlined in the pump owner's manual.
8. Start Up Of The Filtration System.
To avoid any water losses check all connections to dial
valve and pump. Make sure all connections are tight and
secure
!!!! ALWAYS DEPRESS VALVE HANDLE THEN
ROTATE WHEN CHANGING VALVE
POSITIONS
!!!! NEVER CHANGE DIAL VALVE POSITIONS
WITH THE PUMP RUNNING