CoralVue Kamoer User manual

KH Carer KH Detector
User Manual
A1 2023-01-30
Kamoer Fluid Tech (Shanghai) Co., Ltd.
www.kamoer.com

1
Reading Tips
Quick search keywords
PDF documents can use the search function to search for keywords. For example, in Adobe
Reader, Windows users can use the shortcut Ctrl+F, and Mac users can use Command+F
to search for keywords.
Click on the directory to jump
Users can understand the content structure of the document through the table of contents,
and click the title to jump to the corresponding page.
Print the document
This document supports high-quality printing.
Symbol Description
Prohibited Important Notices Operation and usage tips Reference information
Safety Instructions
Please read these instructions carefully before using the KH Carer to ensure proper operation.
Using of pH electrodes:
Before using the pH electrode, remove the electrode cap so that it can be detected normally.
Before first use, please calibrate the pH electrode
During the use of the pH electrode, it is necessary to avoid drying of the electrode head. After each
test of the pH electrode, the liquid should be stored in the beaker to continue to protect the pH
electrode.
When not in use for a long time, the pH electrode should be stored in an electrode cap with protective
solution
The pH electrode has a service life, which varies according to the use environment. Generally, it
is about one year. During the pH calibration, it will prompt whether the pH electrode should be
replaced.
The KH test solution is stirred at least once a week, otherwise the concentration may be unstable.
The stirring can be shaken or magnetic stirring can be used.
Use protective packaging to protect the appliance from any damage during transport. After unpacking,
dispose of all packaging elements in a manner that will not harm the environment. All materials used

2
to package the utensils are eco-friendly; they are 100% recyclable. Caution! When unpacking, keep
packing materials out of the reach of children.
This device should not be used by young children and vulnerable groups with limited physical, sensory
or mental abilities, and by persons unfamiliar with this device.
Usage Advice
Kamoer provides the following documentation for users of KH Carer:
1. “KH Carer User Manual”
2. “KH Carer Quick Start Guide”
Recommended that users first read the KH Carer Quick Start Guide to understand the usage process.
For detailed product information, please read the " KH Carer User Manual ".
Download Kamoer Remote App
1. Scan the QR code to download the app corresponding to the icon below.
Apple Android
2. Apple users enter the App Store, Android users enter the Baidu app store, search for "Kamoer Remote",
and find the app with the corresponding icon to download.
Kamoer Remote App supports Android 4.4 and above , and iOS 9.1 and above .

3
Get the tutorial
After installing the app, open it, click the button in the upper left corner of the device list page to enter
the my module , click the tutorial in the my module, enter the tutorial module, click to enter the
corresponding device model, including the user manual and frequently asked questions.

4
Contents
Reading Tips............................................................................................................................................................................1
Symbol Description .......................................................................................................................................................1
Safety Instructions .........................................................................................................................................................1
Usage Advice ................................................................................................................................................................. 2
Download Kamoer Remote App .............................................................................................................................. 2
Get the tutorial ............................................................................................................................................................... 3
1. Product Overview .............................................................................................................................................................. 6
1.1 Introduction .............................................................................................................................................................. 6
1.2 Feature Highlights ................................................................................................................................................. 6
1.3 Applications............................................................................................................................................................. 7
1.4 Unpacking Preparation........................................................................................................................................ 7
1.5 Parts Name.............................................................................................................................................................. 8
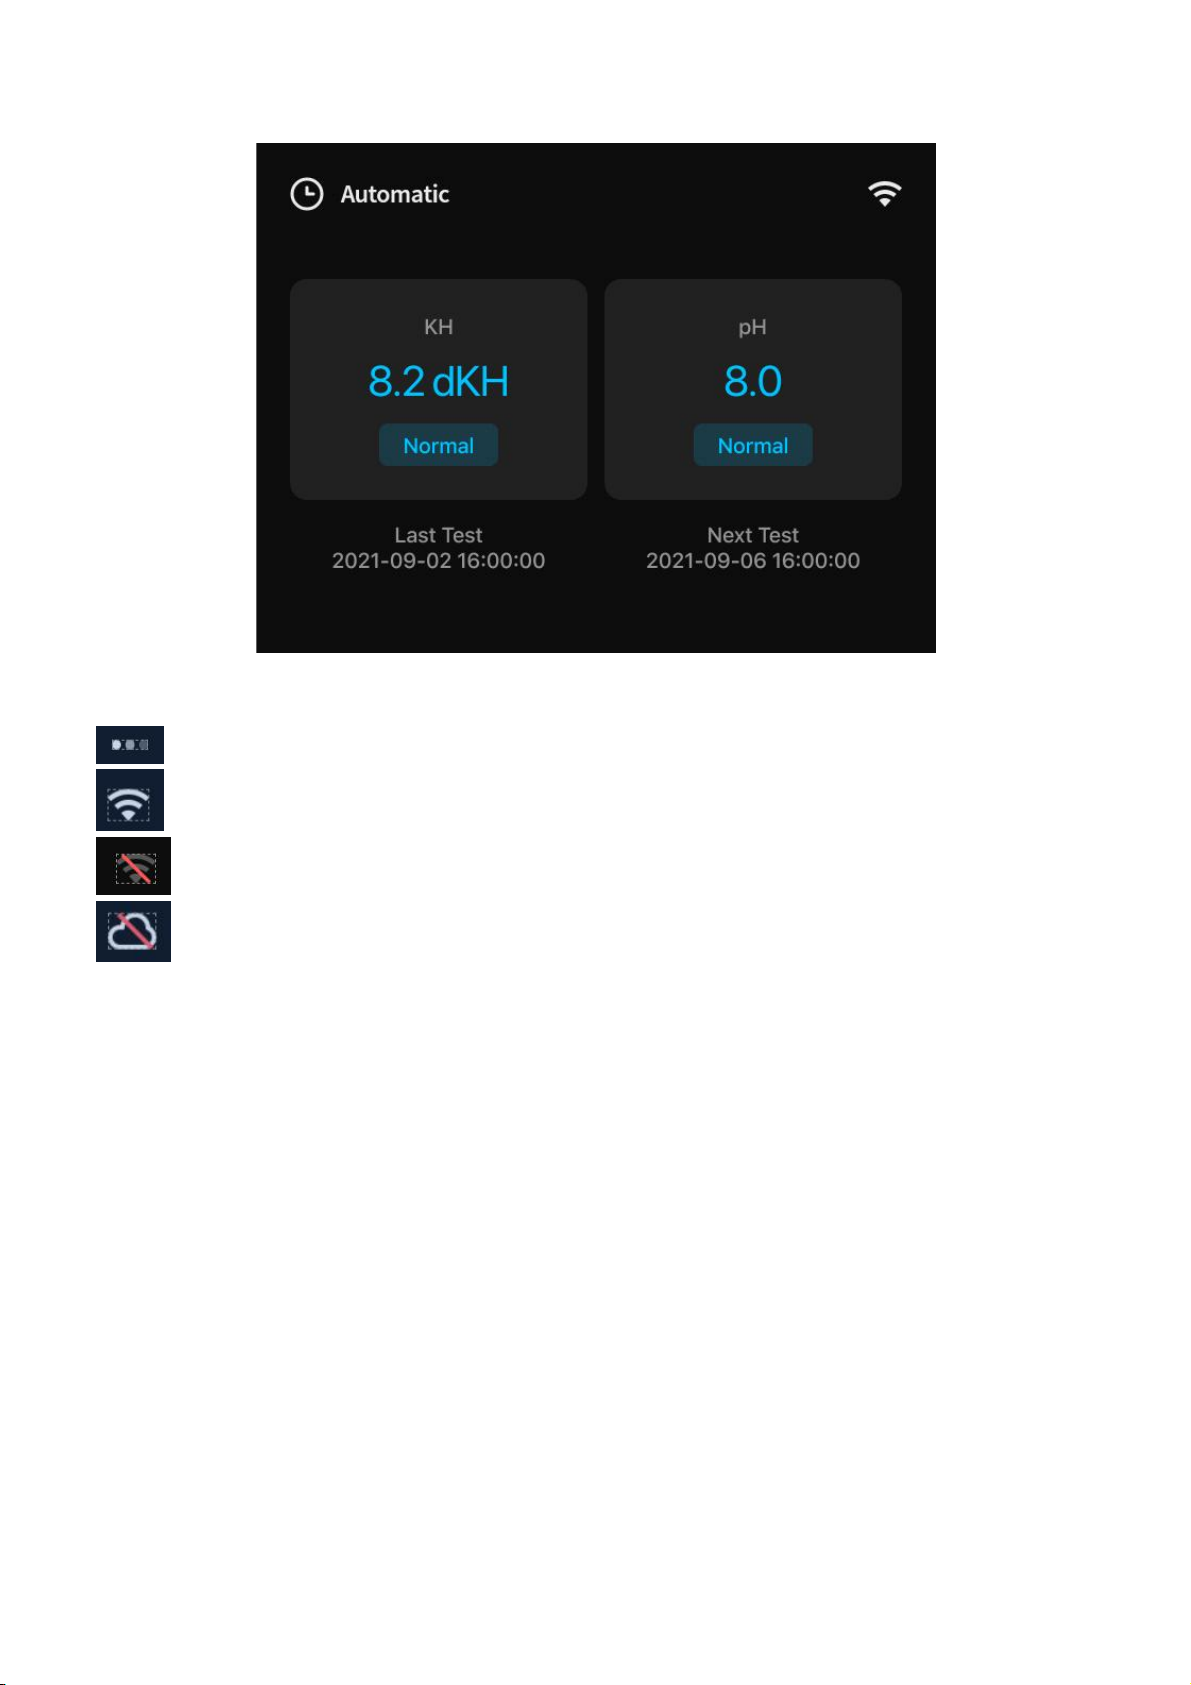
1.6 Display State Description ...................................................................................................................................9
2. First Time Using .............................................................................................................................................................. 11
2.1 Product Installation............................................................................................................................................. 11
2.1.1 Tube Connection .............................................................................................................................................. 11
3. App Usage ........................................................................................................................................................................ 15
3.1 Network Configuration ........................................................................................................................................15
3.2 Overview of App Interface...............................................................................................................................16
3.3 Status Interface Function (detected value, remaining solution, KH automatic hold) ................. 18
3.4 Keep KH Status ................................................................................................................................................... 19
3.5 Supply KH enhancer reagent method ......................................................................................................... 19
3.6 Auto Add................................................................................................................................................................ 21
3.7 Custom Plans ........................................................................................................................................................ 23
3.8 Examples of Pro-rata Methods ....................................................................................................................... 24
3.9 Example of Volume-based Adjustment ........................................................................................................25
3.10 Use Other Pumps to add.............................................................................................................................. 27
3.11 Connection of Calcium anti-control Module ............................................................................................ 32
3.12 KH Carer E1 Interface.................................................................................................................................... 33
3.13 Automatic Detection......................................................................................................................................... 33
3.14 Automatic Detection of Parameter Settings.............................................................................................35
3.15 Duplicate Detection Function ........................................................................................................................36
3.16 Post-anomaly Detection ...................................................................................................................................38
3.17 Manual Detection.............................................................................................................................................. 40
3.18 Data Module....................................................................................................................................................... 41
3.19 Settings Page ..................................................................................................................................................... 42
3.20 Maintain ................................................................................................................................................................ 43
3.21 Calibration............................................................................................................................................................43
3.22 Time Setting........................................................................................................................................................ 44
3.23 Firmware Upgrade ............................................................................................................................................ 46
4. Equipment Maintenance............................................................................................................................................... 48
4.1 Suggestion..............................................................................................................................................................48
4.2 Measurement Accuracy..................................................................................................................................... 48
4.3 KH Carer can improve accuracy by doing the following .................................................................... 49
4.4 Handling of errors generated during actual measurements ................................................................49

5
4.5 Prompt Sensor Troubleshooting..................................................................................................................... 50
4.6 Large Detection Values (more than 15 dKH) ........................................................................................... 52
5. Appendix ............................................................................................................................................................................ 55
5.1 Technical Parameters.........................................................................................................................................55
5.2 After-sales Warranty Information.................................................................................................................... 55

6
Product Description
This chapter mainly introduces the features,
applications and unpacking instructions of the
KH Carer.
1. Product Overview
1.1 Introduction
KH Carer is an automated device for testing the KH value of aquariums. It includes manual detection
functions, automatic detection functions, and pushes an alarm when an abnormality occurs. Users can
easily view the test results and set the test parameters in the Android or iOS App. The device can also
choose to automatically adjust the KH value according to the test results.
1.2 Feature Highlights
Including a 2.8-inch display, you can check the device status at any time.
Sampling pump, adding detection reagent pump and adding KH pump all use high-precision pump
heads.
The detection can be completed automatically and KH reagent can be added according to the
detection results.

7
Support automatic test and manual test two detection modes.
Support pump flow calibration, pH calibration.
Built-in real-time clock, automatically run according to the set parameters, power-down parameters
are not lost.
Supports iOS and Android remote WiFi control and local Bluetooth control.
Support solution bottle capacity monitoring function, push alarm for insufficient solution bottle
capacity.
Supports the function of alarm push.
1.3 Applications
Marine life feeding
Including hard coral ( SPS ), soft coral ( LPS ) and polyculture coral ( SPS/LPS ).
Other occasions where it is necessary to test KH and maintain KH
1.4 Unpacking Preparation
Before opening the box, inspect the outer packaging for damage in transit.
After unpacking, refer to the packing list in the appendix to confirm that all parts are missing and
check for visible damage.
If you find any defects during unpacking, please contact the manufacturer immediately.
1
2
3456
78910 1112 13
1415
16
17
18
19
1. KH Carer host 2. pH electrode 3. Electronic scale (3 kg)
4. Beaker 5. 5ml graduated cylinder 6.10ml graduated cylinder
7. Power adapter 8. KH detection reagent tube 9. Seawater sample tube
10. Waste liquid tube 11. KH addition liquid in tube 12.KH addition liquid out tube
13. Burette holder 14. pH4 calibration solution
15. pH 9.18 calibration solution 16.KH detection reagent concentrate
17. Equipment back tube joint 18. Extract seawater sample filter
head

8
19. Magnetic stirring rotor, placed in the beaker
Notice:
5 ml detection reagent calibration cylinder is made of glass, be careful to prevent it from breaking
and affecting safety.
Electronic scales are used to measure the weight of items. Avoid placing items that exceed the
range of the electronic scale (3 kg) to avoid damage to the electronic scale. Do not place items
for a long time when not in use to avoid affecting the accuracy of the electronic scale.
1.5 Parts Name
1
2
3
4
5
6
7
8
9
10
11
12
1. Take seawater sample interface, connect to seawater tank
2. Add KH detection reagent interface, connect to KH detection reagent barrel
3. Add KH inlet, connect KH bucket
4. Add KH outlet, connect to seawater tank
5. Waste water outlet, connected to waste liquid bucket
6. Communication interface, connected to calcium counter control
7. Power DC12V 1.9A
8. Display
9. pH electrode
10. pH electrode fixing cover
11. Detection sample reagent reaction cup
12. Magnetic stirring rotor

9
1.6 Display State Description
12
3 4
56
7
1. Working mode: display working mode, the device supports automatic mode and manual mode
2. WIFI connection status:
Indicates that the network is being configured
Indicates that the network is successfully configured
Failed to connect to the router
Failed to connect to the server cloud
3. The latest test KH value and status display:
Green means the test value is low, red means the test value is high, blue means the test value is
normal
4. The pH value and status display of the last test:
Green means the test value is low, red means the test value is high, blue means the test value is
normal
5. Last time KH was detected (Manual/Automatic mode)
6. The planned time for the next KH test (Manual/Automatic mode)
7. Test status display area (Stopping/Detecting)

10
First Time Using
This chapter mainly introduces about check and
confirm whether the functions of the equipment
are running well for the first time

11
2. First Time Using
2.1 Product Installation
2.1.1 Tube Connection
Device
interface
Meaning
Color
Connection and purpose
Saltwater IN
Seawater sample
inlet
Green
Access to seawater tank for pumping seawater
samples
Reagent
KH detection
reagent inlet
Yellow
Access to KH detector barrel for KH detection
reagent extraction
KH
KH reagent intake
Black
Access to KH barrel for extraction of KH
reagent
Tank
KH reagent
exported
Blue
Access to the seawater tank for adding KH
reagent to the seawater tank
Waste
Wastewater outlet
Red
Access to the waste bucket for draining the
waste liquid

12
2.1.2 pH electrode and Beaker
Illustrations and operating instructions
1. Pull the pH electrode (1) down to the position
shown
2. Place the magnetic stirring rotor (2) into the
beaker
3. Place the pH electrode (1) and the drain tube (2) into the beaker (3).
Note: The position of the waste liquid pipe should be close to the inner wall of the beaker to prevent
the magnetic rotor from touching the waste liquid pipe when rotating
4. Insert the pH electrode (1) into a fixed position, confirm that the drain pipe (2) touches the bottom
of the cup, and the installation is complete.

13
2.1.3 KH detection reagent preparation
(If you are purchasing a ready-to-use KH reagent liquid, this step can be ignored)
The following is the dilution operation process of KH detection reagent concentrate (1L):
KH detection reagent concentrate is 20ml per bottle, KH detection reagent concentrate is configured
according to 1 bottle of concentrate with 980g RO water, and one bottle of concentrate can be configured
with 1L of KH detection reagent.
Diagram
Operating instructions
1. Use an electronic scale to weigh 980 grams of
RO water, 980 grams of water corresponds to
980ml of water, RO water can be obtained from
the water dispenser.
Note: Before measuring the water, peel the reagent
bucket on the scale
2. Pour a bottle of KH concentrate into 980 g of
water and gently shake the reagent bucket.
3. Pour the mixed reagent of water and
concentrate in the second step into a part of the
concentrate bottle and wash the concentrate
bottle
4. Re-pour the washed liquid into the reagent
bucket
5. Repeat step (3) (4) once to complete the
dilution of the concentrate

14
2.1.4 KH enhancer reagent preparation
(If you are purchasing a ready-to-use KH enhancer reagent liquid, this step can be ignored)
KH enhancer reagent is used to enhance the KH of seawater, when the KH is detected low, KH enhancer
reagent needs to be added to make the KH value reach a suitable level.
The following is the operation process of configuring KH enhancer reagent:
Diagram
Operating instructions
1. Weigh 1L of RO water using an electronic
scale
2. Introduce the powder into 1L of RO water
3. Shake the reagent barrel, after 4 hours,
confirm that all KH powder is dissolved and then
use
2.1.5. After completing the installation of KH Carer, configure the App network
Refer to the App Usage Distribution Equipment Chapter
After the network is configured, enter the device, the App will guide the first use operation, through these
operations to ensure that the device is connected and used correctly, you can use it normally.
After the above check is done, manually run the test several times to confirm whether the test results
are normal, and there is no problem to transfer to the automatic test.

15
App Usage
This chapter mainly introduces how to use the
app to control the KH Carer dosing pump.
3. App Usage
3.1 Network Configuration
The app needs to set and read the parameters of the device through a network connection, so the device
configuration needs to be connected to the network. On the home page of the device list, click the Add
button in the upper right corner to enter the configuration interface of the device, click KH Carer to enter
the Bluetooth connection interface, and follow the interface prompts to configure the network.

16
a. You only need to configure the device to connect to Wi-Fi once. After the configuration is
successful, as long as the App can connect to the Internet , you can find the device in the
device list after opening the App .
b. If the device configuration fails to connect to Wi-Fi, start over from the first step .
3.2 Overview of App Interface
Open the App, click KH Carer in the device list to enter the KH Carer operation interface.
The interface module functions are as follows:
a b c d
a. Status:
Display various information of the device:
Last detection mode: automatic / manual, test time;
Last test: KH value, pH value, status (too high/normal/too low)
Cylinder volume display (100.0L)
reagent bottle status display, etc.
b. Detection:
KH manual and automatic detection parameter settings, the
device can also be calibrated in manual mode

17
c. Data:
Graphical display of the detected historical data, you can easily
view the changes in the historical records
d. Settings:
Includes device version and serial number viewing, firmware
upgrades, time synchronization, alarm threshold setting and
other functions

18
3.3 Status Interface Function (detected value, remaining solution, KH automatic hold)
ab
cd
ef
g
h
i
jk
l
mn
o
pq
a. Working mode: Manual mode or automatic mode
b. Last test time: Manual mode or automatic mode
c. The KH value of the last detection: Green means low,
black means normal, red means high
d. Detection status display: According to the high and
low threshold thresholds (too high/normal/too low), the
high and low thresholds are set in the App system
settings module
e. pH value of last test
f. Next detection of KH: Manual testing does not have
the next test time
g. Quickly adding KH: When KH low, needs to be
supplemented, and the execution plan for KH
supplementation can be viewed here
h. Tank volume: click to enter the maintaining KH setting
interface, where you can set the KH value of the tank
that needs to be maintained. After each KH detection
is completed, according to the size of the tank volume
and the detected KH value, the Tank will be
supplemented with KH enhancer reagent
i. Remaining amount of KH reagent bottle solution
j. KH reagent bottle capacity: click to modify
k. When the remaining amount of KH reagent falls below
10%, the device pushes an alarm
l. The remaining amount of KH test solution
m. KH detection liquid bottle capacity: click to modify
n. KH detects the percentage of the remaining volume
of the liquid bottle: When the remaining volume of the
detection liquid is less than 10% , the device will push
an alarm
o. The amount of waste liquid in the waste water barrel
p. The total amount of waste liquid barrels
q. Percentage of waste liquid volume: When the waste
liquid volume exceeds 90%, the device will push an
alarm

19
3.4 Keep KH Status
a
b
c
d
e
f
g
h
i
j
a. Keep KH switch: When the switch is turned on, the KH Carer test KH value is low, the device will
automatically supplement KH
b. KH stable value: When the KH switch is kept open, the KH Carer test KH value is low, and the
device automatically supplements the value to be reached by KH
c. Add KH Settings: when the KH detection value is low, the way to add KH is set
d. Tank volume: Set the volume of water in the tank and use it to supplement the KH value. The volume
of water in the tank should be set accurately, so that it is also accurate when supplementing KH. If
you are not sure about the volume, you can estimate the volume of water to be smaller, so that you
can supplement KH will not be excessive, and the insufficient amount will be replenished next time
e. Seawater used: Measure the amount of seawater sample used
f. Supplement KH: There are two ways to use KH Carer to add and use calcium to add back.
g. Total add cap: When the detected KH value is low, the maximum amount of KH added
h. Single add cap: If the amount of KH to be supplemented exceeds the maximum single addition amount,
add it in multiple times
i. Add KH interval: the interval time when adding KH in multiple times
j. KH solution brand: the brand of reagent for adding KH, different brands have different KH
concentration, in order to accurately supplement KH, you need to set the brand of KH reagent
3.5 Supply KH enhancer reagent method
Methods
Function description
Characteristic
Table of contents
Other CoralVue Water Filtration System manuals